manuals.online logo
Brands
  1. Home
  2. •
  3. Brands
  4. •
  5. oGrow
  6. •
  7. Greenhouse Kit
  8. •
  9. oGrow OGAL-46A User manual

oGrow OGAL-46A User manual

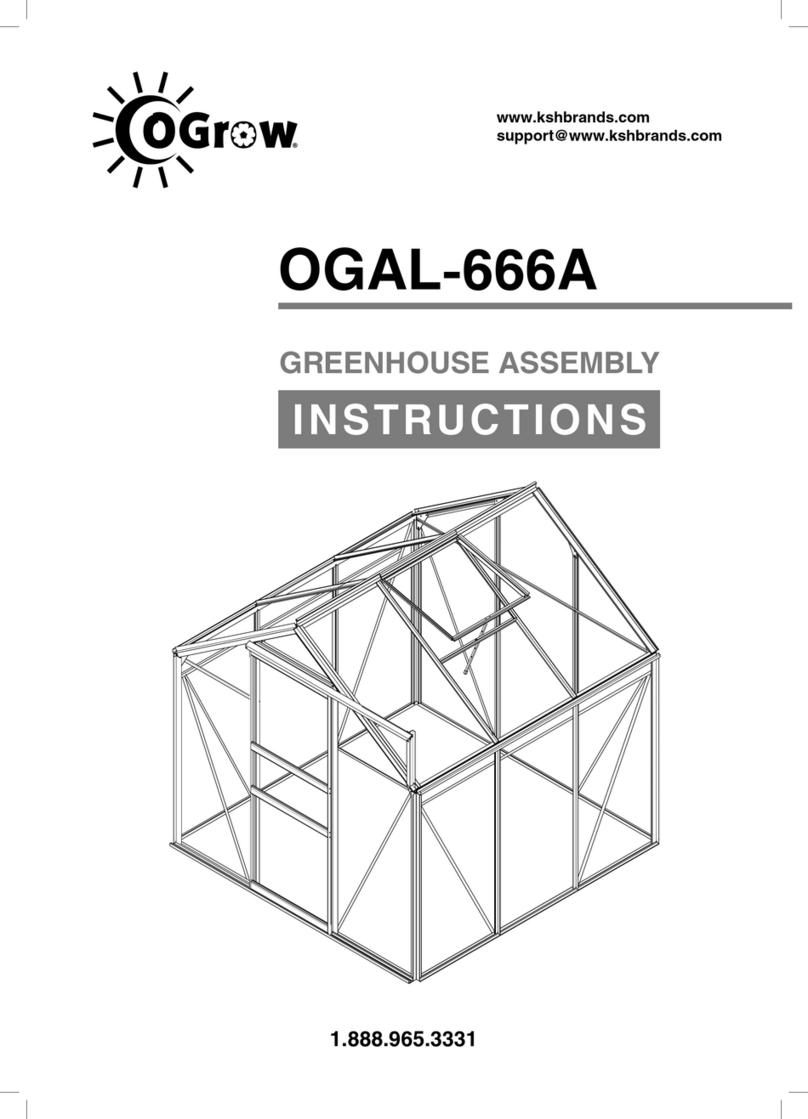
OGAL-46A
GREENHOUSE ASSEMBLY
www.kshbrands.com
suppor[email protected]
1.888.965.3331
INSTRUCTIONS
TO PREVENT INJURY, READ AND UNDERSTAND THE
GREENHOUSE ASSEMBLY INSTRUCTIONS BEFORE USE.
Notes:
1. It takes about 2-3 hours to assemble the greenhouse by 2-3 persons.
2. The UV-protected side of the sheet is covered with opal white film and
must face towards the sun.
3. Remove approximately 2 inches of film from all sheet edges before
installing. Removing all film immediately after the construction is
completed
4. Make sure the greenhouse is located on a flat, level surface.
GENERAL SAFETY, WARNINGS AND PRECAUTIONS
KEEP WORK AREA CLEAN AND DRY.
Cluttered, damp or wet work areas invite injuries.
STAY ALERT. Watch what you are doing at all times. Use common
sense. Do not use the greenhouse when you are tired or distracted from
the job at hand. It is recommended to use gloves for assembling the
greenhouse.
MAINTAIN THIS PRODUCT WITH CARE.
Keep the greenhouse clean and dry for better performance:
maintenance should be performed regularly.
USE THE RIGHT PRODUCT FOR THE JOB.
Do not attempt to force a small product to do the work of a larger
industrial product. There are certain applications for which the
greenhouse was designed. It will do the job better and more safely in the
manner for which it was intended. Do not modify the greenhouse and do
not use the greenhouse for a purpose for which it was not intended.
MAINTAIN A SAFE WORKING ENVIRONMENT.
Keep the work area tidy. Make sure there is adequate surrounding
workspace. Avoid high traffic areas. Always keep the work area free of
obstructions, grease, oil, trash and other debris.
PROPER GREENHOUSE LOCATION.
Make sure the greenhouse is located on a flat, level surface.
www.kshbrands.com [email protected] 1.888.965.3331
Rear
Front
Notes.
1. Remove approximately 5mm of film from all sheet edges before installing.
Remove all film immediately after the construction completed.
2. The UV-protected side of the sheet is covered with opal white film and must
face towards the sun.
Two sides of PC sheet are covered with thin film, one side’s film is transparent, another’s
film is opal white. The UV-protected side of the sheet is covered with opal white
film and must face towards the outside.
Opal white film
PC sheet
Transparent film
POLYCARBONATE PANEL
SUN
www.kshbrands.com [email protected] 1.888.965.3331
ST4x10
ST4x8
Parts
Image Item # Size QtyQtyImage Item # Size
www.kshbrands.com [email protected] 1.888.965.3331
Parts used in this section.
Image Item # Quantity
Align parts K-03b, K-A02, and K-04 each at
a right angle, ensuring that the grooves
are on the outside.
www.kshbrands.com [email protected] 1.888.965.3331
1OGAL-46A ASSEMBLY INSTRUCTIONS |
Parts used in this section.
Image Item # Quantity
2.3 & 2.4 Slide one bolt each into the two outside K-05
frames and the two inside K-A03. Then place K-A15 on
theinside, connecting through those bolts.
2.1 & 2.2 Insert the bolts (K-A31) in through the
holes in K-03b, K-A02 & K-04, then insert K-05 and
K-A03 into the bolts and tighten the nuts.
www.kshbrands.com [email protected] 1.888.965.3331
2OGAL-46A ASSEMBLY INSTRUCTIONS |
Parts used in this section.
Image Item # Quantity
www.kshbrands.com [email protected] 1.888.965.3331
3OGAL-46A ASSEMBLY INSTRUCTIONS |
3.1 Slide each of the three K-A24
panels all the way down into each
section along the longer wall.
3.2 Slide top frame K-A06 over all three
panels.
3.3 Secure K-A06 with nuts and bolts,
but do not tighten yet.
3.4 Insert those bolts into the grooves
of K-05.
4.2 Slide three bolts into K-19, K-20
(tallest frames adjacent to your house)
and K-09. Slide two bolts into K-10 and
each of the two K-05 (middle and shorter
frames at the corners).
Parts used in this section.
Image Item # Quantity
Insert the polycarbonate panel into
relevant place.
Fix K-06 & K-07 to the walls.
www.kshbrands.com [email protected] 1.888.965.3331
5OGAL-46A ASSEMBLY INSTRUCTIONS |
5.1 Slide the taller K-A22 panel in the
section closest to the house, opposite
of the door.
5.2 Slide K-A21 into the section
adjacent to the door and K-A20 to the
section across from K-A21.
5.3 Slide K-06 over the top of K-A21 and
opening for the door.
5.4 Slide K-07 over the top of panels
K-A22 and K-A20.
Parts used in this section.
Image Item # Quantity
6.1 Connect K07 & K-A06 with
K-21 by bolts and nuts.
6.2 Connect K-07 & K-09 with
K-21 by bolts and nuts.
6.3 Connect K-07 & K-20 with
K-23 by bolts and nuts.
www.kshbrands.com [email protected] 1.888.965.3331
6OGAL-46A ASSEMBLY INSTRUCTIONS |
Parts used in this section.
Image Item # Quantity
7.1 Connect K-A07 and K-07 by
the bolts and nuts.
NOTE: the place for the bolts.
www.kshbrands.com [email protected] 1.888.965.3331
7OGAL-46A ASSEMBLY INSTRUCTIONS |
Parts used in this section.
Image Item # Quantity
8.1 Slide the K-A23 window up
into the corner between K-19 and
K-06. Then insert the K-12 frame
under the window. Connect it to
the longer side with nut and bolt.
8.2 Insert K-17 frame to K-5 corner
frame using K-21 brace and nuts
and bolts. Then connect the other
end of K-17 to the middle frame
K-10.
www.kshbrands.com [email protected] 1.888.965.3331
8OGAL-46A ASSEMBLY INSTRUCTIONS |
Parts used in this section.
Image Item # Quantity
9.1 Insert the two K-A04 roof frames with bolts in K-A07 and tighten with nuts.
9.2 Slide two bolts into each K-A04, and align with holes in K-A06. Secure with
nuts.
www.kshbrands.com [email protected] 1.888.965.3331
9OGAL-46A ASSEMBLY INSTRUCTIONS |
Parts used in this section.
Image Item # Quantity
www.kshbrands.com [email protected] 1.888.965.3331
10OGAL-46A ASSEMBLY INSTRUCTIONS |
10.1 Slide longer K-A25 panels into outer
sections.
10.2 Slide shorter K-A27 panel into the
middle section.
Parts used in this section.
Image Item # Quantity
www.kshbrands.com [email protected] 1.888.965.3331
11OGAL-46A ASSEMBLY INSTRUCTIONS |
11.1.1 Insert two bolts into the
grooves of K-13.
11.1.2 Align the bolts in the outer
door frame K-13 with the holes in
inner door frame K-12 and tighten
the nuts.
11.2 Place the top left edge of the
sliding door K-08 between the top
frame K-13 and middle frame K-06
and secure with nuts and bolts.
Parts used in this section.
Image Item # Quantity
12.1 Connect K-A12 to the roof
with K-07 by bolts and nuts.
12.2 & 12.3 Connect K-A11 and K-A04 with the bolts left in K-A04 and
tighten the nuts.
www.kshbrands.com [email protected] 1.888.965.3331
12OGAL-46A ASSEMBLY INSTRUCTIONS |
Parts used in this section.
Image Item # Quantity
www.kshbrands.com [email protected] 1.888.965.3331
13OGAL-46A ASSEMBLY INSTRUCTIONS |
13.4 Attach K-A13 handle to the K-A10
bottom frame using the two K-A32 screws.
13.1 Attach the two K-A09 sides to K-A08 top and K-A10 bottom.
13.2 Secure with two K-A31 nuts and bolts in each bottom corner
and one same nuts and bolts in each top corner.
13.3 Slide K-A26 window panel into the created frame.
panel
panels
Parts used in this section.
Image Item # Quantity
www.kshbrands.com [email protected] 1.888.965.3331
15OGAL-46A ASSEMBLY INSTRUCTIONS |
15.1 & 15.2 Slide the assembled door, ensuring the pulley
wheels align to the the middle notch of K-13 on top and
K-03b on the bottom.
15.3 Secure door frame with nuts
and bolts at bottom corners.

Other oGrow Greenhouse Kit manuals

oGrow OG03-PE5565E User manual

oGrow

oGrow OG03-PE5565E User manual

oGrow OG03AL86-BKE User manual

oGrow

oGrow OG03AL86-BKE User manual

oGrow Walk-in OGAL-666 User manual

oGrow

oGrow Walk-in OGAL-666 User manual

oGrow OGAL-866A Quick start guide

oGrow

oGrow OGAL-866A Quick start guide

oGrow OGAL-866 User manual

oGrow

oGrow OGAL-866 User manual

oGrow OGAL-666A User manual

oGrow

oGrow OGAL-666A User manual

oGrow Walk-in OGAL-466 User manual

oGrow

oGrow Walk-in OGAL-466 User manual

oGrow OGAL-466A User manual

oGrow

oGrow OGAL-466A User manual

oGrow OGAL-46 User manual

oGrow

oGrow OGAL-46 User manual

oGrow OGAL-CF23 User manual

oGrow

oGrow OGAL-CF23 User manual

oGrow OG6834-S User manual

oGrow

oGrow OG6834-S User manual

Popular Greenhouse Kit manuals by other brands

Riverstone Networks Monticello 8x20 Assembly instructions

Riverstone Networks

Riverstone Networks Monticello 8x20 Assembly instructions

NBB SR8063 Assembly instructions

NBB

NBB SR8063 Assembly instructions

Velcom CAMELLIA R Technical manual

Velcom

Velcom CAMELLIA R Technical manual

AeroGarden 100670-BLK Quick setup guide

AeroGarden

AeroGarden 100670-BLK Quick setup guide

Infloria GS010997 Assembly instructions

Infloria

Infloria GS010997 Assembly instructions

Dancover GH152180 manual

Dancover

Dancover GH152180 manual

ACD S310 manual

ACD

ACD S310 manual

Halls Greenhouses Universal installation manual

Halls Greenhouses

Halls Greenhouses Universal installation manual

St Helens GH350 user manual

St Helens

St Helens GH350 user manual

Gutta Garden F2 Instructions for assembly

Gutta Garden

Gutta Garden F2 Instructions for assembly

Janssens KATHEDRAL Mounting instructions

Janssens

Janssens KATHEDRAL Mounting instructions

ACF Greenhouses Grow More GM8 Assembly instructions

ACF Greenhouses

ACF Greenhouses Grow More GM8 Assembly instructions

ClearSpan Majestic Greenhouse manual

ClearSpan

ClearSpan Majestic Greenhouse manual

Juliana 05022016-MG Assembly instruction

Juliana

Juliana 05022016-MG Assembly instruction

Juliana 05112019-CH manual

Juliana

Juliana 05112019-CH manual

Mercia Garden Products 04OCTGH0606-V3 General instructions

Mercia Garden Products

Mercia Garden Products 04OCTGH0606-V3 General instructions

New Leaf GH2010 instructions

New Leaf

New Leaf GH2010 instructions

Palram Victory Orangery Assembly instructions

Palram

Palram Victory Orangery Assembly instructions

manuals.online logo
manuals.online logoBrands
  • About & Mission
  • Contact us
  • Privacy Policy
  • Terms and Conditions

Copyright 2025 Manuals.Online. All Rights Reserved.