Notes:
1. It takes about 2-3 hours to assemble the greenhouse by 2-3 persons.
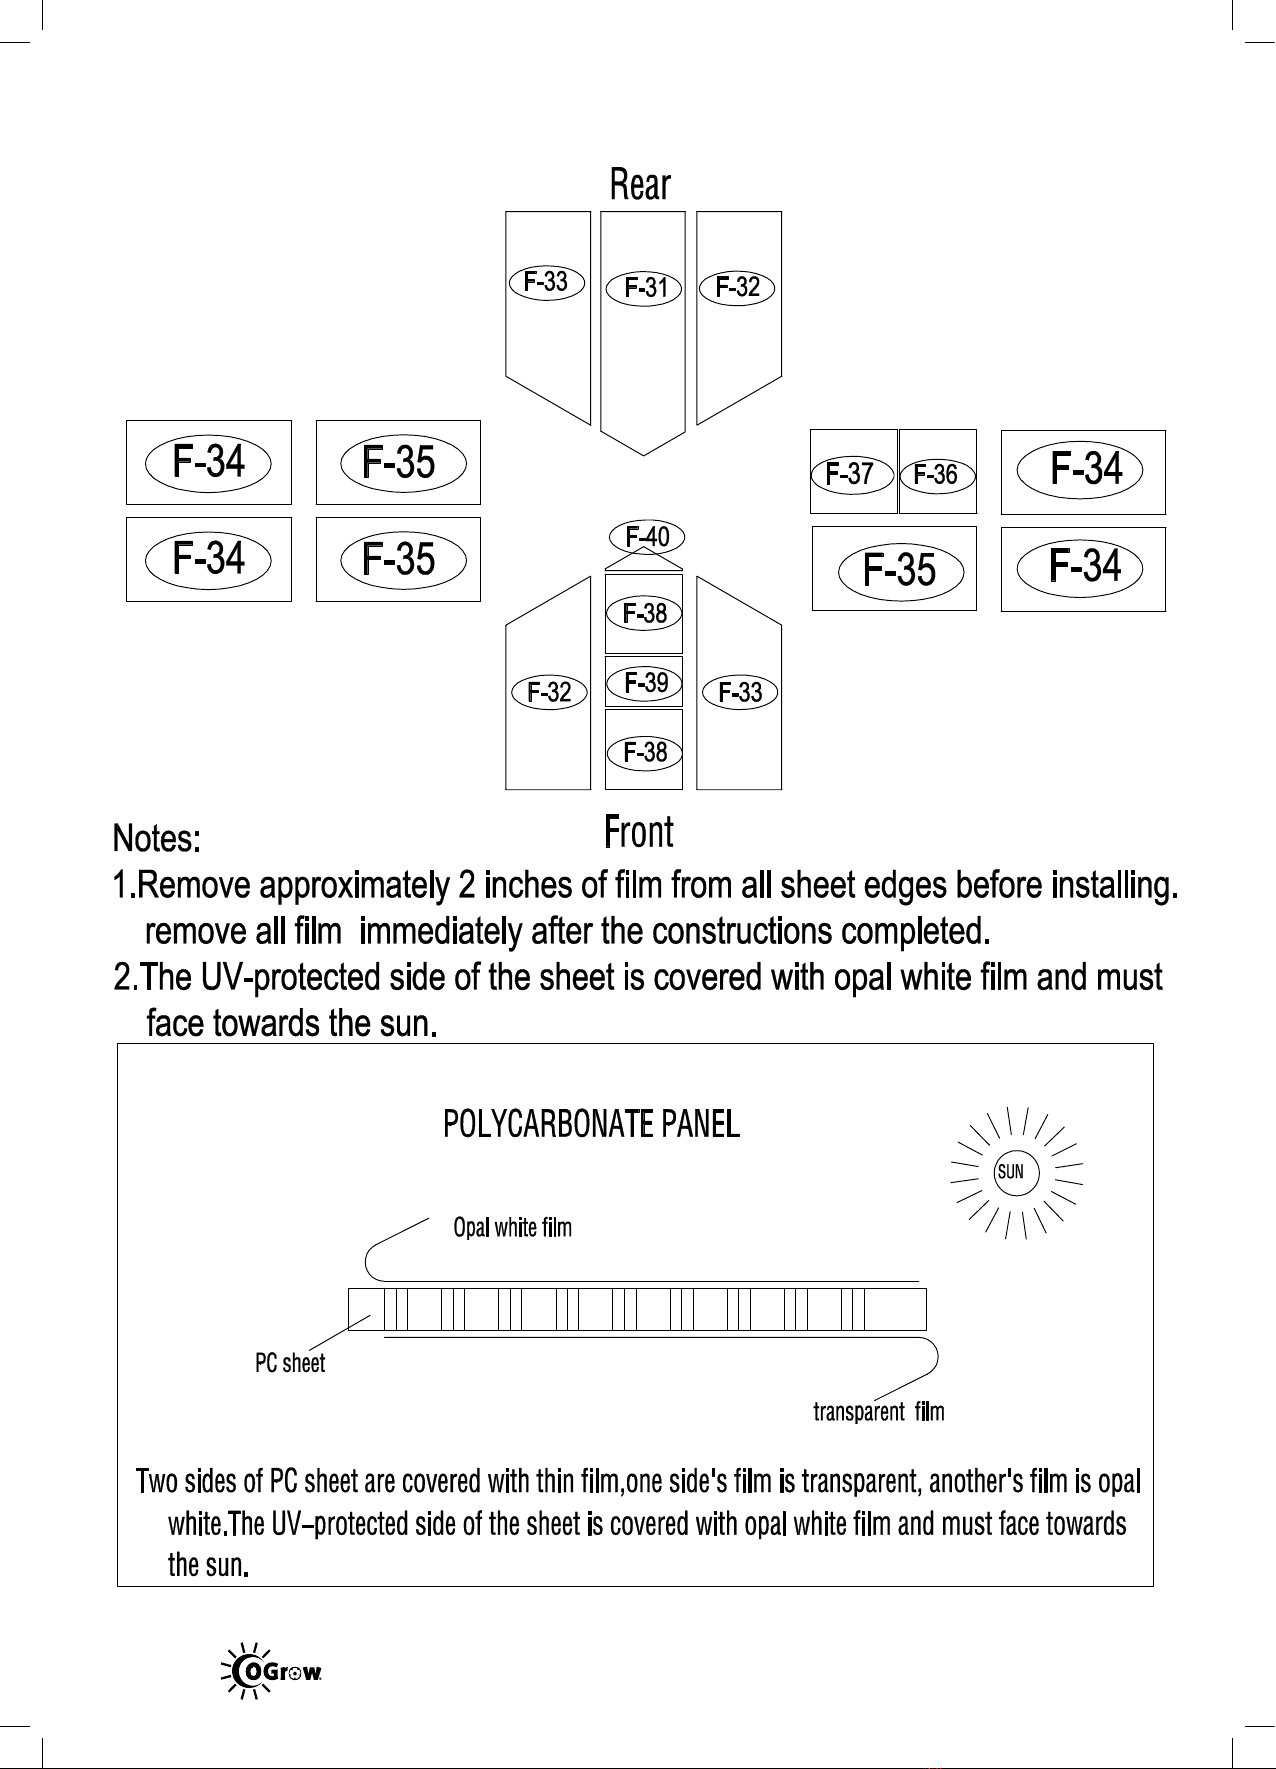
2.The UV-protected side of the sheet is covered with opal white film and
must face towards the sun.
3.Remove approximately 2 inches of film from all sheet edges before
installing.Removing all film immediately after the construction is
completed
4.Make sure the greenhouse is located on a flat, level surface.
TO PREVENT INJURY, READ AND UNDERSTAND THE
GREENHOUSE ASSEMBLY INSTRUCTIONS BEFORE USE.
GENERAL SAFETY, WARNINGS AND PRECAUTIONS
KEEP WORK AREA CLEAN AND DRY.
Cluttered, damp or wet work areas invite injuries.
STAY ALERT. Watch what you are doing at all times. Use common
sense. Do not use the greenhouse when you are tired or distracted from
the job at hand. It is recommended to use gloves for assembling the
greenhouse.
MAINTAIN THIS PRODUCT WITH CARE.
Keep the greenhouse clean and dry for better performance:
maintenance should be performed regularly.
USE THE RIGHT PRODUCT FOR THE JOB.
Do not attempt to force a small product to do the work of a larger
industrial product. There are certain applications for which the
greenhouse was designed. It will do the job better and more safely in the
manner for which it was intended. Do not modify the greenhouse and do
not use the greenhouse for a purpose for which it was not intended.
MAINTAIN A SAFE WORKING ENVIRONMENT.
Keep the work area tidy. Make sure there is adequate surrounding
workspace. Avoid high traffic areas. Always keep the work area free of
obstructions, grease, oil, trash and other debris.
PROPER GREENHOUSE LOCATION.
Makesure thegreenhouse is located on aflat, level surface.
OGAL-466A
77 inches x 72 inches x 48 inches