9
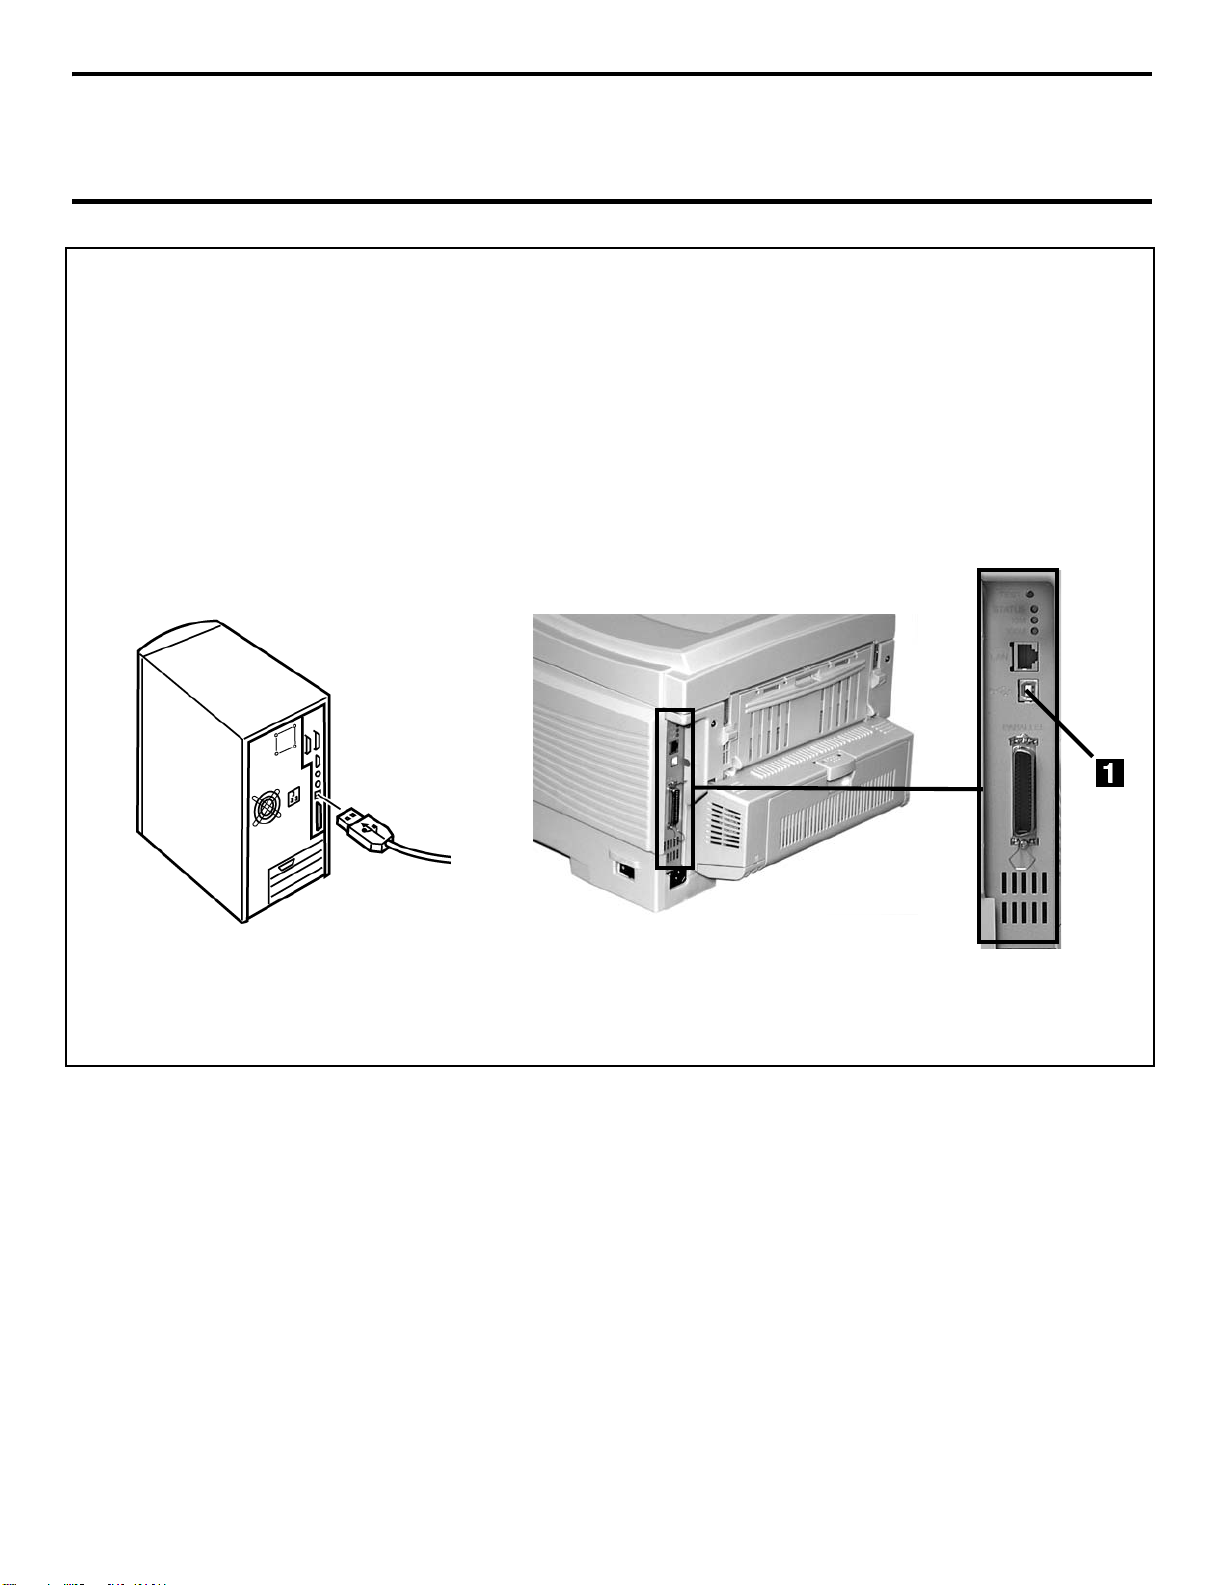
Local Install: Windows USB Port
Software for Windows Me
Install the PostScript
Emulation Driver
□Make sure the USB cable is connected to your printer
and PC and your printer is turned OFF.
□Insert the driver CD supplied with your printer into your
CD-ROM drive. The CD will autorun. (If it doesn’t,
click Start →Run →Browse. Browse to your CD-
ROM drive and double-click Install.exe, click OK.)
□The License Agreement appears. Click Next.
□The Menu Installer Software Installation screen
appears. Select your language.
□Click the Printer Driver Installer button.
□Click Local printer. Click Next.
□Select the USB port. Click Next.
□Select your printer model and Postscript (PS)
emulation. Click Next. The printer driver installs.
□Connect cable screen displays. Click Finish.
□Switch your printer ON.
□Add New Hardware wizard starts. Click Next.
□Select “Specify the location of the driver.” Click Next.
□Select “Specify a location.” Clear removable media.
Click Browse.
□Scroll down and click on your CD-ROM drive. Click
OK.
□Click Next. The USB driver is located.
□Click Next. Click Finish.
Print a Test Page
□Click Start→Settings→Printers.
□Right-click the printer icon.
□Click Properties.
□Click the Print Test Page button.
To Install the PCL Driver as
Well
□With the Menu Installer Software Installation screen
still open, click the Printer Driver Installer button.
□Follow the on-screen instructions, selecting the PCL
emulation when prompted.
Note: When prompted to select a port, select LPT1
temporarily.
□Click Finish.
When the installation is complete:
□Click Start →Settings →Printers.
□Right click the printer icon, then click Properties.
□On the Details tab, select USB01 port in the Print to
the following port drop-down list.
□Click OK, then close the Printers dialog box.
Install Printer Software
Utilities
To install the software utilities, click the Productivity
Software button in the Menu Installer, then select and
install the utilities you want following the on-screen
instructions.
To access the utility programs from your desktop, click
Start →Programs →OkiData.
Activating the Duplex Unit,
Internal Hard Drive and
Second Paper Tray Options
If your printer has an optional duplex unit, internal hard
drive or second paper tray installed, you must enter the
driver and activate them. See page 5 for instructions on how
to do this.