4DAc
Bündeln (NC 520, 540, 560, 570)
Bei dieser Funktion stoppt die Zählung, wenn eine vor
eingestellte Stückzahl von Banknoten gezählt wurde.
Wird das abgezählte Bündel aus dem Ausgabefach
entnommen, springt die Anzeige[5]/[15] auf X0 und das
nächste Bündel wird abgezählt.
Die Stückzahl der Banknoten kann von 1bis 999 frei
voreingestellt werden. Die voreingestellte Stückzahl
wird in der Anzeige[4]/[14] angezeigt.
Liegen vor dem Erreichen der voreingestellten Stück
zahl keine Banknoten mehr im Einlegefach, blinkt die
Anzeige[5]/[15]. Werden weitere Banknoten in das Ein
legefach gelegt, wird der Vorgang fortgesetzt.
ÆBATCH ÊFunktion Bündeln ist aktiviert.
Mit jedem Drücken der Taste wird die Stückzahl in den
Schritten 10, 20, 25, 50 und 100 voreingestellt.
Drücken Sie die Taste BATCH ein weiteres Mal, um
die Funktion zu deaktivieren.
Æ+ 1x Êvoreingestellte Stückzahl wird um 1 erhöht.
Æ+ Êvoreingestellte Stückzahl zählt automa
tisch hoch.
ÆCLEAR Êvoreingestellte Stückzahl wird auf X0
gesetzt.
Wertezählung (NC 560, 570)
Mit dieser Funktion können Banknoten einer Währung
mit unterschiedlichem Wert gemeinsam gezählt werden.
Dabei wird der Gesamtwert aller Banknoten sowie die
Stückzahl der Banknoten je Notenwert ermittelt.
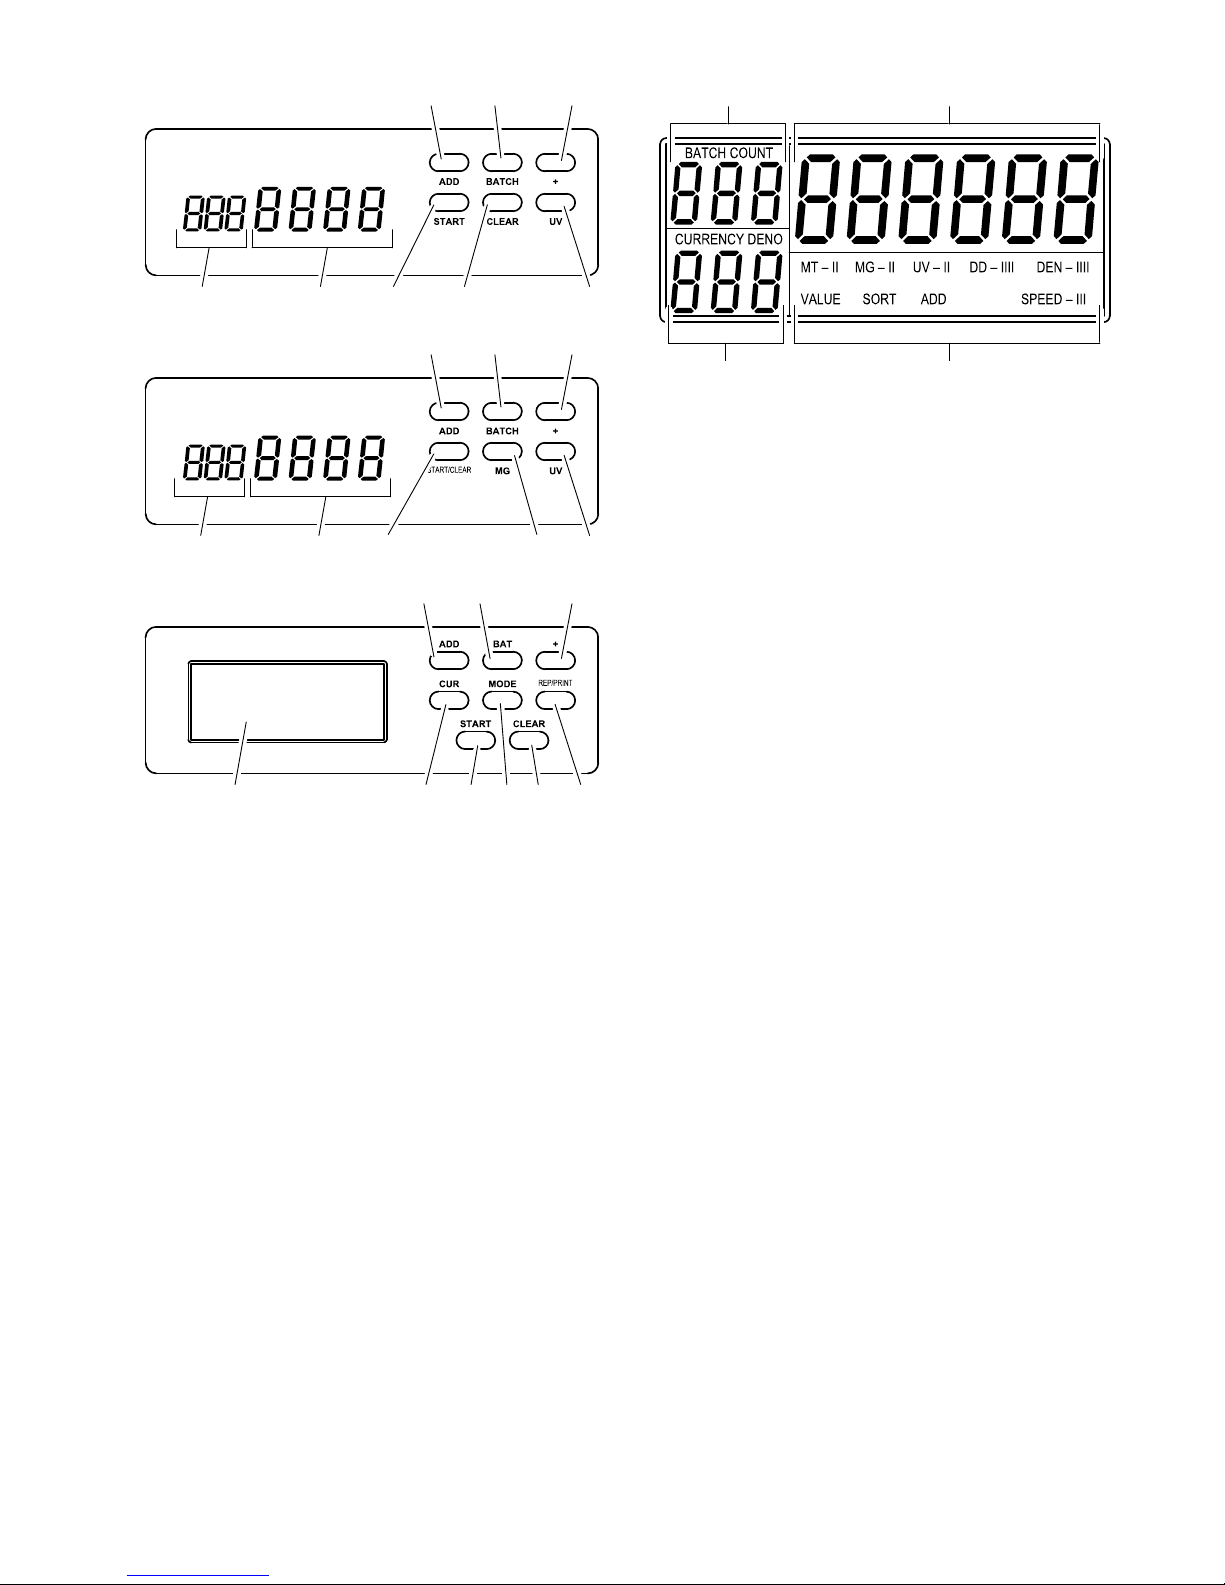
ÆCUR, bis gewünschte Währung (Eur, tL, GbP
oder SEH) in der Anzeige[16] angezeigt wird.
ÆMODE, bis VALUE in der Anzeige[17] erscheint.
Nachdem der Zählvorgang beendet ist:
ÆREP/PRINT ÊDer Banknotenwert [16] und die
Stückzahl [17] des entsprechenden Banknotenwerts
werden angezeigt.
ÆREP/PRINT ÊDer nächste Banknotenwert wird
angezeigt. 4 Sekunden nach dem letzten Tastendruck er
scheint wieder der Gesamtwert in der Anzeige [15].
ÆREP/PRINT 3 Sek ÊStückzahl je Banknoten
wert und Gesamtwert werden auf einem Drucker aus
gegeben.
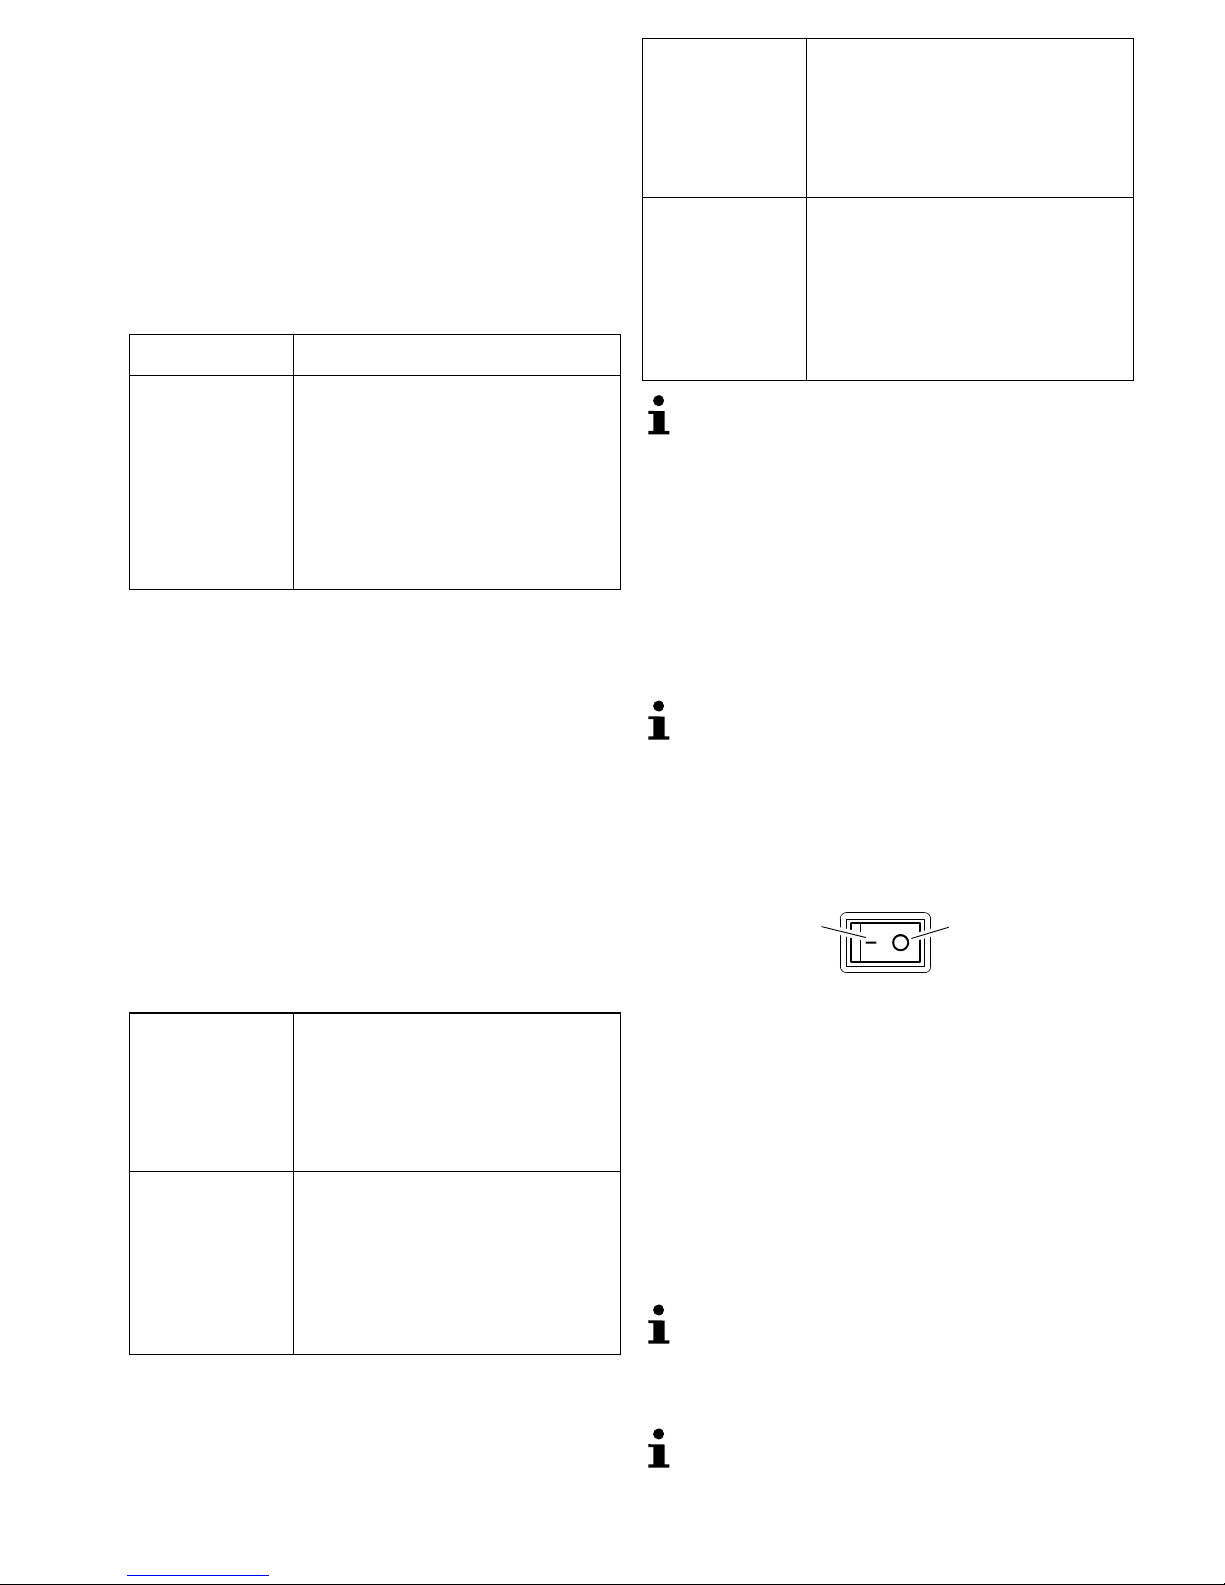
Für die Druckausgabe muss ein Drucker an der
RS-232-Schnittstelle angeschlossen sein.
Sortieren (NC 560, 570)
Bei dieser Funktion wird die erste Banknote als Refe
renz vorgegeben. Erkennt das Gerät eine davon abwei
chende Banknote, stoppt das Gerät. In der Anzeige
[4]/[14] erscheint CF3. Die abweichende Banknote kann
aussortiert werden.
Es werden nur die Banknoten gezählt, die der ersten
entsprechen. Der Gesamtwert der gezählten Banknoten
wird ermittelt.
ÆCUR, bis gewünschte Währung (Eur, tL, GbP
oder SEH) in der Anzeige[16] angezeigt wird.
ÆMODE, bis SORT in der Anzeige[17] erscheint.
Nachdem der Zählvorgang beendet ist:
ÆREP/PRINT 3 Sek ÊStückzahl und Gesamt
wert werden auf einem Drucker ausgegeben.
Für die Druckausgabe muss ein Drucker an der
RS-232-Schnittstelle angeschlossen sein.
Prüffunktionen
Die besten Ergebnisse werden nach einer Auf
wärmphase von 3 Minuten erzielt.
Starkes Umgebungslicht kann den Sensor beeinflussen
und zu fehlerhaften Ergebnissen führen.
Der Umfang der Prüffunktionen ist geräteabhängig.
Funktion und Empfindlichkeit einstellen
(NC560 und NC 570)
ÆMODE 3 Sek ÊEinstellung der Sensoremp
findlichkeit wird aktiviert. Der Sensor wird durch Blinken in
der Anzeige [17] und [14] angezeigt.
Æ+ ÊEmpfindlichkeit wird verändert und in der
Anzeige [17] durch Striche hinter dem Sensor angezeigt.
Wird kein Strich hinter dem Sensor angezeigt, ist der Sen
sor ausgeschaltet.
ÆMODE ÊWechseln zum nächsten Sensor.
Nachdem alle Sensoren eingestellt wurden:
ÆMODE ÊEinstellung wird verlassen.
Zusammenhängend (NC 520, 540, 560, 570)
Diese Funktion löst aus, wenn die Breite der Banknote
um 1/3 überschritten wird. Die Anzeige[4]/[14] zeigt
dann EC.
Diese Funktion ist immer aktiv.