Contents
Accessories
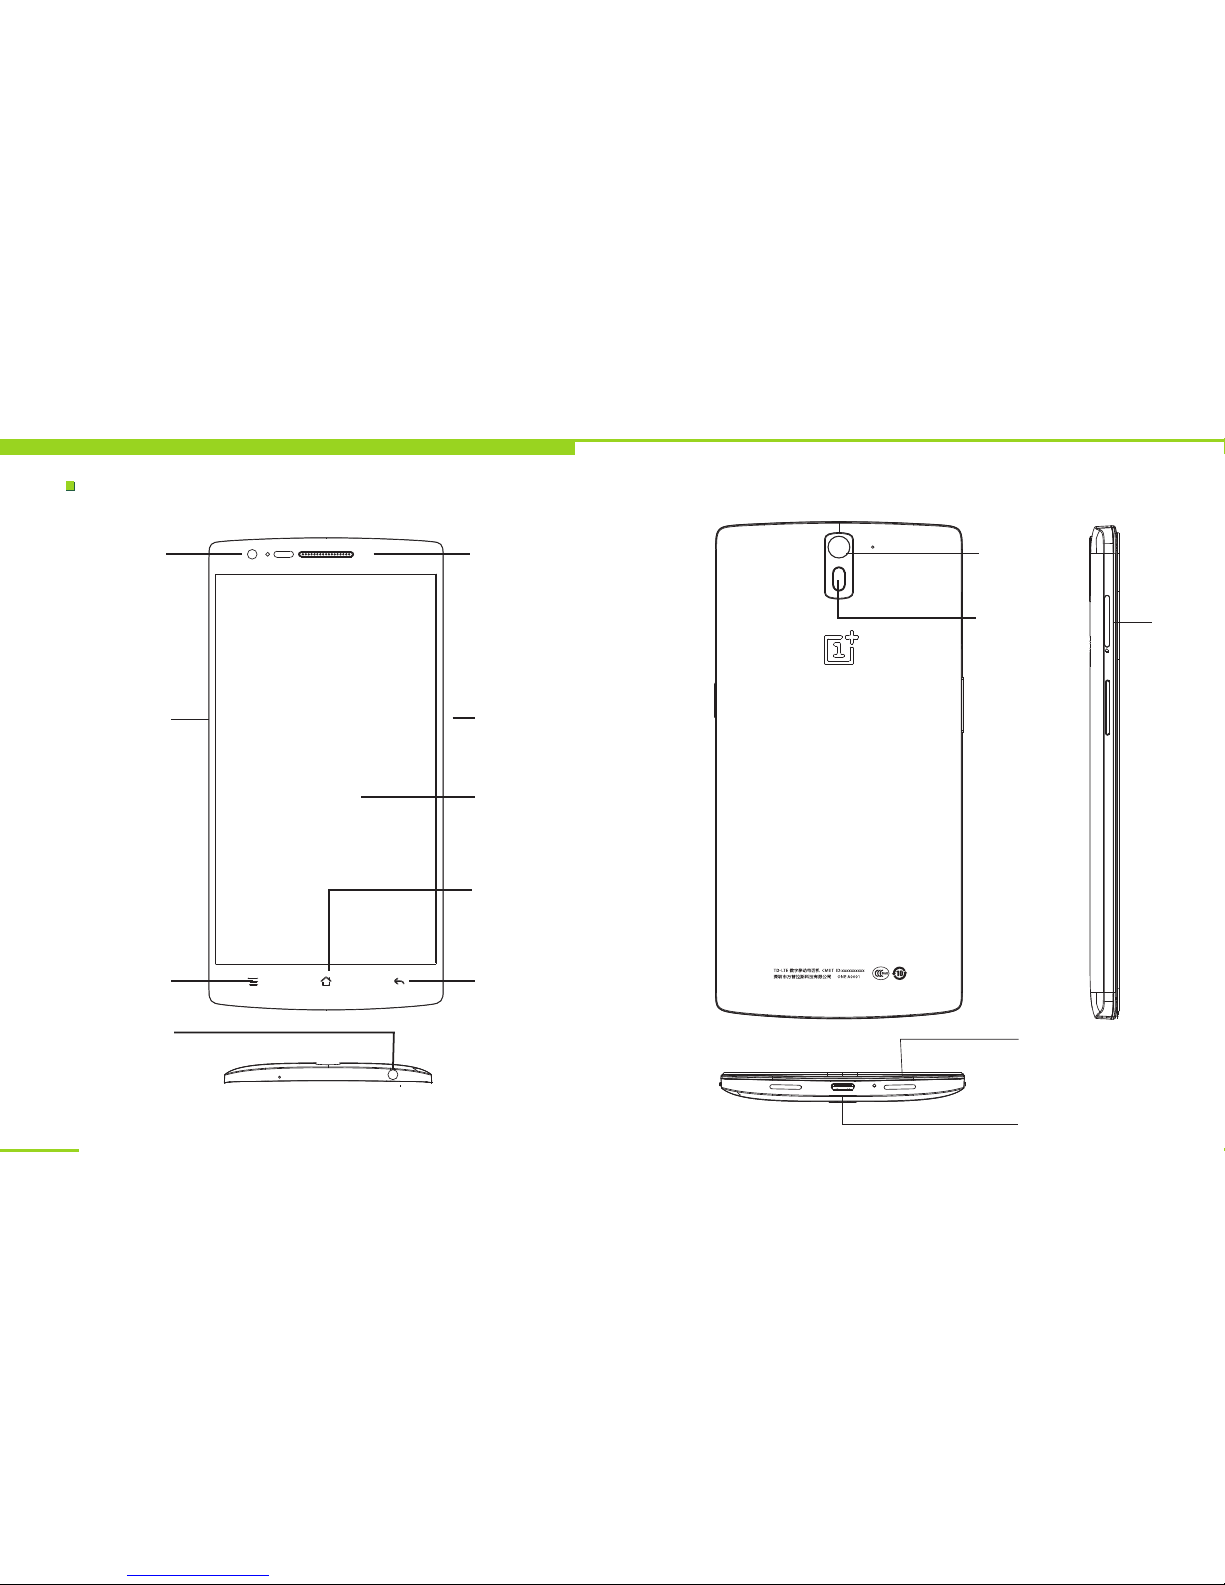
Your Device
Use Introduction
Basic steps for phone operation
Install the SIM card and battery
Switch on/off
Device password and unlock
Charge the device
Network modes
Operating system 13
Touch control and keys 14
Landscape mode and backlight 15
Indicators 16
Main menu 17
Main interface 18
Input methods 18
Calling 19
Basic Functions
Phonebook 20
Messaging
Settings 21
Clock 23
.........................................................7
.........................................................8
.........................................................9
.............................................10
..........................
10
.................................................................
11
..................................
12
.......................................................
13
............................................................
13
.......................................................
............................................
............................
........................................................................
.....................................................................
...............................................................
..............................................................
...............................................................................
...............................................19
......................................................................
.......................................................................
............................................................................
..................................................................................
Menu index
Calendar
Calculator
Multimedia Applications
Music player 25
Video 25
Camera 25
File management 25
PC connections 25
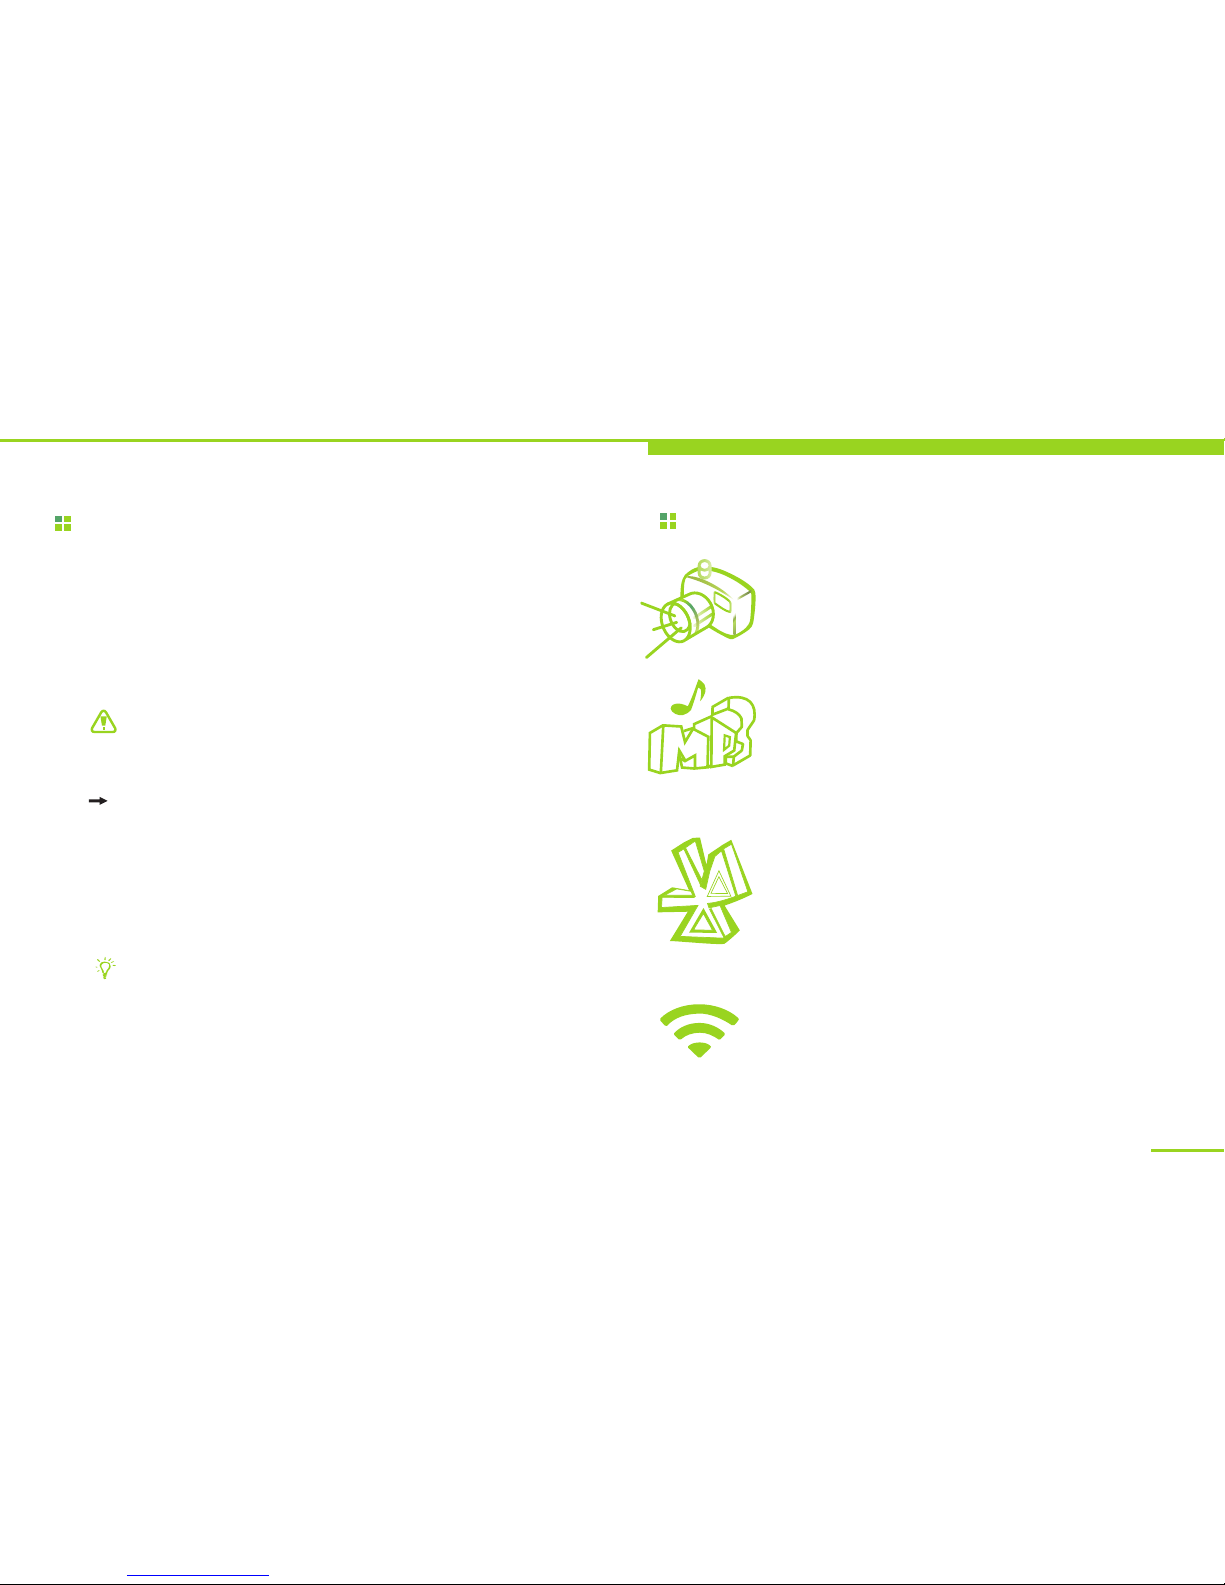
Wireless connections 25
Network 26
Email 26
Others
SIM application 27
Troubleshooting
Health and Safety
Battery security 32
Care and maintenance 37
Fundamental Performance Parameters.39
Help you get to know this device 40
..........................................................................
23
........................................................................
23
...............................24
...................................................................
.................................................................................
.............................................................................
..........................................................
.............................................................
.................................................
...........................................................................
.................................................................................
.................................................................27
............................................................
..............................................28
...........................................31
............................................................
..............................................
........................
6
21