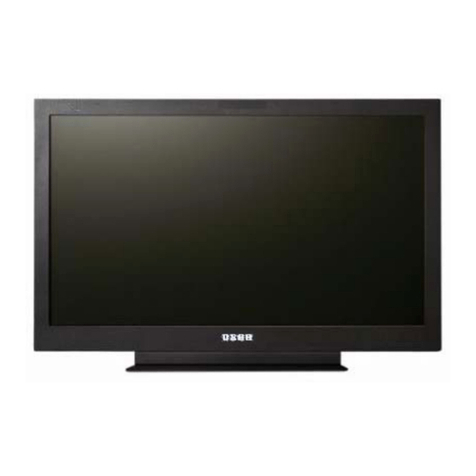
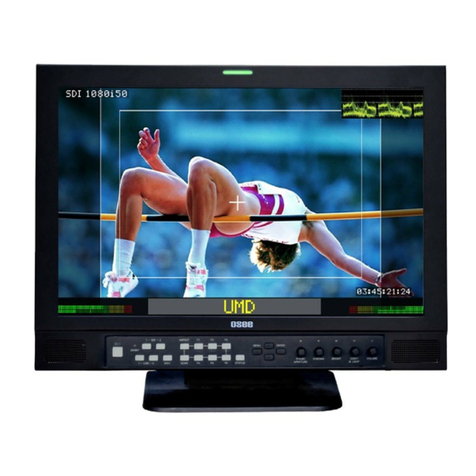
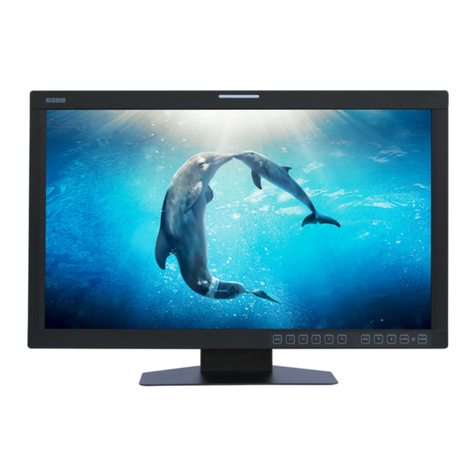
OSEE XCM-250-OLED User manual

XCM-250-OLED
Critical Evaluation and
Grading Monitor
User Manual


3
Product Information
Model:
XCM-250 OLED Monitor
Version:
V010001
Release Date:
February 5th, 2015
Company
OSEE TECHNOLOGY CO., LTD.
Contact Information
OSEE TECHNOLOGY CO., LTD.
Address:
No.22 Building, No.68 zone, Beiqing Road, Haidian District,
Beijing, China
Post Code:
100094
Tel:
(+86) 010-62434168
Fax:
(+86) 010-62434169
Web:
http://www.osee-dig.com/
E-mail:
OSEE AMERICAS, LTD.
Address:
43218 Christy Street
Fremont, CA 94368
Toll Free:
866-625-6106
Tel:
(+1) 510-966-4499
Fax:
(+1) 510-966-4492
Web:
http://www.osee-dig.com/
E-mail:

About this manual
Important
The following symbols are used in this manual:
Additional information for described subjects.
Safety warnings or operations that user must pay attention to when using
this product.
Contents
The user manual applies to the following device types:
XCM250-OLED-3G
XCM250-OLED-HD
The images of XCM250-OLED-3G are adopted in the following descriptions,
and it abbreviates XCM-250 in this document.
Any of the different specifications between the device types are elaborated.
Before reading the manual, please confirm the device type.

I
Contents
Contents ..........................................................................................................I
Chapter 1 Overview .......................................................................................1
Chapter 2 Safety.............................................................................................3
Chapter 3 Unpack and Installation ............................................................. 11
Chapter 4 XCM-250 Features ......................................................................13
4.1 Front Panel Features ........................................................................15
4.1.1 Arrangement of Front Panel ...........................................................15
4.1.2 Operation of Front Panel ................................................................17
4.2 Rear Panel Features..........................................................................21
4.2.1 Arrangement of Rear Panel ............................................................22
4.2.2 Operations of Rear Panel ...............................................................23
4.3 Supported Signal Format .................................................................26
Chapter 5 Functionality of the Main Menu.................................................29
5.1 Main Menu..........................................................................................29
5.1.1 STATUS Menu ...............................................................................32
5.1.2 INPUT SELECT Menu ....................................................................33
5.1.3 MARKER Menu ..............................................................................35
5.1.4 AUDIO Menu ..................................................................................39
5.1.5 DISPLAY Menu ..............................................................................43
5.1.6 CLOSE CAPTION Menu.................................................................45
5.1.7 CONFIG Menu................................................................................46
5.1.8 COLOR TEMP Menu ......................................................................57
5.1.9 FUNCTION KEY Menu ...................................................................59
5.1.10 GPI Menu......................................................................................63
5.1.11 IMD Menu .....................................................................................65
5.1.12 KEY INHIBIT Menu .......................................................................69
5.2 Menu Settings....................................................................................70
Chapter 6 Network Control..........................................................................75
6.1 Access the settings...........................................................................75
6.2 Menu Control .....................................................................................76

6.2.1 ADJUST Menu................................................................................78
6.2.2 VIDEO DISPLAY Menu ..................................................................79
6.2.3 SYSTEM Menu...............................................................................80
6.2.4 Other Menus...................................................................................81
6.3 Parameter Settings ...........................................................................81
Chapter 7 Specifications .............................................................................85

Overview
1
Chapter 1 Overview
The XCM-250 series OLED Monitor is a high performance broadcast monitor
designed for the most demanding applications. Applications include, program
production, high quality streaming, play out to air, studio image composition,
color grading, post production, film and E-Cinema acquisition.
Featuring the latest generation AMOLED panel at full resolution of 1920 x 1080
with 15 3D-LUT selections, the XCM-250 series OLED monitor is capable of
reproducing a vivid color with phenomenal response time. In addition, the unit
boasts a full wide viewing angle as well as excellent brightness and contrast
ratio.
Use of advanced 12-bit digital signal processing technology provides,
smoother and more natural image.
The XCM-250 series OLED Monitor supports up to 2Ch 3G/HD/SD-SDI/analog
input/output, 2Ch CVBS(LINE1, LINE2) input/output, Y/C input/output, YPbPr
input/output, and HDMI input.
All the features required in the most challenging of applications, including
Picture By Picture, Wipe, Blending, Focus Assist, and Interlace mode. Add
analytic functions of waveform/vector scope, 16 Ch. audio metering, Time
Code, Closed Caption Display, plus a host of other features, the
XCM250-OLED has become the new standard in demanding video plus audio
monitoring.
Figure 1 A Diagram of XCM-250

Overview
2
Features
3D-LUT color calibration technology plus 12bit image processing
Having multi format input including 3G/SD/HD-SDI, 2K
Adopting full HD, wide viewing angle AMOLED panel
Proprietary algorithms provide advanced progressive/de-interlacing
technology
Various display mode: PBP, PIP, wipe and blending
Analytics waveform/vector scope, audio metering bar, TC, IMD and CC
Preset and USER defined color temperature, varied scan modes,
flexibility in marker setting, Blue Only/Monochrome mode
Color gamut adjustment, and various color spaces: EBU, SMPTE-C,
ITU-709, D-CINE
Focus assistant function and luma zoom check function
Functionality
MARKER, Time Code, MET display

Safety
3
Chapter 2 Safety
FCC Caution:
Any Changes or modifications not expressly approved by the party responsible
for compliance could void the user's authority to operate the equipment.
This device complies with part 15 of the FCC Rules.
Operation is subject to the following two conditions: (1) This device may not
cause harmful interference, and (2) this device must accept any interference
received, including interference that may cause undesired operation.
Note: This equipment has been tested and found to comply with the limits for a
Class B digital device, pursuant to part 15 of the FCC Rules. These limits are
designed to provide reasonable protection against harmful interference in a
residential installation. This equipment generates uses and can radiate radio
frequency energy and, if not installed and used in accordance with the
instructions, may cause harmful interference to radio communications.
However, there is no guarantee that interference will not occur in a particular
installation. If this equipment does cause harmful interference to radio or
television reception, which can be determined by turning the equipment off and
on, the user is encouraged to try to correct the interference by one or more of
the following measures:
Reorient or relocate the receiving antenna.
Increase the separation between the equipment and receiver.
Connect the equipment into an outlet on a circuit different from that to which
the receiver is connected.
Consult the dealer or an experienced radio/TV technician for help.

Safety
4
Warnings:
Read, keep and follow all of these instructions for your safety. Heed all
warnings.
Device
Install in accordance with the manufacturer's instructions.
If the brightness is adjusted to the minimum, then it might be hard to
see the display screen.
Refer all servicing to qualified service personnel. Servicing will be
required under all of the following conditions:
The unit has been exposed to rain or moisture.
Liquid had been spilled or objects have fallen onto the unit.
The unit has been damaged in any way, such as when the
power-supply cord or plug is damaged.
The unit does not operate normally, or has been dropped.
Clean only with dry cloth.
Only use attachments/accessories specified by the manufacturer.
Use only with the cart, stand, tripod, bracket, or table specified by the
manufacturer, or sold with the apparatus.
When a cart is used, use caution when moving the cart/apparatus
combination to avoid injury from tip-over.
To avoid electrical shock, do not open the cabinet. Refer servicing to
qualified personnel only.
This apparatus must be earthed.
The optional accessories are subject to change without.

Safety
5
Position
Do not block any ventilation openings.
Do not use this unit near water.
Do not expose the unit to rain or moisture, to reduce the risk of fire or
electric shock.
Do not use this unit near any heat sources such as radiators, heat
registers, stoves, or other apparatus (including amplifiers) that product
heat.
The socket-outlet shall be installed near the equipment and shall be
easily accessible.
Power Supply Cord
Do not defeat the safety purpose of the polarized or grounding-type
plug.
Protect the power cord from being walked on or pinched, particularly at
plugs, convenience receptacles, and the point where they exit from the
unit.
If the power cord is damaged, turn off the power immediately. It is
dangerous to use the unit with a damaged power cord. It may cause
fire or electric shock.
Unplug this apparatus during lighting storms or when unused for long
periods of time.
Disconnect the power cord from the AC outlet by grasping the plug, not
by pulling the cord.
Be sure to connect to a power supply of the specified voltage.

Safety
6
Precaution:
OLED PANEL
The OLED panel fitted to this unit is manufactured with high precision
technology, giving a functioning pixel ratio of at least 99.99%. Thus a
very small proportion of pixels may be “stuck”, either always off (black),
always on (red, green, or blue), or flashing. In addition, over a long
period of use, because of the physical characteristics of the organic
light-emitting diode, such “stuck” pixels may appear spontaneously.
These problems are not a malfunction.
Do not leave the screen facing the sun as it can damage the screen.
Take care when you place the unit by a window.
Do not push or scratch the monitor's screen. Do not place a heavy
object on the monitor’s screen. This may cause the screen to lose
uniformity.
The screen and the cabinet become warm during operation. This is not
a malfunction.
On Burn-in
Due to the characteristics of the material used in the OLED panel,
permanent burn-in or reduction in brightness may occur. These
problems are not a malfunction.
Images that may cause burn-in:
Masked images with aspect ratios other than 16:9.
Color bars or images that remain static for a long time.
Character or message displays that indicate settings or the
operating state.
On-screen displays such as center markers or area markers.

Safety
7
To reduce the risk of burn-in
Turn off the character and marker displays:
Press the MENU button to turn off the character displays. To turn
off the character or marker displays of the connected equipment,
operate the connected equipment accordingly. For details, refer to
the operation manual of the connected equipment.
Turn off the power when not in use:
Turn off the power if the monitor is not to be used for a prolonged
period of time.
Warm-up time
To provide stable picture quality, turn on the power of the monitor and
leave it in this state for more than 30 minutes.
On a Long Period of Use
Due to an OLED’s panel structure and characteristics of materials in its
design, displaying static images for extended periods, or using the unit
repeatedly in a high temperature/high humidity environments may
cause image smearing, burn-in, areas of which brightness is
permanently changed, lines, or a decrease in overall brightness.
In particular, continued display of an image smaller than the monitor
screen, such as in a different aspect ratio may shorten the life of the
unit.
Avoid displaying a still image for an extended period, or using the unit
repeatedly in a high temperature/high humidity environment such an
airtight room, or around the outlet of an air conditioner.
To prevent any of the above issues, we recommend reducing
brightness slightly, and to turn off the power whenever the unit is not in
use.

Safety
8
Handling and Maintenance of the Screen
The surface of the screen is specially coated to reduce image
reflection. Make sure to observe the following points as improper
maintenance procedures may impair the screen’s performance. In
addition, the screen is vulnerable to damage. Do not scratch or knock
against it using a hard object.
Be sure to disconnect the AC power cord from the AC outlet before
performing maintenance.
The surface of the screen is specially coated. Do not attach
adhesive objects, such as stickers, on it. And do not touch the
screen directly.
Wipe the screen surface gently with the supplied cleaning cloth or
a soft dry cloth to remove dirt.
Stubborn stains may be removed with the supplied cleaning cloth,
or a soft cloth slightly dampened with a mild detergent solution.
The screen may become scratched if the cleaning cloth is dusty.
Never use strong solvents such as alcohol, benzene, thinner,
acidic or alkaline detergent, detergent with abrasives, or chemical
wipe as these may damage the screen.
Use a blower to remove dust from the screen surface.
On Dew Condensation
If the unit is suddenly taken from a cold to a warm location, or if
ambient temperature suddenly rises, moisture may form on the outer
surface of the unit and/or inside of the unit. This is known as
condensation. If condensation occurs, turn off the unit and wait until
the condensation clears before operating the unit. Operating the unit
while condensation is present may damage the unit.

Safety
9
Always verify that the unit is operating properly before use.
OSEE will not be liable for damages of any kind including, but not
limited to, compensation or reimbursement on account of the loss of
present or prospective profits due to failure of this unit, either during
the warranty period or after expiration of the warranty, or for any other
reason whatsoever.
OSEE will not be liable for claims of any kind made by user of this unit
or made by third parties.
OSEE will not be liable for the termination or discontinuation of any
services related to this unit that may result due to circumstances of any
kind.
OSEE will not be liable for damages of any kind resulting from a failure
to implement proper security measures. On transmission devices,
unavoidable data leaks resulting from transmission specifications, or
security problems of any kind.

10

Unpack and Installation
11
Chapter 3 Unpack and Installation
Unpack:
When unpacking the components of XCM-250 monitor, please verify that none
of the components listed in Table 3.1 are damaged or lack. If there is any
missing, contact your distributors, Beijing OSEE Technology Co., Ltd., or
OSEE Americas, Ltd. for it.
Table 3-1 Packing List
No.
Item
Quantity
1
Device
1
2
Pedestal with screws
1
3
Power cord
1
4
adapter
1
5
User manual
1
6
warranty card
1
7
Certificate card
1
Installation:
1. Prepare for installation
Please follow the procedures below before installing XCM-250:
Check the equipment for any invisible damage that may have occurred
during transit.
Confirm all the items listed on the packing list have been received.
Remove all the packing material including electrostatic-resistant
packing.
Retain these packing materials for future use.
2. Mount a XCM-250 in your desired location of a standard rack.
Adequate ventilation is required when installed to prevent possible
damage to the XCM-250.
3. Connect required cables for signal input and output. For BNC
connections use 75Ωrated connectors.
4. Connect 24V6.67ADC power source using the included power cord.
5. Connect the power cord to the power interface.

Unpack and Installation
12
6. Fasten the power protect accessory.
7. As a final step, turn on the power switch on the rear panel to power
on the device, and press POWER button located on the front panel
to start up the screen.
The pedestal and the monitor are packaged separately.
Connect a standard signal lines to the corresponding input port. All BNC
connector impedance must be 75Ω.
Please use the power adapter supplied to avoid unnecessary trouble.
Use the power adapter and cord to connect single-phase three-wire AC
power or following the local power supply conditions. Make sure the power
cord grounding well.
The factory default value for IP address is 192.168.1.86.
.

XCM-250 Features
13
Chapter 4 XCM-250 Features
This chapter describes the features of XCM-250 monitor. The features of
XCM-250monitor are as shown in Figure 4-1 after installed and powered on:
SDI1
1080I59.94
IMD
--:--:--:--
1 2 3 4 5 6 7 8
Status Information
Audio Meter
Center Marker
IMD
IMD
Timecode
Safe Marker
Area Marker
Adjust Menu
Wave Form
AFD CC
F1 NORMALSCAN
F2 OFFNATIVE
FUNCTION
F3 4:3ASPECT
F4 MAIN
WIN SELECT
F5 OFF
PBP
Figure 4-1 Features of XCM-250 Monitor
1. Status Information
It is displayed in the top left corner of the screen, and includes the input
channel and signal format. You can define it in DISPLAY menu.
SDI1
1080I59.94
Source
Signal Format
2. Waveform and Vector
This is effective only for SDI signal. The waveform and vector of the
input signal are configurable in the MAIN Menu.
3. Area Marker
It is used to mark different area of the image. You can set whether to
display it or not and their displaying mode in MARKER menu.
4. Safe Marker
It is used to mark different area of the image. You can set whether to
display it or not and their displaying mode in MARKER menu
5. Center Marker
It is displayed in the center of the screen, and marks the center of the

XCM-250 Features
14
image. You can set whether to display it or not in MARKER menu.
6. Audio Meter
It is displayed for audio monitoring. You can set its groups, direction,
position and mode in AUDIO menu.
7. Timecode
It is displayed at the bottom of the image, the format is HH:MM:SS:FF, if
there is no timecode available, the monitor will display --:--:--:--.
8. IMD
The IMD text displays at the bottom of the screen, the length can’t
exceed 16 characters, and you can choose letter, number or other
character for it.
9. AFD/CC
AFD and CC information will display at the top center of the screen as
an icon.
10. MUTE
The icon for MUTE is . When it is mute, this icon displays at the
bottom right position of the screen. You can set this function in function
key.
The Status Information usually displays as the following situations:
"UNKNOW” appears if an unsupported signal is input.
“NO SIGNAL” appears if no signal is input.
The signal is normal, for example: 1080i59.94, NTSC, 1280X1024,
etc.
The Status Information for the main picture displays at the top left corner
of the screen, and the Status Information for the slave picture displays at
the top right corner of the screen.
The AFD information displays at the top center of the screen and can be
selected for permanent or temporary presence.
This manual suits for next models
1
Table of contents
Other OSEE Monitor manuals

OSEE
OSEE RMD9024 User manual

OSEE
OSEE RMD4342-HSC User manual
OSEE
OSEE BCM-170 Series User manual
OSEE
OSEE PRM1014 User manual
OSEE
OSEE G7 4K ULTRAHD User manual
OSEE
OSEE RMD5733-HSC User manual
OSEE
OSEE RMM1024 User manual
OSEE
OSEE RMD7023 User manual
OSEE
OSEE LM-150 SERIES User manual
OSEE
OSEE LCM156-A User manual
OSEE
OSEE LCM215-E Series User manual
OSEE
OSEE MVM230 User manual
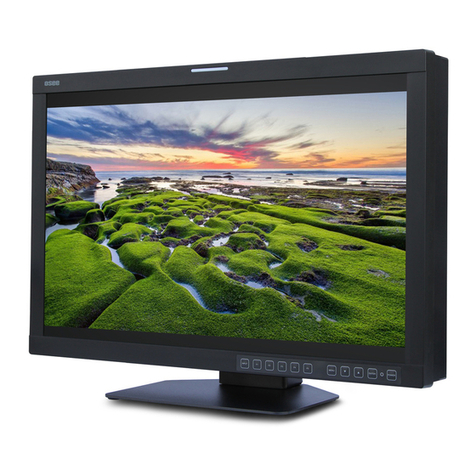
OSEE
OSEE XCM240LCDM User manual
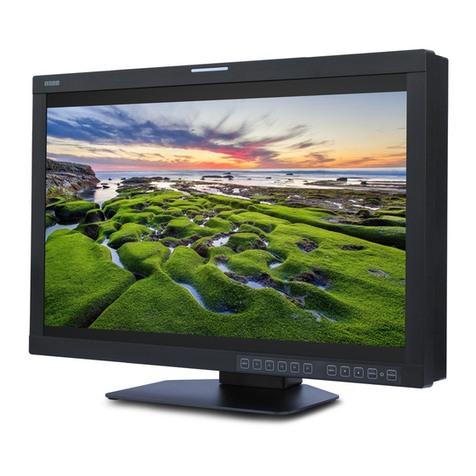
OSEE
OSEE XCM-240 User manual

OSEE
OSEE LMW-550-4K User manual
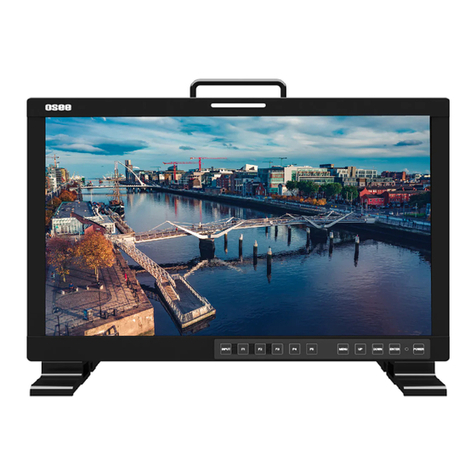
OSEE
OSEE LCM170-E User manual
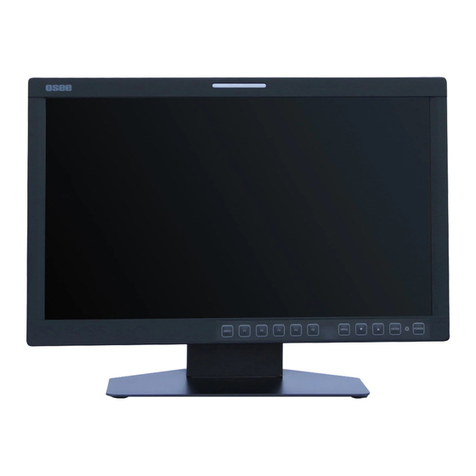
OSEE
OSEE FRM-173 Series User manual
OSEE
OSEE RMS5032 User manual
OSEE
OSEE LMW-4320 User manual

OSEE
OSEE LMD9014 User manual
