7
This document and its contents are the exclusive
property of Pahléns and may not be copied,
reproduced, transmitted or communicated to a third
party, or used for any purpose without written permission.
Art.no.
Rev.no.
Scale
Designed by: Approved by:
Revised by: Date
Drawn by: Date
Drawing number
Assembly drawing no.
Surface treatment
part of ISO 2768
The tolerance class in accordance with this
E
Box 728, SE-194 27 Upplands Väsby, Sweden
Phone +46 8 59411050, Fax +46 8 59086880
ASA 2018-10-22
Nisch med tätning 1
Sheet size
A3
REV DESCRIPTION DATE APPROVED
1
2018-10-22
3
3
This document and its contents are the exclusive
property of Pahléns and may not be copied,
reproduced, transmitted or communicated to a third
party, or used for any purpose without written permission.
Art.no.
Rev.no.
Scale
Designed by: Approved by:
Revised by: Date
Drawn by: Date
Drawing number
Assembly drawing no.
Surface treatment
part of ISO 2768-1
The tolerance class in accordance with this
E
Box 728, SE-194 27 Upplands Väsby, Sweden
Phone +46 8 59411050, Fax +46 8 59086880
TS 2011-11-30
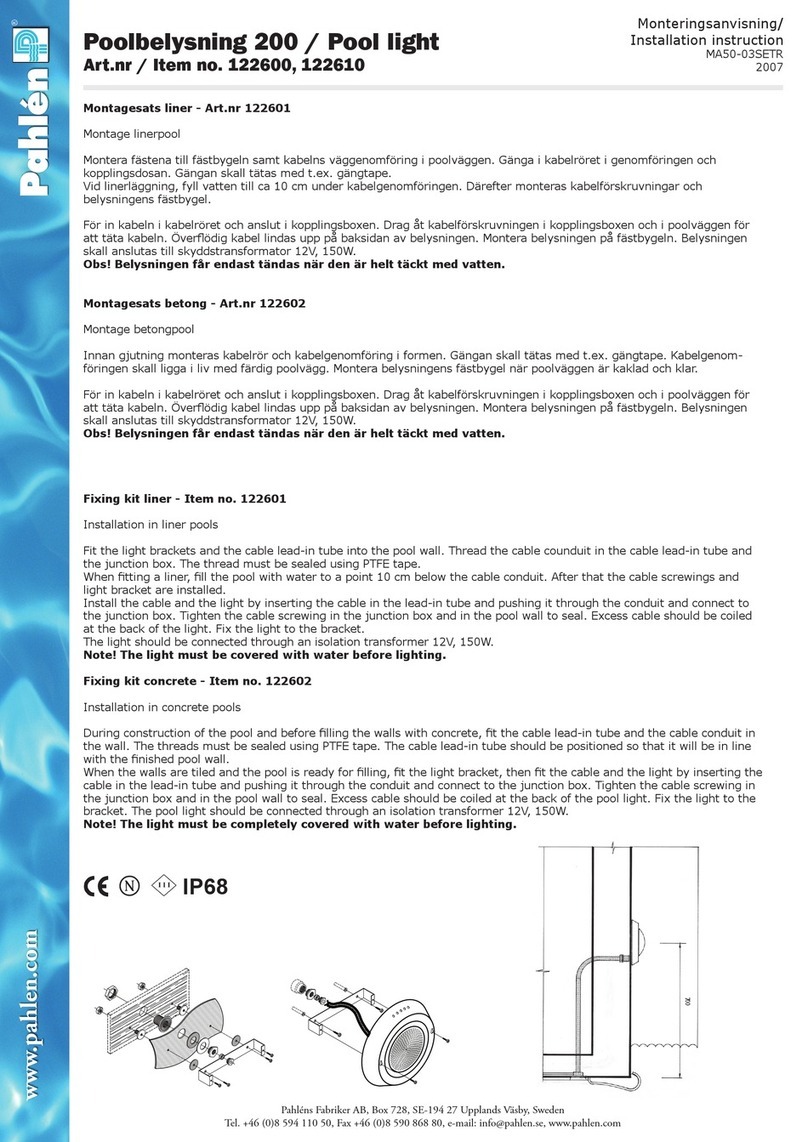
belysning typ 300CA LED
Installationsbild
för pool med duk M11604 0
2
457
6
Installation LED Moonlight
This document and its contents are the exclusive
property of Pahléns and may not be copied,
reproduced, transmitted or communicated to a third
party, or used for any purpose without written permission.
Art.no.
Rev.no.
Scale
Designed by: Approved by:
Revised by: Date
Drawn by: Date
Drawing number
Assembly drawing no.
Surface treatment
part of ISO 2768-1
The tolerance class in accordance with this
E
Box 728, SE-194 27 Upplands Väsby, Sweden
Phone +46 8 59411050, Fax +46 8 59086880
ASA 2011-12-01
TS 2012-03-19
belysning typ 300A LED
Installationsbild
för betongpool M11605 1
2
5
4
7
6
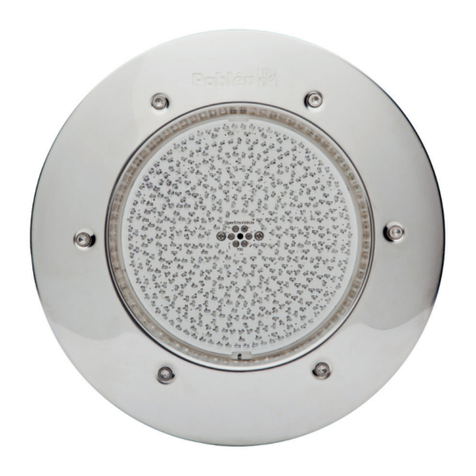
LED unit 170VS ENGLISH
MA50-16 GB
2020
It is important to carefully read through this manual to secure the poll equipment’s function and service life.
Pahlén AB is not liable for product warranty or damage as a result of improper installation, wrong usage or incorrect maintenance.
Product Information
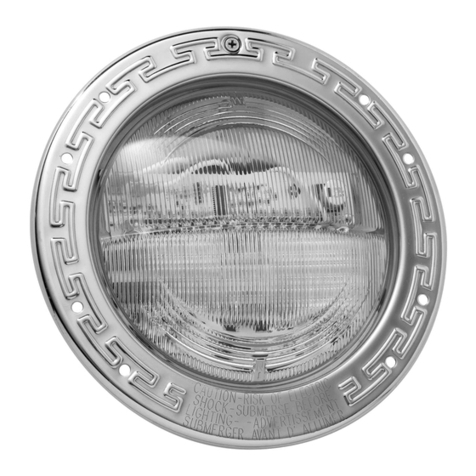
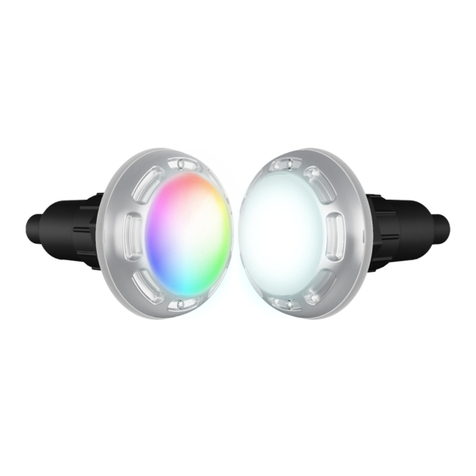
Lighting input for niche mounting under water in dierent types of frames for swimming pools. It ts all Pahléns lighting Type 170
A and CA, both Classic and Marine design.
Note! The lamps should only be used under water.
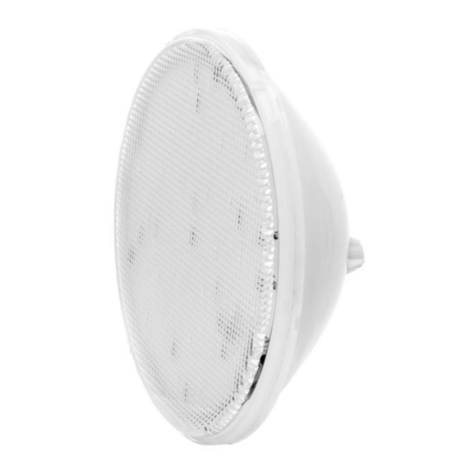
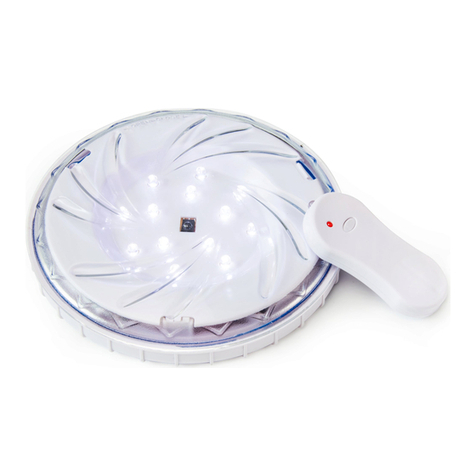
The RGB lamp is an advanced electronically controlled light based on LEDs in the three colours, red, green and blue.
These three colours together can create many other ones. With the help of the on/o switch, it is possible to select one of the 11
dierent pre-programmed light eects.
The lamp can be used with a control unit (sold separately): PLP REM or PLP REM 300.
Technical data
WW RGB
Power: 18W 34,5W
Colour Temperature: 5000K —
Light Flow: 1400 lm 2100 lm
Voltage: 10 –14V AC 50/60Hz 10 –14V AC 50/60Hz
Lamp’s enclosure class: IP68 (measure at 3m) IP68 (measure at 3m)
Maximum water temperature: +40˚C +40˚C
Dimmable (with a control unit): No No
Installation
The niche shall be mounted in the frame according to the MA50-11 instructions. Power shall be turned o.
1. The lighting element’s cable shall be mounted on the LED module, see section “Install the LED module’s cable like this” in this
manual.
2. The supplied sleeve should be placed on the lighting element’s cable.
3. Thread the lighting element’s cable into the cable pipe. Position the sleeve (3) at the niche’s cable tting. Then tighten the
screw tting on the lamp niche to seal the cable.
4. The excess cable wraps behind the light and then the lighting element is screwed in the niche.
5. Connect the cable to the connection unit.
6. Install the front ring.
1. Niche type A
1. Niche type CA
Replacement lamps:
1. Power shall be turned o.
2. Loosen the existing front and lighting element.
3. Unclip the old lamp from the lighting element mounting frame.
4. See items 3 to 7 above
1. Niche
2. Light Element
3. Gasket Sleeve
4. Screw M5x20 (2x) type A
Screw M5x50 (2x) type CA
5. Front
6. Countersunk screw M5x10 (4 pc)
7. Nylon plate (6x)
Typ A
Concrete pool frame
dressed in tile/mosaic
Typ CA
Pool frame dressed
in liner
