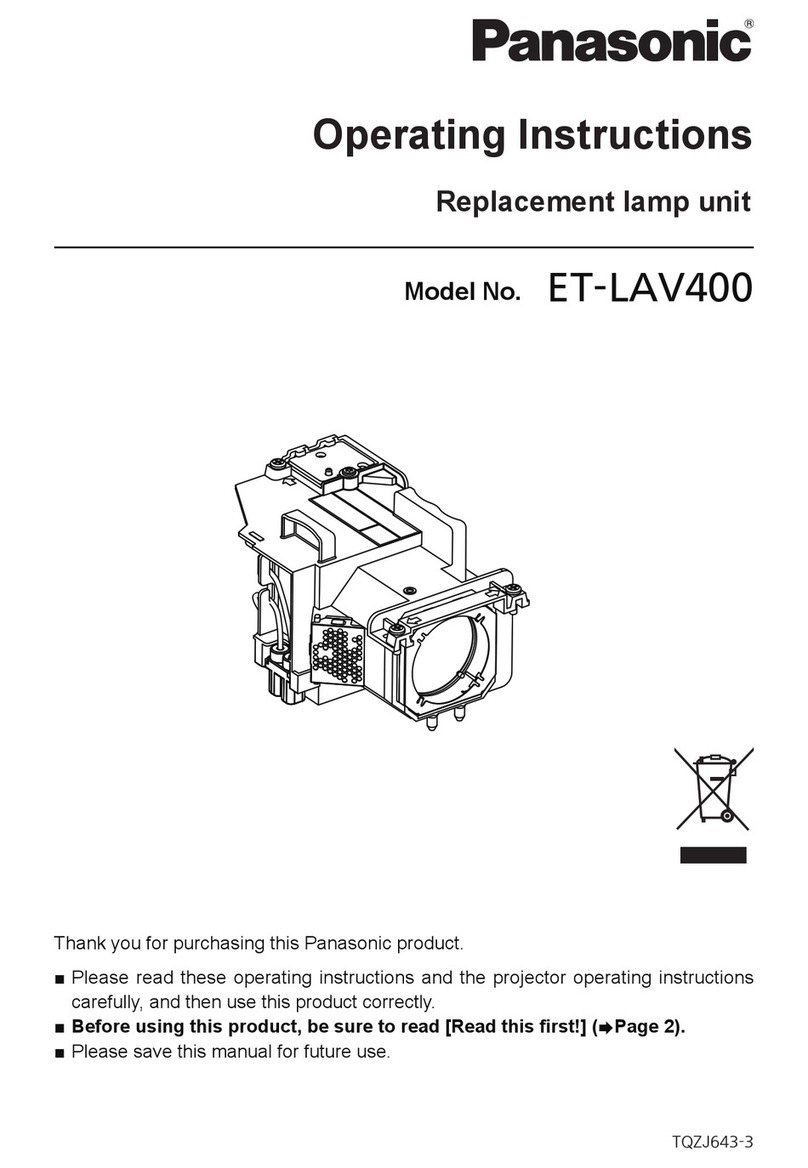
ENGLISH - 3
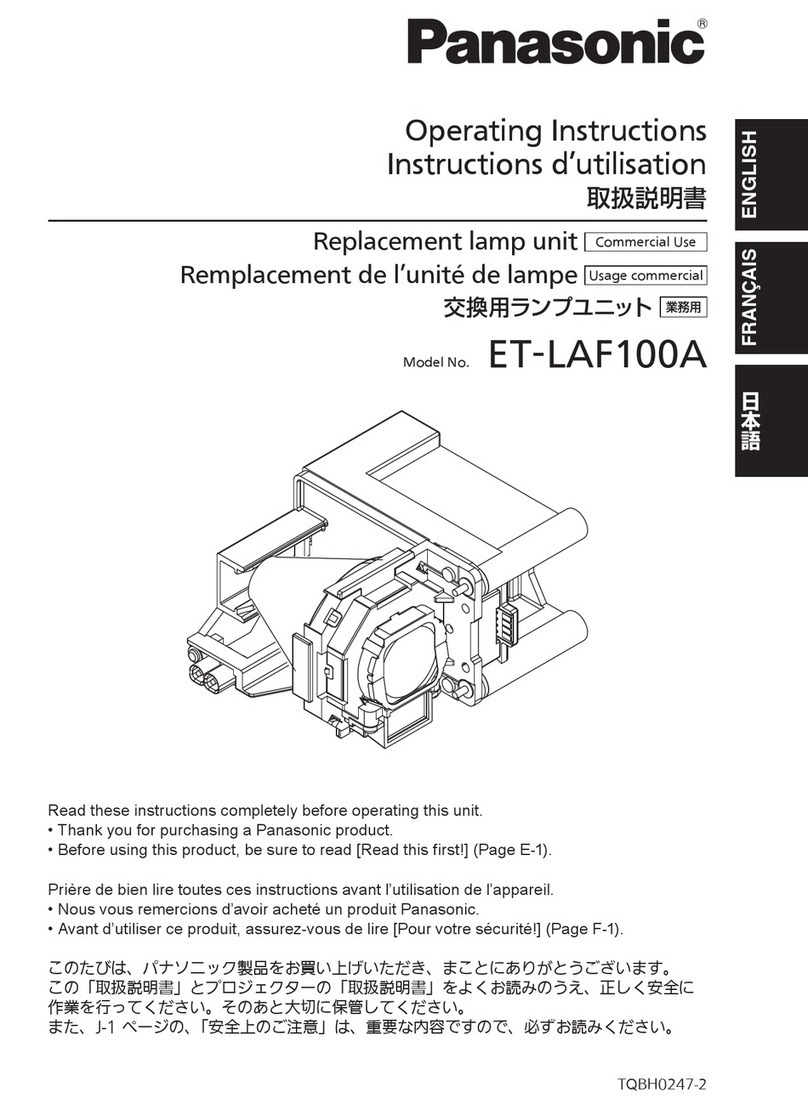
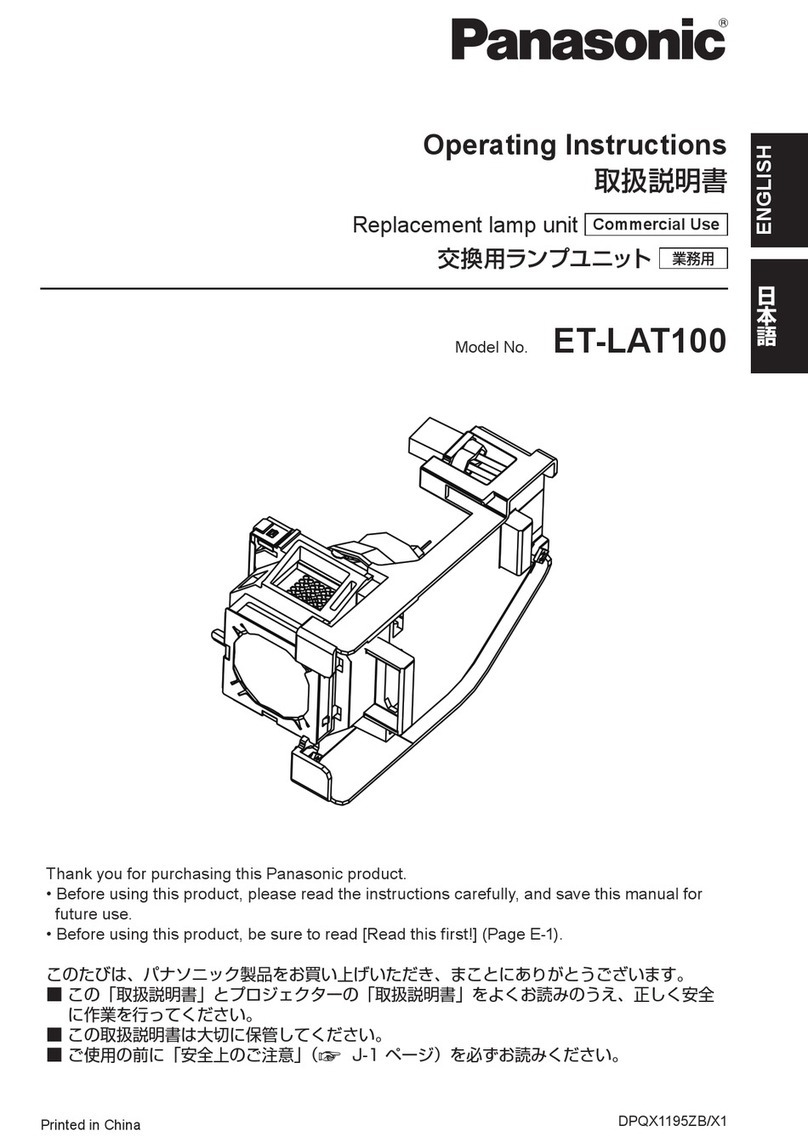
Thefollowingaccessories(2xlter/bagged)areincluded.
Airlter(rear)x1
Airlter(side)x1
Attention
zDispose of the packaging materials properly after unpacking the product.
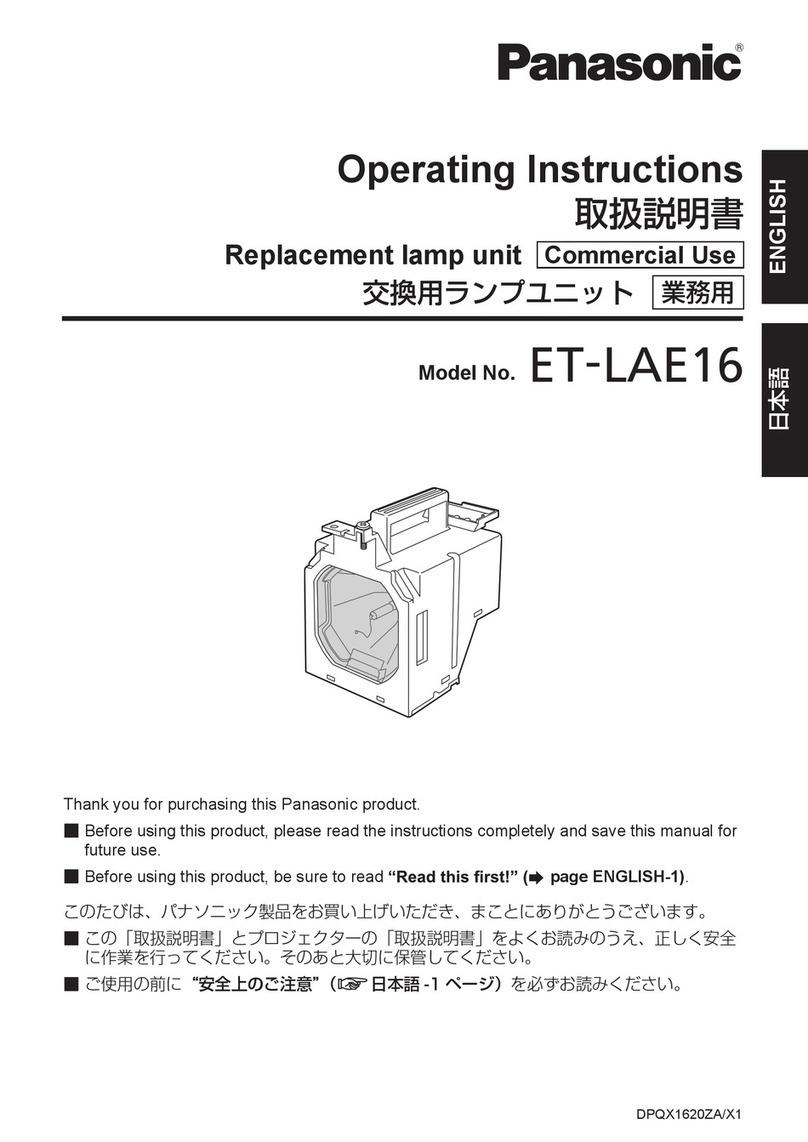
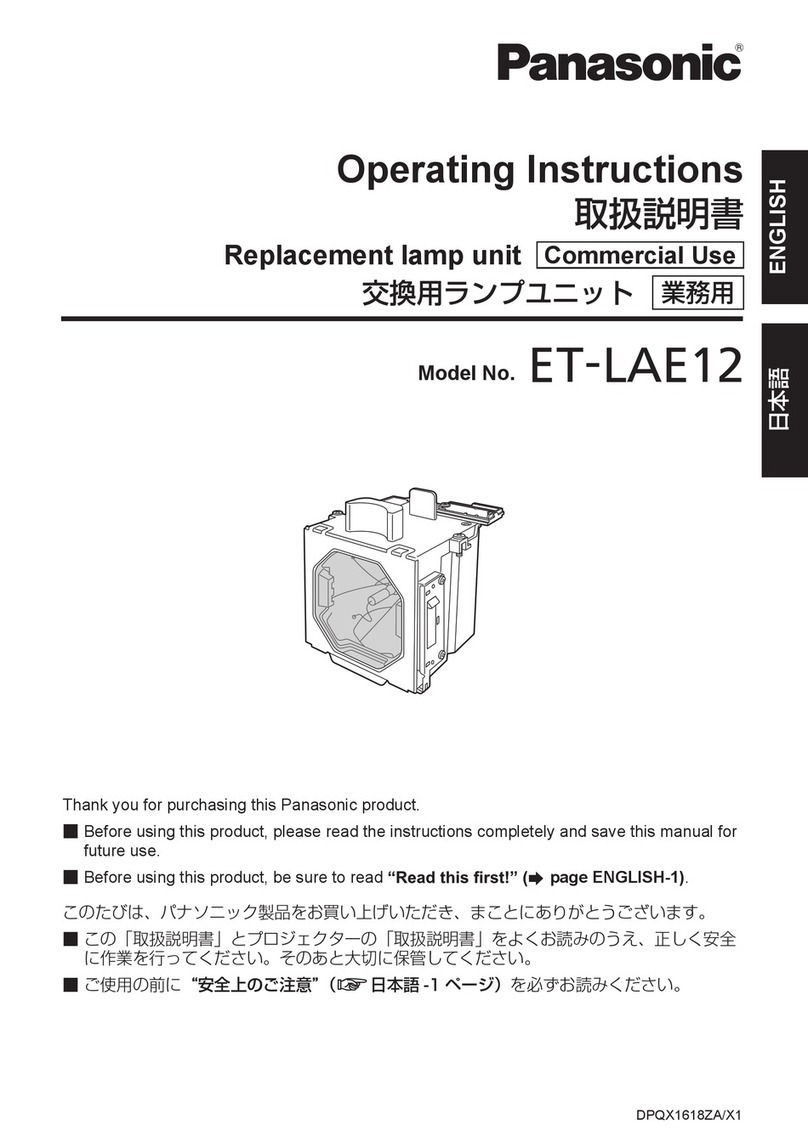
JNotes on replacing the lamp unit
•The light source lamp is a glass component. If it is hit on a hard object or dropped,
breakage may occur. Be careful when handling a light source lamp.
•A Phillips screwdriver is necessary when replacing the lamp unit. Hold the screwdriver
rmly.
•Grip the base when you remove the lamp unit. Some parts of the lamp unit are sharp-
ened and may cause injury.
•Thelampcontainsmercury.Contactthelocalgovernmentoceordistributorforthe
correct disposal of the old lamp unit.
•When replacing the lamp because it has stopped illuminating, there is a possibility that
the lamp may be broken. If replacing the lamp of a projector which has been installed
on the ceiling, you should always assume that the lamp is broken, and you should
stand to the side of the lamp cover, not underneath it. Remove the lamp cover gently.
Small pieces of glass may fall out when the lamp cover is opened. If pieces of glass
get into your eyes or mouth, seek medical advice immediately.
Attention
zWhen the projector is mounted on a ceiling, do not work with your face close to the
projector.
zAttach the lamp unit and the lamp cover securely.
zBesuretousethelampunitspecied.
zDo not remove any screws other than those indicated when replacing the lamp unit. If
this is not observed, electric shocks, burns or other injuries may occur.
zDo not loosen other than designated screws.
zPleasereplacetheairlterstogetherwhenreplacingthelampunit.
zAfter replacing the lamp unit, make sure to reset the usage time in the [Clear Lamp
Hours]menu.
Replacing the Lamp unit & Air lters
Accessories
