INSTALLATION INSTRUCTIONS
© Panduit Corp. 2012 FS036B
E-mail:
Phone:
866-405-6654
For Instructions in Local Languages
and Technical Support:
www.panduit.com/resources/install_maintain.asp www.panduit.com
Page 7 of 7
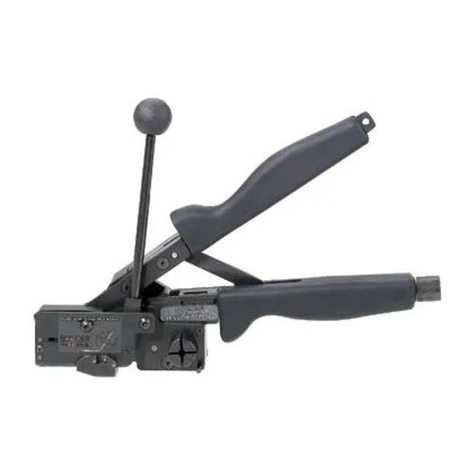
6. Buffer Stripper Blade Replacement
6.1 Remove installed blades
6.1.1 Using flat end of push tool, remove fiber guide lock by pushing out from the back side of tool head.
6.1.2 Remove fiber guide from tool.
6.1.3 Using prong end of push tool in small holes on back side of tool head, eject blade set.
IMPORTANT! Do not remove cutter blades while fiber guide is still in tool.
6.2 Install new blades
(Furnished in a matched set for blade precision. Snap apart before installation.)
6.2.1 Install with “ears” pointing toward top of tool and recess marks visible. Push firmly with flat end of push
tool until both blades are seated.
6.2.2 Insert fiber guide through hole in top of tool until it stops.
6.2.3 Insert fiber guide lock through slot in front of tool head.
Note: Blades are color coded and matched to diameter and color of fiber guide lock. Replace or install fiber guide
and fiber guide lock as needed. Always test strip fiber or cable after installing new blade set. Remove blades
periodically and clean with brush provided and alcohol.
7. Buffer Stripper Cleaning
7.1 Blade Cleaning
7.1.1 Blade cleaning should be performed, with the blades still mounted in the tool, after every 10 to 20 uses.
Clean between stripping blade halves with the spiral cleaning brush provided with each tool. The brush
should be dipped in isopropyl alcohol to ensure that any debris is dislodged and flushed. Dry blade area
with clean air if available (Note: Blades may also be cleaned with dry brush after each strip if desired,
followed by daily cleaning procedures as described above). A periodic (i.e., after every 100 strip
operations) cleaning process should be performed involving the removal of the blades from the tool. With
the blade-assembly tool provided with each stripper, remove both blades by first removing the color-coded
tube lock/blade size-indicator with the shovel end of assembly tool; then, with the pronged end, line up &
insert into holes in rear of handle head and eject stripping blades from tool.
7.1.2 If after repeated successful strips the fiber breaks during the stripping operation, take blades out of tool
and clean thoroughly. Insert blade set back into tool and resume stripping. If fiber continues to break,
blades are in need of replacement.
7.1.3 The use of wrong sized blades or coating guides may result in poor stripping quality or damage to the
glass fiber.
7.1.4 Stripping blades are matched in pairs right and left. Note: do not mix blade halves. Changing of a single
blade half may result in poor stripping quality or damage to the glass fiber.
Buffer Stripper Cleaning and Maintenance
