manuals.online logo
Brands
  1. Home
  2. •
  3. Brands
  4. •
  5. Paradox
  6. •
  7. Remote Control
  8. •
  9. Paradox Magellan MG-REM1 User manual

Paradox Magellan MG-REM1 User manual

MG-REM1
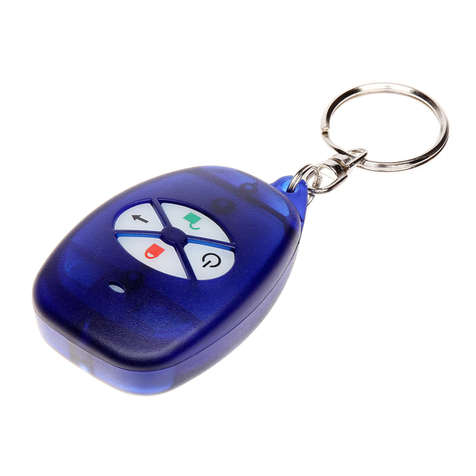
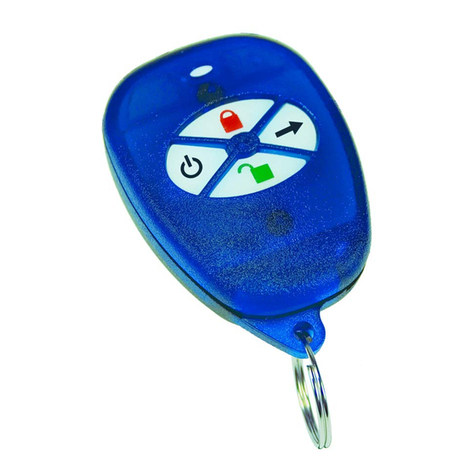
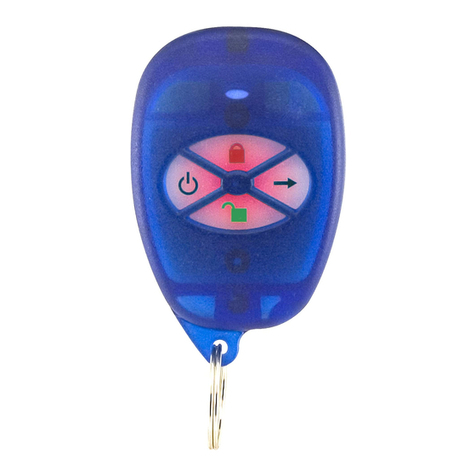
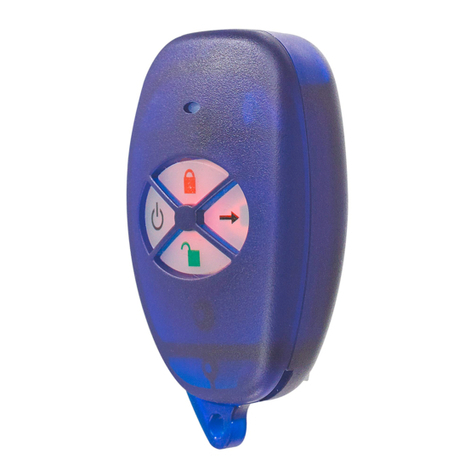
Magellan Remote Control with Backlight
Instructions / Instrucciones
FRANÇAIS
Compatibilité
Batterie
Comment remplacer la batterie
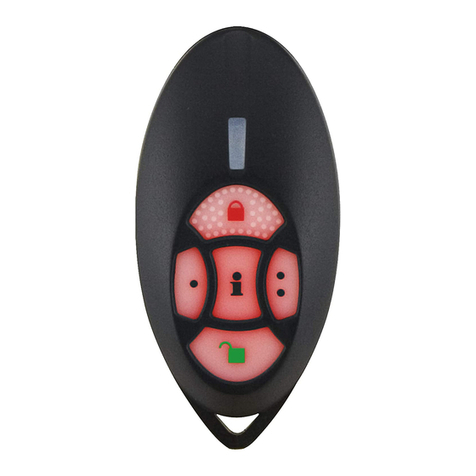
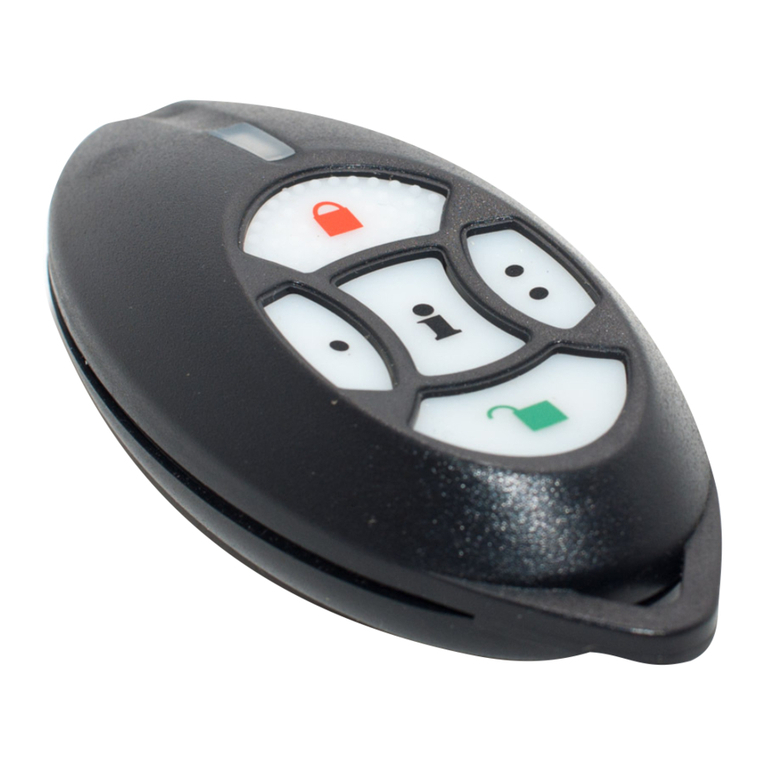
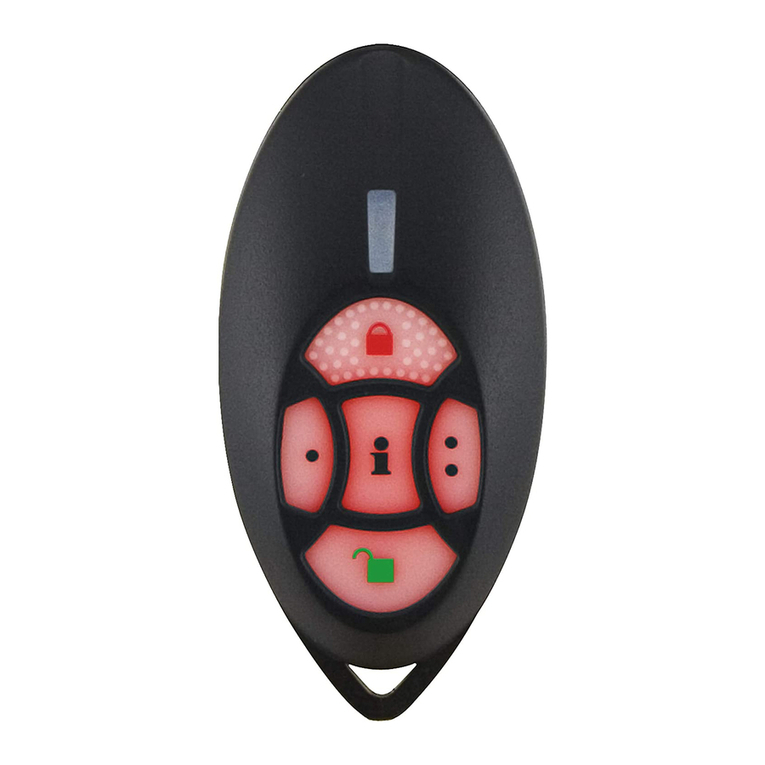
La MG-REM1 est une télécommande à 4 boutons
résistante à l'eau. Elle est disponible en version
433 MHz et en version 868 MHz.
- Magellan
Une batterie au lithium de 3 V (2032).
1. Retirer les deux vis à l’arrière de la télécommande
et enlever le couvercle arrière.
2. Glisser un tournevis en Teflon ou tout dispositif
plastique sous la batterie pour la retirer de son
compartiment (voir Figure 1). Éviter l’utilisation de
métal, car cela pourrait causer un court-circuit.
3. Insérer la nouvelle batterie ainsi que le montre la
Figure 2. Le côté négatif de la batterie doit être
inséré vers le bas.
4. Mettre le couvercle arrière en place et le fixer avec
les deux vis.
ESPAÑOL
El MG-REM1 es un control a distancia de 4 botones
resistente al agua. Es disponible en versión de 433
Mhz o de 868 Mhz.
- Magellan
Una batería de litio de 3V (2032).
1. Retire los dos tornillos de la parte trasera del
control a distancia y retire la cubierta posterior.
2. Deslice un destornillador de teflón, o algún útil
plástico, debajo de la batería para sacarla de su
compartimiento (ver la Figura 1). Evite usar
objetos de metal pues podrían causar un corto en
la placa.
3. Inserte la batería nueva como muestra la Figura 2,
con el lado negativo de la batería hacia abajo.
4. Reponga la cubierta posterior y reajústela con los
dos tornillos.
Compatibilidad
Batería
Cómo Cambiar la Batería
ENGLISH
Compatibility
Battery
How to Replace the Battery
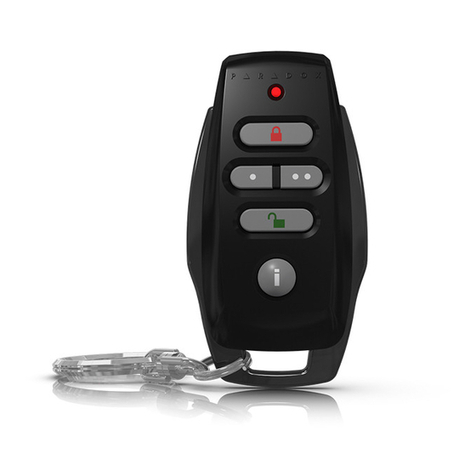
MG-REM1 is a water-resistant 4-button remote control
that is available in a 433MHz or 868MHz version.
- Magellan
One 3V lithium battery (2032).
1. Remove the two screws from the back of the
remote control and remove the back cover.
2. Slide a teflon screwdriver, or any plastic device,
under the battery to remove it from the battery
compartment (see Figure 1). Avoid using
metal as it may cause a short in the board.
3. Insert the new battery as shown in Figure 2. The
negative side of the battery is inserted face down.
4. Set the back cover in place, and fasten it with the
two screws.
Danger of explosion exists if the lithium
battery is incorrectly replaced. Replace
only with the same or equivalent type
recommended by the manufacturer.
Dispose of used batteries according to the
manufacturer's instructions.
© 2003-2004 Paradox Security Systems Ltd.
Magellan is a trademark or registered trademark of
Paradox Security Systems Ltd. or its affiliates in Canada,
the United States and/or other countries. All rights
reserved. Specifications may change without prior notice.
Il y a danger d’explosion si la batterie au
lithium n’est pas remplacée correctement.
Remplacer seulement avec le même type
ou avec un type équivalent recommandé
par le fabricant. Se dessaisir des batteries
usagées selon les instructions du
fabricant.
780 Industriel Blvd., Saint-Eustache (Quebec) J7R 5V3 CANADA
Tel.: (450) 491-7444
Fax: (450) 491-2313
Printed in Canada 05/2004 MGREM1-TI01
®
www.paradox.ca
© Systèmes de sécurité Paradox Ltée, 2003-2004.
Magellan est une marque de commerce ou une marque de
commerce déposée de Systèmes de sécurité Paradox Ltée
ou de ses sociétés affiliées au Canada, aux États-Unis
et/ou dans d'autres pays. Tous droits réservés.
Spécifications sujettes à changement sans préavis.
© 2003-2004 Paradox Security Systems Ltd.
Magellan es una marca de comercio o marca registrada de
Paradox Security Systems Ltd. o de sus afiliados en
Canadá, Estados Unidos y/o otros países. Todos los
derechos reservados. Las especificaciones pueden
cambiar sin previo aviso.
Hay peligro de explosión si la batería de
litio es cambiada incorrectamente.
Remplazar solo con baterías del mismo
tipo o un equivalente recomendado por el
fabricante. Deshágase de las baterías
usadas siguiendo las instrucciones del
fabricante.

Approvals
433MHz
868MHz
Compliant to all EU and EFTA countries except Greece
according to RTT&E directives.
FCC ID: KDYOMNRCT1
CANADA: 2438A-OMNRCT1
This device complies with part 15 of the FCC rules.
Operation is subject to the following two conditions: (1)
This device may not cause harmful interference, and (2)
This device must accept any interference received,
including interference that may cause undesired operation.
1- Insert the battery diagonally until it rests under the
metal prongs.
- Insérer la batterie diagonalement jusqu'à ce qu'elle
soit sous les tiges métalliques.
- Inserte la batería diagonalmente por debajo de los
dientes metálicos.
2- Push the battery down and snap into place.
- Pousser la batterie vers le bas et la faire
enclencher.
- Presione la batería para que encaje en su lugar.
Approbations
Conforme à tous les pays de l'UE et de l'EFTA sauf la Grèce
d'après la directive européenne R&TTE.
Le dispositif est conforme à la partie 15 des règles FCC.
L’application est subordonnée aux deux conditions
suivantes : (1) Ce dispositif ne devrait pas entraîner de
brouillage préjudiciable et (2) Ce système doit accepter
toute interférence reçue, y compris les types
d’interférences pouvant entraîner un fonctionnement
indésirable.
433 MHz
868 MHz
FCC ID : KDYOMNRCT1
CANADA: 2438A-OMNRCT1
Homologaciones
Cumple con las directivas RTT&E de todos los paises de
la UE y de la EFTA excepto Grecia.
Este dispositivo cumple con la sección 15 de los
reglamentos de la FCC. Su operación está sujeta a las
siguientes condiciones: (1) Este dispositivo no debe
causar severa interferencia y (2) Este dispositivo debe
aceptar cualquier interferencia recibida, incluyendo las
interferencias que puedan provocar un funcionamiento
errático
433MHz
868MHz
FCC ID: KDYOMNRCT1
CANADA: 2438A-OMNRCT1
.
2032
- Damage to the metal prongs may
occur if the battery is not inserted
correctly.
- Les tiges métalliques peuvent être
endommagées si la batterie n’est pas
bien insérée.
-Pueden ocurrir daños a los dientes
metálicos si la batería es insertada
incorrectamente.
Figure / Figura 1: Removing the Battery/
Retirer la batterie/Quitando la Batería
Figure / Figura 2: Inserting the Battery/Insérer
la batterie/Insertando la Batería
- Teflon Screwdriver
- Tournevis en Teflon
- Destornillador de Teflón
1
2
2032
Approvals
433MHz
868MHz
Compliant to all EU and EFTA countries except Greece
according to RTT&E directives.
FCC ID: KDYOMNRCT1
CANADA: 2438A-OMNRCT1
This device complies with part 15 of the FCC rules.
Operation is subject to the following two conditions: (1)
This device may not cause harmful interference, and (2)
This device must accept any interference received,
including interference that may cause undesired operation.
1- Insert the battery diagonally until it rests under the
metal prongs.
- Insérer la batterie diagonalement jusqu'à ce qu'elle
soit sous les tiges métalliques.
- Inserte la batería diagonalmente por debajo de los
dientes metálicos.
2- Push the battery down and snap into place.
- Pousser la batterie vers le bas et la faire
enclencher.
- Presione la batería para que encaje en su lugar.
Approbations
Conforme à tous les pays de l'UE et de l'EFTA sauf la Grèce
d'après la directive européenne R&TTE.
Le dispositif est conforme à la partie 15 des règles FCC.
L’application est subordonnée aux deux conditions
suivantes : (1) Ce dispositif ne devrait pas entraîner de
brouillage préjudiciable et (2) Ce système doit accepter
toute interférence reçue, y compris les types
d’interférences pouvant entraîner un fonctionnement
indésirable.
433 MHz
868 MHz
FCC ID : KDYOMNRCT1
CANADA: 2438A-OMNRCT1
Homologaciones
Cumple con las directivas RTT&E de todos los paises de
la UE y de la EFTA excepto Grecia.
Este dispositivo cumple con la sección 15 de los
reglamentos de la FCC. Su operación está sujeta a las
siguientes condiciones: (1) Este dispositivo no debe
causar severa interferencia y (2) Este dispositivo debe
aceptar cualquier interferencia recibida, incluyendo las
interferencias que puedan provocar un funcionamiento
errático
433MHz
868MHz
FCC ID: KDYOMNRCT1
CANADA: 2438A-OMNRCT1
.
2032
- Damage to the metal prongs may
occur if the battery is not inserted
correctly.
- Les tiges métalliques peuvent être
endommagées si la batterie n’est pas
bien insérée.
-Pueden ocurrir daños a los dientes
metálicos si la batería es insertada
incorrectamente.
Figure / Figura 1: Removing the Battery/
Retirer la batterie/Quitando la Batería
Figure / Figura 2: Inserting the Battery/Insérer
la batterie/Insertando la Batería
- Teflon Screwdriver
- Tournevis en Teflon
- Destornillador de Teflón
1
2
2032

Other Paradox Remote Control manuals

Paradox REM3 User manual

Paradox

Paradox REM3 User manual

Paradox PARAKEY Assembly instructions

Paradox

Paradox PARAKEY Assembly instructions

Paradox Magellan REM2 Service manual

Paradox

Paradox Magellan REM2 Service manual

Paradox Magellan REM1 User manual

Paradox

Paradox Magellan REM1 User manual

Paradox Magellan REM2 User manual

Paradox

Paradox Magellan REM2 User manual

Paradox Magellan REM2 User manual

Paradox

Paradox Magellan REM2 User manual

Paradox Magellan REM15 User manual

Paradox

Paradox Magellan REM15 User manual

Paradox Magellan REM101 User manual

Paradox

Paradox Magellan REM101 User manual

Paradox Magellan MG-REM2 User manual

Paradox

Paradox Magellan MG-REM2 User manual

Paradox MAGELLAN MG-REM1 Installation and operating instructions

Paradox

Paradox MAGELLAN MG-REM1 Installation and operating instructions

Paradox Two-Way Remote Control V2.1 User manual

Paradox

Paradox Two-Way Remote Control V2.1 User manual

Paradox REM25 User manual

Paradox

Paradox REM25 User manual

Paradox Magellan REM101 User manual

Paradox

Paradox Magellan REM101 User manual

Paradox Magellan RAC1 User manual

Paradox

Paradox Magellan RAC1 User manual

Paradox MAGELLAN REM1 User manual

Paradox

Paradox MAGELLAN REM1 User manual

Paradox Magellan MG-RAC1 User manual

Paradox

Paradox Magellan MG-RAC1 User manual

Paradox Magellan REM15 User manual

Paradox

Paradox Magellan REM15 User manual

Paradox Magellan REM15 User manual

Paradox

Paradox Magellan REM15 User manual

Paradox PRK-315 User manual

Paradox

Paradox PRK-315 User manual

Paradox REM3 User manual

Paradox

Paradox REM3 User manual

Paradox Magellan REM101 User manual

Paradox

Paradox Magellan REM101 User manual

Paradox Magellan REM101 User manual

Paradox

Paradox Magellan REM101 User manual

Popular Remote Control manuals by other brands

Vivanco UR Zap 2 instructions

Vivanco

Vivanco UR Zap 2 instructions

Sunricher SR-ZG9001T-CCT quick start guide

Sunricher

Sunricher SR-ZG9001T-CCT quick start guide

Trust RC-2400 user manual

Trust

Trust RC-2400 user manual

Nomura Engineering TS03NKHA1 user manual

Nomura Engineering

Nomura Engineering TS03NKHA1 user manual

RadioLink RC8X instruction manual

RadioLink

RadioLink RC8X instruction manual

Rohm LAPIS MK715x1 Hardware manual

Rohm

Rohm LAPIS MK715x1 Hardware manual

Philips SRU 5130/86 user manual

Philips

Philips SRU 5130/86 user manual

iSmartHome id smart box instruction manual

iSmartHome

iSmartHome id smart box instruction manual

CaryMart 0020425 manual

CaryMart

CaryMart 0020425 manual

Homematic IP HmIP-WRC2 Installation instructions and operating manual

Homematic IP

Homematic IP HmIP-WRC2 Installation instructions and operating manual

Larson Electronics GL-30100 instruction manual

Larson Electronics

Larson Electronics GL-30100 instruction manual

Bromic Heating Tungsten Smart-Heat user manual

Bromic Heating

Bromic Heating Tungsten Smart-Heat user manual

FUTABA 2PC instruction manual

FUTABA

FUTABA 2PC instruction manual

Salora 28HSB5002 operating instructions

Salora

Salora 28HSB5002 operating instructions

AUTEC Air series instruction manual

AUTEC

AUTEC Air series instruction manual

Canon PR10-R user guide

Canon

Canon PR10-R user guide

Bauhn HE215041 Getting started guide

Bauhn

Bauhn HE215041 Getting started guide

Viessmann Vitocom 100 Installation and service instructions for contractors

Viessmann

Viessmann Vitocom 100 Installation and service instructions for contractors

manuals.online logo
manuals.online logoBrands
  • About & Mission
  • Contact us
  • Privacy Policy
  • Terms and Conditions

Copyright 2025 Manuals.Online. All Rights Reserved.