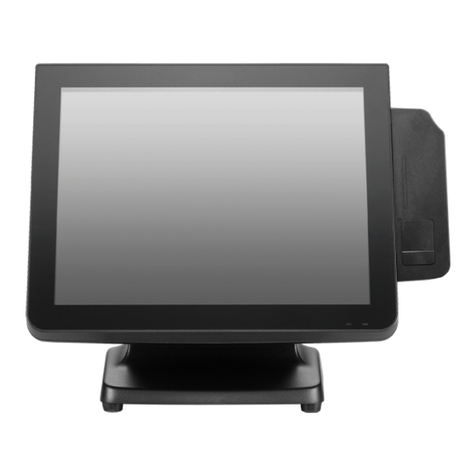
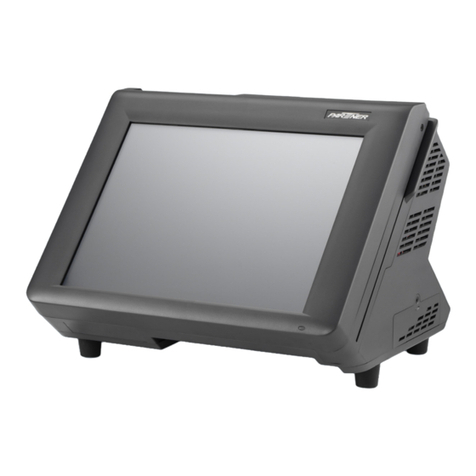
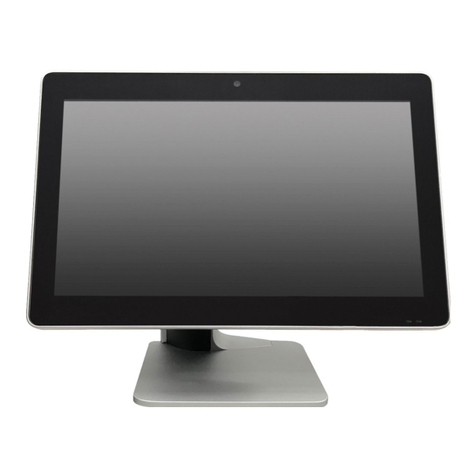
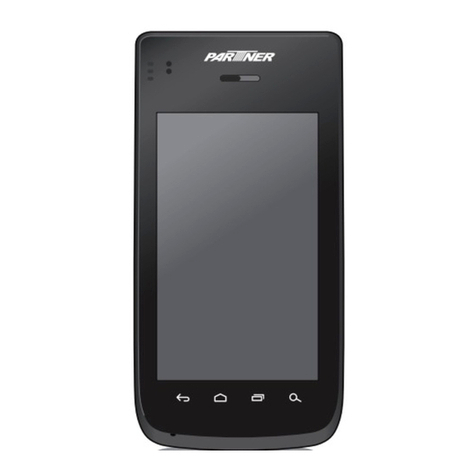
Partner PAT-110 User manual

POS Terminal
PAT-110
Service Manual

2
Regulatory Notices
WARNING
This is Class A Product. In domestic environment this product may cause radio interference in which
case the user may be required to take adequate measures.
警告使用者
這是甲類的資訊產品,在居住的環境中使用時,可能會造成射頻干擾,在這種情況下,使用者會被要
求採取某些適當的對策。
FCC Statement
This device has been tested and found to comply with the limits for a Class A digital device,
pursuant to part 15 of the FCC Rules, these limits are designed to provide reasonable protection
against harmful interference when the device is operated in a commercial environment. This device
generates, uses and can radiate frequency energy and, if not installed and used in accordance with
this manual, may cause harmful interference to radio communications. Operation of this device in
a residential area is likely to cause harmful interference in which case the user will be required to
correct the interference at his/her own expense.
FCC WARNING
Changes or modications not expressly approved by the party responsible for compliance could void
the user’s authority to operate the device.
Best Management Practice (BMP) for Perchlorate Materials in California
States
This device includes perchlorate in the lithium battery.
Perchlorate material-special handling may apply when handling this device.
For detail, refer to http://www.dtsc.ca.gov/hazardouswaste/perchlorate.
Vermont Mercury Management Rules
LCD display lamps contain mercury. Dispose of them properly.
CE Mark
This device complies with the requirements of the EEC directive 2004/108/EC with regard to
“Electromagnetic compatibility” and 2006/95/EC with regard to “Low Voltage Directive”.

3
Legislation and WEEE Symbol
2002/96/EC Waste Electrical and Electronic Equipment Directive on the treatment, collection,
recycling and disposal of electric and electronic devices and their components.
The crossed-out wheeled bin symbol on the device means that it should not be disposed of with
other waste at the end of its working life. Instead, the device should be delivered to a waste
collection center for activation of the treatment, collection, recycling and disposal procedure.
To prevent possible harm to the environment or human health from uncontrolled waste disposal,
please separate this device from other types of waste and recycle it responsibly to promote the
sustainable reuse of material resources.
Business users should contact their supplier and check the terms and conditions of the purchase
contract regarding its disposal.
It should not be mixed with other commercial waste for disposal.
WARNING
The system uses a 3V CR2032 battery mounted on the mainboard to keep time. There is a risk of
explosion if the wrong battery type is used when replacing. Dispose of used batteries according to
local ordinance regulations.

4
Safety Information
Computer components and electronic circuit boards can be damaged by discharges of static
electricity. Working on computers that are still connected to a power supply can be extremely
dangerous. Follow these guidelines to avoid damage to the computer or injury to yourself.
• Always disconnect the unit from the power outlet.
• Leave all components inside the static-proof packaging that they ship with until they are ready
for installation.
• After replacing optional devices, make sure all screws, springs, or other small parts are in place
and are not left loose inside the case. Metallic parts or metal akes can cause electrical shorts.
CAUTION
Only qualied personnel should perform repairs. Damage due to unauthorized
servicing is not covered by the warranty.
CAUTION
Under no circumstances touch the inverter while power is connected to the
machine. Always disconnect the AC power cord before attempting any service.
CAUTION
If the LCD breaks and uid gets onto your hands or into your eyes, immediately
wash with water and seek medical attention.
CAUTION
To prevent static damage to components, wear a grounded wrist strap.
Alternatively, discharge any static electricity by touching the bare metal chassis of
the unit case, or the bare metal body of any other grounded appliance.
CAUTION
Hold electronic circuit boards by the edges only. Do not touch the components on
the board unless it is necessary to do so. Do not ex or stress the circuit board. Do
not hold components such as a processor by its pins; hold it by the edges.

5
Contact Information
Partner Tech Corporation
10F., No.233-2, Baoqiao Rd., Xindian Dist., New Taipei City 231, Taiwan (R.O.C.)
http://www.partner.com.tw/

6
Copyright and Trademark
Copyright
This publication, including all photographs, illustrations and software, is protected under
international copyright laws, with all rights reserved. Neither this manual, nor any of the material
contained herein, may be reproduced without written consent of the author.
Disclaimer
The information in this document is subject to change without notice. The manufacturer makes
no representations or warranties with respect to the contents hereof and specically disclaims any
implied warranties of merchantability or tness for any particular purpose.
The manufacturer reserves the right to revise this publication and to make changes from time to
time in the content hereof without obligation of the manufacturer to notify any person of such
revision or changes.
Trademark Recognition
All product names used in this manual are the properties of their respective owners and are
acknowledged.
About this manual
The service manual provides service information. This manual is designed to help train service
personnel to locate and x failing parts on the device.
This manual consists of the following sections:
Chapter 1 Getting Started: This chapter covers identifying components, Installing the cradle,
thermal paper roll and Micro SD card, and how to power on the device.
Chapter 2 Using the Tablet: This chapter provides using the touch screen and the setting menu.
Appendix: The appendix includes an exploded diagram of the machine and the parts list and order
number for each part.
Manual Release Date
2016/09/08

7
Contents
Regulatory Notices ............................................................................................................ 2
Safety Information ............................................................................................................ 4
Contact Information .......................................................................................................... 5
Copyright and Trademark ................................................................................................. 6
About this manual ............................................................................................................ 6
Chapter 1 Getting Started ................................................................................................9
Identifying Components .................................................................................................... 9
Connector Pin Define....................................................................................................... 11
Installing the Tablet in the Cradle ..................................................................................... 13
Installing the Thermal Paper Roll...................................................................................... 14
Fixing a Paper Jam.......................................................................................................... 15
Installing the Micro SD Card............................................................................................. 16
Charging the Battery ....................................................................................................... 16
Powering the Device On/Off............................................................................................. 17
Unlocking the Screen....................................................................................................... 18
Chapter 2 Using the Tablet............................................................................................ 19
Using the Touch Screen ................................................................................................... 19
Home screen .................................................................................................................. 20
Access the Settings Menu ................................................................................................ 21
Force Power Off .............................................................................................................. 22
Appendix A Specification............................................................................................... 23

8

1
9
Getting Started
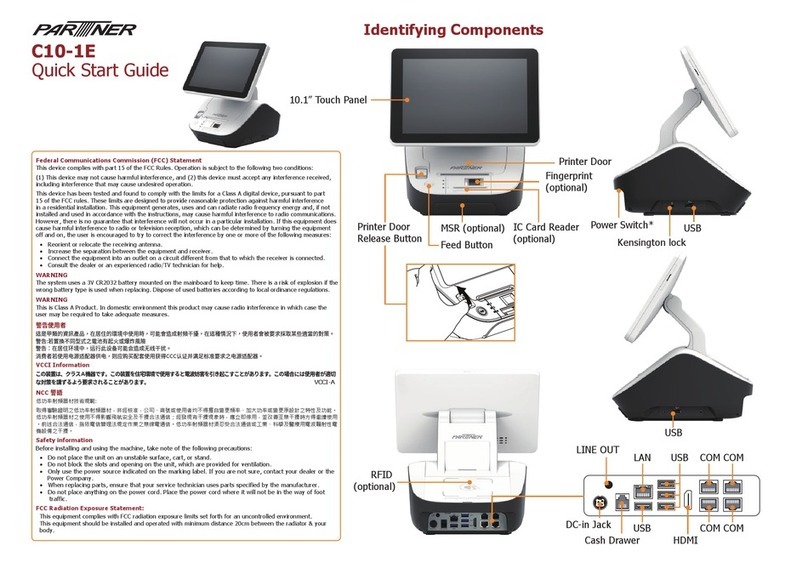
Identifying Components
This section describes the parts and connectors on the machine.
10.1”
Touch Panel
Front Camera
Vol- Vol+ Power*
Micro-SD slot
DC-in Jack
Micro USB
Rear Camera Speakers
Mini HDMI
Earphone
Reset
MIC
Tablet

10
NOTE
*Tablet can only be powered o when Cradle Power Switch has been turned o.
Cradle
DC-in Jack LAN
Cash Drawer
USB
COM
Power Switch*
Feed Button
Printer Door
Release Button
Printer Door
MSR (optional)
IC Card Reader (optional)
NFC (optional)
Charge LED
Error LED
Power LED

11
Connector Pin Dene
This section describes the connectors pin dene.
USB 2.0 Connector Pin Dene
14
Pin Signal
1 USB Vcc
2 USB -
3 USB +
4 USB GND
1 5
6 9
COM Connector Pin Dene
Pin Signal Pin Signal
1 DCD 6 DSR
2 SIN 7 RTS
3 SOUT 8 CTS
4DTR 9 RI*
5 GND
*Can be selected for 5V or 9V via jumpers.
RJ-11 Cash Drawer Connector Pin Dene
1 6
Pin Signal
1 CASEOPEN2
2 CASH1
3 CASEOPEN1
4 24V
5 CASH2
6 GND
*Voltage is selected via JP1

12
LAN Connector Pin Dene
1 8
Pin Signal Pin Signal
1 TXA+ 5 TXC-
2 TXA- 6 TXB-
3 TXB+ 7 TXD+
4 TXC+ 8 TXD-
DC-In Jack Pin Dene
1
2
3
Pin Signal
1 V+
2 V+
3 GND

13
Installing the Tablet in the Cradle
1. Place the bottom of the tablet
over the Pogo pins in the
cradle.
2. Rotate the tablet into the
cradle and press rmly until it
latches in place.

14
Installing the Thermal Paper Roll
1. Lift the cradle upwards.
2. Press Printer Door Release
Button to open the printer
door.
3. Insert the thermal paper roll
as shown on the picture.
4. Close the printer door and
press it down until you feel a
click.
5. Power o and then power on
to reset the printer cutter.

15
Fixing a Paper Jam
1. Power o from the cradle.
Power o
2. Keep pressing Printer Door
Release Button several times
to return the paper cutter.
3. If the paper still stack in the
printer door after step2, put
a knife into the door seam to
clear the paper.

16
Installing the Micro SD Card
Insert the microSD card into the memory card slot as shown in the illustration.
Charging the Battery
The device battery can be charged from the DC-IN jack or the Micro-USB connector.
Power Adapter
DC-IN Jack
Micro-USB Power Adapter
or
When the battery is charging, the charging icon is displayed on the top-right corner of the screen.
NOTE
Use only the supplied power adaptor and cord to charge the battery. Using other
power adaptor and cord not authorized by the manufacturer may damage the
device and void the warranty

17
Powering the Device On/O
To turn on the device:
Press and hold the Power button for 3 seconds to turn on the device.
To turn o the device:
1. Press and hold the Power button for at least 3 seconds.
2. Touch Power o.
3. A conrmation message appears on the screen. Touch OK to turn the device o.
Sleep Mode
To save power, put the device to Sleep mode when not in use. In Sleep mode, the device is in
Power On mode but the screen backlight is turned o.
• To put the device to Sleep mode, press the Power button once. The screen backlight turns o.
• To turn the backlight on, press the Power button again.

18
Unlocking the Screen
By default, the screen is locked after turning the device on or after a period of inactivity. The
screen lock time can be set in Settings menu.
To unlock the screen, slide the Unlock button outside the unlocking ring.

2
19
Using the Tablet
Using the Touch Screen
The following describes some tips on how to use the touch screen.
Touching
• Touch an icon displayed on the screen to select
it.
• A pop-out menu may appear (depending on the
function in use) by touching and holding on the
screen.
Scrolling
• Scroll up/down: The nger up/down on the
screen.
• Scroll right/left: The nger right/left on the
screen.
Dragging
• Touch and hold an icon to move its position.

20
Pinching
• Zoom in: move the two ngers apart from each other at the specic area on the screen to zoom
in.
• Zoom out: move the two ngers closer together at the specic area on the screen to zoom out.
Home screen
Home
App menuNotications Status & Time
Recent AppBack
Volume Down Volume Up
Table of contents
Other Partner Touch Terminal manuals

Partner
Partner A4-1-A User manual

Partner
Partner OT-310 User manual

Partner
Partner SP-26 Series User manual

Partner
Partner SP-2500 Series User manual

Partner
Partner PT-6212 User manual

Partner
Partner KB-18LD2 User manual

Partner
Partner PAT-215 User manual

Partner
Partner SP-630-Q User manual

Partner
Partner SP-3511 User manual

Partner
Partner SP-1030 User manual

Partner
Partner PT-1630 User manual

Partner
Partner PT-6210-E User manual

Partner
Partner C14-1E User manual

Partner
Partner PT-9000 User manual

Partner
Partner SP-800 User manual

Partner
Partner SP-3515 User manual

Partner
Partner PT-5900 User manual

Partner
Partner SP-650-S User manual

Partner
Partner C10-1R User manual

Partner
Partner SP-550 User manual