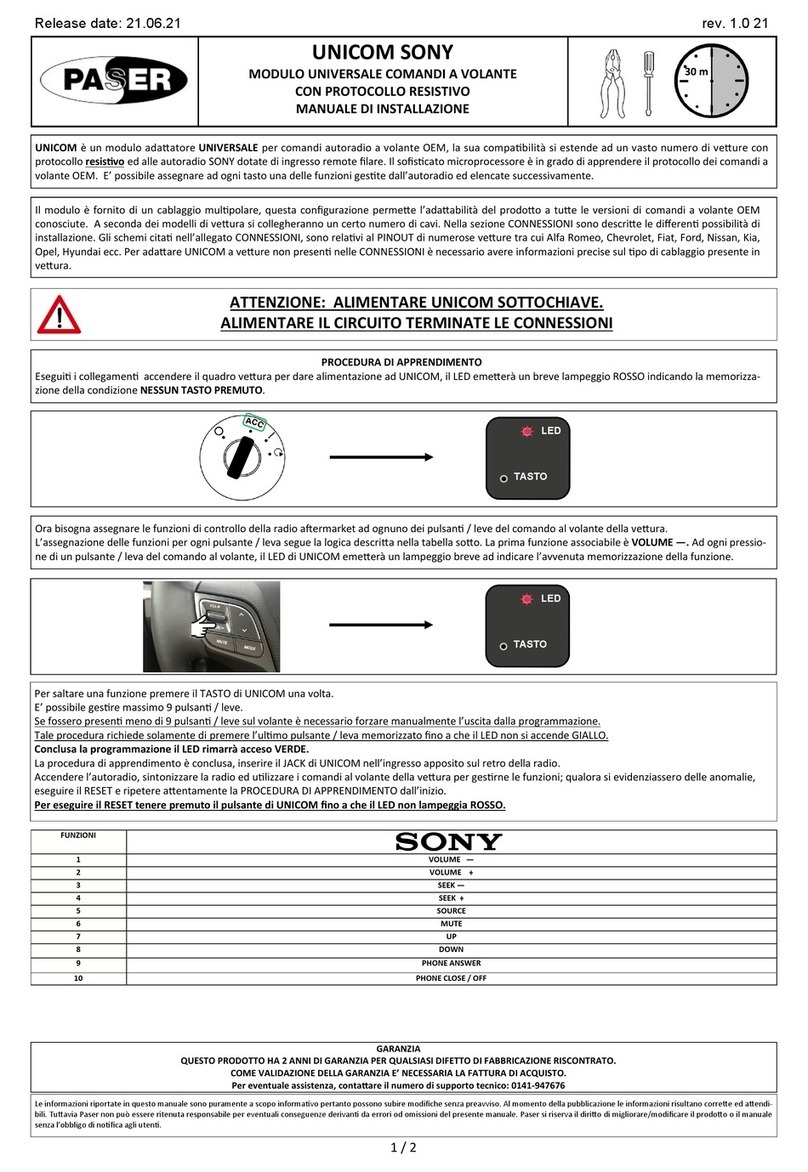
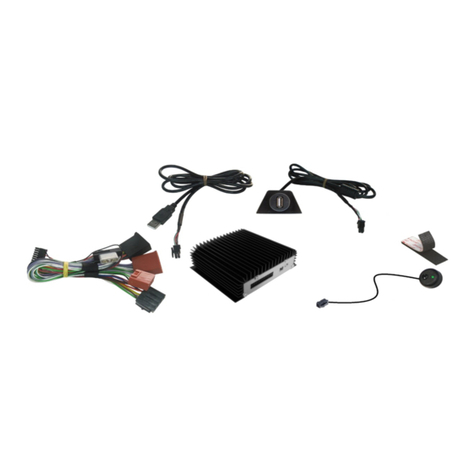
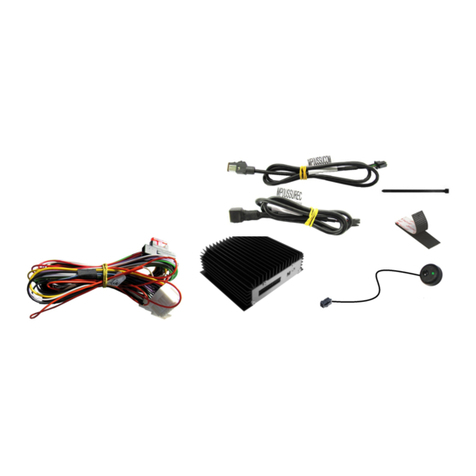
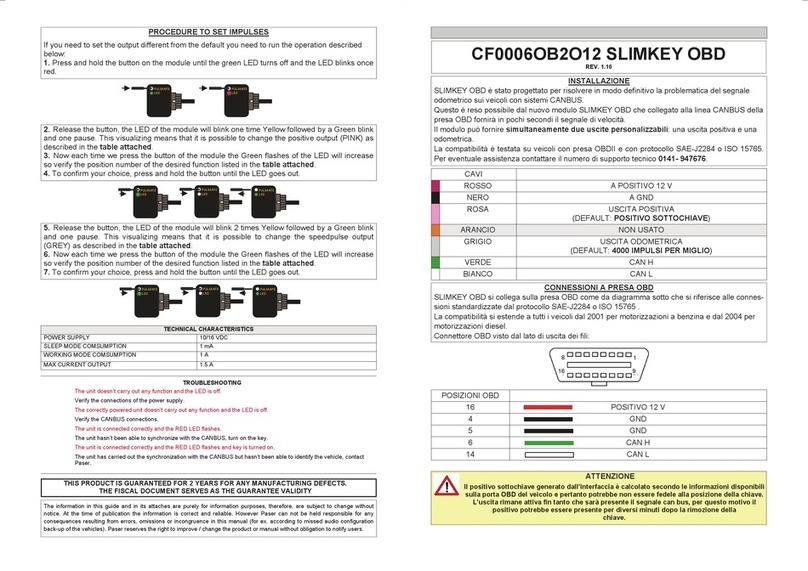
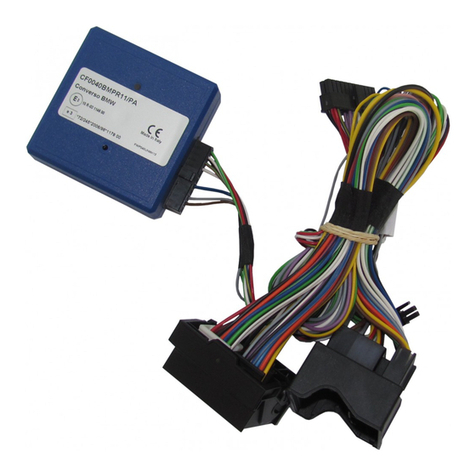
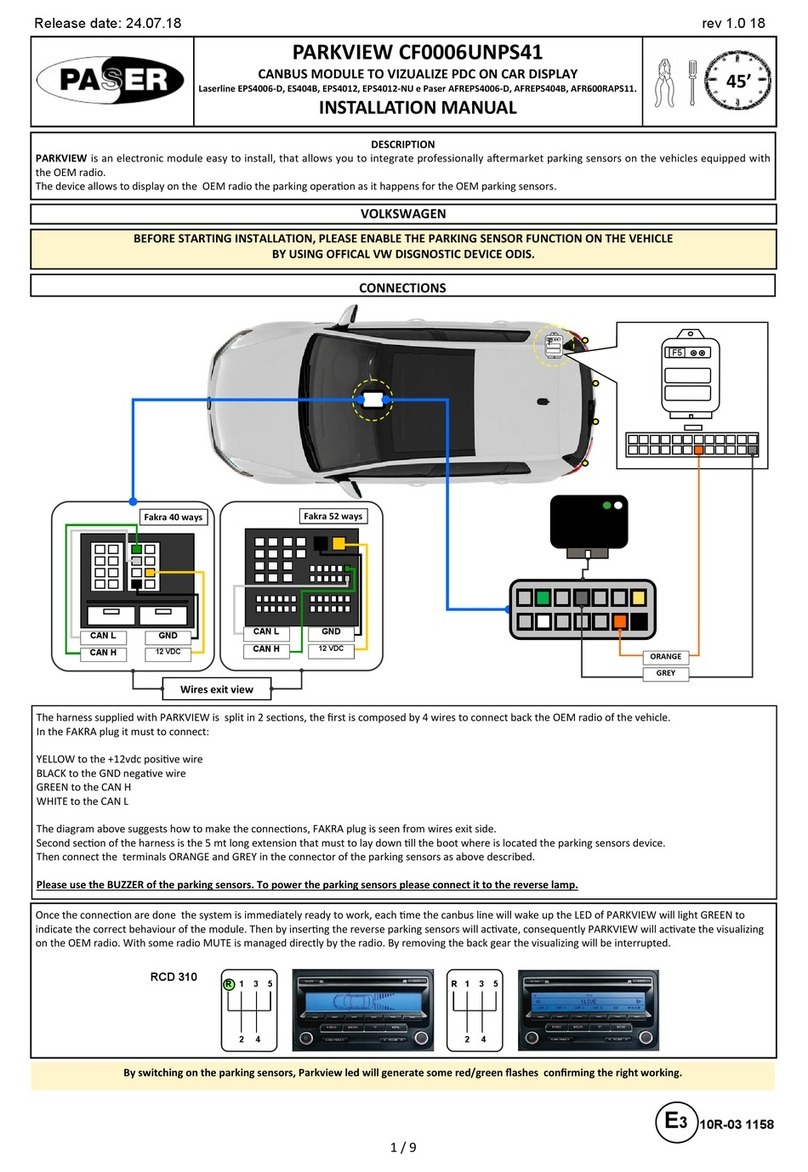
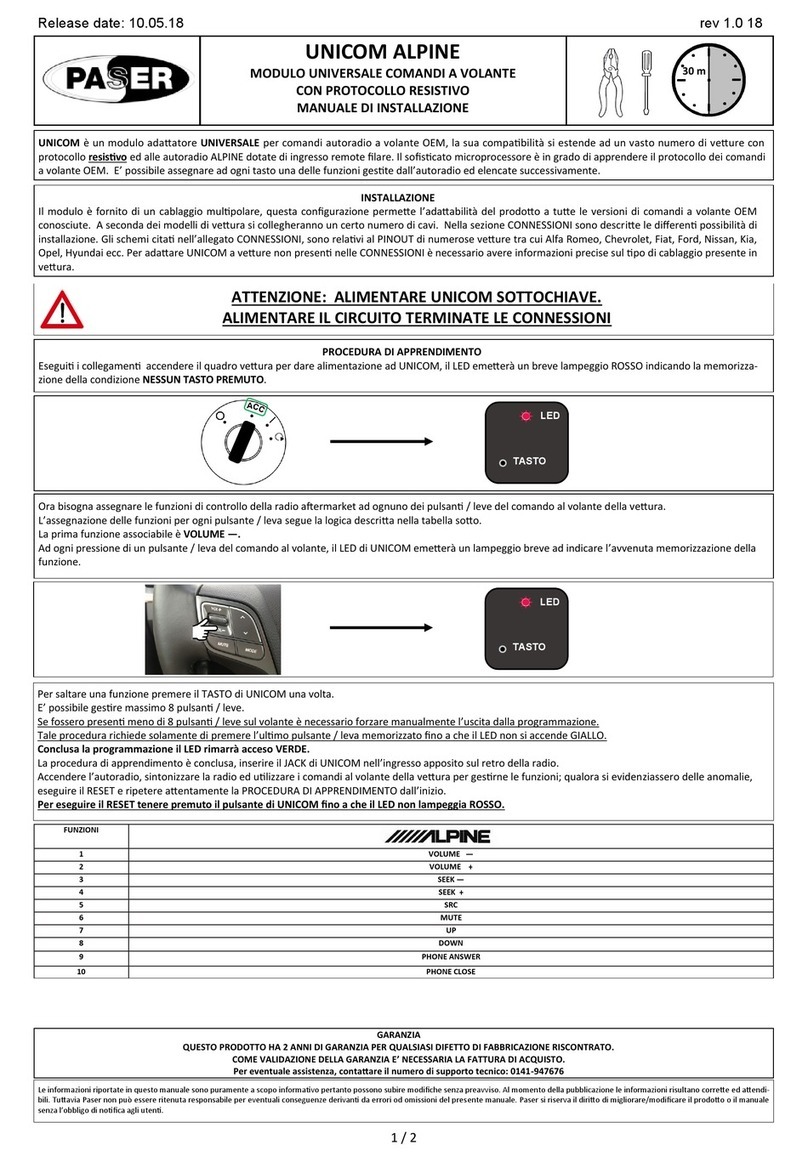
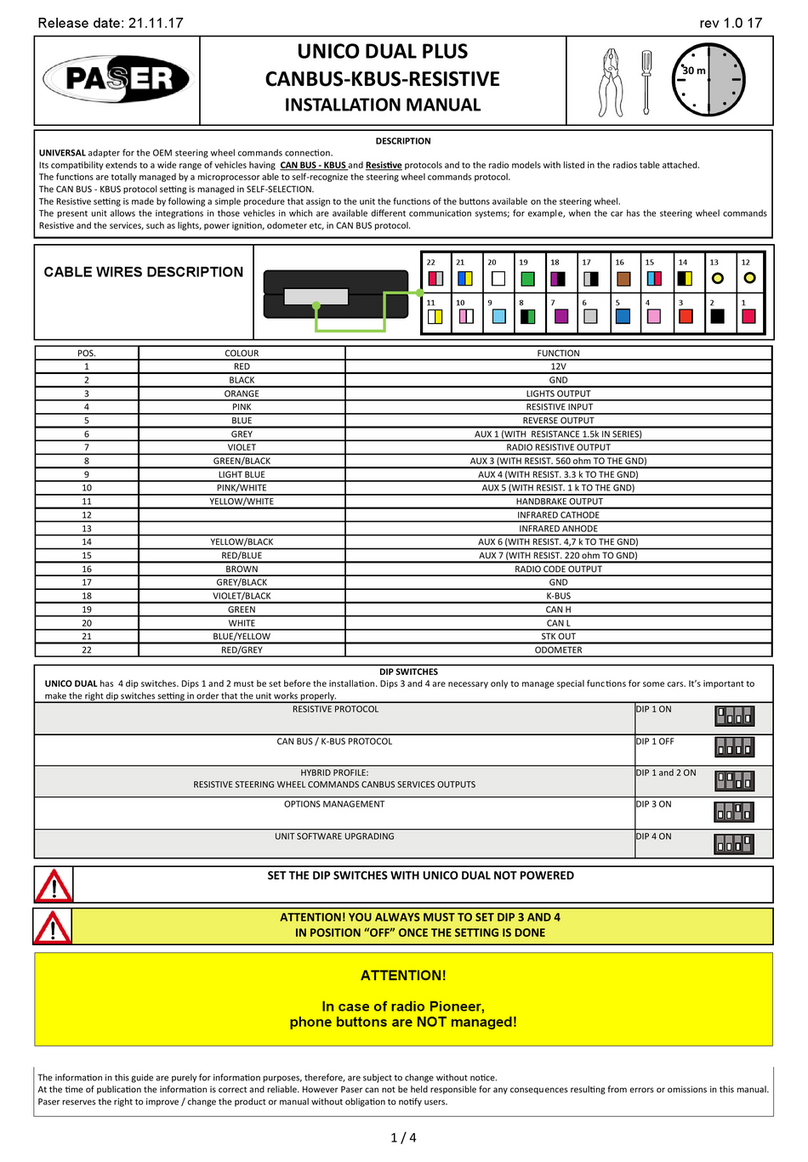
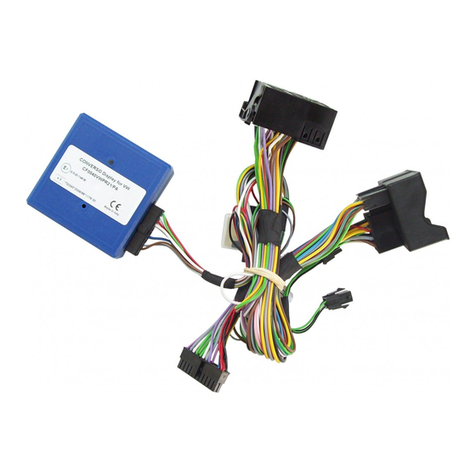
Paser SKT 170 HYUNDAI User manual

CAR
MODEL YEAR TIRES PRESSURE
MONITORING SYSTEM
SPEED LIMIT EXCEEDING
ALERT ADVICE
WORN TIRES
ALERT ADVICE
PLUG & PLAY
HARNESS
HYUNDAI
i20 2011> O O O CBL060TPHY11
i30 2011> O O O CBL060TPHY11
i40 2011> O O O CBL060TPHY11
iX20 2011> O O O CBL060TPHY11
iX3 2011> O O O CBL060TPHY11
SANTA FE 2011> O O O CBL060TPHY11
WARRANTY CONDITIONS
THIS PRODUCT HAS A TWO-YEAR GUARANTEE FOR ANY KIND OF MANUFACTURING DEFECT.
THE FISCAL DOCUMENT SERVES AS THE GUARANTEE VALIDITY.
QUICK MENU
Reading the system status.
Reset the tyres status elaboration
Reset Odometer
1. Reset? 2. ack
Odometer Value
Settings
1. Language ►Italiano ►English ►Français (►Deutsch ►Español ►Português)
2. Volume ►1 ►2 ►3 ►4 ►5
3. System Control ►Enabled ►Disabled
4. Threshold alarm level for tyre pressure warning ►Low ►Medium ►High
5. Warning threshold distance ►Enabled ►Disabled
6. Speed Limit ►15000 km ►20000 km ►30000 km ►40000 km
►Disabled
7. Speed Limit ► 30 km/h ► 50 km/h ► 70 km/h ► 90 km/h ►110 km/h ► 130 km/h
► 150 km/h ►Deactivate
ack
Exit
TPMS alert cases
Tyre pressure under the range
Structure of the tyre compromised
Vehicle loading level unequal
The wheels of an axle are overloaded
Vehicle with snow chains
Vehicle with spare tyre
A wheel of the vehicle has been substituted
INSTALLATION MANUAL
SKT 170 HYUNDAI
Electronic Module for HYUNDAI vehicle
and driver Safety rev. 2.0 12
INSTALLATION
1. Remove the OEM radio, the panel is assured to the dashboard trough grafts, consequently
use carefully plastic levers to remove it .
2. Connect the cable supplied with the kit in series with OEM
connectors to the vehicle and the radio and connect the multi-way connector to the module
DESCRIPTION
SKT 170 Hyundai is an electronic unit, easy to install, that allows to control the status of the car’s tyres
pressure, while the vehicle is driving.
In particular, the unit in object has been studied to inform the user concerning all surveys of anomaly about
any pressure loss. The innovative characteristic is that the device bases its working mode exclusively by elab-
orating the data received from the CAN US net. This means that the installation doesn’t involve the installa-
tion of sensors into the tyres.
The unit once detected the anomaly, informs the user about the trouble found, also indicating which is the tyre
flat. This information is reproduced by a vocal synthesis available on board of the circuit. The system is sup-
plied with a PLUG & PLAY cable that makes the installation easy and safety.
The information in this guide are purely for information purposes, therefore, are subject to change without notice. At the time of publication the information
is correct and reliable. However Paser can not be held responsible for any consequences resulting from errors or omissions in this manual. Paser reserves
the right to improve / change the product or manual without obligation to notify users.
MOD.UT.10 rev.01 del 07/02/12
Emissione: UT ufficializzazione: QU Nr.50 100 6307 Rev. 01
UNI EN ISO 9001:2008

INSTALLATION
3. remove the plastic panel under the dashboard where is located the O D plug. Remove the
O D plug from its location and keep it from the wires exit view, consequently connect the can
bus wires as shown below.
Lay down
the can bus wires of the module (Green and White) till the O D plug, then:
Connect the GREEN wire CAN H of the module to the RED wire of the O D position 6.
Connect the WHITE wire CAN L of the module to the LUE wire of the O D position 14.
We suggest to sold the wires.
Lay down the button till the gloves box passenger side or fix it near the steering wheel as shown
below.
Once done
the connection and after a quick check restore all the parts .
When the system announces an anomaly, please immediately reduce the speed, don’t
hit the brakes and don’t steer hardly. Stop as soon as possible and control the status
of the tyres.
The user is responsible to maintain the tyre pressure in the correct ranges. Control
regularly the pressure.
Under certain circumstances such as irregular driving, winter conditions, unpaved
roads, it may happen that the module is involved in late or not at all.
2
Can H
Can L
1 8
9
16 OBD CONNECTOR
WIRES EXIT VIEW
IN CASE OF DIFFERENT COLOURS OF THE CANBUS WIRES IN THE OBD PLUG PLEASE
FOLLOW THE POSITIONS
Power feeding +12 VDC
Consumption in work mode 1A
Consumption in sleeping mode <3mA
Plastic box size 6.70x6.70x2.8 cm
Weight per unit 45 g
70 km/h
90 km/h
110 km/h
130 km/h
150 km/h
Disable
Once the vehicle overcomes the range set, the unit will emit a EEP.
With the item ACK, the user can go back to the principal menu
With the item EXIT, the user can exit to the principal menu; anyway the system exits after about
20 seconds on inactivity.
INSTALLATION AND USE
Please remove the car radio.
Please connect the unit by using the available P&P cable.
Please re– connect the car radio.
Please control that the kit’s LED is switched on GREEN.
Please do a control about the functions before to re-place the car radio in its lodge.
Please re-install the car radio.
Please flat the pneumatics according to the values recommended by the manufacturer
Please do the Recalculation of the tyres condition
To verify the function of the TPMS, please deflate the pneumatic till 0.5 bar and then drive
some kilometres.
7

WELCOME MESSAGE
With this item of the menu, the user can have the welcome message each time the ignition is
turn on.
On default the function is enable but it’s possible to disable it.
y selecting this function, the kit will pronounce WELCOME MESSAGE: now it’s possible to
choose the parameter in a range of two values: Enabled, Disabled
The deactivation of this function doesn’t interact with the activation of the system.
Instead it happen the opposite: the welcome message, if activate, updates the status of the sys-
tem at every ignition.
For example, if the system is active, the vocal synthesis will pronounce:
SYSTEM ENABLED
If the system is not active, the vocal synthesis will pronounce:
SYSTEM DISABLED
WARNING THRESHOLD DISTANCE
With this function the user can set a value of kilometres and have a sure information about the
kilometres covered by the tyres in use.
y selecting this function, the kit will pronounce WARNING THRESHOLD DISTANCE :
now it’s possible to choose the parameter in a range of some values:
1 000 km
20000 km
30000 km
40000 km
Disabled
Once reached the number of kilometres set, the module will keep in memory the information and
at the next ignition of the car, the system will pronounce the message:
Warning threshold distance
SPEED LIMIT
With this function, the user can set a value in km/h: the system will do a notification every time
the vehicle overcomes the value preset.
This function preserve the user to all risks about the high speed and it helps to avoid some sanc-
tions.
y selecting this function, the kit will pronounce SPEED LIMIT;
ITt’s possible to choose the parameters in a range of values:
30 km/h
50 km/h
6
3
1
L
Enter the Menu
To enter the menu please use the button supplied with the kit. Switch on the ignition and the
module will announce the welcome message.
Press 3 times the button to enter the menu.
To scroll the menu voices press one time the button.
To confirm the choice or enter a sub menu press the button for 3 seconds.
The menu is ordered in a circular selection, for example considering the main menu, the last
voice will be followed by the first voice.
The voices available are:
1. Reading the system status.
2. Reset the tyres status elaboration.
3. Reset odometer
4. Odometer value
. Settings
6. Exit
Calibration
Once the installation is done, it’s is necessary to proceed with optimal tyres inflation.
The standard range is 2.2 bars for the front-wheels and 2.0 bars for the rear-wheels.
Anyway, Paser recommend to follow the parameters suggested by the manufacturer of the tyres.
Once the pressuring verification, it’s necessary to calculate the status of the tyres; to do this
operation is necessary to consult the menu of the system. (see the paragraph called RECALCU-
LATION OF THE TYRES CONDITION).
Reading the system status
y checking this item, the unit says immediately last detected status of the tyres pressure, for
example if everything is right, the speech synthesis module says:
THE TYRES ESTIMATED PRESSURE WAS NORMAL.
3
Functions Management
The module in object is able to monitor tire pressure.
The unit has several features such as, for example, querying system status, parameter setting,
language selection etc.
All operations are available through speech menu.
y following a simple procedure with the steering wheel commands, check and set the desired
functions available in the menu as described in the following pages.

Recalculation of the tyres condition
y checking this function, the module does the calibration of the system; that means it does a
first analysis about the pressure condition of the pneumatics and then it sets the parameters
relieved during the test phase; Anyway, the system is able to survey and to notify pressure
anomalies already during the phase of calibration.
The user has to do the calibration only after the control of the correct tyres pressure; so, once
checking the function it’s necessary to drive about 5 km.
done the calibration, if all is right, the unit will say:
THE TYRES ESTIMATED PRESSURE WAS NORMAL.
ODOMETER VALUE
With this function the user can interrogate in every moment the number of kilometres covered by
the car with the same tyres from moment in which the function has been activated.
y interrogating this item, the unit will pronounce the number of the kilometres covered;
for example, if the user has covered 1500 kilometres, the unit will say:
ODOMETER VALUE: ONE, FIVE, ZERO, ZERO.
SETTINGS
y selecting this function it’s possible to set some parameters about some functions; the items of
the sub-menu SETTINGS are:
Language
Volume
System control
Threshold alarm level for tyre pressure warning.
Welcome message
Warning threshold distance
Speed limit
ack
4
RESET ODOMETER
The objective of the SKT 170 is also the possibility to increase the car’s safety condition and the
driver’s one. The first function is to control the kilometres covered with the same tyres.
This function is resettable by the user in every moment just selecting to this voice of the menu.
To reset the information:
Enter into the menu and select the voice RESET ODOMETER
The option will be:
Reset?
ack
y selecting one of these options, the user can reset the function or go back to main menu.
y resetting the memory of the function RESET ODOMETER, the function stays active only the
counter is reset.
5
LANGUAGE
y checking this option the user can set the language.
SKT 170 is available in 6 language, the unit keeps in memory 4 languages: 3 of these languages
are set on default on every kit version.
The languages set by default are:
ITALIAN
ENGLISH
FRENCH
The fourth language can be:
GERMAN
SPANISH
PORTOGUESE
During the la selection of the language, the selection will be pronounced in the language to
choose; if the user will course the “Italian”, vocal synthesis will say ITALIANO; if the user will
select the “English”, the vocal synthesis will say ENGLISH.
VOLUME
SKT 170 is an high-technologic kit that manages all communications with a professional vocal
synthesis. It’s possible to regulate the volume reproduction.
y selection this function, the kit will pronounce VOLUME;
now it’s possible to choose the parameter in a range of some values: 1, 2, 3, 4 and 5.
The recommended VOLUME level is 2.
SYSTEM CONTROL
The unit can be disabled or enabled directly by the user. The kit is active by default; that means
the pneumatic control is enabled and so all eventual emergency messages will be pronounced in
case of anomaly. Anyway, by selecting this option of the menu, it’s possible to disabled the con-
trol.
y selecting this function, the kit will pronounce SYSTEM CONTROL, now it’s possible to
choose the parameter in a range of two values: Enabled, Disabled.
THRESHOLD ALARM LEVEL FOR TYRE PRESSURE WARNING
This item of the menu sets the sensitivity level of intervention in case of tyre anomaly.
The levels available are:
- Low (discharge of 0.5 bar)
- Normal (discharge of 0.4 bar DEFAULT SETTING)
- HIGH (discharge of 0.3 bar)
Other Paser Automobile Accessories manuals

Paser
Paser CF0026UNPS51 User manual

Paser
Paser CONVERSO DISPLAY Reference manual

Paser
Paser uDAB User manual

Paser
Paser UNICOM EVO JVC User manual

Paser
Paser UNIKA User manual

Paser
Paser PARKVIEW CF0006UNPS41 User manual

Paser
Paser UNICOM/HUMMER H2 User manual

Paser
Paser UNICOM JVC User manual

Paser
Paser UNICOM EVO PLUS User manual

Paser
Paser KIT052USSU12 User manual
Popular Automobile Accessories manuals by other brands

Cruz
Cruz Evo Rack Alu A23-126 Assembly instructions

PERFORMANCE ADVANTAGE COMPANY
PERFORMANCE ADVANTAGE COMPANY 1028 installation instructions

Thule
Thule 176 parts list

Broadfeet
Broadfeet RDAC-114-51 installation instructions

Stanfred
Stanfred SMPBC-BM3V installation instructions

Symbol
Symbol VC5090 Product reference guide