manuals.online logo
Brands
  1. Home
  2. •
  3. Brands
  4. •
  5. PawHut
  6. •
  7. Pet Care Product
  8. •
  9. PawHut D04-057 Installation guide

PawHut D04-057 Installation guide

ASSEMBLY & INSTRUCTION MANUAL
IMPORTANT, RETAIN FOR FUTURE REFERENCE: READ CAREFULLY
INdba008V02_GL
INdba008V02_GL_D04-057_D04-058
1
EN
1.To keep the bed and cover flat, please adjust the fabric with some force to
move into the right positionwhen assembling.
2.For step 5-6, please align metal pipes with plastic parts first, then insert the
pipes into the plastic parts.
3.For step 5, the velcro may not be completely covered.As the cover being
used for a period of time,will be a little looser than before, then you could
tighten the cover the velcro completely.
4.When the cover has been used for a while, you will be able to tighten the
velcro.
FR
1. Pour que le lit et la housse restent parfaitement plats, veuillez ajuster le
tissu avec un peu de force pour le mettre dans la bonne position lors de
l'assemblage.
2. Aux étapes 5et 6, veuillez d'abord aligner les tubes métalliques avec les
pièces en plastique, puis insérer les tubes dans les pièces en plastique.
3. A l'étape 5, le velcro peut ne pas être complètement couvert. La housse
utilisée pendant un certain temps sera un peu plus lâche qu'avant, vous
pourrez alors resserrer complètement le velcro de la housse.
4. Lorsque la housse aura été utilisée pendant un certain temps, vous pourrez
resserrer le velcro.
ES
1.Para mantener la cama y la cubierta planas, ajuste la tela con fuerza para
moverlas a la posición correcta al montar la cama para mascotas.
2.Al realizar el Paso 5-6, alinee los tubos metálico con las piezas de plástico
primero, luego inserte los tubos metálicos en las piezas de plástico.
3. Al re aliz ar el Paso 5, es pos ible que el vel cro no est é cub ier to
completamente. Dado que la cubierta quedará más suelta que antes después
de un período de uso, puede apretar la cubierta con el velcro completamente.
4.Cuando la cubierta se haya utilizado durante un período, podrá apretar el
velcro bien.
DE
1.Um das Bett und die Abdeckung flach zu halten, ziehen Sie bitte den Stoff mit
etwas Kraft an, um ihn beim Zusammenbau in die richtige Position zu bringen.
2. F ür Sc h ritte 5-6, ri chte n Sie bi tte zu e rst di e Meta llroh r e auf die
Kunststoffteile aus und stecken Sie dann die Rohre in die Kunststoffteile.
3.Bei Schritt 5 kann es sein, dass der Klettverschluss nicht vollständig
verdeckt ist. Da die Abdeckung für einen Zeitraum verwendet wird, wird er
etwas lockerer und Sie können dann die Verdeckung der Klettverschlüsse
vollständig festziehen.
4.Wenn die Verdeckung für eine Weile verwendet worden ist, können Sie den
Klettverschluss festziehen.
IT
1. Per mantenere il lettino e la fodera piatti, regolare il tessuto esercitando con
una certa forza per portarlo nella posizione corretta durante il montaggio.
2. Per gli step 5-6, allineare prima i paletti in metallo con i raccordi in plastica,
quindi inserire nei raccordi in plastica.
3. Per lo step 5, il velcro potrebbe non essere completamente coperto. Poiché
la fodera viene utilizzata a lungo, essa si allenterà nel tempo, quindi sarà
possibile stringere completamente la fodera con il velcro.
4. Quando la fodera è stata utilizzata a lungo, sarete in grado di stringere il
velcro.
2
F 1
G 1 I 1
H 4
A 2 B 4
C 2
EN_Separate the velcro on the back of cover and insert the metal pipe A into the fabric as
illustrated.
FR_Détachez le velcro à l'arrière de la couverture et insérez le tube métallique A dans le
tissu comme illustré.
ES_Separe el velcro ubicado en la parte trasera de la cubierta, luego inserte el tubo
metálico A en la tela como lo que se muestra en la imagen.
DE_Trennen Sie den Klettverschluss auf der Rückseite der Abdeckung und stecken Sie
das Metallrohr A wie abgebildet in den Stoff.
IT_Separare il velcro sul retro della fodera e inserire il paletto in metallo A nel tessuto come
mostrato in figura.
01
3
EN_lnsert 2 bed legs B into metal pipe A.
FR_Insérez 2 pieds de lit B dans le tube métallique A.
ES_Inserte las 2 patas de la cama B en el tubo metálico A.
DE_Stecken Sie 2 Bettfüße B in das Metallrohr A.
IT_Inserire 2 gambe del lettino B nel paletto in metallo A.
EN_lnsert 2 metal pipes C into the bed legs B as ilustrated.
FR_Insérez deux tubes métalliques C dans les pieds de lit B comme illustré.
ES_Inserte los 2 tubos metálicos C en las patas de la cama B como lo que se muestra en la
imagen.
DE_Stecken Sie 2 Metallrohre C wie abgebildet in die Bettfüße B.
IT_Inserire 2 paletti in metallo C nelle gambe del lettino B come mostrato in figura.
03
02
4
EN_Please repeat step 2 on the other side,then connect 2 bed legs B with 2 metal pipes C.
FR_Veuillez répéter l'étape 2 de l'autre côté, puis connectez 2 pieds de lit B avec 2 tuyaux
métalliques C.
ES_Repita el paso 2 en el otro lado, luego conecte 2 patas de cama B con 2 tubos de metal
C.
DE_Bitte wiederholen Sie Schritt 2 auf der anderen Seite und verbinden Sie dann 2
Bettbeine B mit 2 Metallrohren C.
IT_Ripetere il passaggio 2 sull'altro lato, quindi collegare 2 gambe del letto B con 2 tubi
metallici C.
EN_Pull hard over the metal pipe A, then stick the velcro. (see note 3)
FR_Tirez fort sur le tube métallique A, puis remettez le Velcro en place. (voir Note 3).
ES_Tire del tubo metálico A con fuerza, luego pegue el velcro. (Consulte la Nota 3)
DE_Ziehen Sie kräftig über das Metallrohr A, dann kleben Sie den Klettverschluss auf
(siehe Anmerkung 3).
IT_Tirare con forza sul paletto in metallo A, quindi fissare il velcro. (vedere nota 3)
05
04
5
EN_Turn the pet bed over.
FR_Retournez la litière pour animaux domestiques en position normale.
ES_Dé la vuelta a la cama para mascotas.
DE_Drehen Sie das Haustierbett um.
IT_Capovolgere il lettino della cuccia.
Done
06
EN_Parts G and H required
FR_Pièces G et H requises
ES_Se requieren las piezas G y H.
DE_Teile G und H notwendig
IT_Parti G e H necessarie
6
EN_lnsert 4 tent poles H to the plastic connectors through the holes on the canopy.
FR_Insérez 4 piquets de tente H dans les connecteurs en plastique via les trous du
baldaquin.
ES_Inserte los 4 postes del dosel H en los conectores de plástico y atravéselos en los
orificios del dosel.
DE_Stecken Sie 4 Zeltstangen H mit den Kunststoffverbindern durch die Löcher am
Vordach
IT_Inserire 4 paletti della tenda H nei connettori in plastica attraverso i fori sul tettuccio.

EN_Canopy finished! (Note: To connect the canopy witht the pet bed cor rectly; thebigger
angles of the canopy should be pointed to the long sides of the bed, the smaller angles of
the canopy should be pointed to the short sides of the bed.)
FR_Le baldaquin est prêt! (Remarque: pour relier correctement le baldaquin au lit pour
animaux, les grands angles du baldaquin doivent être orientés vers les côtés longs du lit,
les petits angles du baldaquin doivent être orientés vers les côtés courts du lit).
ES_¡El montaje del dosel está terminado! (Nota: Para conectar el dosel a la cama para
mascotas correctamente, los ángulos más grandes del dosel deben apuntar hacia los
lados largos de la cama, los ángulos más pequeños del dosel deben apuntar hacia los
lados cortos.)
DE_Vordach fertig! (Hinweis: Um das Vordach richtig mit dem Tierbett zu verbinden,
sollten die offenen Winkel des Vordachs zu den langen Seiten des Bettes zeigen, die
kleineren Winkel des Vordachs zu den kurzen Seiten des Bettes).
IT_Installazione del baldacchino conclusa! (Nota: per collegare correttamente il
baldacchino alla cuccia; gli angoli più grandi del baldacchino devono essere ancorati sui
lati lunghi della cuccia, gli angoli più piccoli del baldacchino devono essere ancorati sui lati
corti della cuccia.)
7
EN_Plug the tent pole ends to the corners of the bed.
FR_Fixez les extrémités des piquets de tente aux quatre angles du lit.
ES_Conecte los extremos de los postes del dosel a las esquinas de la cama.
DE_Stecken Sie die Enden der Zeltstangen in die Ecken des Bettes.
IT_Collegare le estremità del palo della tenda agli angoli del letto.
EN_Secure the canopy with the bungee cords at each corner of the bed legs B.
FR_Attachez le baldaquin avec les tendeurs à chaque angle des pieds du lit B.
ES_Fije el dosel con las cuerdas elásticas ubicadas en cada esquina de las patas de la
cama B.
DE_Sichern Sie das Vordach mit den Bungee-Seilen an jeder Ecke der Beinstreben B.
IT_Fissare il baldacchino con le corde elastiche ad ogni angolo delle gambe del lettino B.
8
EN_Finished!(Note: The canopy side with plastic connectors faces outwards)
FR_Terminé!( Remarque: Le côté de la canopée avec les connecteurs en plastique doit ê
tre orienté vers l'extérieur).
ES_¡Listo!(Nota: El lado del dosel con los conectores de plástico debe orientar hacia
afuera.)
DE_Fertig!.(Hinweis: Die Vordachseite mit den Kunststoffanschlüssen zeigt nach außen.)
IT_Installazione terminata!(Nota: il lato del tettuccio con connettori in plastica deve essere
rivolto verso l'esterno)

This manual suits for next models

2

Other PawHut Pet Care Product manuals

PawHut D06-115 Installation guide

PawHut

PawHut D06-115 Installation guide

PawHut D02-021 Installation guide

PawHut

PawHut D02-021 Installation guide

PawHut D02-020 User manual

PawHut

PawHut D02-020 User manual

PawHut D00-142 Installation guide

PawHut

PawHut D00-142 Installation guide

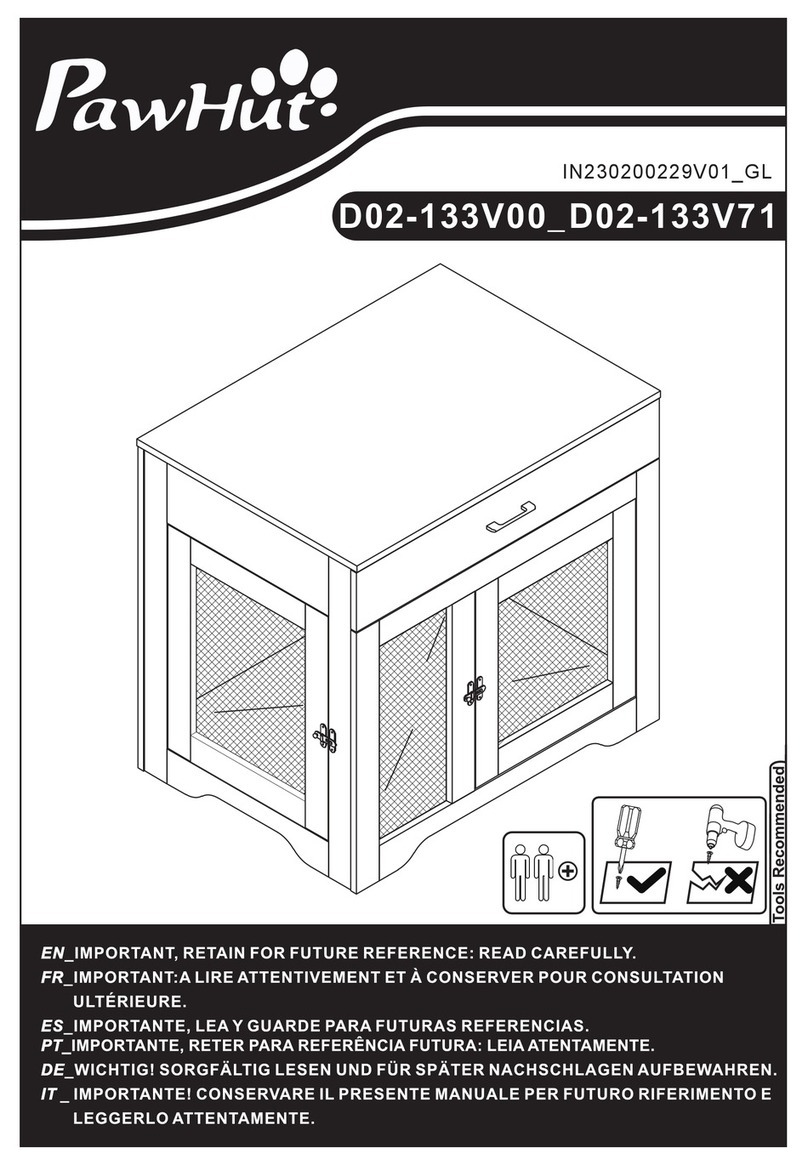
PawHut D02-133V00 User manual

PawHut

PawHut D02-133V00 User manual

PawHut D02-062 Installation guide

PawHut

PawHut D02-062 Installation guide

PawHut D04-064V01 Installation guide

PawHut

PawHut D04-064V01 Installation guide

PawHut D00-166V00 User manual

PawHut

PawHut D00-166V00 User manual

PawHut D10-059 User manual

PawHut

PawHut D10-059 User manual

PawHut D06-161V00 User manual

PawHut

PawHut D06-161V00 User manual

PawHut D02-062 Installation guide

PawHut

PawHut D02-062 Installation guide

PawHut D00-108V01 User manual

PawHut

PawHut D00-108V01 User manual

PawHut D10-082 Installation guide

PawHut

PawHut D10-082 Installation guide

PawHut D00-158V00 User manual

PawHut

PawHut D00-158V00 User manual

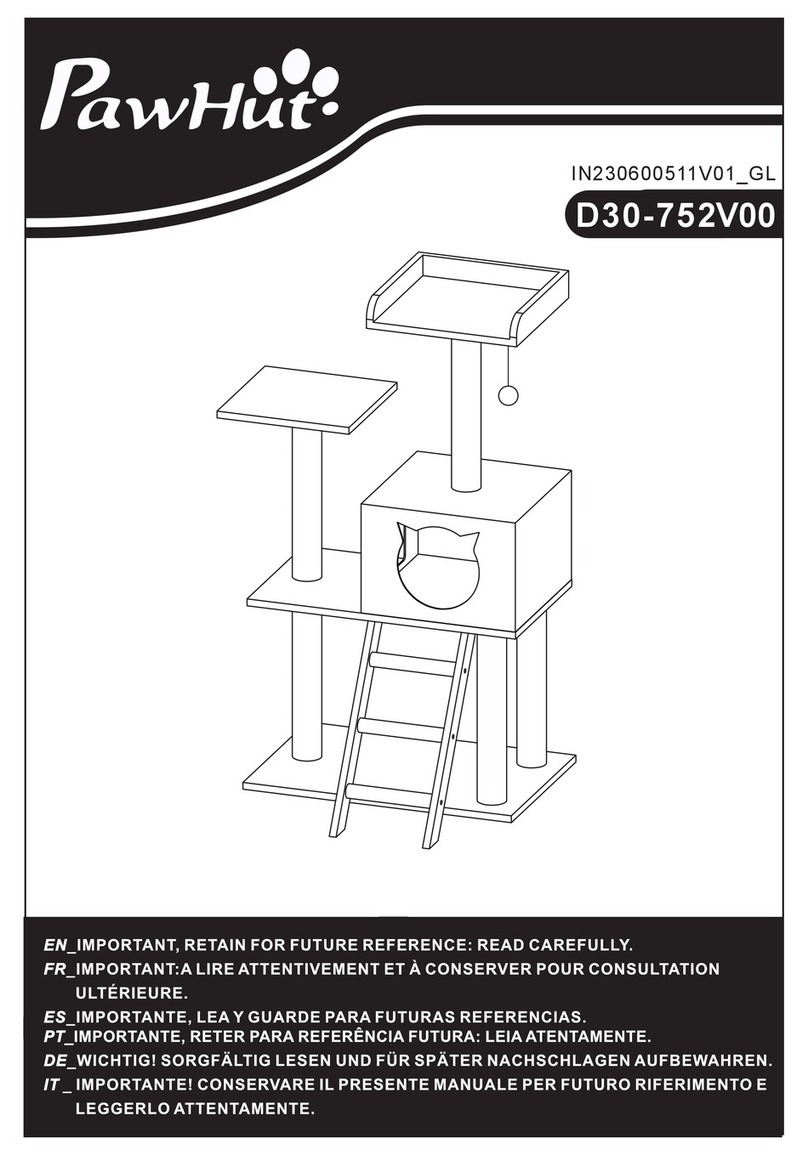
PawHut D30-752V00 User manual

PawHut

PawHut D30-752V00 User manual

PawHut D31-012 User manual

PawHut

PawHut D31-012 User manual

PawHut D40-006V01 Installation guide

PawHut

PawHut D40-006V01 Installation guide

PawHut D00-164V00 User manual

PawHut

PawHut D00-164V00 User manual

PawHut D30-765V00 User manual

PawHut

PawHut D30-765V00 User manual

PawHut D40-016V80 Installation guide

PawHut

PawHut D40-016V80 Installation guide

PawHut D02-020 Installation guide

PawHut

PawHut D02-020 Installation guide

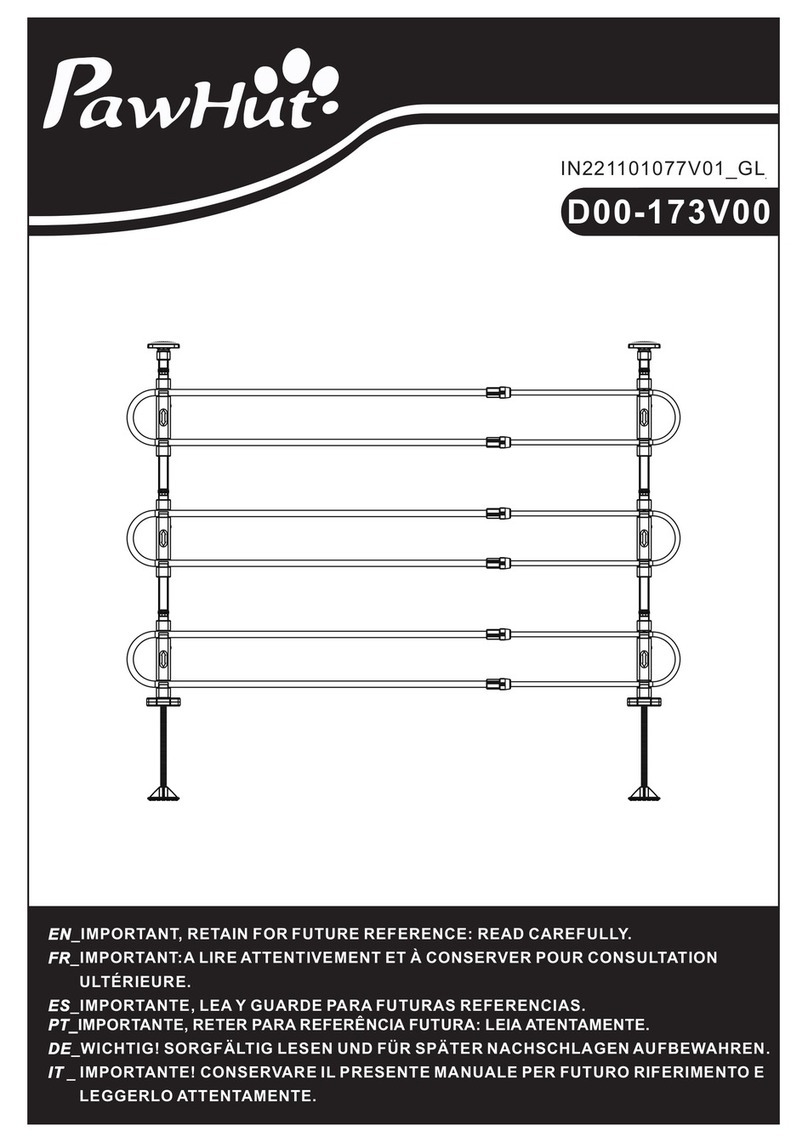
PawHut D00-173V00 User manual

PawHut

PawHut D00-173V00 User manual

PawHut D00-141 Installation guide

PawHut

PawHut D00-141 Installation guide

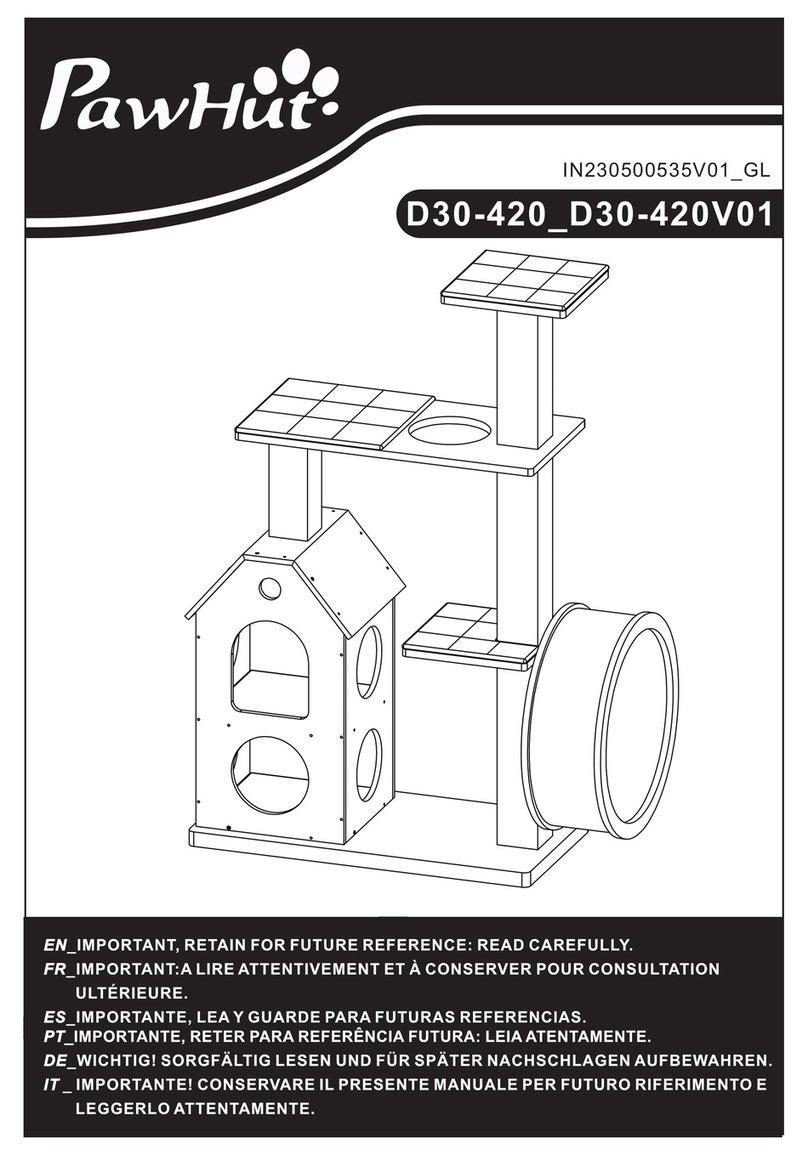
PawHut D30-420 User manual

PawHut

PawHut D30-420 User manual

Popular Pet Care Product manuals by other brands

waveline WavePuck manual

waveline

waveline WavePuck manual

Dogtra 170474 owner's manual

Dogtra

Dogtra 170474 owner's manual

Leuchtie Premium quick start guide

Leuchtie

Leuchtie Premium quick start guide

Dogtra e-Fence owner's manual

Dogtra

Dogtra e-Fence owner's manual

DOBE DB400 user guide

DOBE

DOBE DB400 user guide

Emmi Ultrasonic emmi-pet Care user manual

Emmi Ultrasonic

Emmi Ultrasonic emmi-pet Care user manual

anko CWD40*40-1X-12 user manual

anko

anko CWD40*40-1X-12 user manual

Garmin Alpha 50 owner's manual

Garmin

Garmin Alpha 50 owner's manual

Cozee Paws 816347 manual

Cozee Paws

Cozee Paws 816347 manual

Green Eco Pro Ultra 90 instruction manual

Green Eco Pro

Green Eco Pro Ultra 90 instruction manual

Jeroal PG-PMO023A Assembly instructions

Jeroal

Jeroal PG-PMO023A Assembly instructions

PETKIT 490SPCIGY user manual

PETKIT

PETKIT 490SPCIGY user manual

Petsafe Drinkwell D2TW-RE operating guide

Petsafe

Petsafe Drinkwell D2TW-RE operating guide

FEED'EM Smart Pet Feeder 2.0 user guide

FEED'EM

FEED'EM Smart Pet Feeder 2.0 user guide

Sunbeam SBFNSS1 instruction manual

Sunbeam

Sunbeam SBFNSS1 instruction manual

velda FISH FEEDER BASIC User instructions

velda

velda FISH FEEDER BASIC User instructions

Eickemeyer MAGIC 500 user manual

Eickemeyer

Eickemeyer MAGIC 500 user manual

Petsafe PBC17-16447 operating guide

Petsafe

Petsafe PBC17-16447 operating guide

manuals.online logo
manuals.online logoBrands
  • About & Mission
  • Contact us
  • Privacy Policy
  • Terms and Conditions

Copyright 2025 Manuals.Online. All Rights Reserved.