manuals.online logo
Brands
  1. Home
  2. •
  3. Brands
  4. •
  5. Paxton
  6. •
  7. Keypad
  8. •
  9. Paxton TOUCHLOCK compact Troubleshooting guide

Paxton TOUCHLOCK compact Troubleshooting guide

1
How to program a TOUCHLOCK
compact
TOUCHLOCK compact keypads are programmed
using a programming menu that is accessed by the
system administrator using a programming code,
dened when the keypad is initialised.
Programming TOUCHLOCK compacts
When the system is powered up for the rst time the keypad will beep 3 times a second. This indicates
that the keypad is waiting to be initialised. The red LED will be steady, the amber LED will ash slowly and
the green LED will ash quickly.
Initialising the keypad
Programming the keypad
Press the bell button. The unit will stop beeping and the green LED will ash
Enter your chosen 6 digit programming code and press the bell button (The green LED will ash faster still)
Conrm your programming code by entering the same 6 digit code and pressing the bell button
(The green LED goes out and the unit will acknowledge that the programming code has been
accepted by beeping twice after a short pause. All the LED's are now on)
NOTE: The programming code should NOT contain the sequence of numbers 1234, as this is the default user code for
unlocking the door.
The keypad has a default user code of 1234. The programming code you just entered will now let you into the menu
where additional alterations can be made.
How do I enter the programming mode? - To change any of the settings on the keypad you must use the
programming menu. To do this, enter the 6 digit programming code. The keypad will beep twice and the
green LED will ash.
How can I change a user code? - If the keypad is in 'single user mode' a new code will replace the old one.
In 'multi user mode', codes must be added and deleted individually.
First enter programming mode and then hold down '8' for 3 seconds. Enter the new user code followed by
the bell button. Enter the new code again followed by the bell. A nal key press denes the action type This
will be a '4' to enter the code as a normal code; '6' for a toggle code and '8' for a duress code.
A 'normal code' will release the lock for the set 'door open time'. A 'toggle code' will hold the lock open until
the code is entered for a second time. A 'duress code' will release the lock as in normal mode but will also
energise the bell terminal so that that a remote alarm can be used to call for assistance.
AN1003
Compact
2
AN1003
Compact
How can I make the keypad work with a fail open lock? - As the default the keypad powers the lock to
release it. To set the default to provide power to keep the door locked, rst enter programming mode, hold
down "1" for 3 seconds. Press the "6" button. The lock wires will now operate for fail open locks.
How can I stop the keypad from beeping? - The keypad can be made to work in silence if, for example, it is
located near to where someone is working. Enter the programming code and hold down "3" for 3 seconds.
Press the "6" button and the keypad will no longer beep when keys are pressed.
How can I use the exit button wires? - The exit button wires can be used as either a standard exit button,
where the door opens for the door open time following a button press, or as a toggle device where the
button will toggle the door open until it is pressed again or a toggle code is entered on the keypad. Enter
the programming code and hold down "7" for 3 seconds. Press the "6" button to set the button to toggle
the lock.
How can I stop people trying to guess the entry code? - Lockout is a function where the keypad will lock
to prevent someone from continually trying to guess the entry code. After 20 incorrect keys have been
pressed the keypad will lock out for a period of 1 minute. To activate lockout, enter programming mode
and hold down "4" for 3 seconds then press "6".
What can I do if it all goes wrong? - The keypad can be reset back to factory defaults with the exception
of the programming code. Enter programming mode and hold down "9" for 3 seconds. Re-enter the
programming code and hold down "9" for a further 3 seconds. The keypad will now be reset. If the master
code becomes lost a hardware reset must be performed. To do this turn o the power to the unit, hold
down the '3' button on the keypad and re-administer power to the unit. When the power is applied, release
button '3'. Three beeps will indicate that the unit has successfully data reset.
What is the Hardware Reset Procedure? - If the master code becomes lost a hardware reset must be
performed. To do this turn o the power to the unit, hold down the '3' button on the keypad and re-
administer power to the unit. When the power is applied, release button '3'. Three beeps will indicate that
the unit has successfully data reset.
How can I change the door open time? - Enter programming mode and hold down "5" for 3 seconds. Enter
the time required door open time, in seconds between 1 and 60. (e.g. for 5 seconds type in "0" then "5".) The
default value is 7 seconds
How can I change the programming code? - Enter programming mode and hold down "6" for 3 seconds.
Enter the new programming code followed by the bell button. Re-enter the new code to conrm the change
followed by the bell button. The new code is now programmed; the old programming code will no longer
work.
How can I enable more than one user code? - You need to set the keypad into 'multi user mode'. First
enter the programming mode, hold down '2' for 3 seconds then press '6'. You can now use option 8 to add
and delete individual user codes.
3
AN1003
Compact
Single or multiple codes
Silent operation
20 wrong keystrokes
= 60 second lockout
Door open time (seconds)
Change Programming Code
Exit Button
Set a user code
Data Reset
(except Programming code)
OR
OR
OR
One code only Multiple codes allowed
Silent
Beep on
ON
OFF
Enter time in seconds
(default = 07, max = 60)
Open door for time
in option 5
Toggle door open until
pressed again or toggle
code entered
Enter user code 4-8
digits
Re-enter user
code
Enter 6 digit
Programming Code
= Delete
= Normal
= Toggle
= Duress
Enter 6 digit
Programming Code
Re-enter 6 digit
Programming Code
Lock wire setting
X
6
X
2
4
6
8
2
2
2
2
2
3
4
7
5
6
9
8
6
6
START - Enter the 6 digit Programming Code and hold down a function key for 3 seconds.
The unit beeps and the LED ashes faster.
Continue the key sequence to set the option - The keypad returns to operating mode.
= Hold down for 3 secs
Function keys
1Fail closed Fail open
26
OR
OR
OR
OR
OR 6
9

This manual suits for next models

11

Other Paxton Keypad manuals

Paxton 521-836-US User manual

Paxton

Paxton 521-836-US User manual

Paxton Ins-30058-US User manual

Paxton

Paxton Ins-30058-US User manual

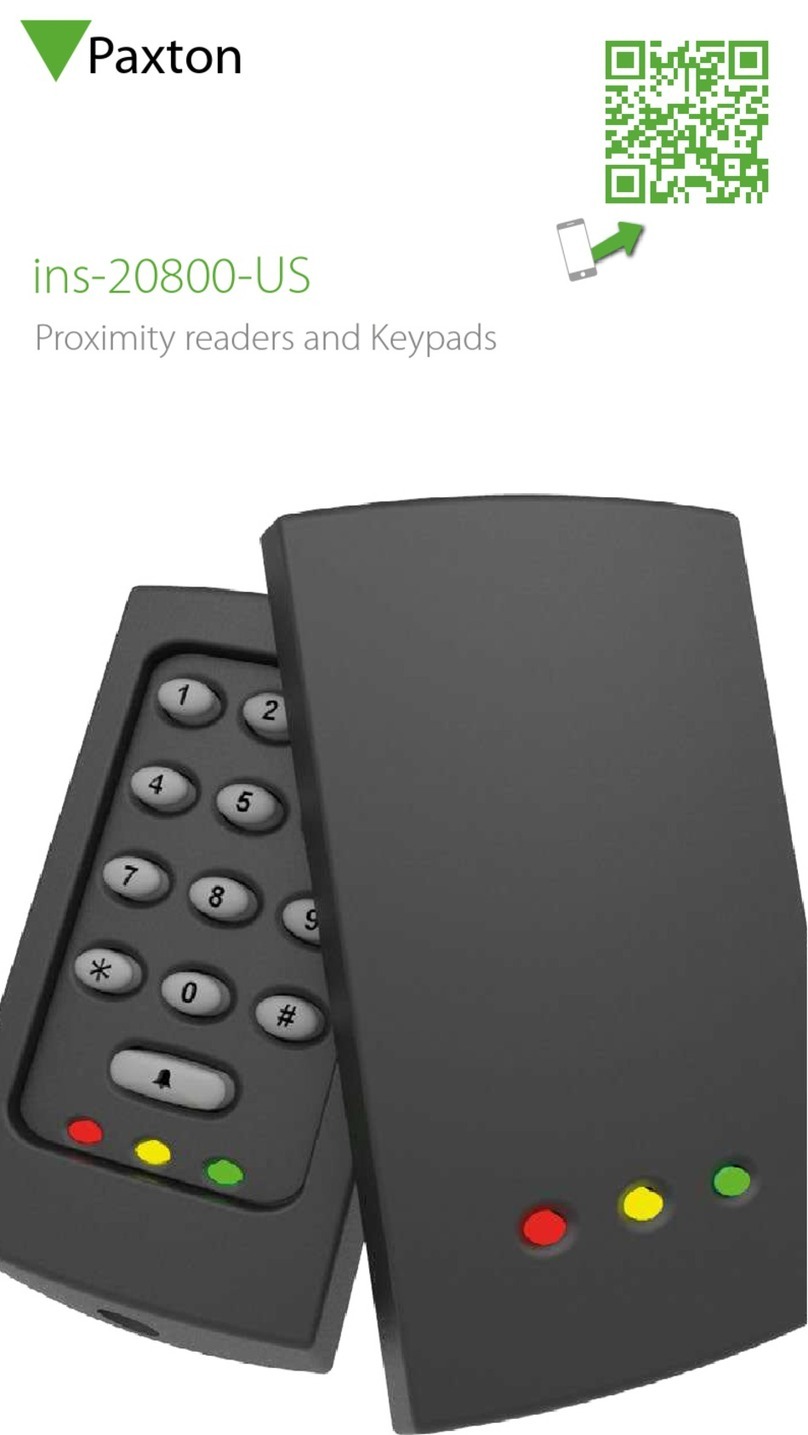
Paxton ins-20800-US User manual

Paxton

Paxton ins-20800-US User manual

Paxton Easyprox 30100 User manual

Paxton

Paxton Easyprox 30100 User manual

Paxton Ins-30100-US User manual

Paxton

Paxton Ins-30100-US User manual

Paxton TOUCHLOCK Compact APN-1003-AE Troubleshooting guide

Paxton

Paxton TOUCHLOCK Compact APN-1003-AE Troubleshooting guide

Paxton TOUCHLOCK K Series User manual

Paxton

Paxton TOUCHLOCK K Series User manual

Paxton TOUCHLOCK K Series User manual

Paxton

Paxton TOUCHLOCK K Series User manual

Paxton TOUCHLOCK K Series Troubleshooting guide

Paxton

Paxton TOUCHLOCK K Series Troubleshooting guide

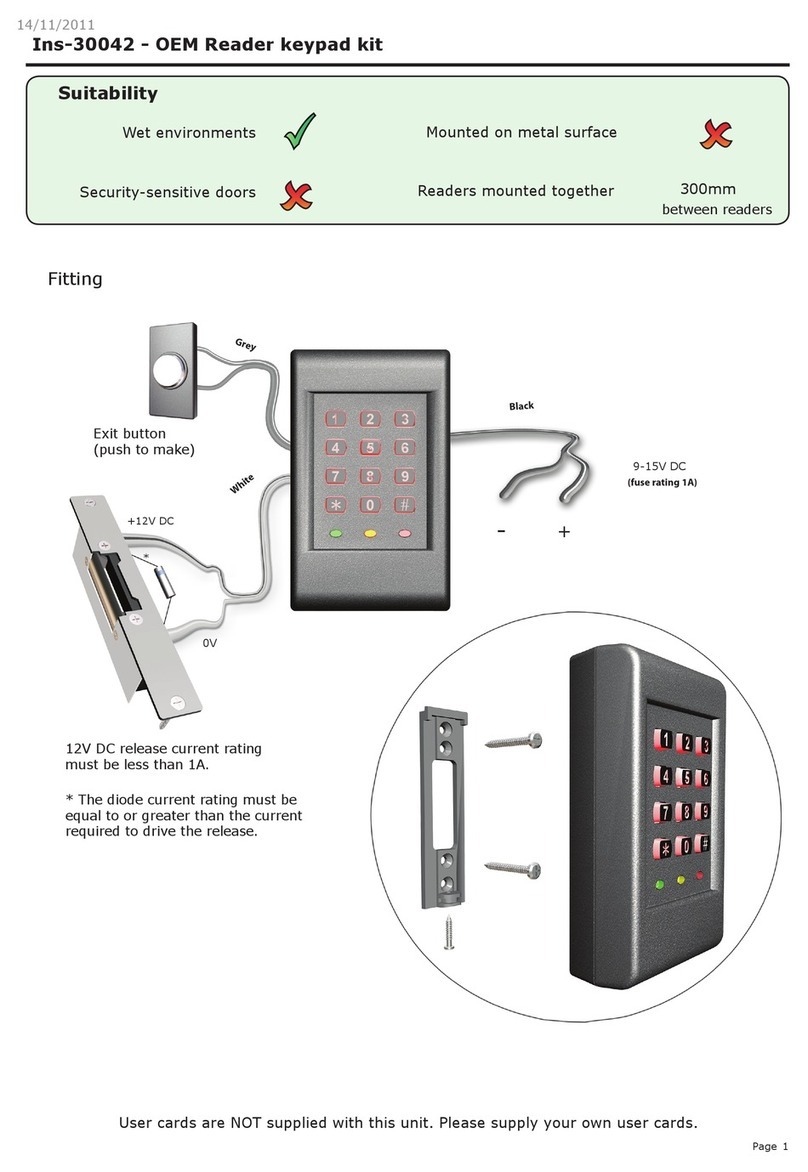
Paxton Ins-30042 User manual

Paxton

Paxton Ins-30042 User manual

Paxton TOUCHLOCK Compact K Series User manual

Paxton

Paxton TOUCHLOCK Compact K Series User manual

Popular Keypad manuals by other brands

ADEMCO 6128WL installation instructions

ADEMCO

ADEMCO 6128WL installation instructions

rako WCM-071 instruction manual

rako

rako WCM-071 instruction manual

Smartlock Digital SMARTPOINT SMARTLINC II 9160 User operating instructions

Smartlock Digital

Smartlock Digital SMARTPOINT SMARTLINC II 9160 User operating instructions

Elko iNels RF KEY - 40 quick start guide

Elko

Elko iNels RF KEY - 40 quick start guide

CDVI Krypto K3 Quick start installation guide

CDVI

CDVI Krypto K3 Quick start installation guide

Pima KLT500 installation instructions

Pima

Pima KLT500 installation instructions

Assa Abloy S series Installation & programming guide

Assa Abloy

Assa Abloy S series Installation & programming guide

Trap International RoboGuard ZONE LED.1 user manual

Trap International

Trap International RoboGuard ZONE LED.1 user manual

AAS 19-100i User & installation manual

AAS

AAS 19-100i User & installation manual

Nicolaudie STICK-DE3 quick start guide

Nicolaudie

Nicolaudie STICK-DE3 quick start guide

Auta 721159 manual

Auta

Auta 721159 manual

Gianni Industries DG-100 Operation user's manual

Gianni Industries

Gianni Industries DG-100 Operation user's manual

Rockwell Automation Allen-Bradley 2711E-NK5 Installation datasheet

Rockwell Automation

Rockwell Automation Allen-Bradley 2711E-NK5 Installation datasheet

Satel VERSA-LCDM-WRL manual

Satel

Satel VERSA-LCDM-WRL manual

Teletek electronics LCD64 Operation manual

Teletek electronics

Teletek electronics LCD64 Operation manual

Vitrea VTouch-Plus Installation & configuration manual

Vitrea

Vitrea VTouch-Plus Installation & configuration manual

Niles NUMERIC-6P Features & specifications

Niles

Niles NUMERIC-6P Features & specifications

Select Entry Systems TEC1ACL Series Programming and installation guide

Select Entry Systems

Select Entry Systems TEC1ACL Series Programming and installation guide

manuals.online logo
manuals.online logoBrands
  • About & Mission
  • Contact us
  • Privacy Policy
  • Terms and Conditions

Copyright 2025 Manuals.Online. All Rights Reserved.