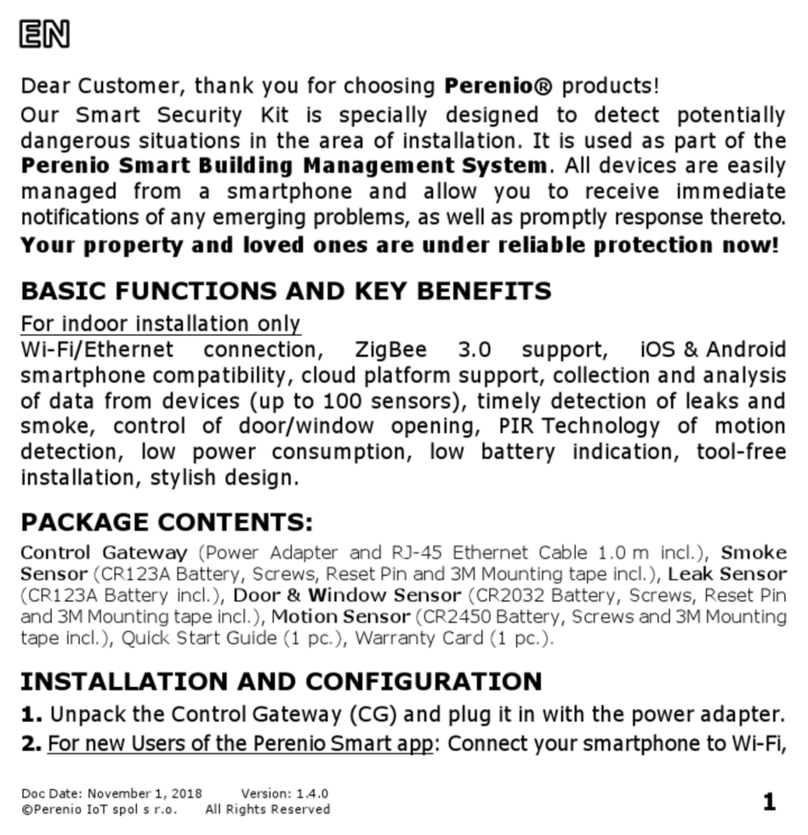
Perenio PEKIT01 Instruction Manual

Perenio® PEKIT01 Smart Security Kit:
Mobile App Connection Guide
February, 2022

Perenio® PEKIT01 Smart Security Kit:
Mobile App Connection Guide
Document version: 1.0.1 ©Perenio IoT spol s r.o. All rights reserved
Page 2of 8
Table of Contents
Contents ...............................................................................................................................................................2
Introduction.........................................................................................................................................................2
1 General information .....................................................................................................................................3
1.1 Important information.........................................................................................................................3
2 Logging into your Perenio Smart account ...........................................................................................4
2.1 Register a new account ......................................................................................................................4
2.2 Logging into an existing account ....................................................................................................4
3 Connecting the control center..................................................................................................................5
4 Connecting the sensors ..............................................................................................................................7
Introduction
The present Guide describes basic steps for connecting the PEKIT01 devices to the
Perenio Smart mobile app.
For detailed information about the devices, as well as safety operation rules,
installation and configuration, please refer to the following Installation and Operation
Manuals available for download at perenio.com/documents:
1. Perenio® PEACG01 Control Gateway Installation and Operation Manual.
2. Perenio® PECLS01 Leak Sensor Installation and Operation Manual.
3. Perenio® PECSS01 Smoke Sensor Installation and Operation Manual.
4. Perenio® PECMS01 Motion Sensor Installation and Operation Manual.
5. Perenio® PECWS01 Door & Window Sensor Installation and Operation Manual.

Perenio® PEKIT01 Smart Security Kit:
Mobile App Connection Guide
©Perenio IoT spol s r.o. All rights reserved Document version: 1.0.1
Page 3of 8
1 General
The entire process of preparing the PEKIT01 devices for operation can be divided into
the following several key steps:
•Signing in to your Perenio Smart mobile app account;
•Activation of the Control Gateway via the mobile app;
•Connection of sensors to the Control Gateway.
1.1 Important
1. The Control Gateway in not necessarily required for all Perenio® Sensors in
order to alert Users on potentially dangerous situations. So, the Leak Sensor
and the Smoke Sensor can operate as standalone devices, i.e. when leakage
or smoke is detected in a room, the sensor starts beeping.
2. The Control Gateway firmware update process may be started upon its initial
activation in the mobile application. It is not allowed to power off the
device after the firmware update process is started!
3. The Device must not be switched off or disconnected from the mains for at
least 5 minutes after the RESET Button is pressed.
4. When the Control Gateway with connected sensors is switched to “Offline”,
sensors may remain in the “Offline” state for around 4.5 hours after the
connection is restored.
5. If any connection errors occur, you should first read the instructions on your
smartphone screen. If that information does not help you to solve the problem,
please refer to the Troubleshooting Section in the corresponding Installation
and Operation Manual. If that didn’t help either, you should contact our Tech
Support Department at perenio.com –“Support”.

Perenio® PEKIT01 Smart Security Kit:
Mobile App Connection Guide
Document version: 1.0.1 ©Perenio IoT spol s r.o. All rights reserved
Page 4of 8
2 Logging into Perenio Smart Account
Perenio® devices shall be managed through a free mobile application available for
downloading in Google Play or App Store.
In order to log in to the User Account, follow the steps below:
a. Connect your smartphone to the Wi-Fi Network and download the Perenio Smart
app from Google Play or App Store;
b. Register a new User Account (See par. 2.1 below) or sign in to an existing User
Account (See par. 2.2 below).
2.1 New User Account Registration
a. Fill in your e-mail address, user name and password
(8 or more symbols including at least one capital letter
and one number), then select the country of residence;
b. Agree to General Terms and Conditions, Privacy Policy
and provisions for personal data protection (accessible
by the link);
c. Click on the SIGN UP button.
The User will receive an email to verify the User Account
(Follow the link);
d. Log in to the User Account.
2.2 Logging in to the Existing User Account
a. Enter your e-mail address and password in the login
screen;
b. Click on the LOG IN button.
NOTE. If the password is lost, the User can restore it by
clicking on a corresponding link on the screen.
To restore a forgotten password, use the e-mail address
linked to your User Account, as instructions on changing
the password will be sent thereto.

Perenio® PEKIT01 Smart Security Kit:
Mobile App Connection Guide
©Perenio IoT spol s r.o. All rights reserved Document version: 1.0.1
Page 5of 8
3 Connecting the Control Gateway
To ensure proper installation and operation of the Control Gateway, the User shall
perform the following steps:
1. Unpack the Control Gateway and connect it to the power source (220 V) using
the Power Adapter.
2. In the mobile app, click on the “+” icon in the upper right corner of the Devices
tab and then the Control Gateway device in the list.
3. Click on the SCAN QR CODE button.
NOTE. Confirm the permission to access your Camera in the pop-up window (It
may not be available for certain smartphone models).
4. Find the QR Code sticker on the back of the Quick
Start Guide supplied with the Control Gateway or on
the bottom of the Control Gateway and place your
smartphone 15-20 cm away from it, so that the QR
Code is completely visible on the smartphone screen
(See the picture on the right).
NOTES. In the event that the QR Code can’t be
scanned, you may activate the device manually (See
below).
If you cannot enter the device ID and password
manually, please contact our Tech Support
Department (perenio.com/support) to restore
data.

Perenio® PEKIT01 Smart Security Kit:
Mobile App Connection Guide
Document version: 1.0.1 ©Perenio IoT spol s r.o. All rights reserved
Page 6of 8
Manual activation of the device
If the QR Code was damaged or lost, you can enter
the device data manually as follows:
a. Click on the ENTER MANUALLY button at the
bottom of the QR Code scan screen;
b. Enter the Device ID and the Password specified
in the Quick Start Guide or on the bottom of the
device (ID and Password lines next to the QR
Code);
c. Click on the CONNECT button.
5. In the opened window, enter the password from the
Wi-Fi Network or select another network, and click
CONNECT.
NOTES. The device may be connected to Wi-Fi
Network of 2.4G Hz only.
Before connecting, make sure that the Control
Gateway is powered on and that the smartphone is
located at a distance of not more than 2 meters from
it.
If the Wi-Fi Network password is incorrectly entered
more than twice in a row, the Control Gateway may
not return to the Access Point mode, which means
that the reset to factory settings will be required.
Connection errors
The connection failure of the device may occur due to one of the following
reasons:
a. The device is switched off or at a too long distance from the smartphone;
b. The device was already activated in the current or some other User Account;
c. The device ID and/or password or Wi-Fi Network data was entered
incorrectly;
d. Internet Provider failures.
NOTE. To eliminate connection failures, follow instructions specified on
corresponding screens of the smartphone.

Perenio® PEKIT01 Smart Security Kit:
Mobile App Connection Guide
©Perenio IoT spol s r.o. All rights reserved Document version: 1.0.1
Page 7of 8
6. After the device is successfully connected, you shall
additionally specify its desired name and upload the
screensaver, as well as select the Location and the
room of installation, and click on the DONE button.
NOTE. All of the above details may be entered or
changed later in the Control Gateway settings.
7. The Control Gateway will be displayed in the Devices
tab.
8. Wait for the firmware update process to be completed.
4 Connecting the Sensors
Sensors can be connected to the Control Gateway either individually or simultaneously.
The following steps are required for sensor activation:
1. Unpack the sensor and remove its battery packaging or the insulating strip to
power the device on.
2. In the mobile app, click on the “+” icon in the upper right corner of the Devices
tab and then the Control Gateway device in the list.
3. Select the desired Control Gateway in the “Online”state (This screen is only
displayed when several devices are available in your account).

Perenio® PEKIT01 Smart Security Kit:
Mobile App Connection Guide
Document version: 1.0.1 ©Perenio IoT spol s r.o. All rights reserved
Page 8of 8
4. Start searching for Sensors.
5. Sensors shall be switched to the connection mode as follows, if their indicators
are not blinking:
a. Leak Sensor: Press and hold the reset button until the LED indicator
starts blinking rapidly. If the LED goes out after the reset button is
released, press it again;
b. Smoke Sensor: Press and hold the reset button until the LED indicator
starts blinking rapidly. Wait for the indicator to go off, then press and hold
the reset button until the LED Indicator starts blinking;
c. Motion Sensor: Press and hold the reset button until the LED indicator
starts blinking;
d. Door & Window Sensor: Press and hold the reset button until the LED
indicator starts blinking.
NOTES. Sensors may be detected within 90 seconds
of starting the search process.
The number of detected sensors will be displayed at
the bottom of the screen.
Press DONE after all the sensors have been
detected.
6. After the sensors are detected, you should enter the
desired names and select the installation room.
Other manuals for PEKIT01
5
Table of contents
Other Perenio Security System manuals