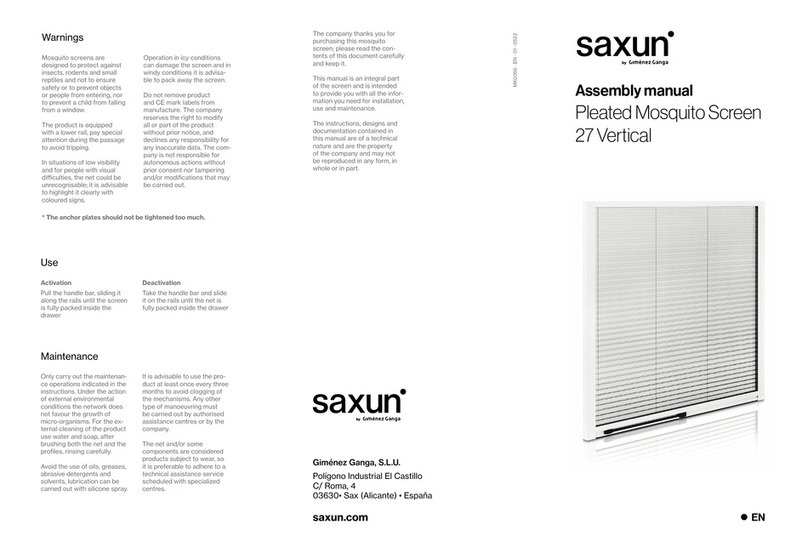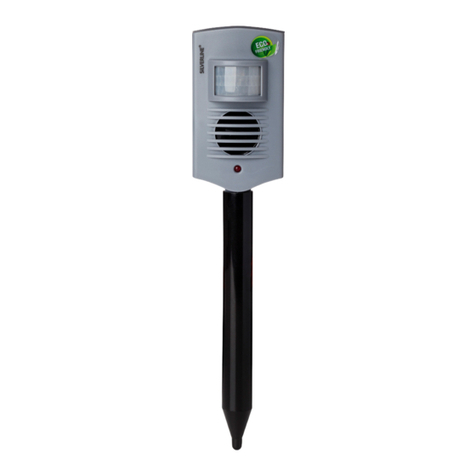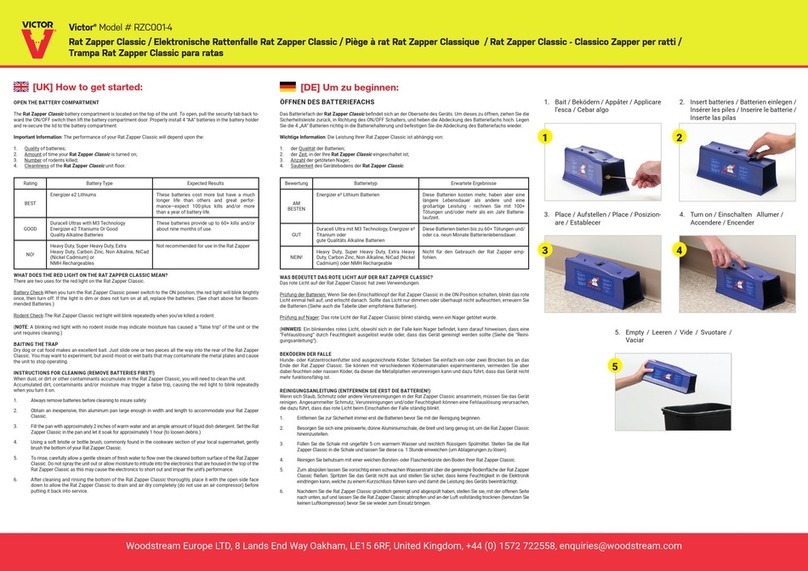
MANTIS SYSTEMS 110 VOLTS
INSTRUCTIONS FOR USE AND MAINTENANCE - PLEASE UNPLUG MACHINE BEFORE SERVICING
PRODUCT DESCRIPTION
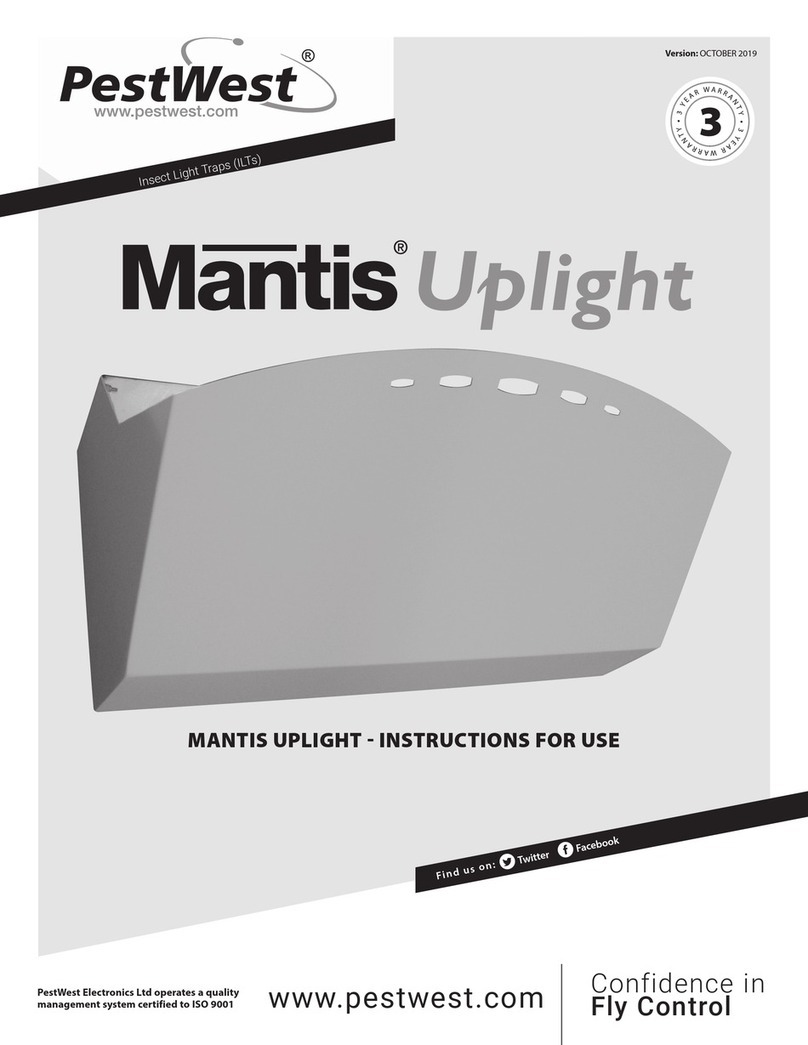
PestWest Mantis systems are made using the
highest quality materials. The bodywork is of either
conformal polyester powder-coated white or black
nish over a zintex (rust-resistant) chassis or 304
brushed stainless steel nish (Mantis 1x2 model
only). On open faced models, where the lamps
are visible when in use, there is a front chromium
plated steel guard protecting the UVA lamps against
damage as well as glue board contact.
UNPACKING YOUR System
Each system is carefully inspected and packed
before leaving our factory. Before discarding the
outer carton, examine for obvious evidence of
transport damage. Remove the system and pay
particular attention to the removal of all packing
materials including any transit packing. Including
the release paper o the glue board.
MODE OF OPERATION
The PestWest Mantis range of systems operate on
the principal that most ying insects are attracted
to light, particularly to the ultra violet (UV) end
of the light spectrum. Since insects are still very
active and will y at night, systems should be left
operating continuously, i.e.: 24 hours a day. The
Mantis systems operate by attracting ying insects
to UVA light emitted by the lamps within the system.
Do not place near lighting xtures or windows as
ying insect attraction will be reduced. Use the
Mantis systems in addition to good house-keeping
practices.
LOCATION
It is impossible to give one set of recommendations
to cover all requirements or situations. These
general guidelines are given in the knowledge that
some of them apparently conict with others. Users
should adopt those that best t their needs or seek
expert advice. As a general rule:
1. Mantis systems should be positioned so as to
minimize competition from other light sources,
so do not mount adjacent to windows. In food
areas, mount the system close to, but not
directly over, exposed food or food preparation
surfaces (preferably to attract ies away from
food preparation areas).
2. Observe where the ies tend to congregate
and if possible, put your system, in or close to
that area.
3. Position systems in an “interception” position
from the principal point of y entry - normally
doors and/or windows. In food establishments,
ies are more likely to come in through the
back door rather than the front, because that
is where the kitchen refuse and garbage cans
are kept.
4. Mount the system in a convenient location for
changing the glue board; Do not place over
working machinery where access may be
dicult or dangerous.
COVERAGE
People cannot see UVA light from UVA BL lamps,
but can see the blue light from UVA BL lamps. The
UVA light diminished over time. Additionally, UVA
light decreases proportionately by the distance
from the lamps (Inverse Square Law). Therefore, for
optimum placement and results, use the PestWest
UV-AMETER.
MAINTENANCE
To maintain the attractive appearance of the
systems, they should be cleaned/wiped down as
often as required. Use a cloth dampened with water
and detergent or a proprietary cleaner. Do not use
scouring pads or abrasives.
INSTALLATION
Select the optimum position for the system using
the guidelines given (see “Location”).
PestWest Mantis range oers a choice of either
wall-mounted or freely suspended. Wall mounted
systems are supplied with a backing plate
plastic bracket for attaching to the wall (screws
and masonry plugs supplied with the system).
Suspended systems have top lugs for tting in
suspended mode.
For safety reasons PestWest recommend that on
the suspended mounted systems, each of the
hanging chains (which are not supplied) should be
of non-corroding material that is capable of taking
at least 30 lbs each. Only welded link chains should
be used in corrosive/damp environments. For ease
of service and re-hanging, it is recommended that
the chain have a spring release clip at the end
connected to the system, ensuring that they also
are capable of supporting 30 lbs each.
The systems are tted with a 6.5 ft. power cord and
operate from a 110v 60Hz supply. If it is necessary
to extend the power cord, it is recommended that
a licensed electrician perform this work. Ensure
that once installed, the power lead is adequately
secured. Before installing any Mantis, please
remove all packaging.
This appliance must be grounded. In the event of
malfunction or breakdown, grounding provides
a path of least resistance for electric current to
reduce the risk of electric shock. This appliance
is equipped with a cord having an equipment -
grounding conductor and a grounding plug. The
plug must be plugged into an appropriate outlet that
is properly installed and grounded in accordance
with all local codes and ordinances.
DANGER
Improper connection of the equipment-grounding
conductor can result in a risk of electric shock.
The conductor with insulation having an outer
surface that is green with or without yellow stripes
is the equipment-grounding conductor. If repair or
replacement of the cord or plug is necessary, do
not connect the equipment grounding conductor
to a live terminal. Check with a licensed electrician
or serviceman if the grounding instructions are not
completely understood, or if in doubt as to whether
the appliance is properly grounded. Do not modify
the plug provided with the appliance – if it will not
t the outlet, have a proper outlet installed by a
qualied electrician.
MANTIS 1X2
The system is designed to be wall mounted, and the
wall bracket hooks under the rear lip of the lid of the
system. Using the wall bracket as a template, mark
o the two drill points on the mounting surface,
having checked that the bracket is level. Using
the screws and plastic plugs provided, secure the
bracket in place, making sure that the mounting lip
of the bracket is most elevated. Alternate securing
can be made using the keyhole slots in the back of
the system, remove the glue-board and mark the
hole position using the body as a template.
NB: If the wall is of drywall/sheet rock or stud
partition etc, suitable hardware must be used to
ensure that the system will be securely positioned.
Hook the 1x2 system onto the bracket such that the
bracket locates under the rear lip of the lid. Secure
the power cord to the wall or other rm surface prior
to connecting to the supply. Once the system is
installed, you will need to remove the backing paper
from the glue boards to reveal the glued surface.
MANTIS 2X2
NOTE: ENSURE BEFORE INSTALLING THE System
THAT THE SURFACE FROM WHICH IT IS TO BE
SUSPENDED IS CAPABLE OF SUPPORTING THE
WEIGHT.
To suspend the system, you will need two chains
of sucient length to suit (not supplied). This chain
should be of suitable gauge to support at least 30
lbs each. For ease of removal, we recommend that
the chain that is attached to the system has spring
clips at the ends for easy on/o. (again making sure
they are each capable of supporting 30 lbs each
- see - Installation). After selecting the optimum
position for the system using the guidelines given
(see - Location), attach the chains to the point from
which the system is to be suspended. Ensuring
that the system hangs level, place the clips or chain
through the suspension brackets located on either
side of the lid. Once the system is installed, you will
need to remove the backing paper from the glue
boards to reveal the glued surface.
To convert the Mantis 2x2 to portable or
freestanding, see the exclusive Mantis 2x2
Freestanding Kit, sold separately.
The image below illustrates the completed kit.
Mantis 2x2
Freestanding Kit
Part Code:
822-000043
PRECAUTIONS
All PestWest systems are fully insulated, Class I
appliances, nevertheless, sensible precautions
should be observed:
• Do not install where dangerous concentrations
of ammable gases or dusts are likely to occur.
• Do not install in damp or corrosive
environments.
• Ensure the system is properly grounded.
• Avoid working on the machines while they are
still connected to the mains.

