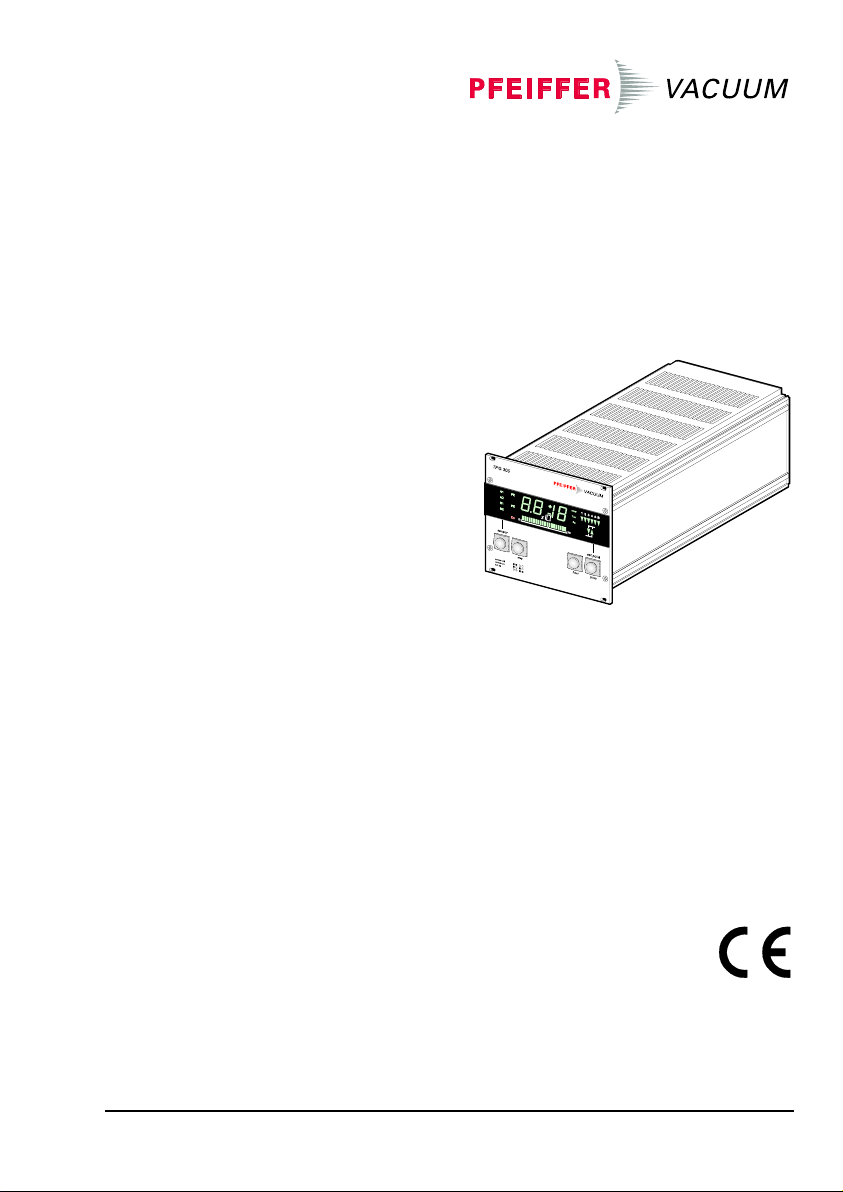
Pfeiffer Vacuum TPG 300 User manual

Artisan Technology Group is your source for quality
new and certied-used/pre-owned equipment
• FAST SHIPPING AND
DELIVERY
• TENS OF THOUSANDS OF
IN-STOCK ITEMS
• EQUIPMENT DEMOS
• HUNDREDS OF
MANUFACTURERS
SUPPORTED
• LEASING/MONTHLY
RENTALS
• ITAR CERTIFIED
SECURE ASSET SOLUTIONS
SERVICE CENTER REPAIRS
Experienced engineers and technicians on staff
at our full-service, in-house repair center
WE BUY USED EQUIPMENT
Sell your excess, underutilized, and idle used equipment
We also offer credit for buy-backs and trade-ins
www.artisantg.com/WeBuyEquipment
REMOTE INSPECTION
Remotely inspect equipment before purchasing with
our interactive website at www.instraview.com
LOOKING FOR MORE INFORMATION?
Visit us on the web at www.artisantg.com for more
information on price quotations, drivers, technical
specications, manuals, and documentation
Contact us: (888) 88-SOURCE | sales@artisantg.com | www.artisantg.com
SM
View
Instra

Operating Instructions
incl. Declaration of Conformity
BG 805 970 BE (0306) 1
Total Pressure Gauge
Controller
TPG 300

2BG 805 970 BE (0306) TPG 300.oi
In all communications with Pfeiffer Vacuum, please
specify the information on the product nameplate. For
convenient reference copy that information into the
space provided below.
Typ:
No:
F-No:
V Hz VA
Pfeiffer Vacuum, D-35614 Asslar
This document applies to products with part number
PT546900-T.
The part number can be taken from the product name-
plate.
This document is based on firmware version
BG509731-A
If your unit does not work as described in this document,
please check that it is equipped with the above firmware
version (→50).
We reserve the right to make technical changes without
prior notice.
All dimensions in mm.
Depending on the options chosen, the TPG 300 can
measure total pressure from atmosphere to 10-11 mbar. It
can trigger a number of pressure-dependent functions to
control and monitor vacuum devices and processes. The
instructions contained in this document must be strictly
followed.
Product Identification
Validity
Intended Use

BG 805 970 BE (0306) TPG 300.oi 3
Contents
Product Identification 2
Validity 2
Intended Use 2
1 Safety 5
1.1 Symbols Used 5
1.2 Personnel Qualifications 5
1.3 General Safety Instructions 6
1.4 Liability and Warranty 6
1.5 Further Symbols 7
2 System Overview 8
2.1 Basic Unit 8
2.2 Measurement Plug-In Boards 8
2.3 Interface and Relay Plug-In Boards 9
3 Technical Data 10
4 Installation 13
4.1 Installation 13
4.1.1 Rack Installation 13
4.1.2 Installation in a Control Panel 14
4.1.3 Use as Desk-Top Unit 16
4.2 Mains Power Connection 19
4.3 Installing/Removing plug-in boards 20
4.4 Connecting plug-in boards 21
5 Operation 22
5.1 Front panel 22
5.2 Switching TPG 300 On and Off 23
5.3 Measuring with the TPG 300 24
5.4 Operating Modes 25
5.5 Operating Mode »sensor« 26
5.5.1 Key Entries 27
5.5.2 Switching the Measuring Circuit On/Off 28
5.5.3 Measurement Range Violation 28
5.5.4 Automatic Measuring Circuit Switchover 29
5.5.5 Self-Monitoring 30
5.5.6 Plug-In Board Identification 30
5.6 »set point« Mode 32
5.6.1 Key Entries 34
5.6.2 Parameter 34
5.7 »set up« Mode 35
5.7.1 Key Entries, Overview 36
5.7.2 »Switching Functions« Group 38
5.7.3 »PE Measurement
Underrange Control« Group 41
5.7.4 »Measurement Unit« Group 41
5.7.5 »Filter« Group 42
5.7.6 »Interface« Group 44

4BG 805 970 BE (0306) TPG 300.oi
5.7.7 »Parameter Storage« Group 45
5.7.8 »Test Programs« Group 50
6 Maintenance 54
7 Troubleshooting 55
7.1 Error Messages 55
7.2 Contact Setting of the Relays in the Event of a
Fault 56
7.3 Installation Problems 56
7.4 Operating and Calibration Problems 57
8 RS232C Interface 59
8.1 Installation 59
8.2 Data Transmission 59
8.2.1 Definitions 59
8.2.2 Flow Control 60
8.2.3 Communication Protocol 60
8.3 Mnemonics 62
8.3.1 Measurement Values 63
8.3.2 Switching Functions 64
8.3.3 Display 65
8.3.4 Filter Time Constant 66
8.3.5 Baud Rate 66
8.3.6 Storing Parameters 66
8.3.7 Auxiliary Functions 67
8.3.8 Error Messages 68
8.3.9 Example 68
9 Profibus Interface 70
10 Accessories 71
11 Storage 72
12 Disposal 72
Appendix 73
A: Conversion Tables 73
B: Default Parameters 74
C: Program Examples 75
D: Literature 76
E: Index 78
Declaration of Conformity 80

BG 805 970 BE (0306) TPG 300.oi 5
1 Safety
DANGER
Information on preventing any kind of physical injury.
WARNING
Information on preventing extensive equipment and
environmental damage.
Caution
Information on correct handling or use. Disregard can
lead to malfunctions or minor equipment damage.
Skilled personnel
All work described in this document may only be car-
ried out by persons who have suitable technical train-
ing and the necessary experience or who have been
instructed by the end-user of the product.
1.1 Symbols Used
1.2 Personnel
Qualifications

6BG 805 970 BE (0306) TPG 300.oi
• Adhere to the applicable regulations and take the
necessary precautions for all work you are going to
do and consider the safety instructions in this docu-
ment.
DANGER
Caution: mains voltage
Contact with live parts is extremely haz-
ardous when any objects are introduced or
any liquids penetrate into the unit.
Make sure no objects enter through the
louvers and no liquids penetrate into the
equipment.
Communicate the safety instructions to all other users.
Pfeiffer Vacuum assumes no liability and the warranty
becomes null and void if the end-user or third parties
• disregard the information in this document
• use the product in a non-conforming manner
• make any kind of interventions (modifications, altera-
tions etc.) on the product
• use the product with accessories, options and add-
ons not listed in the corresponding product docu-
mentation.
1.3 General Safety
Instructions
1.4 Liability and
Warranty

BG 805 970 BE (0306) TPG 300.oi 7
... please contact your local Pfeiffer Vacuum
service center.
Important Notice
Note
Special information on cost-effective use.
< … > Labeling
« … » Display, response
» … « Operating mode, effect
Waiting time, reaction time, duration of test
→See document …
→See page …
1.5 Further Symbols

8BG 805 970 BE (0306) TPG 300.oi
2 System Overview
TPG 300, Technical Data →10.
A list of all plug-in boards suited for the TPG 300 can be
found on 11.
For detailed information on the plug-in boards →[1].
Two slots (A and B) at the back of the TPG 300 can
accommodate up to two measurement boards.
Measurement
boards
Interface and
relay board
Power
supply
ABC
Pirani Cold
cathode
Pirani / cold cathode combined
Measurement plug-in boards:
OUTPUT
0 ...10 V
–+
ATM
HIGH VAC
OUTPUT
0 ...10 V
–+
ATM
HIGH VAC
1
TPR
2
TPR
PI 300 PE 300
IKR 1
IKR 2
control
OUTPUT
0 ... 10 V
–+
OUTPUT
0 ... 10 V
–+
ATM
HIGH VAC
TPR
CP 300
PI 300D PI 300DN PE300DC9 CP300C9 CP300C10 CP300T11
Compatible gauges:
TPR 010 ••• •
TPR 017 •
TPR 018 ••• •
IKR 050 •••
IKR 060 •••
IKR 070 •
2.1 Basic Unit
2.2 Measurement
Plug-In Boards

BG 805 970 BE (0306) TPG 300.oi 9
An interface and relay board can be plugged into slot C.
Measuring
boards
Interface and
relay board
Power
supply
ABC
RS232C
Interface
and Relays
RS232C
Interface
and Relays
RS422
Interface
and Relays
Profibus-DP
Interface
and Relays
IF 300A IF 300B IF 300C IF 300P
2.3 Interface and Relay
Plug-In Boards

10 BG 805 970 BE (0306) TPG 300.oi
3 Technical Data
Voltage 90 … 264 VAC ±10%
Frequency 47 … 63 Hz
Power consumption <55 VA
Overvoltage category II
Protection class 1
Connection European appliance
connector IEC 320 C14
Fuses none
Admissible temperature
Storage
Operation
Rack installation
Bench-top unit
–40 … +65 °C
+ 5 … +50 °C
+ 5 … +40 °C
+ 5 … +50 °C (with cover/
hinged feet)
Relative humidity ≤80% at temperatures up to
+31 °C decreasing to 50% at
+40 °C
Use Indoors only, height up to
2000 m
Pollution degree 2
Degree of protection IP20
Measurement boards
Interface and relay
boards
2 (slot A and B)
1 (slot C)
Mains Power Connection
Ambiance Conditions
Slots for Plug-In Boards

BG 805 970 BE (0306) TPG 300.oi 11
Pirani PI 300D
PI 300DN
Cold cathode PE 300DC9
Pirani / Cold cathode
combined
CP 300C9
CP 300C10
CP 300T11
RS232C interface
(D-Sub-Connector)
and Relays
IF 300A
RS232C interface
(cable)
and Relays
IF 300B
RS422 interface
and Relays
IF 300C
Profibus-DP interface
and Relays
IF 300P
depending on the measure-
ment boards used (→[1])
Manually
Computer controlled
By 4 push buttons (keys) on
the front panel
Via RS232C, RS422 or
Profibus-DP interface, de-
pending on the interface relay
boards used (→[1])
Measurement range depending on the measure-
ment boards used (→[1])
Measurement rate
Display rate
100 / s
5 / s
Filter time constant
fast (FI 1)
normal (FI 2)
slow(FI 3)
≈16 ms
≈160 ms
≈1.6 s
Measurement unit mbar, Torr, Pa
Compatible Measurement
Boards
Compatible Interface and
Relay Boards
Measurement Range
Operation Controls
Measured Values

12 BG 805 970 BE (0306) TPG 300.oi
235 2.5
316
sensor set point
sensor off
sensor on
set up
step funct group
1234AB
mbar
Torr
Pa
A1
A2
B1
B2
PE
PE
010
127
141.9
122.5
128.5
ø3.5
111.6
137.5
Rack mounted, panel mounted or bench top.
1.35 kg (without plug-in boards)
Dimensions [mm]
Installation Modes
Weight

BG 805 970 BE (0306) TPG 300.oi 13
4 Installation
DANGER
Caution: damaged product
Putting a damaged product into operation can
be extremely hazardous.
In case of visible damage make sure the
product is not put into operation.
Skilled personnel
The unit may only be installed by persons
who have suitable technical training and the
necessary experience or who have been
instructed by the end-user of the product.
The TPG 300 can be installed in a 19" rack, a control
panel or operated as a desk top unit.
The TPG 300 is designed for installation in a 19" rack
frame, built according to the DIN 41 494 standard
(screws and plastic parts are supplied with it).
DANGER
Caution: protection category of the rack
If the product is installed in a rack, it is likely
to lower the protection category of the rack
(protection against foreign bodies and water)
e.g. the EN 60204-1 regulations for switch
cabinets.
Take appropriate measures for the rack to
meet the specifications of the protection
category.
4.1 Installation
4.1.1 Rack Installation

14 BG 805 970 BE (0306) TPG 300.oi
Install rack chassis adapter in rack cabinet and slide
TPG 300 into the adapter. Secure TPG 300 with the
screws supplied with it.
Height 3U
M2.5
The temperature inside the rack must not
exeed the maximum admissible temperature
(→10).
DANGER
Caution: protection category of the control
panel
If the product is installed in a rack, it is likely
to lower the protection category of the rack
(protection against foreign bodies and water)
e.g. the EN 60204-1 regulations for switch
cabinets.
Take appropriate measures for the control
panel to meet the specifications of the pro-
tection category.
Installation in a
Height 3 U Rack
Chassis Adapter
4.1.2 Installation in a
Control Panel

BG 805 970 BE (0306) TPG 300.oi 15
For mounting the TPG 300 into a control panel, the
following cut-out is required:
M2.5 ... M3 or ø3 ... 3.5
122.5
113
139
127
For reducing the mechanical strain on the front panel,
preferably support the unit.
Slide the TPG 300 into the cut-out of the control panel
and secure it with four M2.5 … M3 (or equivalent)
screws.
The temperature inside the cabinet must not
exeed the maximum admissible temperature
(→10).

16 BG 805 970 BE (0306) TPG 300.oi
The TPG 300 is also suited for use as desk-top unit. For
this purpose, a conversion kit is available (→71).
nPush the eight press nuts supplied with the kit into
the appropriate holes in the side panels.
4.1.3 Use as Desk-Top
Unit
Desk-Top Conversion

BG 805 970 BE (0306) TPG 300.oi 17
oFit slotted Cover and secure it with the screws
supplied.
pMount folding stands and rubber feet onto angle
profiles.

18 BG 805 970 BE (0306) TPG 300.oi
qTurn over the TPG 300 and fix both angle profiles
to the TPG 300 side panels as shown.
Used as a desk top unit, the temperature inside
the cabinet must not exceed the maximum ad-
missible temperature due to the influence of
external heat sources (→10).

BG 805 970 BE (0306) TPG 300.oi 19
DANGER
Caution: line voltage
Incorrectly grounded products can be ex-
tremely hazardous in the event of a fault.
Use only a 3-conductor power cable with pro-
tective ground. The power connector may
only be plugged into a socket with a protec-
tive ground. The protection must not be nulli-
fied by an extension cable without protective
ground.
DANGER
No mains line fuse
The TPG 300 has no fuses accessible by the
end user.
The line power socket for the TPG 300 has to
be fused with max. 10 A.
DANGER
Grounding screw for internal protective
ground
The internal protective ground is connected to
the TPG 300 power supply rear panel with a
grounding screw.
Do not turn or loosen grounding screw.
Internal protection
ground,
do not loosen
screw
4.2 Mains Power
Connection
Other manuals for TPG 300
2
This manual suits for next models
1
Table of contents
Other Pfeiffer Vacuum Controllers manuals

Pfeiffer Vacuum
Pfeiffer Vacuum TCM 1601 User manual

Pfeiffer Vacuum
Pfeiffer Vacuum CenterOne User manual

Pfeiffer Vacuum
Pfeiffer Vacuum MaxiGauge TPG 256 A PT G28 760 User manual

Pfeiffer Vacuum
Pfeiffer Vacuum IMG 400 User manual

Pfeiffer Vacuum
Pfeiffer Vacuum OPS 100 User manual

Pfeiffer Vacuum
Pfeiffer Vacuum TC 400 PB User manual

Pfeiffer Vacuum
Pfeiffer Vacuum DPG 202 User manual

Pfeiffer Vacuum
Pfeiffer Vacuum Tele TC cable 110 User manual

Pfeiffer Vacuum
Pfeiffer Vacuum TCP 600 User manual

Pfeiffer Vacuum
Pfeiffer Vacuum TPS 110 User manual