phase II+ SRG-4000 User manual

Machine Accessories Precision Tools Cutting Tools Material Testing Instruments
(201)962-7373
WWW.PHASE2PLUS.COM
PortableSurfaceRoughnessGauge
PartNo.SRG‐4000
Operation Manual

Machine Accessories Precision Tools Cutting Tools Material Testing Instruments
(201)962-7373
WWW.PHASE2PLUS.COM
Introduction:
TheSRG‐4000isaportable,batterypoweredinstrumentused
forcheckingsurfacefinishwiththemeasuredvaluesdisplayed
onadigitalreadout.Thisinstrumentcanbeutilizedina
laboratorysetting,ashopinspectionarea,orwhereveron‐site
surfaceroughnesstestingisrequired.
Note:
Althoughthisinstrumentisdesignedandbuilttowithstandthe
rigorsofhandlingandusage,itisasensitiveprecision
instrumentandshouldbetreatedwithcaretoassure
measurementaccuracyandreliableperformance.
The SRG-4000 is furnished in a fitted case and includes the following:
a) SRG-4000 unit with general purpose probe
b) Precision Reference Standard
c) Screwdriver
d) A/C Adapter
1
1) 5μm Diamond Stylus
2) LCD Display
3) Levelling bracket
4) Keypad
2
3
4

Machine Accessories Precision Tools Cutting Tools Material Testing Instruments
(201)962-7373
WWW.PHASE2PLUS.COM
Specifications:
Measuring Ranges: Ra, Rq—0.005µm ~ 16µm / 0.020µ” ~ 629.99µ”
Rz, Rt—0.020µm ~ 16µm / 0.078µ” ~ 629.9µ”
Display Resolution: 0.001µm < 10 µm
0.01 µm between 10 µm < 100 µm
0.1 µm > 100 µm
Cutoff: 0.25mm / 0.8mm / 2.5mm
Display: 4- Digit LCD
Measuring Accuracy: Not more than +/-10% of actual value
Probe Type: Piezoelectric / 5 µm Diamond Tip
Maximum Stylus Force: 4.0mN
Power Supply: Lithium-Ion Rechargeable Battery
Operating Temp: 50° - 113° F
Storage Temp: 32° - 147° F
Humidity: <80%
Surface Finish Definitions:
1) Ra:Ra is the arithmetic average of the absolute values of the roughness profile ordinates. Also
known as Arithmetic Average (AA), Center Line Average (CLA). The average roughness is the
area between the roughness profile and its mean line, or the integral of the absolute value of the
roughness profile height over the evaluation length
2) Rz: Rz is the arithmetic mean value of the single roughness depths of consecutive sampling
lengths. Z is the sum of the height of the highest peaks and the lowest valley depth within a
sampling length.
3) Cutoff λc: of a profile filter determines which wavelengths belong to roughness and which
ones to waviness.
4) Sampling Length: is the reference for roughness evaluation. Its length is equal to the
cutoff wavelength.
5) Traversing Length: is the overall length traveled by the stylus when acquiring the
traced profile. It is the total of Pre-travel, evaluation length and post travel
6) Evaluation Length: is the part of the traversing length from where the values of the
surface parameters are determined.

Machine Accessories Precision Tools Cutting Tools Material Testing Instruments
(201)962-7373
WWW.PHASE2PLUS.COM
Measurement Parameters:
Ra = Roughness Average. The arithmetic average height of roughness irregularities
measured from a mean line within the evaluation length (L)
Rz = Mean Roughness Depth. The mean of 5 maximum peak to valley roughness depths in 5
successive sampling lengths
Rq = Maximum Roughness Depth. The largest peak to valley roughness depth in the evaluation
length
Rq - Root-Mean-Square Roughness
The root-mean-square (rms) average roughness of a surface is calculated from
another integral of the roughness profile:
For a pure sine wave of any wavelength and amplitude Rq is proportional to Ra; it's about 1.11 times larger. Older instruments made
use of this approximation by calculating Rq with analog electronics (which is easier than calculating with analog
electronics) and then multiplying by 1.11 to report Rq. However, real profiles are not simple sine waves, and the approximation often
fails miserably. Modern instruments either digitize the profile or do not report Rq. There is never any
reason to make the approximation that is proportional to Ra. Rq has now been almost completely superseded by Ra In metal
machining specifications. Rq still has value in optical applications where it is more directly related to the optical quality of a surface.
Rt, is the vertical distance from the deepest valley to the
highest peak. (sum of maximum height of the profile peak and max. depth of the profile valley for
the evaluation length)

Machine Accessories Precision Tools Cutting Tools Material Testing Instruments
(201)962-7373
WWW.PHASE2PLUS.COM
System Set-Up Procedure:
a) On / Off
Press the Button to power the unit on. This instrument will save all parameters
that were set from the last performed test. Assuming that the parameters are correct for
the current application, you can begin testing at your convenience.
b) Setting the Cut-Off Length:
Press the button to toggle between the 3 available Cut-Off lengths:
(0.8mm, .25mm, 2.52mm)
(most common applications should be set for 2.5mm)
Ra
(µ
m
)
Rz
(µ
m
)
SAMPLING LENGTH/mm
>5 - 10 20 - 40 2.5mm
>2.5 - 5 >10 - 20 2.5
>1.25 - 2.5 >6.3 - 0 0.8
>0.63 - 1.25 >3.2 - 6.3 0.8
>0.32 - 0.63 >1.6 - 3.2 0.8
>0.25 - 0.32 >1.25 - 1.6 0.25
>0.20 - 0.25 >1.0 - 1.25 0.25
>0.16 - 0.20 >0.8 - 1.0 0.25
>0.125 - 0.16 >0.63 - 0.8 0.25
>0.1 - 0.125 >0.5 - 0.63 0.25
>0.08 - 0.1 >0.4 - 0.5 0.25
>0.063 - 0.08 >0.32 - 0.4 0.25
>0.05 - 0.063 >0.25 - 0.32 0.25
>0.04 - 0.05 >0.2 - 0.25 0.25
>0.032 - 0.04 >0.16 - 0.2 0.25
>0.025 - 0.032 >0.125 - 0.16 0.25
>0.02 - 0.025 >0.1 - 0.125 0.25

Machine Accessories Precision Tools Cutting Tools Material Testing Instruments
(201)962-7373
WWW.PHASE2PLUS.COM
c) Setting the Filter Profile: (Most typical applications should be set for RC Filter)
Press the button and hold for approx. 3 seconds until “Filt” appears on the
display. To toggle between the filter, press either the or buttons.
Once selection is made, Press any other button EXCEPT the or to
save selection.
d) Selecting Inch (μin) or Metric (μm) readout:
Press the button and hold it until “Unit” appears on the display. To toggle
between the measuring units, press either the or buttons. Once
selection is made, Press any other button EXCEPT the or to save
selection.
e) Selection of Roughness Scale: Ra, Rz, Rq(Rms), Rt
Press the button to toggle through the 4 available roughness scales
f) Selecting Range (Evaluation Length) readout: 1-5
This parameter is the part of the traversing length from where the values of the surface
parameters are determined (1L, 2L, 3L, 4L, 5L)
Press the button and hold it until “1L” appears on the display. To change
from 1-5 evaluation lengths, press either the or buttons. Once
selection is made, Press any other button EXCEPT the to save selection.

Machine Accessories Precision Tools Cutting Tools Material Testing Instruments
(201)962-7373
WWW.PHASE2PLUS.COM
Surface Preparation:
Be sure to clean surface from any liquids, viscous fluids, metal
chips, dust and rust. Any paint type coatings should be removed
prior to test.
Placement of Tester:
a) Be sure to set the unit flat as seen in
Figure 4-1. The built in level indicator
on the display will help you get set to
“0”.
b) The sliding trail of the stylus must be
vertical to the direction of the process
line (“across the grain”) of the measured
surface. See Figure 4-2
c) When the measured surface is smaller
than the bottom surface of the instrument,
the stylus sheath and adjustable leg can
be used as auxiliary support to complete
the measurement. See Figure 4-3

Machine Accessories Precision Tools Cutting Tools Material Testing Instruments
(201)962-7373
WWW.PHASE2PLUS.COM
Begin Measurements:
Once the unit is placed on the part to be tested you should press the START button.
You will see the display show 4 dashes as the stylus is making its pass. Once the
stylus returns to its starting position, the roughness value will be shown on the
display.
Saving your results:
After measuring, you will see the letter “M” will now have a dash over the top of the
letter. In this state, you can now save this group of results to memory by pressing the
button. Then the M with the dash over it will change to a regular “M”
without the dash over it automatically while the number of memorized groups
increases to “1”.
Browsing Parameters:
While in the “M” with the dash over it state, you can toggle between different
roughness scales (Ra, Rz, etc.)
Deleting Measurements:
While in the “M” with the dash over it state, you can delete this group of results by
depressing the button. Then the M with the dash over it will now become
just the regular “M”. New measurements will replace the old measurements if you
press the Start button while in the M dash state.
Browsing Memorized Data:
Regardless of the “M” state, you can see your results by pressing the button.
This browsing state is marked on the display with the letter “R”
When in the “R” state, you can browse different groups by pressing the
or buttons. The serial number of the group will show on the display.
For each group, you can still browse through the roughness scales. When picking a
roughness scale, the unit will give you the results in the corresponding scale.

Machine Accessories Precision Tools Cutting Tools Material Testing Instruments
(201)962-7373
WWW.PHASE2PLUS.COM
How to Calibrate the Tester:
To enter into calibration, turn the unit on and press and hold the button until
“CAL” is shown on the display. At that moment, release the button.
Take a measurement on the supplied reference standard or your own precision
standard and view the results.
To adjust your values, press the or buttons to correlate with the
value on the standard. Repeat this step until the reading is within acceptable
tolerance.
To Save this calibration Press any button EXCEPT for START. Display error should
be less than +/- 10% of the actual value.
Restoring Factory Settings:
It is necessary to restore when replacing a worn probe(stylus) or installing one of the
optional stylus for grooves or bores.
Press and hold the button until “FAC” is shown on the display. It will take
approx. 12-16 seconds for the unit to reach the FAC screen. This state is also marked
by “CAL”.
Place the unit on your supplied reference standard and press the START button.
While the probe is moving forward, you will notice that the numbers on the display
will vary with the movement.
At this time, you must use your supplied screwdriver and adjust the resistance (see
figure 3-35) and allow the reading on the display to come close to the value on the
standard.
After the test has completed, you must re-calibrate the unit as stated on the previous
page.
Battery Charging:
The SRG-4000 is supplied with a Nimh Rechargeable Battery.
This unit can be charged 2 ways. Wall Socket or PC.
By plugging the USB cable into the supplied plug, you can charge the unit by
plugging it in to your wall socket.
By plugging the USB end of the cable into your PC, you can also charge the unit.
Either way, the SRG-4000 will function while charging.

Machine Accessories Precision Tools Cutting Tools Material Testing Instruments
(201)962-7373
WWW.PHASE2PLUS.COM
Maintenance:
Protection and Storage
To protect the tester when not in use, always remove the probe from the base unit and
store in the supplied plastic case. Also, when not in use, always keep the tester and its
accessories in the carry case.
Cleaning:
To clean the outside of the tester, use a soft, lint free cloth moistened with a mild non-
abrasive liquid or foam cleaner. Periodically inspect the skid surface and stylus for dust,
dirt or other contaminants. To clean the skid surface, use a soft brush moistened with
rubbing alcohol.
Repairs:
Please contact Phase II for instructions.
Do not disassemble the unit or attempt any internal repairs as this will void the
existing warranty.
Accessories for SRG-4000
Part No. Description
SRG4000-050 Precision Support Stand
SRG4000-110 Stylus Extension
SRG4000-130 2μm Stylus (for ultra smooth surfaces)

Machine Accessories Precision Tools Cutting Tools Material Testing Instruments
(201)962-7373
WWW.PHASE2PLUS.COM
Precision Test Stand
Model No. SRG4000-050
Mounting SRG-4000 to the stand:
a) Remove two screws from Leveling plate on
the right side of the unit as shown in Fig 2.
b) Use those two screws to mount the SRG-
4000 to the Mounting Bracket as shown in
Figure 1.
c) Place leveling plate in carry case for future
use without stand.
Figure 2:
Figure 1:
New Swivel adapter shown at right

Machine Accessories Precision Tools Cutting Tools Material Testing Instruments
(201)962-7373
WWW.PHASE2PLUS.COM
MainHeadquarters:U.S.A
PhaseIIMachine&Tool,Inc.
21IndustrialAve
UpperSaddleRiver,NJ.07458USA
Tel:(201)962‐7373
Fax:(201)962‐8353
GeneralE‐Mail:[email protected]
BEIJING,CHINA
PhaseIIMeasuringInstruments(Beijing)Ltd.
Room301,Bldg2QingYuanXiLi,HaidianDistrict,Beijing100192,China
Tel:+86‐10‐59792409
Fax:+86‐10‐59814851
GeneralE‐mail:[email protected]
MEXICO
PhaseIIdeMexico
CalleANo.4PromerPiso
Col.SanMarcosAzcapotzalco
C.P02020Mexico
Tel:011‐525‐5538‐39771
Fax:same
GeneralE‐mail:[email protected]
VENEZUELA
PhaseIIHerramientasUniversalesEDCM.CA.
Av.FranciscoLazoMartiCC
PlazaSantaMonicaPBLocal
SantaMonica,Caracas1040Venezuela
Tel:212‐690‐28‐21
Fax:212‐693‐29‐16
E‐mail:[email protected]
Table of contents
Other phase II+ Test Equipment manuals
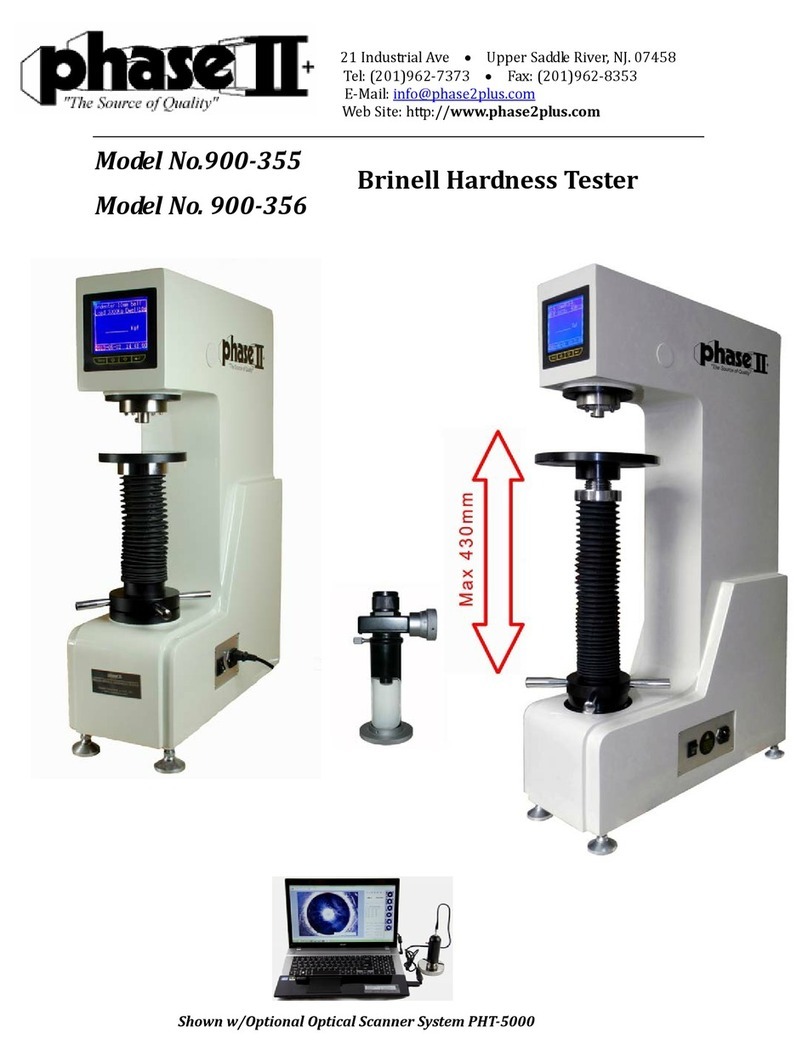
phase II+
phase II+ PHT-1800 User manual

phase II+
phase II+ SRG-2000 User manual
phase II+
phase II+ MET-U1A User manual

phase II+
phase II+ 900-356 User manual

phase II+
phase II+ PHT-5000 User manual

phase II+
phase II+ SRG 2200 User manual

phase II+
phase II+ PHT-1800 User manual
phase II+
phase II+ 900-345 User manual

phase II+
phase II+ PHT-3300 User manual
phase II+
phase II+ 900-385 User manual