manuals.online logo
Brands
  1. Home
  2. •
  3. Brands
  4. •
  5. Philips
  6. •
  7. Floodlight
  8. •
  9. Philips EH313L User manual

Philips EH313L User manual

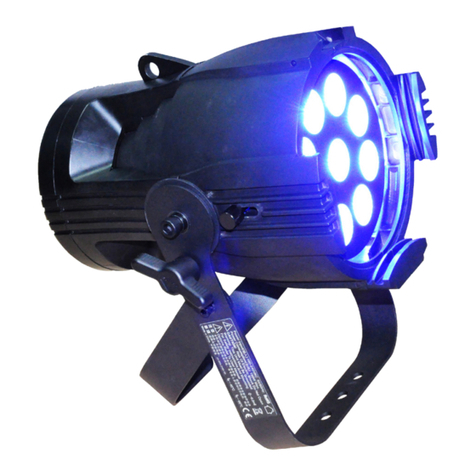
PHILIPS EH313L
7.5W x 2 LED FLOODLIGHT
LED Light
Lampshade
Wall Box
PIR (Motion Sensor)
INTRODUCTION
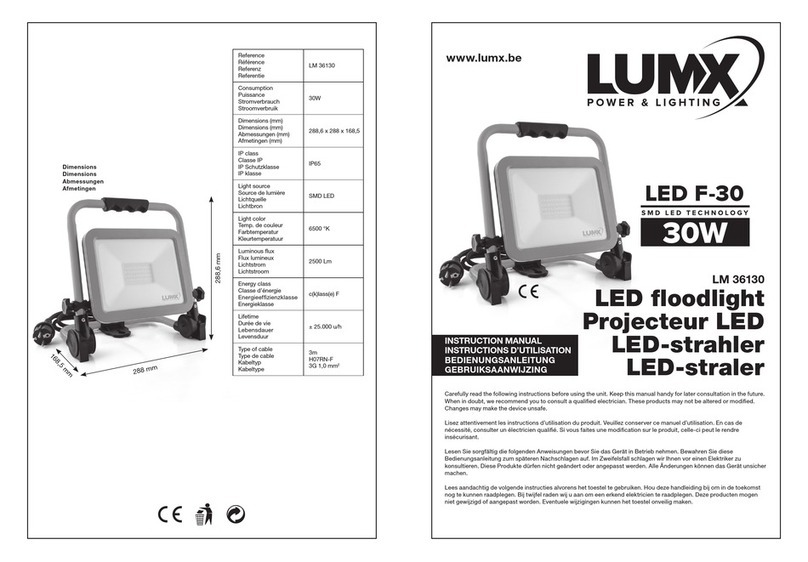
This 7.5W x 2 LED FLOODLIGHT is a unique indoor or
outdoor lighting system for your home or business place:
1. Prior to normal operation, test the light no matter in
the daytime or nighttime.
2. Determine how long the light will be on after motion
is detected.
3. Manual override feature enables the light to stay on
continuously both day and night.
4. Two adjustable lights allow you to provide the
optimum lighting coverage.
Note: Read this entire manual before you start to
install the system.
SAFETY PRECAUTIONS
DO NOT install this fitting when it is raining.
DO isolate the power supply during installation or
maintenance.
DO ensure that the power supply circuit is protected
by a 16 amp circuit breaker or suitable equivalent
fuse.
The fixing screw should not be removed after
installation. Secure the connection of the light
head assembly and motion sensor to the base, so
as to avoid any unsteadiness.
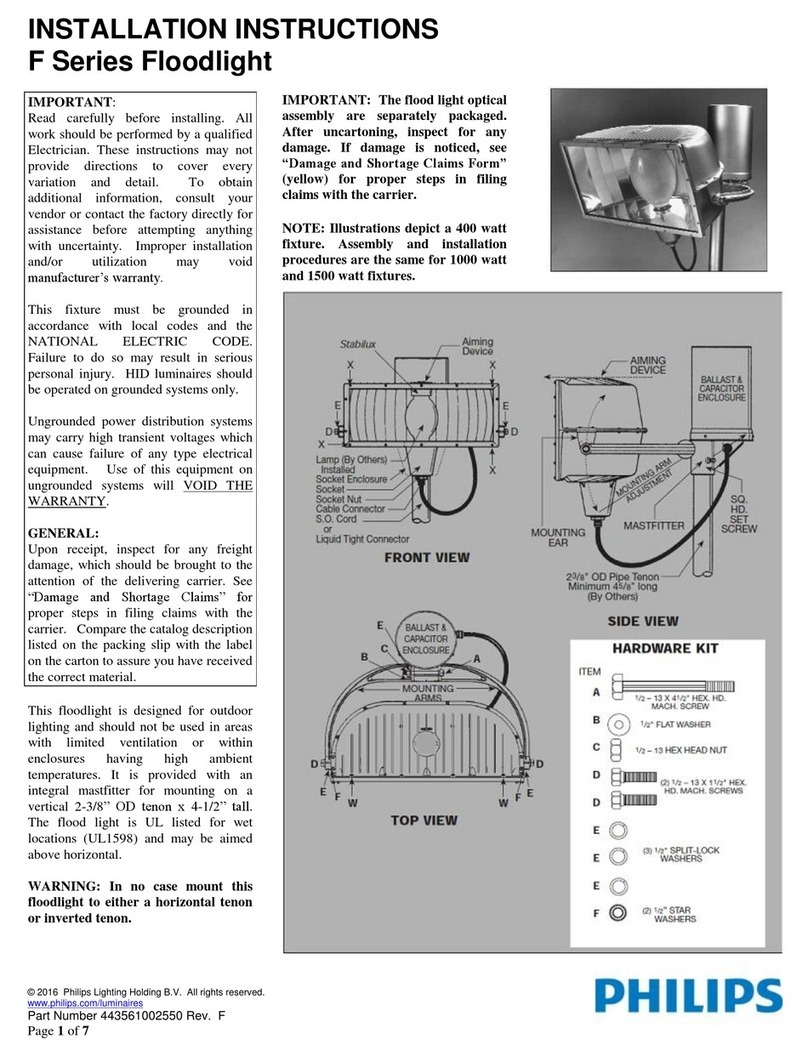
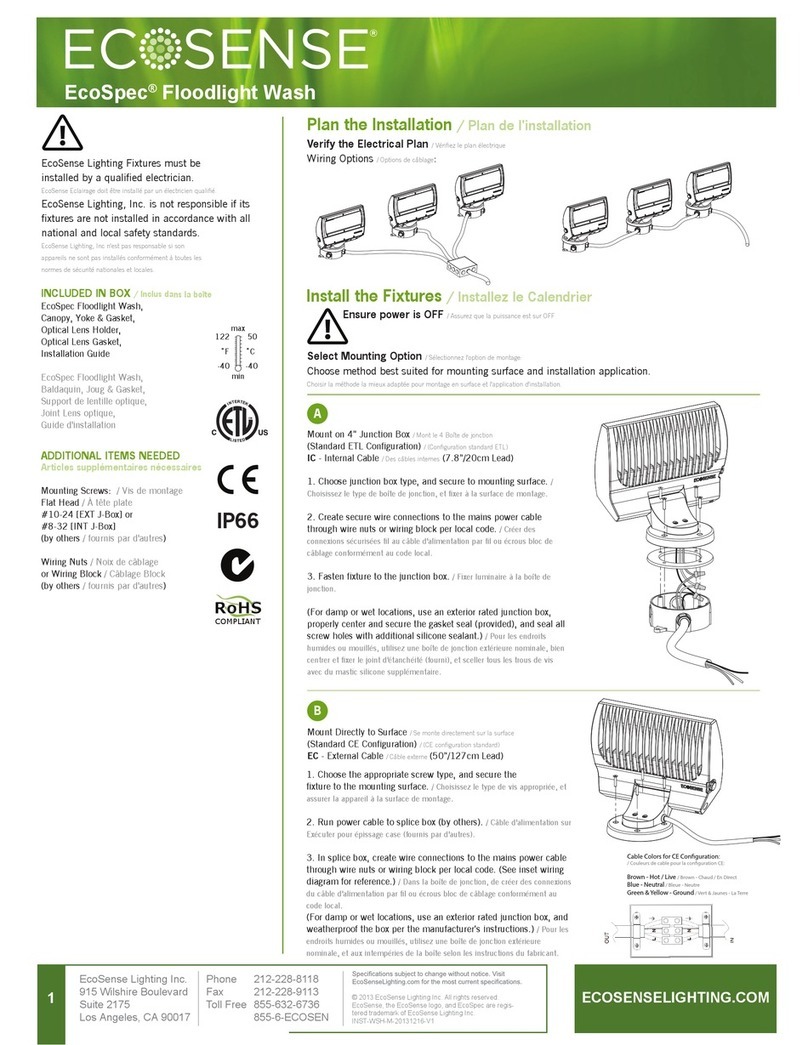
The unit can be installed vertically, not horizontally
as shown in the below drawing. (FIGURE 1)
Wall Mount Recommended (FIGURE 1)
IMPORTANT
Installation must be performed by skilled technicians
who are informed about the standards and technical
requirements of the appliance and its proper
installation.
Check your local codes as they apply to your situation.
If the house wiring is of aluminum, consult with an
electrician about proper wiring methods.
Before proceeding with the installation, TURN OFF
THE POWER TO THE LIGHTING CIRCUIT AT THE
CIRCUIT BREAKER OR FUSE BOX TO AVOID
ELECTRICAL SHOCK.
CHOOSING A MOUNTING LOCATION
For safety and the best results, fix the unit on a solid
wall, 2.5m above the ground.
For outdoor installation, a location under eaves is
preferable.
Avoid aiming the motion sensor at pools, heating
vents, air conditioners or objects which may change
temperature rapidly.
Do not allow sunlight to fall directly on the front of
unit.
Try to avoid pointing the unit at trees or shrubs or
where the motion of pets may be detected.
The motion sensor is more sensitive to objects
moving across its field of view. It is less sensitive
to objects moving directly towards the sensor head.
(FIGURE 2)
FIGURE 2




2m
INSTALLATION
A drill and a screwdriver are needed for installation.
Select a location for the unit based on the coverage
angles shown in FIGURE 3.
180°
12m
110°
UNIT(m)
COVERAGE ANGLES
FIGURE 3
WIRING INSTRUCTION
(1) Switch off the power source.
(2) Detach the wall box by unscrewing the screw
adjacent to the control knobs (retain the screw for
later use). (FIGURE 4)
FIGURE 4
(3) Use a screwdriver to break a small hole on the cable
gasket, enabling the power cord to enter the wall
box.
(4) Route the power cord through the cable gasket.
(5) Determine the proper location to mount the light.
Use the wall box as a template to mark the fixing
holes on the wall. Drill the holes and insert the
plastic wall plugs supplied. Fix the wall box using
two screws provided. (FIGURE 5)
m
5
.
38 m
FIGURE 5
(6) Strip approximately 6-8mm insulating part of the
wires from the power cord.
(7) Connect the BROWN wire (Live wire) to the terminal
block “L” mark.
Connect the BLUE wire (Neutral wire) to the
terminal block “N” mark. (FIGURE 6)
TO LAMP LIVE
NEUTRAL
AC POWER
BROWN
BLUE
FIGURE 6
(8) Replace the unit to the wall box by fastening the
screw retained.
ADJUST ANGLE
The lights can be adjusted up to 45° leftward and
rightward respectively; the PIR sensor can be adjusted
90°leftward and 90°rightward. (FIGURE 7a)
RIGHT 45°
LEFT 45°
RIGHT 90°
LEFT 90°
FIGURE 7a
The lights can be adjusted 37.5° downward. For the
PIR sensor, on the rear side of motion sensor is an
adjustment bar which can be used to adjust the angle of
PIR sensor to up to 30°downward. (FIGURE 7b)
30°
37.5°
adjustment
FIGURE 7b
SETTING THE LIGHTING SYSTEM
(1) TEST MODE
Turn the LUX control and the TIME control
counterclockwise to the edge –the TEST position.
(FIGURE 8)
Time
5S 12min
Lux
FIGURE 8
Turn on the wall switch. The unit will start warming
up for about 60 seconds. After warm-up it will
automatically revert to normal operation. During the
warm-up period the lights will stay on.
Walk through the detection area. The lights turn on
when you move and turn off when you stop. Wait
until the lights turn off and then move again to test
the sensor.
Adjust the motion sensor to cover the desired
detection area. For a smaller coverage area, point
the sensor down; for a larger coverage area, point
the sensor up.
(2) TIME ADJUSTMENT
The TIME adjustment controls how long the light will stay
on after motion has been detected.
Turn the TIME control knob clockwise to increase (up to
12 minutes) the period the lights stay on or counter
clockwise to decrease (down to 5 seconds) the time
delay (FIGURE 9).
Time
5S 12min
Time
5S 12min
FIGURE 9
(3) LUX ADJUSTMENT
The LUX control knob determines at which ambient Lux
level the lights will turn on when the sensor is in
Automatic Operation mode.
The adjustable Lux range is between 30 and 200 Lux.
Turn the LUX control knob clockwise to the MOON
position and the lights will only turn on at night (below 30
Lux). Turn the LUX control knob counterclockwise to
increase the Lux setting. Adjust the control knob
depending on your requirements.
Lux
FIGURE 10
OPERATION
Depending on your needs, you can switch the unit
between the following operation modes: Automatic
Operation and Manual Override.
(1) Automatic Operation
Turn on the wall switch. After about 60 seconds
warm-up the sensor will enter Automatic Operation.
When the sensor detects motion and the ambient light
level is lower than the LUX setting, the lights will
automatically turn on. The lights will stay on for the
duration of TIME setting and then turn off. Note that if
motion is detected again while the lights are still on, the
time counting will be reset.
Adjustment
Bar
(2) Manual Override
To keep the lights on regardless of the motion, you can
override the automatic operation. To enable Manual
Override mode, first ensure that the lights are on and
then turn the wall switch off and on twice (off-on, off-on)
within 3 seconds. The interval between the first and
second operation must be within 0.5 - 2 seconds.
In Manual Override mode, the lights will remain on for
around 5 hours. After 5 hours the lights will turn off and
the motion sensor will revert to Automatic Operation.
Users can also manually set the motion sensor back to
Automatic Operation by: 1) turning the wall switch off and
on twice within 3 seconds; or 2) turning off the wall switch
for at least 10 seconds and then turning it back on.
TROUBLESHOOTING
Light does not turn on
Confirm that you have made a correct “wiring
connection”.
Ensure that the load is within normal range.
Change the load if necessary.
Adjust the LUX control knob by turning it
counterclockwise.
Light remains on
Make sure the wiring connection is correct.
Adjust the TIME control knob by turning it
counterclockwise.
Make sure that the unit is not in Manual Override
mode.
Others
The specification of protective shield shall consult
to local service agent.
SPECIFICATIONS
Power Requirement
AC 220 - 240V / 50Hz
Lighting Load
15W (7.5W x 2)
Color Temperature (K)
5000K
CRI
>75
Lumen (lm)
800lm (400lm x 2)
L70 Life Span (hours)
30000 hr
Detection Angle
Up to 180°at 2m Height
Detection Range
Up to 12m (39.4ft) at 2m
Height
Projection Area
7m2
Sensor Swiveling Angle
Up to 90°Leftward
Up to 90°Rightward
Up to 30°Downward
Light Adjustable Angle
Up to 45o Leftward
Up to 45°Rightward
Up to 37.5°Downward
Mounting Height
Recommended 2.5m (8.2ft)
Wall Mount
Time Adjustment
5 seconds - 12 minutes
Lux Adjustment
30 - 200 Lux
Operation Mode
Off/Auto/Manual override
Warm Up Time
About 60 seconds
Working Temperature
-20°C - +40°C
Dimension
201 x 185 x 167(mm)
Weight
796±10g
Protection Class
Class II
Protection Degree
IP44
Safety
CE
*Specifications are subject to change without notice.
A501112090R
Warning:
Do not dispose of electrical appliances as unsorted
municipal waste, use separate collection facilities.
Contact your local government for information regarding
the collection systems available.
If electrical appliances are disposed of in landfills or
dumps, hazardous substances can leak into the
groundwater and get into the food chain, damaging your
health and well-being.

Other Philips Floodlight manuals

Philips P-2558-C User manual

Philips

Philips P-2558-C User manual

Philips GearUnits ECM 330 User manual

Philips

Philips GearUnits ECM 330 User manual

Philips BVP158 LED24/WW NW CW PSU 20W SWB CN User manual

Philips

Philips BVP158 LED24/WW NW CW PSU 20W SWB CN User manual

Philips selecon plcyc1 MKII User manual

Philips

Philips selecon plcyc1 MKII User manual

Philips SL ParBlazer 100 UV Instruction Manual

Philips

Philips SL ParBlazer 100 UV Instruction Manual

Philips BVP131 User guide

Philips

Philips BVP131 User guide

Philips BVP500 User guide

Philips

Philips BVP500 User guide

Philips 31607-48-16 Installation instructions

Philips

Philips 31607-48-16 Installation instructions

Philips BVP154 Series User manual

Philips

Philips BVP154 Series User manual

Philips Showline SL PAR 150 ZOOM User manual

Philips

Philips Showline SL PAR 150 ZOOM User manual

Philips SmartBright BVP173 User manual

Philips

Philips SmartBright BVP173 User manual

Philips 40745-17-16 User manual

Philips

Philips 40745-17-16 User manual

Philips OptiVision LED User guide

Philips

Philips OptiVision LED User guide

Philips PentaFlood User manual

Philips

Philips PentaFlood User manual

Philips MVF 406, 1800 W cat A1 Quick start guide

Philips

Philips MVF 406, 1800 W cat A1 Quick start guide

Philips BVP150 User manual

Philips

Philips BVP150 User manual

Philips P-5557-B User manual

Philips

Philips P-5557-B User manual

Philips Tempo 3 RVP351 Series User manual

Philips

Philips Tempo 3 RVP351 Series User manual

Philips VARI-Lite VL4000 User manual

Philips

Philips VARI-Lite VL4000 User manual

Philips Clearflood Large BVP651 User manual

Philips

Philips Clearflood Large BVP651 User manual

Philips eXpanium eXp 401 User manual

Philips

Philips eXpanium eXp 401 User manual

Philips SmartBright BVP171 User manual

Philips

Philips SmartBright BVP171 User manual

Philips HADCO WAMT14 User manual

Philips

Philips HADCO WAMT14 User manual

Philips BVP483 User manual

Philips

Philips BVP483 User manual

Popular Floodlight manuals by other brands

Mega BEAM 200 user manual

Mega

Mega BEAM 200 user manual

Hubbell Sling SGF2 installation instructions

Hubbell

Hubbell Sling SGF2 installation instructions

Merlin HMI 2500W FOLLOWSPOT manual

Merlin

Merlin HMI 2500W FOLLOWSPOT manual

YATO YT-818141 MANUAL ORIGINAL

YATO

YATO YT-818141 MANUAL ORIGINAL

Thorn AREAFLOOD installation instructions

Thorn

Thorn AREAFLOOD installation instructions

DIODE LED VOLANTE LED Flood Light installation guide

DIODE LED

DIODE LED VOLANTE LED Flood Light installation guide

Good Earth Lighting SE1356-WH3-02LF4-G manual

Good Earth Lighting

Good Earth Lighting SE1356-WH3-02LF4-G manual

Glamox GFX Series Operating	 instruction

Glamox

Glamox GFX Series Operating instruction

Robus COSMIC RCM3030AS-04 quick start guide

Robus

Robus COSMIC RCM3030AS-04 quick start guide

ITT Industries Jabsco 45960 Series manual

ITT Industries

ITT Industries Jabsco 45960 Series manual

LumaPro 39UU86 operating instructions

LumaPro

LumaPro 39UU86 operating instructions

BEGA 77 009 Instructions for use

BEGA

BEGA 77 009 Instructions for use

Sealey MD520C.V2 instructions

Sealey

Sealey MD520C.V2 instructions

Chalmit 503 Installation, operation and maintanance instructions

Chalmit

Chalmit 503 Installation, operation and maintanance instructions

RDPSEC NIR1 Series installation guide

RDPSEC

RDPSEC NIR1 Series installation guide

Maximus SPL12-06A1W4-BKT manual

Maximus

Maximus SPL12-06A1W4-BKT manual

Wasserstein 3-in-1 Smart Plug-in Floodlight for Blink... user manual

Wasserstein

Wasserstein 3-in-1 Smart Plug-in Floodlight for Blink... user manual

Kompernass Powerfix KH 4077 operating instructions

Kompernass

Kompernass Powerfix KH 4077 operating instructions

manuals.online logo
manuals.online logoBrands
  • About & Mission
  • Contact us
  • Privacy Policy
  • Terms and Conditions

Copyright 2025 Manuals.Online. All Rights Reserved.