manuals.online logo
Brands
  1. Home
  2. •
  3. Brands
  4. •
  5. Philips
  6. •
  7. Lantern
  8. •
  9. Philips ClearScape LED Series User manual

Philips ClearScape LED Series User manual

© 2016 Philips Lighting Holding B.V. All rights reserved.
www.philips.com/luminaires
Part Number 443561208870 Rev. C
Page 1of 4
IMPORTANT:
Read carefully before installing. All work should be performed by a qualified Electrician. These
instructions may not provide directions to cover every variation and detail. To obtain additional
information, consult your vendor or contact the factory directly for assistance before attempting
anything with uncertainty. Improper installation and/or utilization may void manufacturer’s
warranty.
This fixture must be grounded in accordance with local codes and the NATIONAL ELECTRIC
CODE. Failure to do so may result in serious personal injury. Luminaires should be operated on
grounded systems only.
Ungrounded power distribution systems may carry high transient voltages which can cause failure
of any type electrical equipment. Use of this equipment on ungrounded systems will VOID THE
WARRANTY.
GENERAL:
Upon receipt, inspect for any freight damage, which should be brought to the attention of the
delivering carrier. Compare the catalog description listed on the packing slip with the label on the
carton to assure you have received the correct material.
SF - Slip Fitter Mount
Note: Tenon must be 3.75" or longer.
(2) Splice Cover Screws
Splice Cover Screws
INSTALLATION INSTRUCTIONS
STEP 1:
Remove (2) splice cover screws and splice cover. To access wire
splice area.
STEP 2:
Route the supply wire through the tenon. Secure the supply wire to
keep from sliding back down the pole. Route wire through slip fitter
arm into splice area.
STEP 3:
Holding routed wires in splice area, carefully lower luminaire onto
tenon. Check to insure that wires are not pinched between inside of
slip fitter and top of tenon and that luminaire and wires rotate freely.
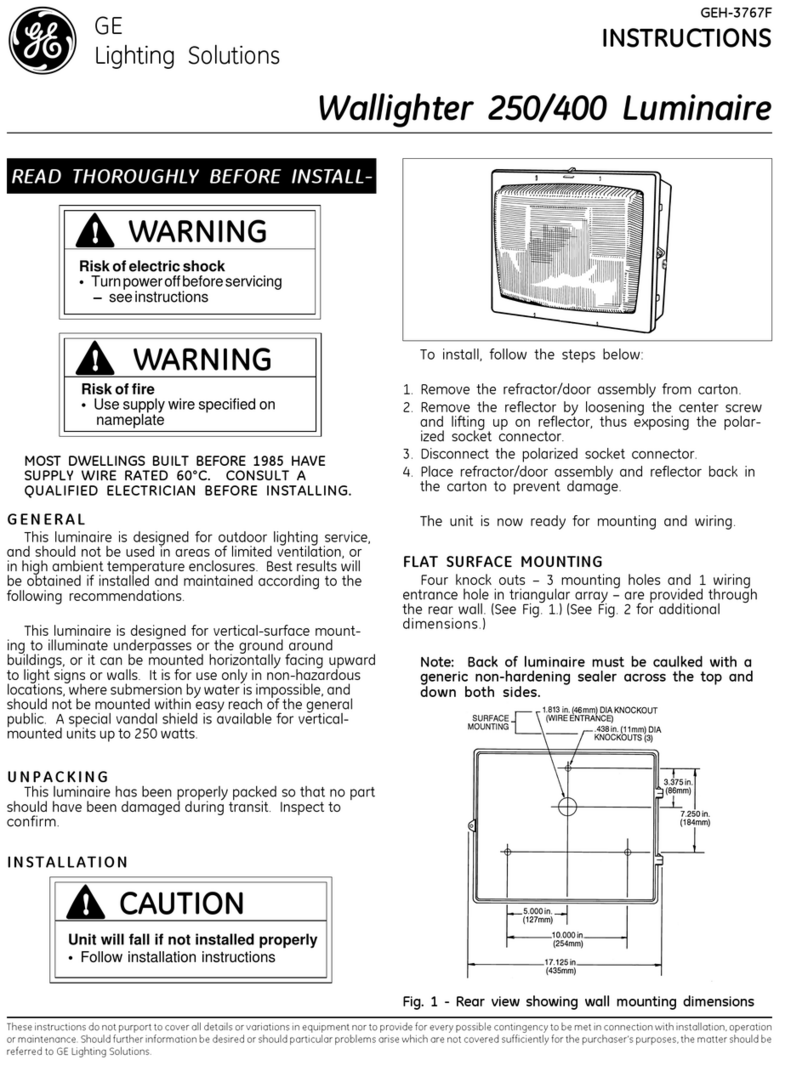
ClearScape LED
CSFS Small and CSFM Medium
Floodlight
This luminaire is intended for indoor or outdoor applications, ETL/cETL Listed to the UL 1598 standard, suitable for wet locations and IP66 rated.
Electrical Connection: (Not all options shown below are included.)
Connect the black fixture lead to the input voltage supply or Hot 1 (for
208/240V/480v wiring).
Connect the white fixture lead to the neutral supply or Hot 2 (for 208/240V/480v
wiring).
Connect the green or green/yellow ground lead to the incoming ground wire.
If Dimming is an option; connect the purple dimming positive lead to the supply
dimming positive lead.
If Dimming is an option; connect the grey dimming negative lead to the supply
dimming negative lead.
© 2016 Philips Lighting Holding B.V. All rights reserved.
www.philips.com/luminaires
Part Number 443561208870 Rev. C
Page 2of 4
INSTALLATION INSTRUCTIONS
ClearScape LED
CSFS Small and CSFM Medium
Floodlight
(2) Set Screws
SF - Slip Fitter Mount - (Cont’d)
Note: Tenon must be 3.75" or longer.
STEP 4:
Fit the luminaire over the tenon. Using 3/16" Allen wrench,
hand tighten (2) set screws, on the side of the tenon where
the cord is, until tip of screws engage tenon. (Do not fully
tighten). Rotate to correct horizontal aiming position. Tighten set
screws to 20 ft.-lbs. when final horizontal position is set.
STEP 5:
Make electrical connections per Electrical Connection section
inside splice area. When complete replace splice cover and (2)
screws removed in Step 1. Insure that gasket is correctly in place
before tightening splice cover and screws.
SF - Slip Fitter Angle Adjustment
ANGLE ADJUSTMENT
NOTE: Angle adjustment can be made before luminaire
installation.
STEP 1:
After the luminaire is installed, the angle of the luminaire
can be adjusted approximately 90° up or down in 5°
increments.
STEP 2:
To adjust the angle, loosen the (1) 1/2–13 X 1.75” socket
cap bolt located in slip fitter Arm. (Do remove bolt.)
Loosen only enough to allow rotation on cast teeth.
STEP 3:
Using the degree indicators, shown as a guide, rotate the
luminaire to the desired position and retighten the bolt
loosened in Step 2 to 47 ft.-lbs.
Adjustment Bolt and
aiming indicator lines
© 2016 Philips Lighting Holding B.V. All rights reserved.
www.philips.com/luminaires
Part Number 443561208870 Rev. C
Page 3of 4
ClearScape LED
CSFS Small and CSFM Medium
Floodlight
YK - Yoke Mount
INSTALLATION INSTRUCTIONS
STEP 1:
Mount yoke to surface with (2)- 1/2” bolts provided by others.
STEP 2:
Route the supplied cord to electrical junction box provided by
installer. Secure cord with connector.
STEP 3:
Make electrical connections per Electrical Connection section
inside junction box.
NOTE: Electrical Connections can be made after installation
is finished.
STEP 4: Replace junction box gasket and cover.
YK - Yoke Angle Adjustment
NOTE: Angle adjustment can be made before luminaire
installation.
STEP 1:
After the luminaire is installed, the vertical angle of the
luminaire can be adjusted up or down
STEP 2:
To adjust the angle, loosen the (2) 1/2–13 X 1.25”
socket head cap bolts located in yoke arm. (Do remove
bolts.) Loosen only enough to allow rotation.
STEP 3:
Using the degree indicators, shown as a guide, rotate
the luminaire to the desired position and retighten the
bolt loosened in Step 2 to 75 ft.-lbs.
Adjustment Bolt and
aiming indicator lines
© 2016 Philips Lighting Holding B.V. All rights reserved.
www.philips.com/luminaires
Part Number 443561208870 Rev. C
Page 4of 4
Philips Lighting North America Philips Lighting Canada Ltd.
Corporation 281 Hillmount Road,
200 Franklin Square Drive, Markham ON, Canada L6C 2S3
Somerset, NJ 08873, USA
INSTALLATION INSTRUCTIONS
ClearScape LED
CSFS Small and CSFM Medium
Floodlight
YK - Yoke Mount - (Cont’d)
OK to mount
floodlight “down”
on yoke mount.
Align aiming mark
with correct
degree marks on
bracket
Note: Dimensions not to scale. For dimensional purposes only.
Opening Glass Door Frame
Note: Procedure to open glass door frame
is the same on slip fitter and yoke mount
fixtures.
STEP 1:
Loosen two captive screws on either side
of top rear floodlight cast housing.
STEP 2:
Rotate glass door frame down to fully
open position as shown here.
STEP 3:
After servicing luminaire, carefully rotate
glass door frame up into closed position
and retighten screws loosened in Step 1.

This manual suits for next models

2

Other Philips Lantern manuals

Philips SolarSpot User manual

Philips

Philips SolarSpot User manual

Philips Stylid Evo Compact ST770B User manual

Philips

Philips Stylid Evo Compact ST770B User manual

Philips CMFIC Series User manual

Philips

Philips CMFIC Series User manual

Philips BGP300 User manual

Philips

Philips BGP300 User manual

Philips Vari-lite VL3500 Wash FX Luminaries User manual

Philips

Philips Vari-lite VL3500 Wash FX Luminaries User manual

Philips CZS102 User manual

Philips

Philips CZS102 User manual

Philips SmartBirght BN013C Series User guide

Philips

Philips SmartBirght BN013C Series User guide

Philips CHLORIDE CMFIC Series User manual

Philips

Philips CHLORIDE CMFIC Series User manual

Philips eColor Graze Powercore User manual

Philips

Philips eColor Graze Powercore User manual

Philips LED Luminaires User manual

Philips

Philips LED Luminaires User manual

Philips Ledinaire Waterproof WT050C User guide

Philips

Philips Ledinaire Waterproof WT050C User guide

Philips Iridium gen4 User guide

Philips

Philips Iridium gen4 User guide

Philips Selecon PLCYC2 User manual

Philips

Philips Selecon PLCYC2 User manual

Philips LifeLight Series User manual

Philips

Philips LifeLight Series User manual

Philips LifeLight User manual

Philips

Philips LifeLight User manual

Philips UrbanSpark BDP301 Use and care manual

Philips

Philips UrbanSpark BDP301 Use and care manual

Philips WT202W User manual

Philips

Philips WT202W User manual

Philips series User manual

Philips

Philips series User manual

Philips PrimeSet LDM524 User manual

Philips

Philips PrimeSet LDM524 User manual

Philips InteGrade User manual

Philips

Philips InteGrade User manual

Philips HADCO IS_BL9 User manual

Philips

Philips HADCO IS_BL9 User manual

Philips SFRA LUMINAIRE TO RND/SQ POLE User manual

Philips

Philips SFRA LUMINAIRE TO RND/SQ POLE User manual

Philips HP 3147 User manual

Philips

Philips HP 3147 User manual

Philips TMFIC Series User manual

Philips

Philips TMFIC Series User manual

Popular Lantern manuals by other brands

Sealite SL-70 Installation & service manual

Sealite

Sealite SL-70 Installation & service manual

Teknoware TWT/S65 L Series Installation

Teknoware

Teknoware TWT/S65 L Series Installation

Coleman 2000002663 quick start guide

Coleman

Coleman 2000002663 quick start guide

BEGA 24 231 Instructions for use

BEGA

BEGA 24 231 Instructions for use

LEGRAND 6 601 42 Technical data sheet

LEGRAND

LEGRAND 6 601 42 Technical data sheet

Lenmar SOLV17 owner's manual

Lenmar

Lenmar SOLV17 owner's manual

AS LED Lighting MidPower Line HML-057057 Mounting instructions

AS LED Lighting

AS LED Lighting MidPower Line HML-057057 Mounting instructions

Carmanah M850 instructions

Carmanah

Carmanah M850 instructions

BEGA 33 591 Instructions for use

BEGA

BEGA 33 591 Instructions for use

ETC High End Systems SolaFrame Studio user manual

ETC

ETC High End Systems SolaFrame Studio user manual

ORIUM Celestin instruction manual

ORIUM

ORIUM Celestin instruction manual

Visual Comfort & Co. CH D2908 Assembly instructions

Visual Comfort & Co.

Visual Comfort & Co. CH D2908 Assembly instructions

olympia electronics SLD-28/DZ quick start guide

olympia electronics

olympia electronics SLD-28/DZ quick start guide

Soltech SOLPORT installation manual

Soltech

Soltech SOLPORT installation manual

InoTec LED J-SV Operating	 instruction

InoTec

InoTec LED J-SV Operating instruction

Raytec AR10 Mounting & installation

Raytec

Raytec AR10 Mounting & installation

Knightsbridge EMLED1 Installation & maintenance manual

Knightsbridge

Knightsbridge EMLED1 Installation & maintenance manual

Carmanah M550 user manual

Carmanah

Carmanah M550 user manual

manuals.online logo
manuals.online logoBrands
  • About & Mission
  • Contact us
  • Privacy Policy
  • Terms and Conditions

Copyright 2025 Manuals.Online. All Rights Reserved.