Planet ICA-302 User manual

IR Internet Camera
ICA-302
User’s Manual

Copyright
Copyright (C) 2006 PLANET Technology Corp. All rights reserved.
The products and programs described in this User’s Manual are licensed products of PLANET
Technology, This User’s Manual contains proprietary information protected by copyright, and
this User’s Manual and all accompanying hardware, software, and documentation are
copyrighted.
No part of this User’s Manual may be copied, photocopied, reproduced, translated, or reduced
to any electronic medium or machine-readable form by any means by electronic or mechanical.
Including photocopying, recording, or information storage and retrieval systems, for any purpose
other than the purchaser's personal use, and without the prior express written permission of
PLANET Technology.
Disclaimer
PLANET Technology does not warrant that the hardware will work properly in all environments
and applications, and makes no warranty and representation, either implied or expressed, with
respect to the quality, performance, merchantability, or fitness for a particular purpose.
PLANET has made every effort to ensure that this User’s Manual is accurate; PLANET
disclaims liability for any inaccuracies or omissions that may have occurred.
Information in this User’s Manual is subject to change without notice and does not represent a
commitment on the part of PLANET. PLANET assumes no responsibility for any inaccuracies
that may be contained in this User’s Manual. PLANET makes no commitment to update or keep
current the information in this User’s Manual, and reserves the right to make improvements to
this User’s Manual and/or to the products described in this User’s Manual, at any time without
notice.
If you find information in this manual that is incorrect, misleading, or incomplete, we would
appreciate your comments and suggestions.
CE mark Warning
The is a class B device, In a domestic environment, this product may cause radio interference,
in which case the user may be required to take adequate measures.
WEEE Notice
To avoid the potential effects on the environment and human health as a result of
the presence of hazardous substances in electrical and electronic equipment, end
users of electrical and electronic equipment should understand the meaning of the
crossed-out wheeled bin symbol. Do not dispose of WEEE as unsorted municipal
waste and have to collect such WEEE separately.
Trademarks
The PLANET logo is a trademark of PLANET Technology. This documentation may refer to
numerous hardware and software products by their trade names. In most, if not all cases, their
respective companies claim these designations as trademarks or registered trademarks.
Revision
User’s Manual for PLANET Infrared Internet camera
Model: ICA-302
Revision 1.0
Part No. EM-ICA302V1

Table of Contents
CHAPTER 1 INTRODUCTION..............................................................................................1
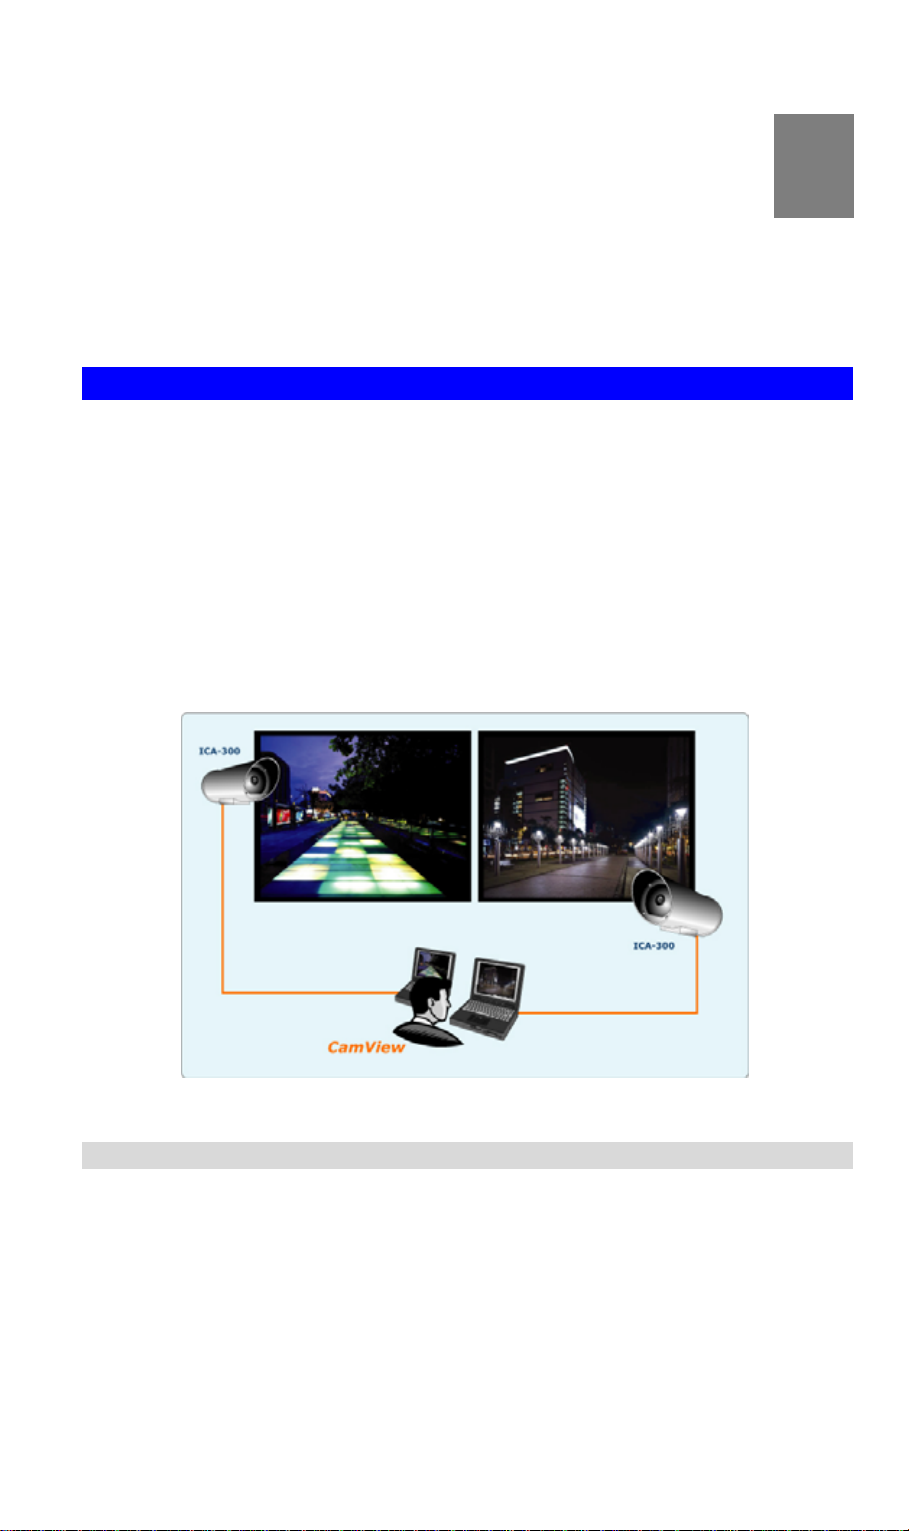
Overview ............................................................................................................................1
Physical Details..................................................................................................................3
Package Contents ..............................................................................................................4
CHAPTER 2 BASIC SETUP ...................................................................................................5
System Requirements........................................................................................................5
Installation .........................................................................................................................5
Setup...................................................................................................................................6
CHAPTER 3 ADVANCED VIEWING SETUP ...................................................................10
Introduction.....................................................................................................................10
Adjusting the Video Image.............................................................................................10
Controlling User Access to the Video Stream...............................................................13
Making Video available from the Internet....................................................................14
CHAPTER 4 WEB-BASED MANAGEMENT ....................................................................18
Introduction.....................................................................................................................18
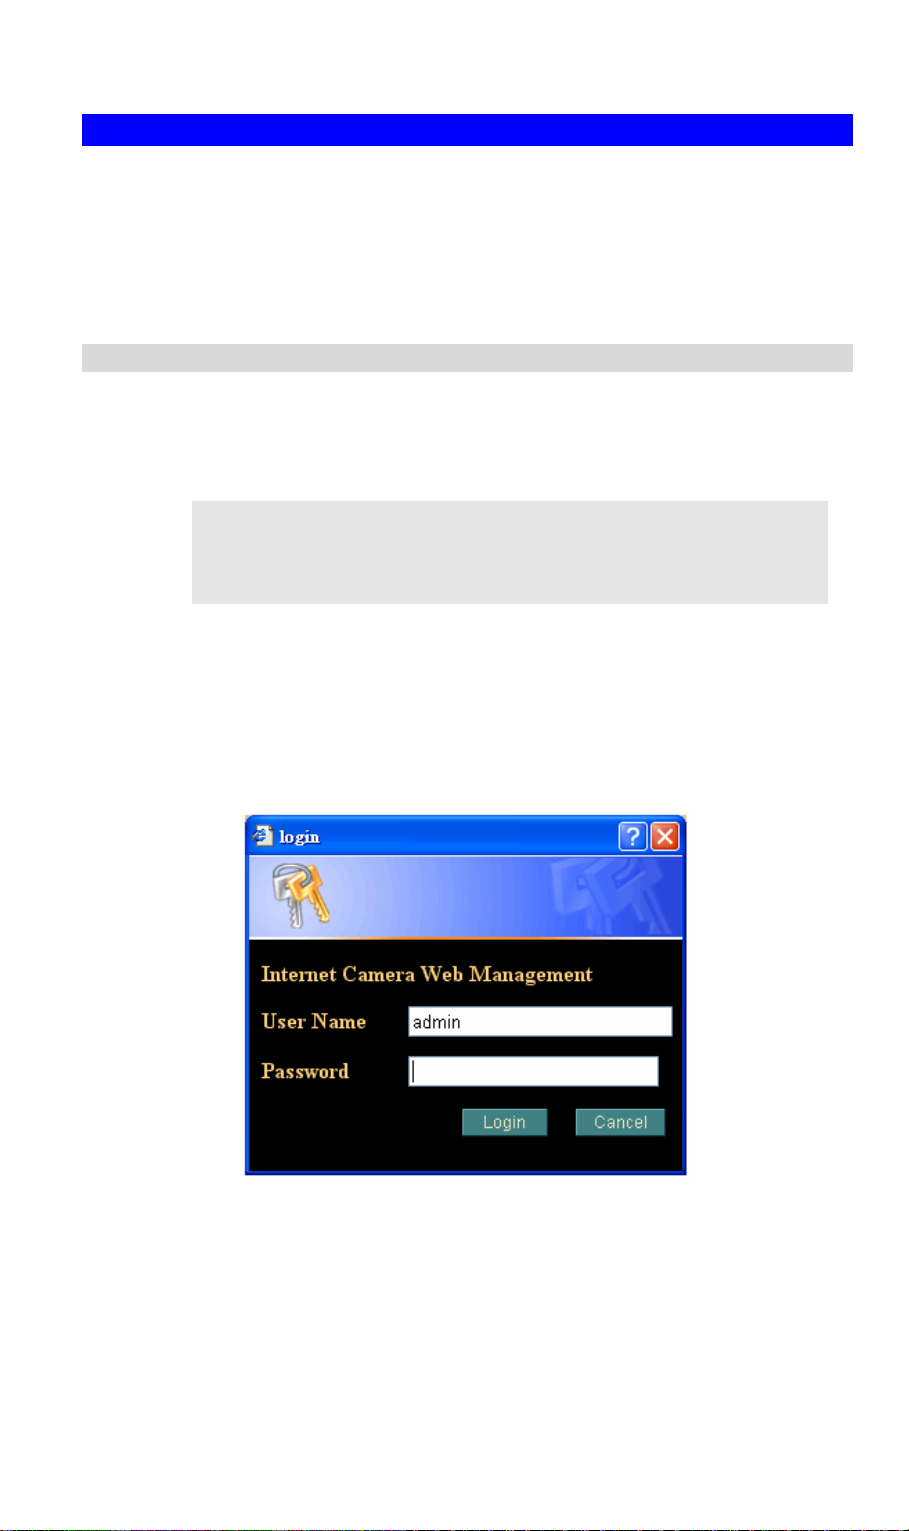
Connecting to ICA-302....................................................................................................18
Welcome Screen...............................................................................................................19
Viewing Area ...................................................................................................................20
Control Panel Screen.......................................................................................................21
Advanced Functions Area...............................................................................................22
Camera setting Menu......................................................................................................22
System Screen..................................................................................................................23
Camera Screen.................................................................................................................25
Network Screen................................................................................................................27
User Screen ......................................................................................................................31
IP Filter Screen................................................................................................................31
FTP Client Screen ...........................................................................................................33
SMTP Screen...................................................................................................................35
Schedule Setting Screen..................................................................................................36
Motion Detection Screen.................................................................................................36
Time Setting Screen.........................................................................................................38
Popup Screen...................................................................................................................39
Firmware upgrade Screen..............................................................................................40
Factory Default Screen....................................................................................................42
Reboot...............................................................................................................................42
ActiveX Control...............................................................................................................44
CHAPTER 5 CLIENT UTILITY ..........................................................................................54
INSTALLATION ............................................................................................................54
HOW TO USE.................................................................................................................58
APPENDIX A TROUBLESHOOTING................................................................................73
Appendix A Troubleshooting .........................................................................................73
APPENDIX B BANDWIDTH CALCULATION .................................................................76
Appendix B: Bandwidth Calculation.............................................................................76
APPENDIX C SPECIFICATIONS........................................................................................77
Appendix C: Specifications.............................................................................................77
TCP/IP, HTTP, SMTP, FTP, NTP, DNS, DDNS, ARP, DHCP, PPPOE .................................78


1
Chapter 1
Introduction
This Chapter provides details of the ICA-302's features, components
and capabilities.
Overview
This ICA-302 IR Network Camera is an inexpensive fully scalable surveillance
technology. Because the Network Cameras can be plugged in to your existing
computer network infrastructure, you will potentially save thousands of dollars on
unnecessary cabling. By using IR technology, this Network Camera is not only
working on day but also on night.
The ICA-302 is accessible via the Internet connection. Connect your ICA-302 directly
to a computer network or DSL modem, and with a standard Web browser you get
instant, on demand video streams. Within minutes you can set up the Network
Camera to capture a video image to a PC. Live video images can be uploaded to a
website to see on condition that network is available.
Network Camera applications
Features
•Ease to use
Plug-N-Watch capability to simplify system integration in an existing network
environment.
•Greater image quality in day and night with longer life span
ICA-302 can be deployed in many different situations, such as library, train station
or factory production line to provide efficient, human-resource reducing, and
offers flexibility, affordability, and reliability for the proper surveillance of
manufacturing facilities.
1

•20M IR distance
The effective range could be 20 -25 meters.
•Multi-Platform support
Supporting TCP/IP networking, SMTP e-mail, FTP uploading and HTTP public
network standards, ICA-302 can be applied and utilized to a mixed IP network
environment.
•Motion Detection
This feature will send you alert message when motion is detected. The ICA-302
will compare consecutive frames to detect changes caused by the movement of
large objects.
•High quality video compression
ICA-302 delivers complete, high quality images in JPEG format, which can be
viewed using standard web browser.
Internet Features
•User-definable administration port number.
This allows Internet Gateways to use “port mapping” so the ICA-302 and a Web
Server can share the same Internet IP address.
•DDNS Support
In order to view video over Internet, user must know the Internet IP address of the
gateway used by ICA-302. An easy-to-remember DDNS (Dynamic DNS) name
will help you memorize your site more easily.
•NTP (Network-Time-Protocol) Support
NTP allows the ICA-302 to calibrate its internal clock from an Internet Time-
Server. This ensures that the time stamp on the recorded video from the ICA-302
will be correct.
Security Features
•User Authentication
If desired, the camera access can be restricted to known users. Users will have
to enter their username and password before being able to view the video stream.
Up to 10 users can be entered.
•IP Filter
The camera access not only can be restricted by username/password, but also
can be limited by the IP range to bring users more security.
Application
•Remote monitoring via Web browser
•Powerful central management software – Cam View
2

Physical Details
ICA-302 Rear Panel
Rear Panel
Network Cable
RJ-45 This Ethernet port can detect or negotiate the transmission
speed of the network automatically. Please use Category 5
“straight through” cable to connect the Network Camera to a
100Mbps Fast Ethernet network switch or hub.
RS-485 To connect to an indoor/outdoor Pan/Tilt scanner unit.
Red: D- , Blue: D+
Composite Video
Output (BNC
connector)
Use BNC video cable to connect the Network Camera with a
TV monitor.
Electric Plug The power is 12V DC. Please use the attached power adapter
only. Otherwise, the improper power adapter may damage the
Network Camera.
3

Package Contents
The following items should be included: If any of these items are damaged or missing,
please contact your dealer immediately.
•PLANET ICA-302 Camera x 1
•Wall mount x 1
•Installation software and manual CD x 1
•Quick installation guide x 1
4

2
Chapter 2
Basic Setup
This Chapter provides details of installing and configuring the ICA-302.
System Requirements
•To use the LAN interface, a standard 10/100BaseT hub or switch is required.
•System Requirement for viewer:
System
Hardware
•Microsoft Internet Explorer 5.0 or later
•VGA Monitor resolution 1024 x 768 (for
Master Vision)
•Pentium III 800MHz or above
•Memory Size: 128MB or above
•VGA card resolution: 800x600 or above
•Windows 2000, XP
Note: The listed information is minimum system requirements only.
Actual requirement will vary depending on the nature of your
environment.
LHint
Installation
STEP 1. Install the ICA-302 camera to a desired location
STEP 2. Plug-in Network Cable into a network device, ex: hub / switch.
STEP 3. Connect power adapter to provided power cable then to power socket.
STEP 4. If you need to control additional RS-485 device; connect RS485 two wires to
RS485, Red: D- , Blue: D+
STEP 5. If required, connect video BNC connector to local TV or monitor for displaing.
5

Setup
Initial setup can be performed either from the web browser or using the supplied
IPEditV3 utility. This utility can locate the ICA-302 even if its IP address is invalid for
your network. You can then configure the ICA-302 with appropriate TCP/IP settings for
your LAN.
Subsequent administration can be performed with your Web browser, as explained in
Chapter 4 - Web-based Administration.
Setup Procedure
Before setup operations
The ICA-302 provides GUI (Web based, Graphical User Interface) for machine
management and maintenance.
Current firmware supports Microsoft Internet Explorer, the Netscape
Navigator support is planned in the future firmware release
LNote
1. Default LAN interface IP address of ICA-302 is 192.168.0.20. Setup the monitoring
PC network within this same segment 192.168.0.xx. You may now open your web
browser, and insert http://192.168.0.20 in the address bar of your web browser to
logon ICA-302 web configuration page.
2. ICA-302 will prompt for User Name and Password, please enter admin as
username and leave blank for password to continue machine Web Management.
3. The IE Web Page will display the “Security Warning” window, select “Yes” to install
and run the ActiveX control into your PC if you first time use this camera.
6

4. After the ActiveX control was installed and ran, the main screen will be displayed.
5. Now, you login to the Network Camera as a full-authorized administrator. You can
enter “Setting” to change the password and setup “Administrator” or “User” authority.
Please refer to “Setting” ΓUser” and “IP Filter”.
7

IPEditV3 Utility
Or you may execute IPEditV3 to discover/edit IP address of ICA-302.
Procedures of IPEdit utility
•Please find the IPEditV3.exe in the Utility folder on user’s manual CD
•Execute the IPEditV3.exe
•Choose the target camera, the IP address and device name can be modified.
•After modifications, you may now connect the camera via web browser. Or using
the default IP address.
Setup ActiveX to use the ICA-302
The ICA-302 web page communicates machine via ActiveX control. The ActiveX
control must be downloaded from ICA-302 and installed on your PC. Your Internet
Explorer security settings must allow for the web page to work correctly. To use the
Network Camera, user must setup his IE browser as follows:
From your IE browse ΔTools” ΔInternet Options…” ΔSecurity” ΔCustom
Level…”, please setup your “Settings” as follow.
Set the first 3 items
• Download the signed ActiveX controls to Prompt
• Download the unsigned ActiveX controls to Prompt
• Initialize and script the ActiveX controls not masked as safe to Prompt
8

By now, you have finished your entire PC configuration for Network Camera.
9

3
Chapter 3
Advanced Viewing Setup
This Chapter provides information about the optional settings and
features for viewing video via the Web browser. This Chapter is for
Administrators only.
Introduction
After finishing the network setup, the ICA-302 can immediately be used by all users on
your LAN.
This chapter describes some additional settings and options for viewing live video:
•Adjusting the video image
•Controlling user access to the live video stream
•Making video available from the Internet
Adjusting the Video Image
If necessary, the ICA-302 administrator can adjust the video image. Settings are
provided for:
•Image size - Select the desired size. The larger sizes require greater bandwidth.
•Image quality - This determines the degree of compression applied to the Video
stream. Higher quality requires greater bandwidth.
•Saturation, Sharpness, Contrast, Hue adjustment
To Adjust the Video Image:
1. Connect to the ICA-302 via Internet Explorer.
2. On the Setting menu, select Camera. You will see a screen like the example
below.
10

Camera setting
3. Make the required adjustments, as explained below, and save your changes.
Camera Setting
PTZ Type ICA-302 can connect with external scanner to control PT
through RS485 bus. There are some protocols supported and
will add more models in gradually.
Camera PT User can control the direction of Pan and Tilt. Reverse Pan:
Check this option to reverse pan direction.
Reverse Tilt: Check this option to reverse tilt direction.
Image Size
Select the desired video resolution. The default resolution is
set to 320*240.
Available resolution: ‧176x144‧320x240‧352x288 ‧
640x480
11

Image Quality Select the desired image quality. The default Image Quality is
set to Standard.
Available selection:
• Clarity: Video is better but frame rate may be slower
• Fluency: Video is not as good as Clarity but frame rate
may be higher
• Default: System default value.
Note: Higher image quality requires more bandwidth.
Image, Mirror,
Focus Mode,
White Balance
Mode, Exposure
Mode
These function buttons are reserved for PTZ model. It’s not
functional in ICA-302.
Saturation,
Sharpness,
Contrast, Hue
Image quality adjustment, the parameter ranges from 0 to 255
Options
Audio, Camera
tour These functions are not available for this model.
Reset to default If this option is enabled, all the settings in this page will be
reset to factory default values.
Please check the appendix A for more information on the image
adjustment.
LNote
12

Controlling User Access to the Video Stream
By default, only system administrators can connect to the ICA-302 and view live video.
If desired, you may apply the access privileges to known users, by requiring each user
to login to the ICA-302 with their individual username and password.
To Enable this feature:
1. Connect to the Web-based interface of the ICA-302. (Please check related
chapters for details.)
2. In machine Setting menu, select User.
3. You may add up to 10 users in machine database, choose the user number, and
enter the name, password and access right for each user.
User Setting Screen
Operation
•The username of “Administrator” is fixed as “admin”. User can modify the
password of “Administrator”.
•When each user connects, they will be prompted for their username and password.
They must enter the name and password defined on the User screen above.
•The camera system administrator can have full access/system modification
privileges; the user only has viewing privilege.
13

Making Video available from the Internet
If your LAN is connected to the Internet, typically by a Broadband Gateway/Router and
Broadband modem, you can make the ICA-302 available via the Internet.
ICA-302 Setup
The ICA-302 configuration does NOT need to change, unless:
•You wish to change the port number from the default value (1024).
•You wish to use the DDNS (Dynamic DNS) feature of the ICA-302.
Second HTTP Port Configuration
Normally, HTTP (Web) connections use port 80. Since the ICA-302 uses HTTP, but
port 80 is likely to be used by a Web Server, you can use a different port for the ICA-
302. This port is called the "HTTP Port2". (The first port is port 80.)
The HTTP port2 is disabled in default settings. If you prefer to use a different port
number than port 80, you can specify the port number on the ICA-302's Network
screen, as shown below.
Network Screen
The Network screen is part of the Web-based Administration interface. See Chapter 4
Web-based Management for further details on using this function.
Viewers need to know this port number in order to connect and
view live video, so the current communication port number has to
be informed to the remote users to connect to.
LHint
14

DDNS (Dynamic DNS)
Many Internet connections use a "Dynamic IP address", where the Internet IP address
is allocated whenever the Internet connection is established.
This means that other Internet users don't know the IP address, so can't establish a
connection.
DDNS is designed to solve this problem, by allowing users to connect to your LAN
using a domain name, rather than an IP address.
To use DDNS:
1. Register for the DDNS service with a supported DDNS service provider. You can
then apply for, and be allocated, a Domain Name.
2. Enter and save the correct DDNS settings on the DDNS Setting screen in the
Network setting menu.
3. Operation is then automatic:
•The ICA-302 will then automatically contact the DDNS server whenever it
detects that the Internet IP address has changed, and inform the DDNS server
of the new IP address.
•Internet users can then connect to your LAN using the Domain Name
allocated by the DDNS service provider.
•Limitation: if the ICA-302 is installed with private IP address behind the NAT
router, please find and enable the DDNS feature on the router. This can
prevent the remote users from not be able to connect to the camera.
•Current supported DDNS service provider: www.dyndns.org , www.no-ip.com
DDNS Setting Screen
Router/Gateway Setup for remote viewing
Your Router or Gateway must be configured to pass incoming TCP (HTTP)
connections (from remote viewers) to the ICA-302. The Router/Gateway uses the Port
Number to determine which incoming connections are intended for the ICA-302.
This feature is normally called Port Forwarding or Virtual Servers in the router. The
Port Forwarding/Virtual Server entry tells the Router/Gateway that incoming TCP
15

connections should be passed to the ICA-302. If necessary, check the user manual for
your Router/Gateway for further details.
The "Port" for the Port Forwarding / Virtual Server entry above is
the “HTTP Port2" number specified on the Network screen of the
ICA-302.
LHint
Viewing via the Internet
Clients (viewers) will need a broadband connection for viewing the camera; dial-up
connections are not recommended for the online video display.
Using your Web Browser
If using your Web browser, you need to know the address of the camera (either the
Internet IP address or the Domain name) and the correct communication port number.
Enter the address of the ICA-302 and its port number, in the Address (or Location)
field of your Browser.
Example - IP address:
HTTP://203.70.249.52:1024
Where the Router/Gateway's Internet IP address is 203.70.212.52 and the "HTTP
Port2" number on the ICA-302 is 1024.
Example - Domain Name:
HTTP://ica302.dyndns.org: 1024
Where the Router/Gateway's Domain name is ica302.dyndns.org and the " HTTP
Port2" number on the ICA-302 is 1024.
Using the Windows Viewing/Recording Utility
If using the CamView Utility, the details of the ICA-302 must be entered on the Internet
tab of the Add Camera screen.
16
Table of contents
Other Planet IP Camera manuals

Planet
Planet ICA-120 User manual

Planet
Planet ICA-8500 User manual

Planet
Planet ICA-120 User manual

Planet
Planet ICA-310 User manual

Planet
Planet ICA-HM317 User manual

Planet
Planet ICA-HM126 User manual

Planet
Planet ICA-3350P User manual

Planet
Planet ICA-108 User manual

Planet
Planet ICA-3110 User manual

Planet
Planet ICA-107P User manual

Planet
Planet ICA-W8100 User manual

Planet
Planet ICA-100C User manual

Planet
Planet ICA-HM830W User manual

Planet
Planet ICA-HM240 User manual

Planet
Planet ICA-350 User manual

Planet
Planet ICA-501 User manual

Planet
Planet ICA-5250V User manual

Planet
Planet ICA-100C User manual

Planet
Planet ICA-E SERIES User manual

Planet
Planet ICA-151 User manual