manuals.online logo
Brands
  1. Home
  2. •
  3. Brands
  4. •
  5. Poly
  6. •
  7. Telephone
  8. •
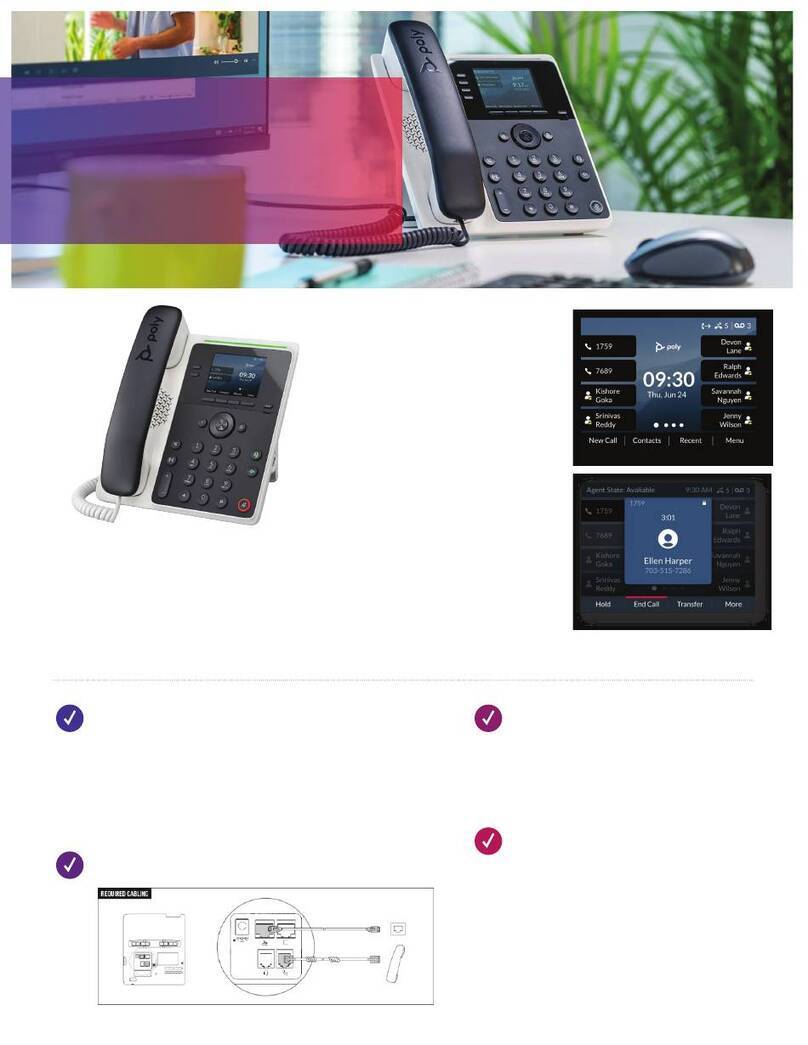
  9. Poly Edge E220 User manual

Poly Edge E220 User manual

TIPT – Poly Edge series
E220, E350 & E450
Installation Guide
2. QSetup – Auto Provision
• You will see a QSetup soft key on the screen on
your handset. Press the QSetup soft key to get to
the login menu.
• Enter the supplied username and password
credentials for that device.
• You will be prompted to save the new
conguration.
• The handset will reboot and download its new
conguration.
3. Manual Setup – Via Handset GUI
• You can manually congure three settings on
the physicalhandset for the handset to retrieve
its conguration settings from the Device
Management Servers (DMS):
• On the handset, press Menu -> Settings ->
Advanced and enter the handset’s password. The
default is 456. Change if prompted.
• Choose Admin Settings -> Network Conguration
-> Provisioning Server, and press the Select soft
key.
• Set the DHCP Boot Server to static
• Set the Provisioning Server Type to HTTP
• Set the Provisioning Server Address to
theprovisioning URL
http://dms.digitalbusiness.telstra.com/dms/
bootstrap
• Server User: <The supplied DMS user Credentials>
• Server Password: <The supplied DMS Password
Credentials>
1. Unpack Handset
Unpack the handset and use a Cat6 ethernet cable
to connect the LAN input from the handset to the
LAN port on the customer switch /router. If not using
PoE then a power pack will be required to power the
device.
• When nished, press the OK soft key, and the
Back soft key once or twice. A prompt screen will
display, shown next.
• Choose Save Cong and press the Select soft
key to reboot the handset and save the new
conguration.
4. Manual Setup – Via Handset Web GUI
• If the Poly is not set to factory defaults the Web
GUI maybe disabled. Make sure the handset is
factory reset.
• Locate the IP address of the Poly phone Menu
-> Status -> Network -> TCP/IP Parameters, take
note of the listed IP address.
• Connect a PC to the same LAN as the Poly
(this can be via Wi-Fi or cabled connection). If
necessary, you can connect the PC to the PC port
on the back of the Poly.
• Open a WEB browser and browse to the Handset
LAN IP address
http://192.x.x.x
The installation process for the Poly Edge E 220,
350 and 450 models follows the steps outlined
here.Firmwareversion 8.0.2 will be provisioned
to Poly Edge E devices automaticallyduring
installation. 
Before handset installation, please make sure
that the TIPT site has been set up withDHCP,
DNS and NTP on the router following the
TIPT Integration Guide.
Note:Handset installation requires that adevice
has been provisioned in the TIPT platform
and been allocated specic credentials. You
will need to know the credentials for each
handsetbefore you start installation.
Follow the setup wizard
TIPT – Polycom Edge series E220, E350 & E450 Installation Guide - 2023 2
• Select Login As Admin.
• Enter the Admin password.(default = 456, Enter
in a new admin password at the prompt and
remember what you set it to)
• Click Submit.
• Select Settings.
• Select Provisioning Server.
• Under Provisioning Server set the following values
• Server Address:
http://dms.digitalbusiness.telstra.com/dms/
bootstrap
• Server User:
<The supplied DMS user Credentials>
• Server Password:
<The supplied DMS Password Credentials>
• Expand the DHCP Menu
• Boot Server: Static
• Click Save
• The handset should reboot (this will take a minute
or two), if not Select Utilities, then select
Reboot Phone
Group level – NAPTR mode (Handset can be used on any network)
Tag Name Tag Value(s)
%TIPT_STATE%
(Based on the state)
vic-naptr
wa-naptr
tas-naptr
sa-naptr
qld-naptr
nt-naptr
nsw-naptr
 act-naptr
%IFOLDER% 1
%FIRMWARE_EDGE_E% 8.0.2
%SCA_FORWARD% 0
%TIPT_CODEC% g722
Group level – TLS mode (Handset can be used on TBB /3rd Party)
Tag Name Tag Value(s)
%TIPT_STATE%
vic-tls
wa-tls
Tas-tls
sa-tls
qld-tls
nt-tls
nsw-tls
act-tls
%IFOLDER%  1
%FIRMWARE_EDGE_E% 8.0.2
%SCA_FORWARD% 0
%TIPT_CODEC% g722
Group level – UDP mode (Handset can be used on any network)
Tag Name Tag Value(s)
%TIPT_STATE%
(Based on the state)
vic-udp
wa-udp
tas-udp
sa-udp
qld-udp
nt-udp
nsw-udp
act-udp
%IFOLDER%  1
%FIRMWARE_EDGE_E% 8.0.2
%SCA_FORWARD% 0
%TIPT_CODEC% g722
Group level – TCP mode (Handset can be used on any network)
Tag Name Tag Value(s)
%TIPT_STATE%
vic-tcp
wa-tcp
tas-tcp
sa-tcp
qld-tcp
nt-tcp
nsw-tcp
act-tcp
%IFOLDER%  1
%FIRMWARE_EDGE_E% 8.0.2
%SCA_FORWARD% 0
%TIPT_CODEC% g722
TIPT – Polycom Edge series E220, E350 & E450 Installation Guide - 2023 3
Group Tags for TIPT Administration Portal
Note: If provisioned via UCSS, tags are set up automatically at the group level for the devices and if needed,
can be changed based on the customer requirements.

This manual suits for next models

3

Other Poly Telephone manuals

Poly CCX Series User manual

Poly

Poly CCX Series User manual

Poly SYNC 20 Series User manual

Poly

Poly SYNC 20 Series User manual

Poly Edge E400 User manual

Poly

Poly Edge E400 User manual

Poly VVX 250 User manual

Poly

Poly VVX 250 User manual

Poly Sync 10 Series User manual

Poly

Poly Sync 10 Series User manual

Poly VVX 4 Series User manual

Poly

Poly VVX 4 Series User manual

Poly VVX 200 Series User manual

Poly

Poly VVX 200 Series User manual

Poly VVX 101 User manual

Poly

Poly VVX 101 User manual

Poly CCX 700 Manual

Poly

Poly CCX 700 Manual

Poly SYNC 60 Series User manual

Poly

Poly SYNC 60 Series User manual

Poly CCX Series User manual

Poly

Poly CCX Series User manual

Poly Sync 40 Series User manual

Poly

Poly Sync 40 Series User manual

Poly CCX 505 Manual

Poly

Poly CCX 505 Manual

Poly MOMENTUM CCX Series User manual

Poly

Poly MOMENTUM CCX Series User manual

Poly SY60 User manual

Poly

Poly SY60 User manual

Poly Sync 40 Series User manual

Poly

Poly Sync 40 Series User manual

Poly SYNC 20 Series User manual

Poly

Poly SYNC 20 Series User manual

Poly VVX Series User manual

Poly

Poly VVX Series User manual

Poly CCX 500 Manual

Poly

Poly CCX 500 Manual

Poly CCX Series User manual

Poly

Poly CCX Series User manual

Poly Sync 40 Series User manual

Poly

Poly Sync 40 Series User manual

Poly SY40 User manual

Poly

Poly SY40 User manual

Poly VVX 300 Series User manual

Poly

Poly VVX 300 Series User manual

Poly CCX Series User manual

Poly

Poly CCX Series User manual

Popular Telephone manuals by other brands

Sony CM-SB200 operating instructions

Sony

Sony CM-SB200 operating instructions

T-Mobile Octopus F100 operating instructions

T-Mobile

T-Mobile Octopus F100 operating instructions

Freecom Internet Conference Phone Specifications

Freecom

Freecom Internet Conference Phone Specifications

Siemens HiPath 500 Quick reference guide

Siemens

Siemens HiPath 500 Quick reference guide

Doro COMFORT 3000 manual&nbsp;

Doro

Doro COMFORT 3000 manual&nbsp;

Avaya PARTNER Phone quick start guide

Avaya

Avaya PARTNER Phone quick start guide

Siemens Gigaset 4110 Comfort operating instructions

Siemens

Siemens Gigaset 4110 Comfort operating instructions

Ameriphone DIALOGUE XL 50 user guide

Ameriphone

Ameriphone DIALOGUE XL 50 user guide

HYBREX DK9 Series Description & Instructions

HYBREX

HYBREX DK9 Series Description & Instructions

Ipevo TRIO user manual

Ipevo

Ipevo TRIO user manual

Durabrand PH-323 operating instructions

Durabrand

Durabrand PH-323 operating instructions

GE ES29195 user guide

GE

GE ES29195 user guide

AT&T CL83101 quick start guide

AT&T

AT&T CL83101 quick start guide

Lenoxx PH-319 operating instructions

Lenoxx

Lenoxx PH-319 operating instructions

Mitel 5324 Quick reference sheet

Mitel

Mitel 5324 Quick reference sheet

Dinstar A810 user manual

Dinstar

Dinstar A810 user manual

Panasonic 308UK operating instructions

Panasonic

Panasonic 308UK operating instructions

Unify OpenScape Desk Phone IP 35G user guide

Unify

Unify OpenScape Desk Phone IP 35G user guide

manuals.online logo
manuals.online logoBrands
  • About & Mission
  • Contact us
  • Privacy Policy
  • Terms and Conditions

Copyright 2025 Manuals.Online. All Rights Reserved.