manuals.online logo
Brands
  1. Home
  2. •
  3. Brands
  4. •
  5. Polycom
  6. •
  7. Telephone
  8. •
  9. Polycom SoundPoint IP 4000 Reference guide

Polycom SoundPoint IP 4000 Reference guide

• Press the Scroll Up and Scroll Down keys to make selections.
• Use the More, Next, and Prev softkeys to scroll through lists.
• Pressing the More softkey provides access to other softkeys.
• Press the Menu key to exit from any directory.
• Press the Exit key to exit from a menu.
• To enter text, such as contact names, press the number keys one or
more times. For example, to enter A, press 2; to enter C, press 222.
• When you can enter text, the display title shows whether keys will
generate numbers (1), upper-case (A), or lower-case (a) characters.
Press the 1/A/a softkey to change the mode.
Note: Settings on the SMB 1500 control the default caller ID behavior
(show or block) for your extension.
To send caller ID if it is normally blocked:
• Dial *82 before the number you are calling. For example:
*82 9 603 555 2368
Note: Caller ID is only blocked for external calls; internal calls will always
show caller ID.
To block caller ID if it is normally sent:
• Dial *67 before the number you are calling. For example:
*67 9 603 555 2368
Internal Shortcut Dialing Features
8Dial before an extension to send the call directly to the
recipient’s voicemail.
880 Dial by name directory
882 Voicemail
LED Lamp Status Indicators
Solid green: Call in progress
Slow flashing green: Incoming call
Rapid flashing green: You have placed a call on hold.
Red: Your have muted the call.
Slow flashing red: You have been placed on hold.
Phone Keys
Show or Block Caller ID
Note: Your extension must be specifically set up to use call screening.
If your extension is set up to use call screening, this feature behaves as
follows when an outside caller uses the Auto Attendant to select your
extension.
• The Auto Attendant asks the caller to record their name, then
forwards the call to the selected extension.
• When you answer the call, the Auto Attendant announces the call.
• Press 2to accept the call or press 8to send the call to voicemail.
• If you hang up without making a choice, or if you do not answer, the
call goes to voicemail.
Note: Your extension must be set up to make paging and handsfree
answer back calls, and the receiving extension(s) must be set up to
accept these calls. Your phone will play a fast busy signal if it is not set
up to make the type of page you are attempting.
Page all extensions:
1. Dial 70, then wait for the tone.
2. Announce your message, then hang up.
• The page is announced through the phone speaker of all idle
phones.
Page a zone:
1. Dial 77X, where Xis the number (0 through 9) of the page zone you
want to call, then wait for the tone.
2. Announce your message, then hang up.
• The page is announced through the phone speaker of all idle
phones that belong to the page zone you called.
Handsfree answer back:
Note: Handsfree answer back is available only for calls between
extensions within your service location, including remote Road Warrior
phones.
1. Dial 7, then a three-digit extension within your service location.
2. The call is routed to the speaker of the called phone.
• The phone system plays a short beep to indicate the connection
was made.
• The called extension operates in speakerphone mode; you have
two-way communication with the called line.
• If the extension you paged does not accept intercom calls, you will
hear a fast busy signal.
Call Screening
Paging and Handsfree Answer Back
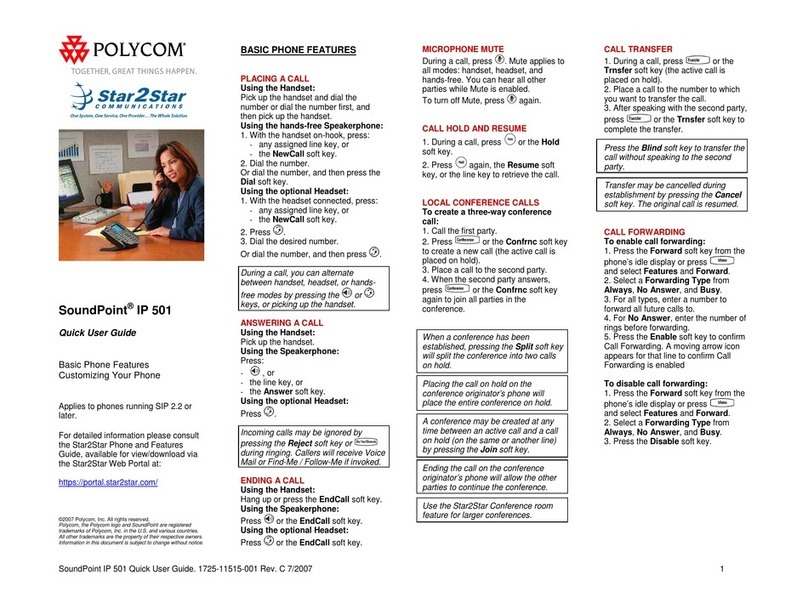
This Quick Reference Card describes how to use the Whaleback
Systems CrystalBlue Voice Service™.
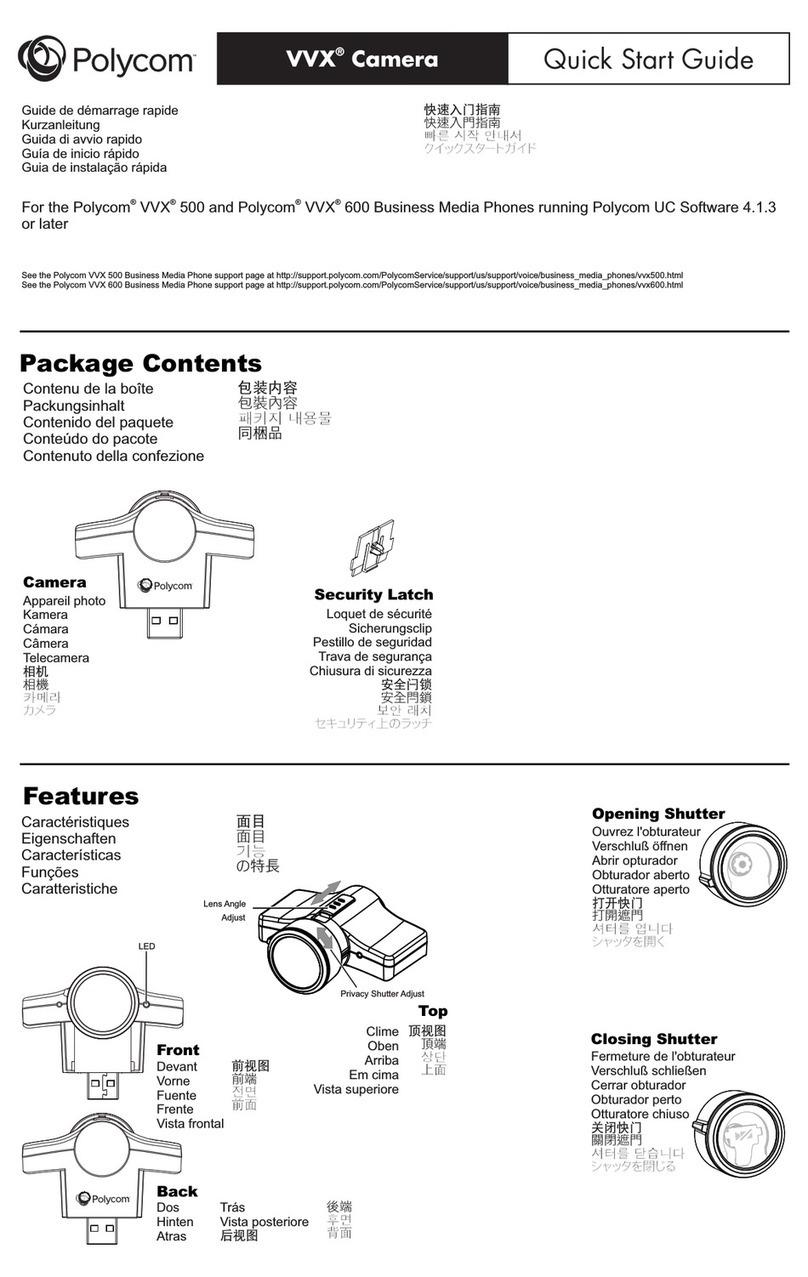
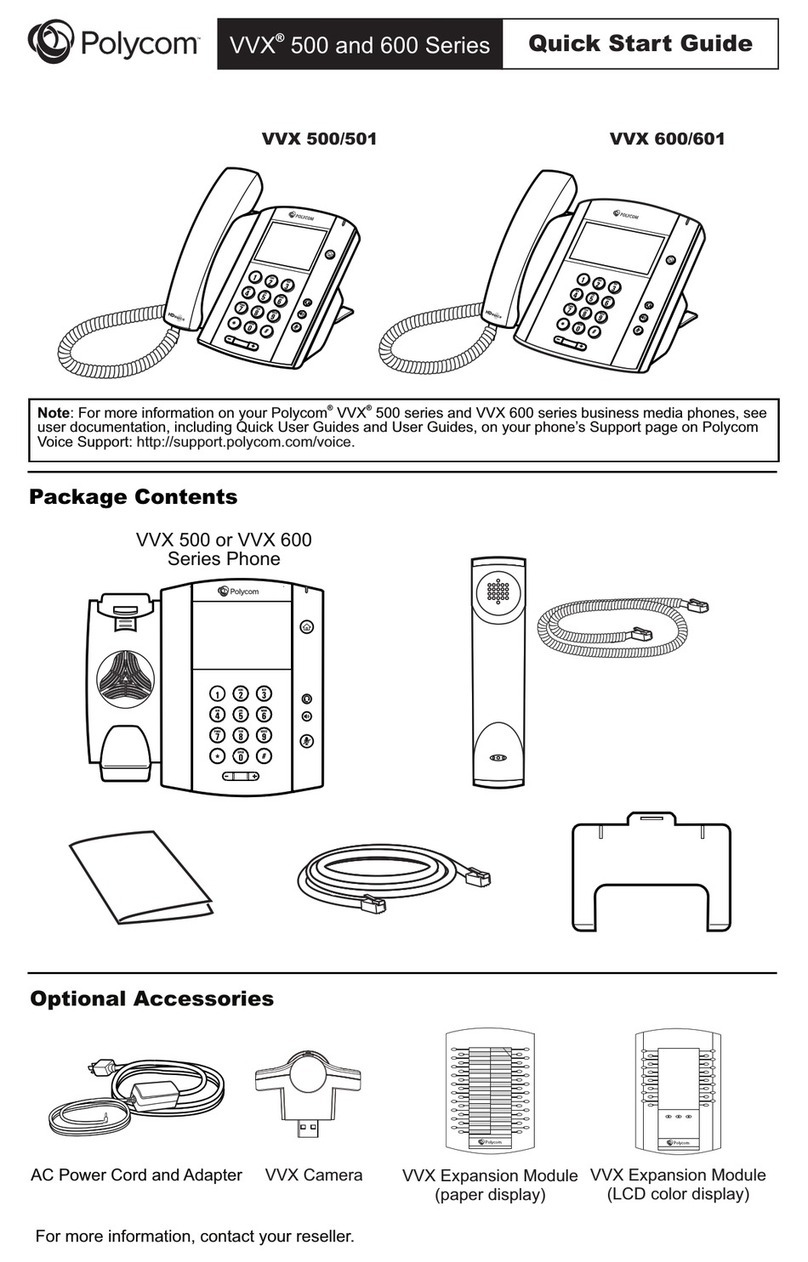
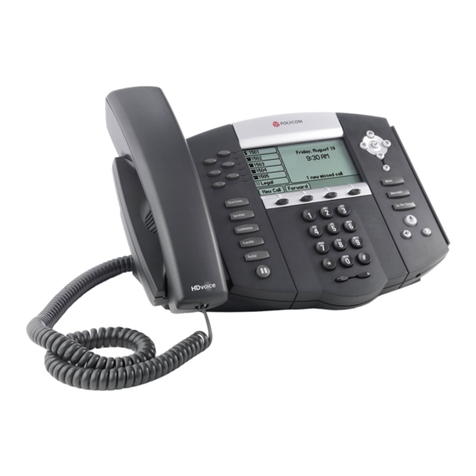
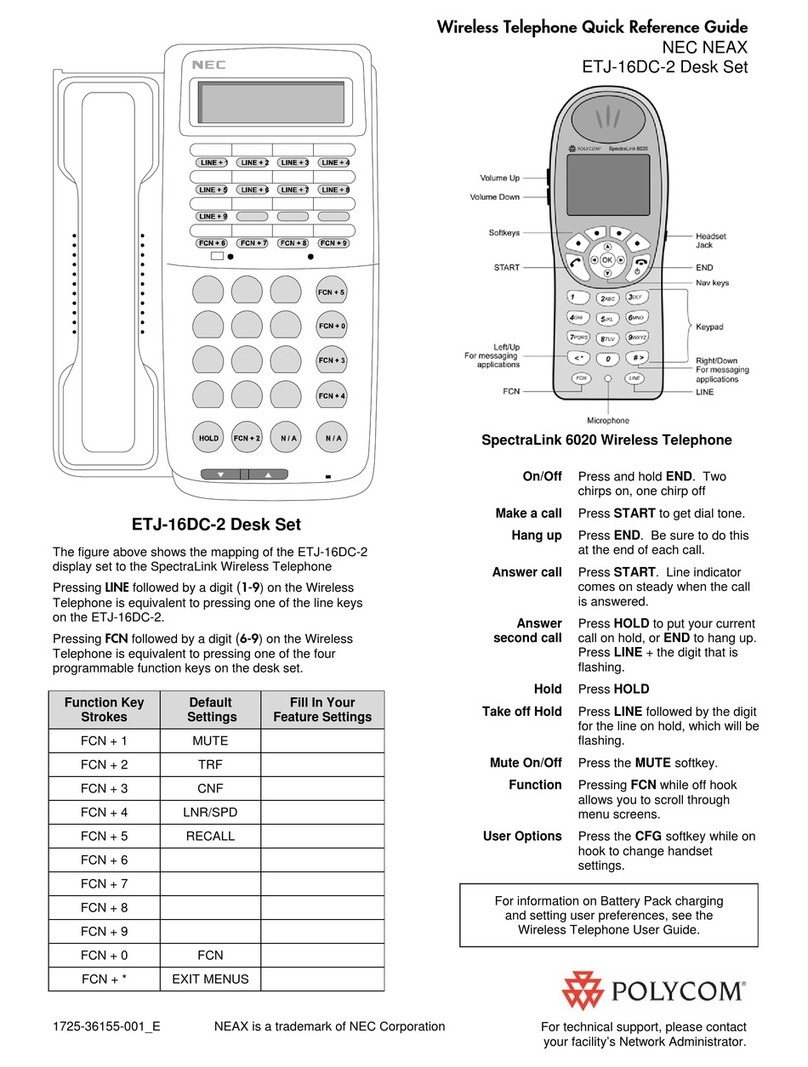
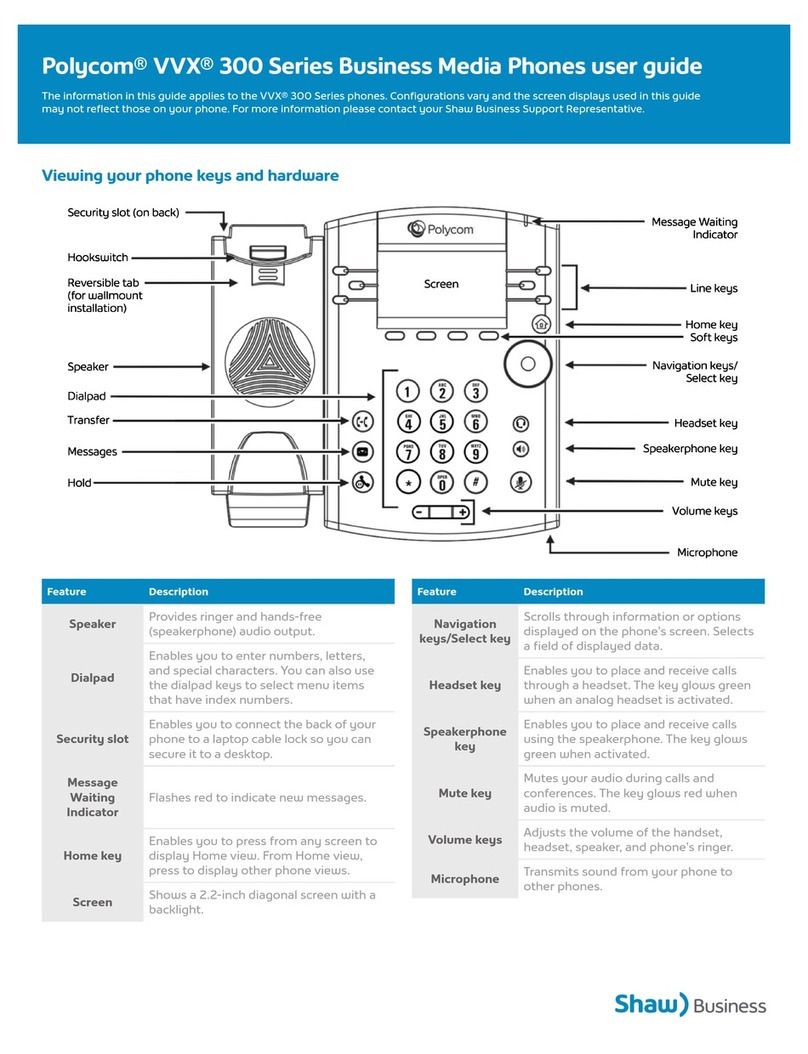
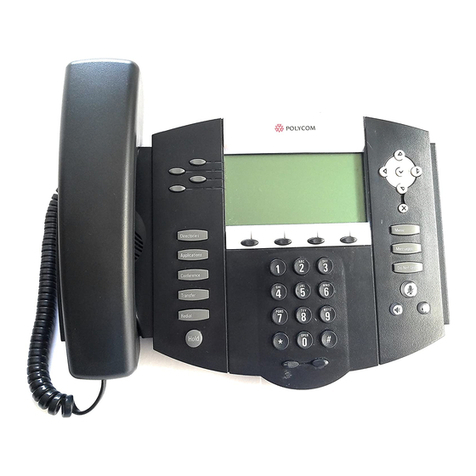
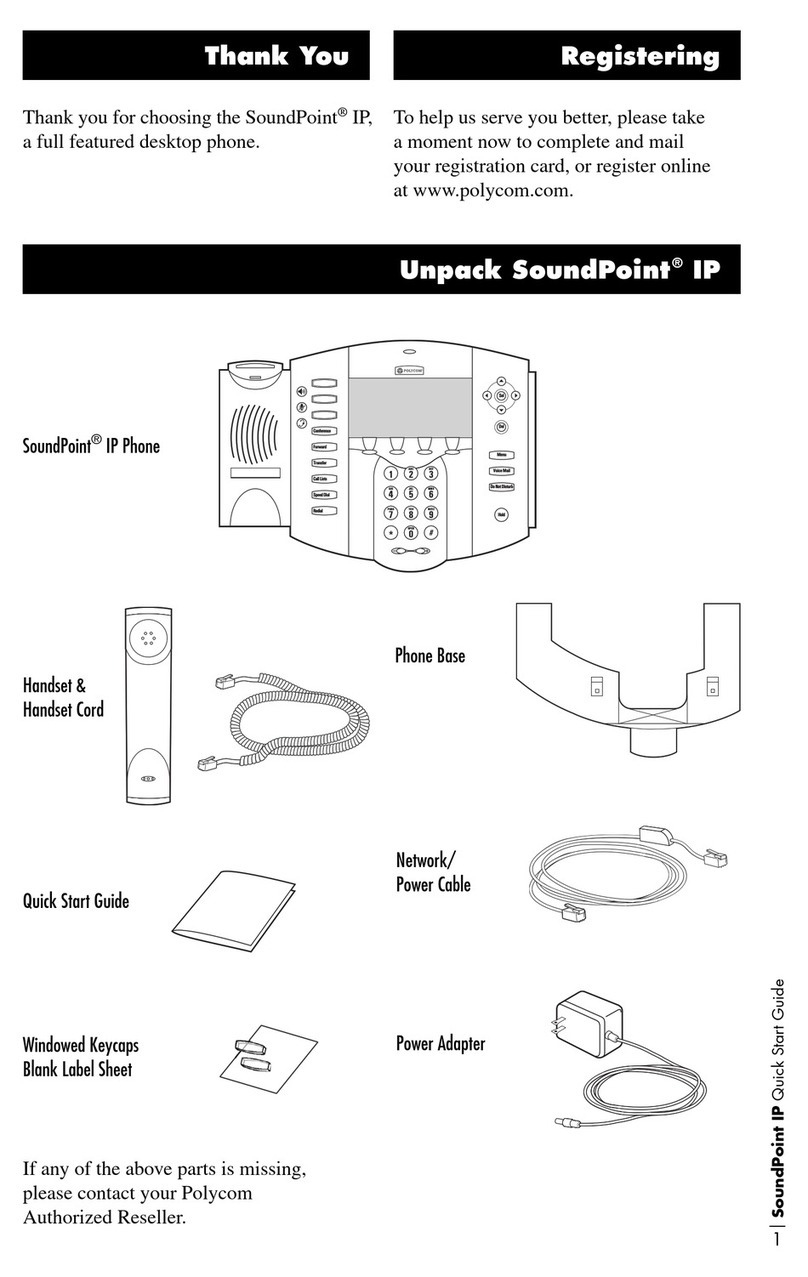
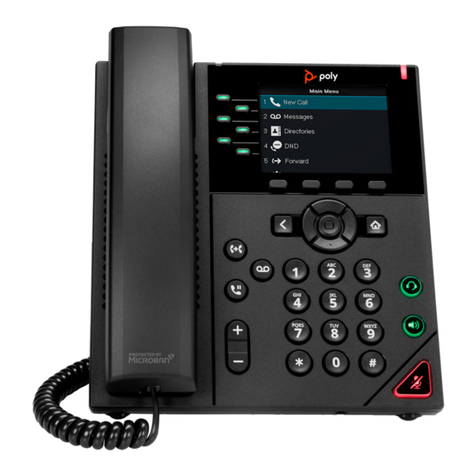
To locate control keys and other parts of your phone, see the diagrams
in SoundPoint®IP 4000 Quick Start Guide.
Dialing a call:
• Press the Phone key or press the New Call softkey.
Note: Most phone systems require a dial-out prefix (usually 9) before
the phone number when you call an external line.
Answering a call:
• Press the Phone key or press the Answer softkey.
Ending a call:
• Press the Phone key or the End Call softkey.
Rejecting a call:
• Press the Reject softkey to send the call directly to voicemail.
Putting a call on hold:
• During a call, press the Hold softkey. The phone icon on the display
blinks to indicate a call on hold.
• To retrieve a held call, press the Resume softkey.
• If you have multiple held calls, use the Scroll Up and Scroll Down
keys to select a call, then press the Resume softkey.
Transferring a call:
1. During a call, press the More softkey.
2. Press the Transfer softkey.
3. Press the Blind softkey.
4. Enter the destination number for the transfer and hang up.
Transferring a call with consultation:
1. During a call, press the More softkey.
2. Choose the Transfer softkey.
3. Dial the destination number and wait for the recipient to answer.
4. After consulting with the recipient, press the Transfer softkey to
transfer the call.
• To cancel the transfer and return to the caller, press the Cancel
softkey.
Introduction
Basic Phone Usage
Call Transfers
C
rys
t
a
lBl
ue
Voice Service™
SoundPoint IP 4000
Quick Reference Card
Cuttyhunk Release
Forwarding your calls:
1. Press the Forward softkey.
2. Enter a destination extension number or a destination outside
number with prefixes, such as a dial-out prefix (usually 9) or an area
code.
3. Press the Enable softkey to enable call forwarding.
• The phone status icon changes to indicate that call forwarding is
active.
Note: To change the destination number, first disable forwarding
(below), then follow steps 1-3 (above).
Disabling call forwarding:
1. Press the Forward softkey.
2. Press the Disable softkey.
‘
Note: Conference calls can link three lines.
Creating a conference call:
1. Place a call to the first party and wait for them to answer.
2. Press the More softkey, then the Confrnc softkey. This puts the first
party on hold and presents a dial tone for the second call.
3. Dial the second party. When the second party answers, press the
More softkey, then the Confrnc softkey to join the parties.
Turning a call into a conference call:
1. Press the Join softkey during a call and dial the number of the party
you want to add to the call.
2. When the party answers, press the Cnfrnc softkey to join the parties.
Splitting a conference call:
1. Press the Split softkey during a conference. This places each party
individually on hold.
2. Use the Scroll Up and Scroll Down keys to select a call, then press
the Resume softkey to activate the call.
3. To go back to the other call, repeat step 2 or press the End Call
softkey.
Call Forwarding
Conference Calls
Setting up the contact directory:
1. Press the Menu key.
2. Select Features then Contact Directory.
3. Press the More softkey then press the Add softkey to enter a contact.
• Use the More, Next, and Previous softkeys to move between fields.
• Use the 1/A/a softkey to select numeric, upper case, or lower
case modes.
• At the Speed Dial Index line, the phone automatically assigns a
number. You can accept the default assignment or enter a
different number.
4. Press the Save softkey to confirm or the Delete softkey to discard.
5. Press the Menu key to return to the idle display.
Placing a call from the contact directory:
To search for a contact:
1. Press the Menu key.
2. Select Features then Contact Directory.
3. Press the More softkey then press the Search softkey.
4. Enter at least one letter of the contact’s first or last name, then
press the Search softkey.
5. If the search returns multiple contacts, press the Scroll Up key or
the Scroll Down key to select the contact you want to call.
6. Press the Dial softkey to place the call.
1. Press the Scroll Up key to view the Speed Dial list.
2. Enter the speed dial index number on the keypad, or press Scroll
Up or Scroll Down to select the desired number.
1. Press the Menu key and Select Features.
2. Select Do Not Disturb. When you activate the do not disturb feature:
• Do not disturb and a flashing icon appear on the phone display.
• The phone does not ring.
• All calls are sent directly to voicemail and are logged as missed
calls.
3. Repeat steps 1 and 2 to disable Do not disturb.
1. Press the Menu key.
2. Select Features.
3. Select Call Lists.
4. Press the Scroll Up key or the Scroll Down key to view the call
lists. Choices are Missed Calls, Received Calls, and Placed Calls.
5. Press the Select softkey to select a call list.
6. In the call list, press the Scroll Up key or the Scroll Down key to
view the available numbers. Press the Dial softkey to place a call to
the selected number on the list.
Contact Directory
Speed Dial
Do Not Disturb
Call Lists
1. Press the Menu key.
2. Select Settings, Basic, then Ring Type.
3. Press Scroll Up or Scroll Down to select a ring type; press the Play
softkey to listen to a selected ring type; press the Select key to set
it.
Adjusting speaker volume:
1. During a call, press the Volume Up key or the Volume Down key.
2. The phone saves the speaker volume setting for all future calls.
Adjusting ringer volume:
1. Press the Volume Up key or the Volume Down key when the
phone is idle.
2. The display screen shows a volume indicator as you make
adjustments.
1. Press the Mute key to mute the phone. When you mute the phone:
• The LEDs turn solid red.
• You can hear the caller, but the caller cannot hear you.
2. Press the Mute key again to un-mute the phone.
1. Press the Menu key.
2. Select Settings, Basic, then Contrast.
3. To adjust the contrast, use the Down and Up and softkeys.
4. To accept changes, press the OK softkey.
Ring Type
Volume Controls
Muting the Microphone
Adjusting the Display Contrast
05/29/07 Copyright ©2007 Whaleback Systems 01-008-01

Other Polycom Telephone manuals

Polycom SoundStation IP 6000 User manual

Polycom

Polycom SoundStation IP 6000 User manual

Polycom VVX 500 series User manual

Polycom

Polycom VVX 500 series User manual

Polycom VVX 500 series User manual

Polycom

Polycom VVX 500 series User manual

Polycom SoundPoint IP 670 SIP User manual

Polycom

Polycom SoundPoint IP 670 SIP User manual

Polycom SoundPoint IP 450 Setup guide

Polycom

Polycom SoundPoint IP 450 Setup guide

Polycom VVX 201 Instruction manual

Polycom

Polycom VVX 201 Instruction manual

Polycom Integra VVX 500 User manual

Polycom

Polycom Integra VVX 500 User manual

Polycom SoundPoint IP 600 Instruction manual

Polycom

Polycom SoundPoint IP 600 Instruction manual

Polycom VVX 310 Instruction manual

Polycom

Polycom VVX 310 Instruction manual

Polycom VVX 450 User manual

Polycom

Polycom VVX 450 User manual

Polycom SpectraLink 6020 User manual

Polycom

Polycom SpectraLink 6020 User manual

Polycom VVX 500 User manual

Polycom

Polycom VVX 500 User manual

Polycom VVX 411 Instruction manual

Polycom

Polycom VVX 411 Instruction manual

Polycom VVX 300 User manual

Polycom

Polycom VVX 300 User manual

Polycom VVX 400 Series User manual

Polycom

Polycom VVX 400 Series User manual

Polycom VVX410 User manual

Polycom

Polycom VVX410 User manual

Polycom VVX 300 Guide

Polycom

Polycom VVX 300 Guide

Polycom VVX400-410 User manual

Polycom

Polycom VVX400-410 User manual

Polycom VVX 600 series User manual

Polycom

Polycom VVX 600 series User manual

Polycom VVX 300 Installation guide

Polycom

Polycom VVX 300 Installation guide

Polycom Telephone User manual

Polycom

Polycom Telephone User manual

Polycom SoundStation IP 5000 User manual

Polycom

Polycom SoundStation IP 5000 User manual

Polycom VVX 311 User manual

Polycom

Polycom VVX 311 User manual

Polycom VVX 101 User manual

Polycom

Polycom VVX 101 User manual

Popular Telephone manuals by other brands

Vizio SS2520-C6 quick start guide

Vizio

Vizio SS2520-C6 quick start guide

MaxWest Blade user manual

MaxWest

MaxWest Blade user manual

Siemens HiPath 3000 V3.0 or later Gigaset M1... Opearting instructions

Siemens

Siemens HiPath 3000 V3.0 or later Gigaset M1... Opearting instructions

Alcatel XL575 Startup guide

Alcatel

Alcatel XL575 Startup guide

Alcatel-Lucent IP Touch 4038 Basic User Training Guide

Alcatel-Lucent

Alcatel-Lucent IP Touch 4038 Basic User Training Guide

Nokia Lumia 530 quick start guide

Nokia

Nokia Lumia 530 quick start guide

Ipevo VOCAL quick start guide

Ipevo

Ipevo VOCAL quick start guide

Aastra Office 70 user guide

Aastra

Aastra Office 70 user guide

Mitel Superset 4025 User's information guide

Mitel

Mitel Superset 4025 User's information guide

Toshiba Strata DK Backup Interface guide

Toshiba

Toshiba Strata DK Backup Interface guide

Plantronics CALISTO P420 MOC user guide

Plantronics

Plantronics CALISTO P420 MOC user guide

Motorola TX550 manual

Motorola

Motorola TX550 manual

Uniden FP1100 owner's manual

Uniden

Uniden FP1100 owner's manual

Gigaset family HX user guide

Gigaset

Gigaset family HX user guide

Northwestern Bell Excursion 39202 user manual

Northwestern Bell

Northwestern Bell Excursion 39202 user manual

ClearSounds TALK500 ER Specifications

ClearSounds

ClearSounds TALK500 ER Specifications

Somy IT-B2 Service manual

Somy

Somy IT-B2 Service manual

Hubbell GAI-Tronics Clean Phone 295-702F manual

Hubbell

Hubbell GAI-Tronics Clean Phone 295-702F manual

manuals.online logo
manuals.online logoBrands
  • About & Mission
  • Contact us
  • Privacy Policy
  • Terms and Conditions

Copyright 2025 Manuals.Online. All Rights Reserved.