manuals.online logo
Brands
  1. Home
  2. •
  3. Brands
  4. •
  5. Prem-I-Air
  6. •
  7. Heater
  8. •
  9. Prem-I-Air PECCB3200 User manual

Prem-I-Air PECCB3200 User manual

This manual suits for next models

2

Other Prem-I-Air Heater manuals

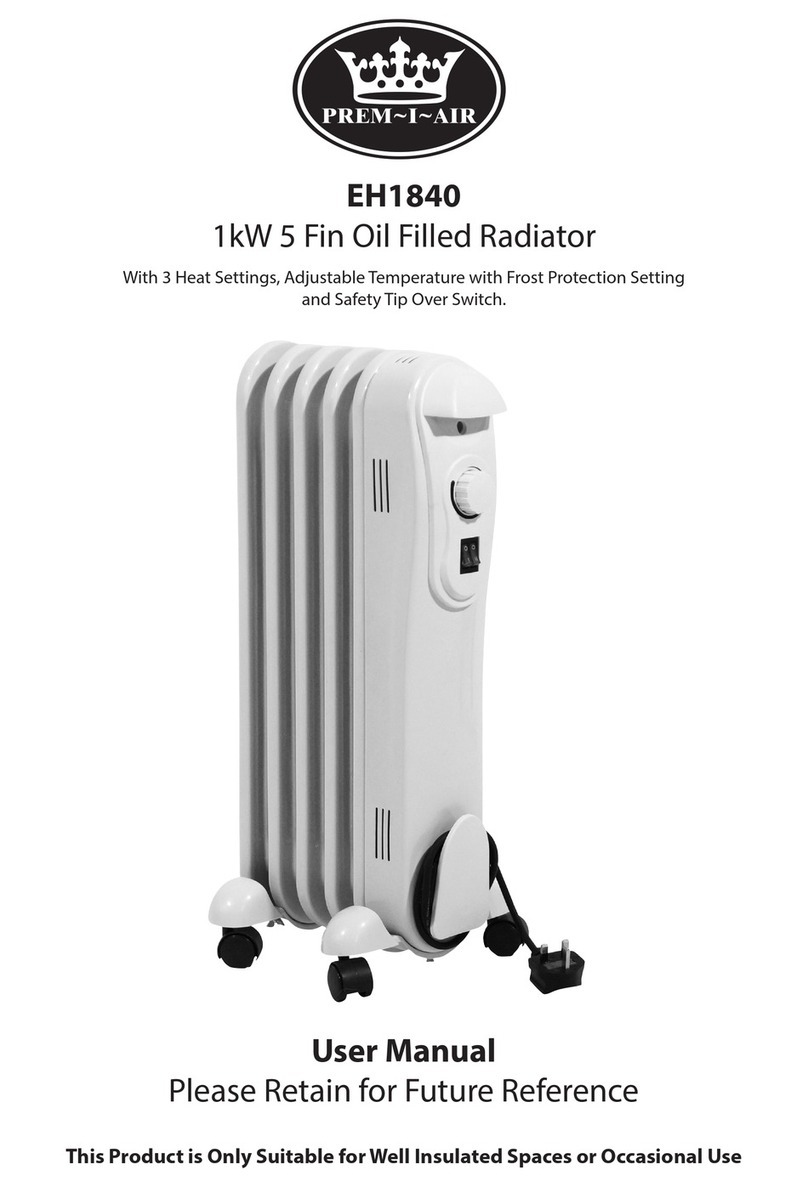
Prem-I-Air EH1668 User manual

Prem-I-Air

Prem-I-Air EH1668 User manual

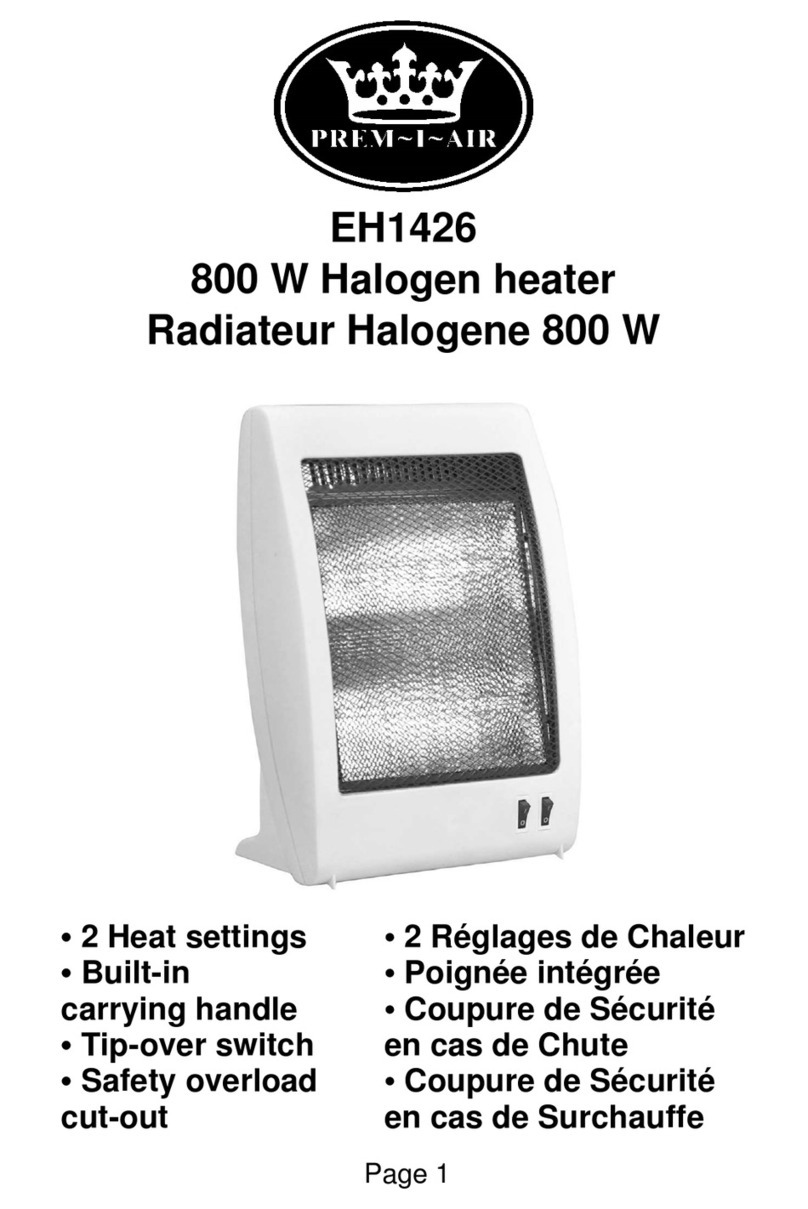
Prem-I-Air EH1526 User manual

Prem-I-Air

Prem-I-Air EH1526 User manual

Prem-I-Air EH1369 User guide

Prem-I-Air

Prem-I-Air EH1369 User guide

Prem-I-Air HT2007 User manual

Prem-I-Air

Prem-I-Air HT2007 User manual

Prem-I-Air EH1566 User manual

Prem-I-Air

Prem-I-Air EH1566 User manual

Prem-I-Air EH1372 User manual

Prem-I-Air

Prem-I-Air EH1372 User manual

Prem-I-Air EH1582 User manual

Prem-I-Air

Prem-I-Air EH1582 User manual

Prem-I-Air EH1846 User manual

Prem-I-Air

Prem-I-Air EH1846 User manual

Prem-I-Air EHO154 User manual

Prem-I-Air

Prem-I-Air EHO154 User manual

Prem-I-Air N10T24 User manual

Prem-I-Air

Prem-I-Air N10T24 User manual

Prem-I-Air EH1710 User manual

Prem-I-Air

Prem-I-Air EH1710 User manual

Prem-I-Air EH1890 User manual

Prem-I-Air

Prem-I-Air EH1890 User manual

Prem-I-Air EH1674 User manual

Prem-I-Air

Prem-I-Air EH1674 User manual

Prem-I-Air EH1266 User manual

Prem-I-Air

Prem-I-Air EH1266 User manual

Prem-I-Air EH1644 User manual

Prem-I-Air

Prem-I-Air EH1644 User manual

Prem-I-Air EH1434 User manual

Prem-I-Air

Prem-I-Air EH1434 User manual

Prem-I-Air EH1892 User manual

Prem-I-Air

Prem-I-Air EH1892 User manual

Prem-I-Air EH0153 User manual

Prem-I-Air

Prem-I-Air EH0153 User manual

Prem-I-Air EH0154 User manual

Prem-I-Air

Prem-I-Air EH0154 User manual

Prem-I-Air EH1710 User manual

Prem-I-Air

Prem-I-Air EH1710 User manual

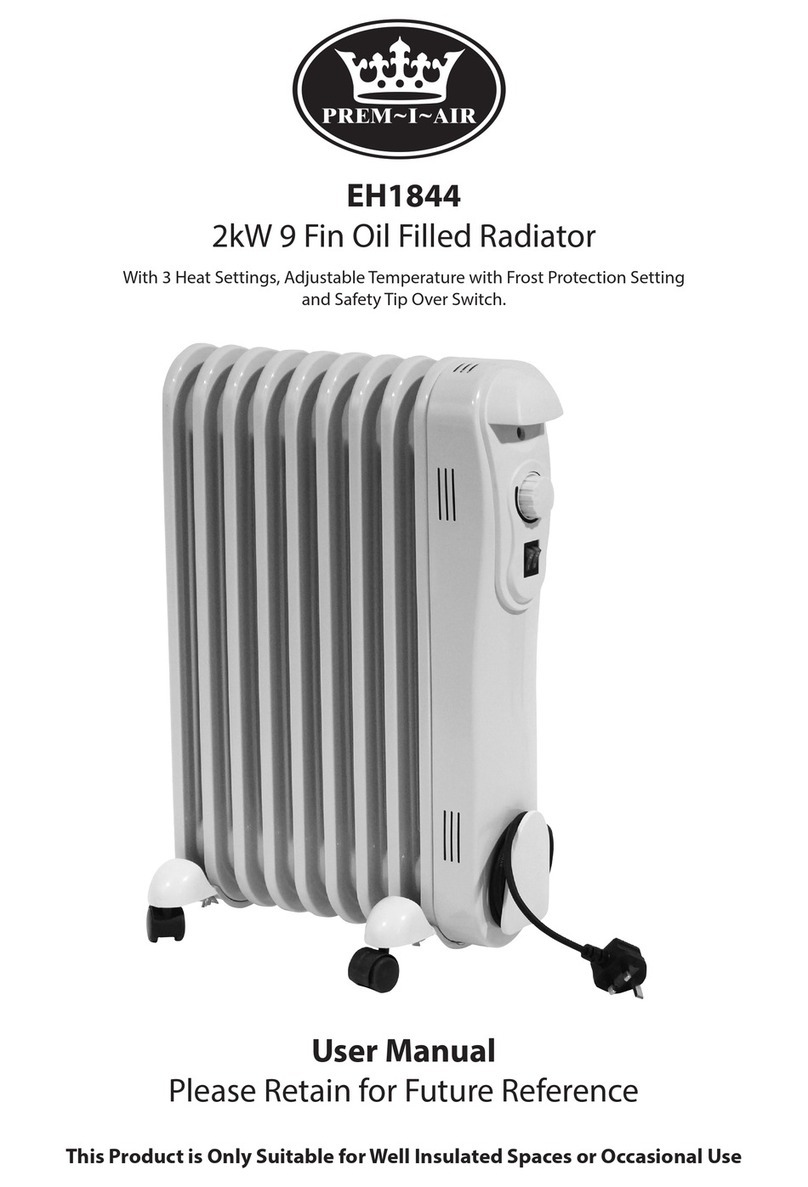
Prem-I-Air EH1844 User manual

Prem-I-Air

Prem-I-Air EH1844 User manual

Prem-I-Air EH1442 User manual

Prem-I-Air

Prem-I-Air EH1442 User manual

Prem-I-Air EH1422 User manual

Prem-I-Air

Prem-I-Air EH1422 User manual

Prem-I-Air Elite EH1331 User manual

Prem-I-Air

Prem-I-Air Elite EH1331 User manual

Popular Heater manuals by other brands

Porter-Cable PCXH80KT Operating instructions and owner's manual

Porter-Cable

Porter-Cable PCXH80KT Operating instructions and owner's manual

Dyna-Glo RA18LPDG user manual

Dyna-Glo

Dyna-Glo RA18LPDG user manual

Dimplex PLX050E instruction manual

Dimplex

Dimplex PLX050E instruction manual

EOS Herkules XL S120 installation instructions

EOS

EOS Herkules XL S120 installation instructions

Trebs Comfortheat 99209 manual

Trebs

Trebs Comfortheat 99209 manual

Biddle STYLE2 Series Installation operation & maintenance

Biddle

Biddle STYLE2 Series Installation operation & maintenance

Vermont Castings Non-Catalytic Convection Heater 2477CE Installation and operating manual

Vermont Castings

Vermont Castings Non-Catalytic Convection Heater 2477CE Installation and operating manual

Fagor RA-1505 Instructions for use

Fagor

Fagor RA-1505 Instructions for use

THERMAL FLOW Delta 175 Operating instructions manual

THERMAL FLOW

THERMAL FLOW Delta 175 Operating instructions manual

GET G2CH instructions

GET

GET G2CH instructions

ApenGroup PK Series User, installation, and maintenance manual

ApenGroup

ApenGroup PK Series User, installation, and maintenance manual

oventrop Regucor Series quick start guide

oventrop

oventrop Regucor Series quick start guide

Blaze King CLARITY CL2118.IPI.1 Operation & installation manual

Blaze King

Blaze King CLARITY CL2118.IPI.1 Operation & installation manual

ELMEKO ML 150 Installation and operating manual

ELMEKO

ELMEKO ML 150 Installation and operating manual

BN Thermic 830T instructions

BN Thermic

BN Thermic 830T instructions

KING K Series Installation, operation & maintenance instructions

KING

KING K Series Installation, operation & maintenance instructions

Empire Comfort Systems RH-50-5 Installation instructions and owner's manual

Empire Comfort Systems

Empire Comfort Systems RH-50-5 Installation instructions and owner's manual

Well Straler RC-16B user guide

Well Straler

Well Straler RC-16B user guide

manuals.online logo
manuals.online logoBrands
  • About & Mission
  • Contact us
  • Privacy Policy
  • Terms and Conditions

Copyright 2025 Manuals.Online. All Rights Reserved.

CERAMIC HEATER
PECCB3200 (Cream) and PERCB3200 (Red)
Please read this instruction manual before operating and
keep safe for future reference.
IMPORTANT SAFETY INSTRUCTIONS
WARNING - This appliance is intended for use in a domestic environment
only. Any other use is not recommended by the manufacturer and may cause
fire, electrical shocks or other injury to person or property.
When using electrical appliances, basic safety precautions should always be
followed:
1. This heater is hot when in use. To avoid burns DO NOT touch the air
outlet grilles during use. If provided, use handles when moving this heater.
2. DO NOT direct the heater towards curtains furniture or other flammable
objects and ensure that they are at least 3 feet (0.9m) from the front and 1
foot (0.3m) away from the sides and rear.
3. Extreme care should be taken when any heater is used by, or near
children and pets, and whenever the heater is left operating and
unattended.
4. Before operating the heater remove the unit from its packaging and check
it is in good condition.
5. DO NOT let children play with the packaging, for example plastic bags.
6. DO NOT operate any heater with a damaged cord or plug, or after the
heater malfunctions, has been dropped, or damaged in any manner.
Return the heater to an authorised service facility for examination and
repair.
7. DO NOT attempt to repair or adjust any electrical or mechanical functions
on this unit as this may void warranty.
8. Check the household voltage to ensure it matches the appliance's rate
specification
9. DO NOT sit the heater on soft surfaces, like a bed, where openings may
become blocked. DO NOT cover.
10. Always unplug the heater when not in use. To disconnect from the power
supply, grip the plug and pull from the power socket. Never pull by the
cord.
11. This heater is not intended for use in wet or damp locations. Never locate
the heater where it may fall into a bathtub or other water container. DO
NOT use in bathrooms or outdoors. When not in use always store in a dry
area.
12. DO NOT run power cord under carpeting, or cover with rugs or runners.
Arrange the cord away from areas where it may be tripped over.
13. Avoid the use of an extension cable as this may overheat and cause a
fire.
15. DO NOT insert or allow objects to enter any ventilation or exhaust opening
as this may damage the heater and could cause an electrical shock or fire.
16. DO NOT use the heater in areas where petrol, paint, or other flammable
goods and objects are stored.
17. If the supply cord is damaged it must be replaced by the Manufacturer or
an authorised service centre in order to avoid a hazard.
BS PLUG WIRING
Wiring Instructions: Should it be necessary to change the plug please note the
wires in the mains lead are coloured in accordance with the following code:
BLUE - NEUTRAL
BROWN - LIVE
As the colours of the wires in the mains lead of this appliance may not
correspond with the coloured markings identifying the terminals in your plug,
proceed as follows:
1. The BLUE wire is the NEUTRAL and must be connected to the terminal
that is marked with the letter Nor coloured BLACK.
2. The BROWN wire is the LIVE and must be connected to the terminal that
is marked with the letter Lor coloured RED.
3. Neither wire is to be connected to the terminal which is marked with the
letter Eor or coloured GREEN OR GREEN/YELLOW.
4. Always ensure that the cord grip is positioned and fastened correctly.
If a 13A (BS 1363) fused plug is used it must be fitted with a 13A fuse. If in
doubt consult a qualified electrician.
Wiring for a 13 Amp Plug (BS 1363)
Please note.
The Earth Terminal is marked with the letter Eor Earth Symbol .
1.
PRODUCT DESCRIPTION
OPERATING INSTRUCTIONS
• Carefully remove your heater from the product packaging and retain
box for off-season storage.
• Please ensure the unit is in the off position before plugging into the
power socket.
• Place the heater on a firm level surface.
• Avoid overloading the circuit by not plugging other high wattage
products into the same power socket.
• To turn on the appliance, move the heat setting switch to the
corresponding position:
When the unit is switched on the blue power on indicator light will
illuminate.
• To turn off the appliance, push the switch on the dial to the “0”
position.
• After use unplug from the power socket.
0 - OFF
I - LOW heat setting
II - HIGH heat setting
1. Thermostat switch
2. Power on indicator light
3. Speed setting switch
3
1
2
THERMOSTAT
Use the Thermostat to set the desired room temperature.
We recommend that you push the thermostat switch fully on start up. Once
the room has reached the required temperature turn the Thermostat switch
down until the heater turns off. Some further minor adjustment will be
required to set your ideal temperature as your heater turns on and off.
For frost protection setting push the thermostat switch to the
position.
OVERHEAT PROTECTION
This unit has a safety system, which automatically switches the appliance
off, when it is overheating. If this happens unplug the heater and allow it to
cool down for 20 minutes. Inspect and remove any objects on or adjacent
to your heater. If the defect occurs again do not attempt to repair the unit
yourself. Unplug the heater from the power socket and take it to an
authorised service engineer for repair.
MAINTENANCE
• Before cleaning turn the heater off, unplug from the power supply
and wait for the unit to cool down.
• To clean the heater use a soft cloth to wipe off any dust.
• If the heater is very dirty use a damp cloth and wipe dry. Do not
use any cleaning detergents, sprays or other chemicals, as they
will damage the unit.
• Store the heater in the original packaging in a ventilated dry area.
SPECIFICATION
Power: 2000W
Voltage: 230V ~ 50Hz
N.W: 1.6kg G.W: 1.8kg
SERVICE & WARRANTY
• Do not operate the unit with a damaged cord or plug, after the unit
malfunctions, or has been dropped or damaged.
• For your convenience, record the complete model number and
product name (located on the Product Identification Plate), the date
you purchased the product, and attach your purchase receipt docket
as proof of purchase. To ensure your product is covered by
warranty, the complete faulty product together with your purchase
receipt should be returned to your retailer.
ONE (1) YEAR LIMITED WARRANTY
SAVE THIS WARRANTY INFORMATION
EHS (International) Ltd. guarantees this product free from defects in
materials and workmanship for a period of one (1) year.
Should this unit be operated under conditions other than those
recommended, at voltages other than the voltage indicated on the unit,
or any attempts made to service or modify the unit, this will render the
WARRANTY VOID. The product you buy may sometimes differ slightly
from illustration. This warranty is in addition to, and does not affect, you
r
statutory rights
Should you have a problem with this product, please contact our
help desk, Tel: (0870) 742 5021
This product has been manufactured to comply with EEC Directives
73/23/EEC and 89/336/EEC
Waste electrical products should not be disposed of with
household waste. Please recycle where facilities exist.
Check with your Local Authority or retailer for recycling advice.
EHS, Manchester, M17 1RN
EHS 07/06