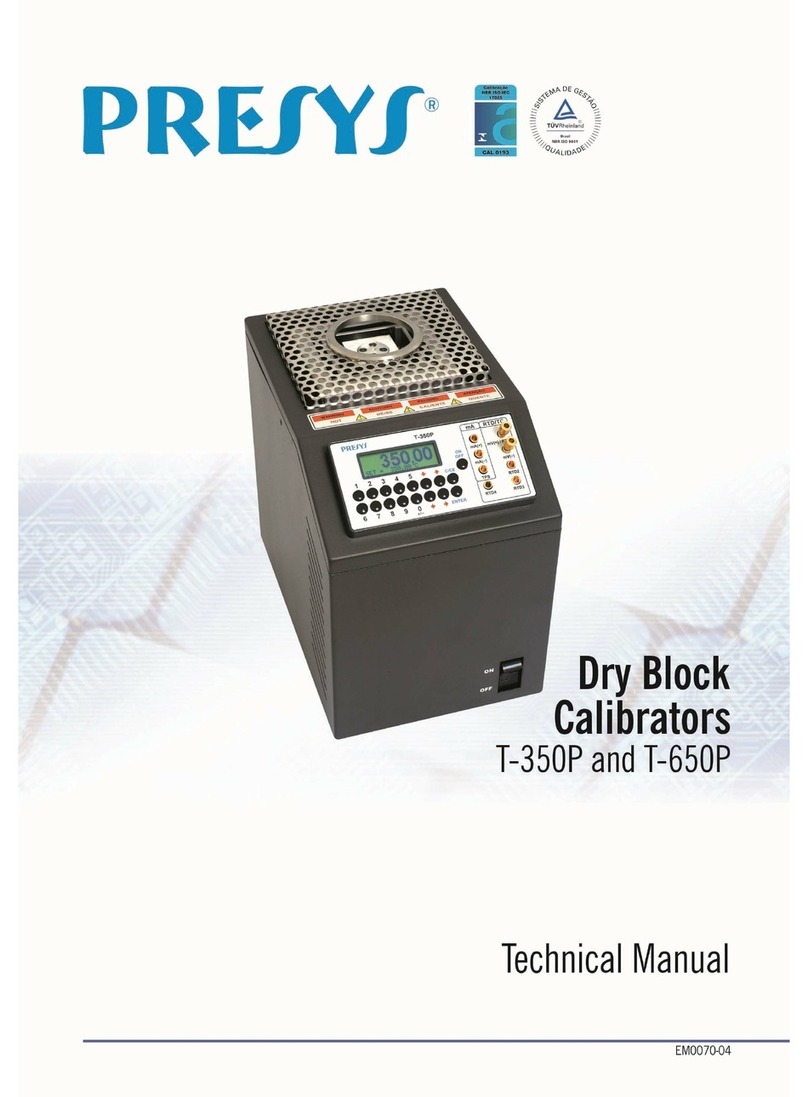
Presys T-500PIR User manual

Calibrator for
Infrared Thermometer
T-500PIR
R
Technical Manual
Q
Y
U
T
A
L
I
E
N
T
M
S
E
Y
G
S
A
T
N
E
A
M
M
presys

WARNING!
Avoid electric shock risk when touching the equipment:
- Use only suitable power cable with earth connection;
- Never power the equipment to the mains socket without earth connection.
WARNING!
High voltage is present inside this equipment. Do not make any repair service inside
the equipment without removing the plug from the supply.
WARNING!
Much electromagnetic noise can cause instability to the equipment.
The equipment is provided with electromagnetic interference filters that protect not only
the mains but also the equipment itself against noise. These filters have no function if
the unit is not earthed properly.
WARNING!
High temperatures are achieved in this equipment.
Risk of fire and explosion are present in case safety measures are not taken.
Sign by means of warnings the hazardous areas at high temperatures.
Do not place the instrument on inflammable surfaces or even on materials that can be
deformed due to high temperatures.
Do not obstruct any air-vent to avoid risk of fire in the equipment.
Do not operate the instrument in excessively wet, oily, dusty or dirty environments.
WARNING!
Do not use sharp or pointed objects in the black body cavity.
Do not use abrasive materials or cleaning products on the black body cavity. These
products can change the instrument properties.
Do not touch inside the black body cavity, salts and the oiliness of skin can impair the
properties of the material.
CAUTION!
The instrument described in this technical manual is intended to be used in a
specialized technical area. The user should be responsible by its configuration and the
parameter values entered. The manufacturer warns about risks of personal injury or
ambient damage as a result of its incorrect use.
presys

PRESYS Instruments T-500PIR
EM0331-03
Table of Contents
1.0 - Introduction ................................................................................................................1
1.1 - Technical Specifications......................................................................................2
1.1.1 - Input Technical Specification.............................................................................3
1.2 - Order Code...............................................................................................................3
1.3 - Accessories ..............................................................................................................4
2.0 - T-500PIR Calibrator Operating.................................................................................5
2.1 - IN Menu ....................................................................................................................6
2.1.1 - Input Connection Diagrams...............................................................................7
2.2 - CONF Menu..............................................................................................................8
2.3 - Manual Operating Mode.........................................................................................11
2.4 - Programmable Operating Mode.............................................................................12
2.5 - Automatic Operating Mode ....................................................................................13
3.0 - Usage Recommendations.......................................................................................15
4.0 - Safety Instructions...................................................................................................15
5.0 - Calibrator Warning Messages................................................................................16
6.0 - PID Control Parameters...........................................................................................16
7.0 - Calibration.................................................................................................................17
7.1 - Input Calibration .....................................................................................................17
7.2 - Probe Calibration....................................................................................................19
8.0 - Maintenance..............................................................................................................20
8.1 - Instructions for Hardware.......................................................................................20
presys

PRESYS Instruments T-500PIR
Page 1
1.0 - Introduction
T-500PIR
The Calibrator for Infrared Thermometer T-500PIR generates temperature values
in order to enable the calibration of infrared thermometers. The temperatures generated
have high accuracy, in an area of uniform temperature and emissivity.
This calibrator also has input for thermocouples and resistance thermometers, as
well as current meter function.
•The T-500PIR generates temperature from ambient to 500 ºC.
•Has input for thermocouples, RTDs and thermoswitches reading.
•The use of external standard thermometer is not required*.
•Carries out completely automatic calibrations with or without the use of a computer.
•Accuracy of up 0.4 ºC, stability of 0.2 °C and resolution of 0.01 ºC.
•Documenting capabilities: communication with computer and ISOPLAN Calibration
Software.
•Portable and compact, has strap for easy transport.
* For high performance calibration, it is possible to make use of an external sensor RTD
read in the input of the calibrator, with adjustment of the Callendar-Van Dusen
coefficients.
It has extensive programming capabilities, where the calibrator is programmed to
generate pre-set temperature.
Compatible with automatic calibration and documenting software, with application
of ISOPLAN software on PC / Windows platform, using the serial port for connection
between the PC and the calibrator that communicate via RS-232 or RS-485. ISOPLAN
software can register thermometers and factory instruments, generate work orders,
produce and print calibration certificates and reports, that is, all the information of power
is brought into the environment of calibrations.
presys

PRESYS Instruments T-500PIR
Page 2
T-500PIR has also many other features, such as:
•The electric signal calibrator is independent from the blackbody target function.
•Internal buzzer beeps when the temperature reaches the desired value.
•Keypad that eases the operation and configuration of the calibrator.
•Vacuum Fluorescent Display to present big-size numbers.
•Thermo-element reading scaled to ITS-90 or IPTS-68.
•RTD reading configurable with Callendar-Van Dusen coefficients adjustments.
•Internal regulated 24Vdc power supply for 2-wire transmitters.
•Internal rechargeable battery and battery charger included in the electric signal
calibrator.
•Independent circuitry for over-temperature protection and safety.
1.1 - Technical Specifications
Operating Range
Ambient to 500 °C
Power Supply
110 Vac or 220 Vac 50/60 Hz,
according to order code
Target Diameter
80 mm
Resolution
0.01 ºC
Accuracy (internal reference)
0.4 ºC
(external reference)
0.2 ºC
Target Emissivity ()
(0.95 ± 0.01)
Target Uniformity
0.50 ºC
Stability
0.2 ºC
Electric Power
1000 W
Heating Time
30 minutes (50 ºC to 500 ºC)
Cooling Time
30 minutes (500 ºC to 100 ºC)
Dimensions (HxWxD)
260 x 180 x 270 mm
Weight
5.2 kg
Warranty
One year
presys

PRESYS Instruments T-500PIR
Page 3
1.1.1 - Input Technical Specification
Input Ranges
Resolution
Accuracy
Notes
millivolt
-150 to 150 mV
-500 to -150 mV
150 to 2450 mV
0.001 mV
0.01 mV
0.01 mV
± 0.01 % FS
± 0.02 % FS
± 0.02 % FS
Rinput > 10 M
auto-range
mA
-5 to 24,5 mA
0.0001 mA
± 0.02 % FS
Rinput < 160
Resistance
0 to 400
400 to 2500
0.01
0.01
± 0.01 % FS
± 0.03 % FS
excitation current
0.9mA
Pt-100
-200 to 850 ºC / -328 to 1562 ºF
0.01 ºC / 0.01 ºF
± 0.1 ºC / ± 0.2 ºF
IEC-60751
Pt-1000
-200 to 400 ºC / -328 to 752 ºF
0.1 ºC / 0.1 ºF
± 0.1 ºC / ± 0.2 ºF
IEC-60751
Cu-10
-200 to 260 ºC / -328 to 500 ºF
0.1 ºC / 0.1 ºF
± 2.0 ºC / ± 4.0 ºF
Minco 16-9
Ni-100
-60 to 250 ºC / -76 to 482 ºF
0.1 ºC / 0.1 ºF
± 0.2 ºC / ± 0.4 ºF
DIN-43760
TC-J
-210 to 1200 ºC / -346 to 2192 ºF
0.1 ºC / 0.1 ºF
± 0.2 ºC / ± 0.4 ºF
IEC-60584
TC-K
-270 to -150 ºC / -454 to -238 ºF
-150 to 1370 ºC / -238 to 2498 ºF
0.1 ºC / 0.1 ºF
0.1 ºC / 0.1 ºF
± 0.5 ºC / ± 1.0 ºF
± 0.2 ºC / ± 0.4 ºF
IEC-60584
TC-T
-260 to -200 ºC / -436 to -328 ºF
-200 to -75 ºC / -328 to -103 ºF
-75 to 400 ºC / -103 to 752 ºF
0.1 ºC / 0.1 ºF
0.1 ºC / 0.1 ºF
0.1 ºC / 0.1 ºF
± 0.6 ºC / ± 1.2 ºF
± 0.4 ºC / ± 0.8 ºF
± 0.2 ºC / ± 0.4 ºF
IEC-60584
TC-E
-270 to -150 ºC / -454 to -238 ºF
-150 to 1000 ºC / -238 to 1832 ºF
0.1 ºC / 0.1 ºF
0.1 ºC / 0.1 ºF
± 0.3 ºC / ± 0.6 ºF
± 0.1 ºC / ± 0.2 ºF
IEC-60584
TC-N
-260 to -200 ºC / -436 to -328 ºF
-200 to -20 ºC / -328 to -4 ºF
-20 to 1300 ºC / -4 to 2372 ºF
0.1 ºC / 0.1 ºF
0.1 ºC / 0.1 ºF
0.1 ºC / 0.1 ºF
± 1.0 ºC / ± 2.0 ºF
± 0.4 ºC / ± 0.8 ºF
± 0.2 ºC / ± 0.4 ºF
IEC-60584
TC-L
-200 to 900 ºC / -328 to 1652 ºF
0.1 ºC / 0.1 ºF
± 0.2 ºC / ± 0.4 ºF
DIN-43710
1.2 - Order Code
T - 500PIR --
Power Supply
1 –115 Vac
2 –230 Vac
Reference Probe
0 –No Reference Thermometer
1 –SPRT Reference sensor
presys

PRESYS Instruments T-500PIR
Page 4
1.3 - Accessories
•Communication Interface:
Description
Order Code
RS-232 - DB-9F Connector (COM1)
06.02.0002-00
RS-485
06.02.0006-00
•Included Items: Carrying case, straps, manual, power cord and Bluetooth Interface.
•Optional Accessories: Communication Interface –Order Code: 06.02.0002-00.
•Calibration Certificate.
presys

PRESYS Instruments T-500PIR
Page 5
2.0 - T-500PIR Calibrator Operating
The T-500PIR calibrator keeps controlled the temperature of the black body
cavity and is suitable for calibration of infrared thermometers.
The calibrator has 3 operating modes:
•Manual Mode to select the temperature straight from the keypad
•Programmable Mode: 6 different programs with 11 temperature set point values. The
cavity temperature is selected among the programmed values by the keys and.
The Programmable Mode with Timer scans automatically the temperature set points.
•Automatic Mode calibration is performed in an automatic way by the calibrator: the
schedule and the calibration results, besides the thermo-element readings are stored
in the calibrator memory. For pyrometers with local indication, the reading is entered
manually and for pyrometers with response in mA, mV or thermocouple, reading is
performed automatically by the input of the calibrator.
When powered on (ON/OFF key), the calibrator goes through a self-test routine
and shows the last calibration date and the value of the battery voltage. The battery
voltage is constantly monitored and the low battery warning is provided. After the self-
test is completed, the display shows the starting menu. The initial set point is 50.00 ºC.
When powered on (ON/OFF key), the calibrator goes through a self-test routine
and shows the last calibration date and the value of the battery voltage. After the self-
test is completed, the display shows the starting menu. The initial set point is 25.00 ºC:
IN EXEC
CONF CAL COM
By means of keys ,,and , choose the menu options and press
ENTER.
IN: selection of the calibrator signal input. Choose among mV, Ohms, thermocouples,
RTDs, mA, switch or none. More details in item 2.1 - IN Menu.
EXEC: The calibrator enters the manual or programmable operating mode.
CONF: Accesses the calibrator configuration options. More details in item 2.2 -
CONF Menu.
CAL: This option accesses the T-500PIR calibrator adjust functions, protected by
password. More details in section 7 – Calibration.
COM: Accesses the automatic calibration parameters. It is possible to perform a
calibration without a computer or using it (via ISOPLAN software). More details in item
2.5 - Automatic Operating Mode.
presys

PRESYS Instruments T-500PIR
Page 6
2.1 - IN Menu
mV OHM TC
RTD mA SW NO
mV, mA, SW: selects millivolt, milliampere or switch input, respectively.
OHM: selects ohms input. Following, choose from the menu the wiring in 2, 3 or
4-wire.
2-WIRE 3-WIRE
4-WIRE
TC: selects thermocouple input. Choose between J, K, T, E, Nand Ltypes. In
the next menu, the internal or manual cold junction compensation is chosen.
INTERNAL
MANUAL
If the internal compensation is selected, the cold junction temperature value is
displayed by the calibrator. If the MANUAL option is selected, the cold junction must be
supplied by the operator. After confirming the value, by pressing ENTER, the calibrator
goes back to the operating mode.
RTD: Selects the type of thermo resistance used. Choose from PT100, NI100,
CU10 and PT1000 types. Choose also if the wiring is 2, 3 or 4-wire.
NO: Disables reading of external signal.
Selecting one of the options above, the calibrator goes straight to the manual
operating mode, with no need to select the EXEC option.
presys

PRESYS Instruments T-500PIR
Page 7
2.1.1 - Input Connection Diagrams
presys

PRESYS Instruments T-500PIR
Page 8
2.2 - CONF Menu
CF PRG MEM LCD
SC BT DT BZ
CF: Selects the temperature unit between ºC and ºF. The ITS-90 or IPTS-68
temperature scales are selected for both for input readings and the internal reference
blackbody target
ºC-90 ºF-90
ºC-68 ºF-68
If RTD Pt-100 input has been selected, this menu changes, adding the
options °C-CVD and ºF-CVD:
ºC-68 ºF-68
ºC-CvD ºF-CvD
Under these options Callendar-Van Dusen parameters for RTD input Pt-100
can be configured. These coefficients belong to the equation described below:
R(t) = R0 {1 + At + Bt2 + Ct3(t-100)}, C=0 for t ≥ 0°C
Where t refers to this temperature range and R0 to the resistance at 0 °C.
Set the coefficients R0, A, B and C and their exponents in E_A, E_B, E_C.
R0 A B C
E_A E_B E_C
LCD: This option sets the display contrast. Use the key and until you get a better
contrast and finish the operation by pressing the key ENTER.
BT: Indicates the battery voltage or the battery charger as the instrument's power
supply is switched off or on, respectively.
Battery level
Battery state
Display
4.0 to 7.0 V
normal
----------
< 4.0 V
low
LOW BATTERY
DT: Updates the date and time of the calibrator. Thus, when the calibrator performs a
calibration in the automatic mode via ISOPLAN, all data are registered together with
date and time of occurrence. Every time the calibrator is powered off, the internal clock
does not continue to be updated.
However, the ISOPLAN software can automatically update the calibrator date
and time with the computer internal clock. Otherwise, use keys and to change
the field that blinks and the keys and to go to another field. The key ENTER
confirms the last selection.
presys

PRESYS Instruments T-500PIR
Page 9
BZ: Menu that configures the piezoelectric buzzer.
NO YES ENDCAL
NO: Disables the buzzer.
YES: The buzzer beeps when the cavity reaches the set point and stabilizes.
ENDCAL: The buzzer beeps only at the end of a calibration in the automatic operating
mode
TU: Menu that configures the PID control parameters for the heating side. More details
in section 6 - PID Control Parameters.
K I D FACT
K: Proportional gain
I: Integral gain
D: Derivative gain
FACT: Restore the control parameters to the factory values.
PRG: Menu that programs the calibrator.
DEC_IN DEC_PRB
SET POINT
DEC_IN: Selects the number of decimals of the thermo-element reading. The default
value depends on the input signal.
DEFAULT
0 1 2 3 4
DEC_PRB: Selects the number of decimals of the cavity temperature and the set
point value. The default number is 1.
0 1
SET POINT: Enables the calibrator Programmable Operating Mode, and allows the
configuration of programmed values. The selected program is indicated by the
selection arrow. Choose one of the 6temperature programs or NO to disable this
Programmable Mode.
Select any of the 6 programs and confirm with the key ENTER. Following, it is
shown the menu of temperature set point configuration.
presys

PRESYS Instruments T-500PIR
Page 10
10% 20% 25%
VARIABLE
Change the configuration to STEPS of 10%, 20%, 25%, VARIABLE or press
C/CE to maintain the configuration already stored in memory. The temperature range
of the program must be configured through the values in SET POINT HIGH and SET
POINT LOW in case of 10%, 20% or 25% fixed steps of the range. The option
VARIABLE allows the user to define from 2 to 11 values of temperature set point, not
necessarily in ascending order.
To verify the step values of a program, select the VARIABLE option and
confirm the values shown in the display with the key ENTER. The 10%, 20% and 25%
options change the number of steps automatically and recalculate the values according
to SET POINT HIGH and SET POINT LOW.
SC: This function scales the input reading of pyrometric transmitters. The
scaling is very useful in temperature transmitter calibration, for instance, because it
displays the current temperature and the transmitter reading in the same unit. Thus,
the error can be verified directly in ºC or ºF. Select the option SC and press ENTER. If
no input is selected in IN, the calibrator will show the SELECT INPUT FIRST message.
In this case, go to menu IN and select the input signal type.
The function SC will show IN or NO. Confirm IN to configure the scaling or NO
to disable the SC function, with the key ENTER.
The scaling is performed via the INPUT HIGH and INPUT LOW parameters,
corresponding to the maximum and minimum values of the calibrator signal input, in
the engineering unit of this signal. Next, configure the SCALE DEC (0-4), SCALE
HIGH and SCALE LOW parameters according to the maximum and minimum values
of the transmitter scale and the desired number of decimals. The scaled value is
shown on the display with the #unit.
For example, temperature transmitter with 0 to 100 ºC input and 4 to 20 mA
output. The scaling with one decimal would be:
INPUT HIGH: 20.0000 mA
INPUT LOW: 4.0000 mA
SCALE DEC (0-4): 1
SCALE HIGH: 100.0 #
SCALE LOW: 0.0 #
presys

PRESYS Instruments T-500PIR
Page 11
MEM: The T-500PIR calibrators allow many special programs and functions that
can be of frequent use. In situations like this, it would be useful to store the current
configuration in memory in order to save time. Up to 8 configurations can be stored in
memory.
Selecting the option MEM, it is possible to store the current configuration
(WRITE), restore a previous stored configuration (RECALL) or erase the 8
configurations from memory (CLEAR ALL).
WRITE RECALL
CLEARALL
Selecting the option WRITE or RECALL will present a new menu with numbers
1 to 8, representing each one of the memory positions. Choose one of the positions
and press ENTER. The writing operation (WRITE) can be made in an already used
memory position. The calibrator confirms the overwriting confirmation with the
message OVERWRITE MEMORY? The CLEAR ALL operation shows a confirming
message ARE YOU SURE? In both cases, press ENTER to confirm the operation or
C/CE to cancel.
2.3 - Manual Operating Mode
The display shows the selected temperature value of black body cavity and also
the current cavity temperature or thermo-element temperature value.
There are 4 ways in which the information are shown, covering the calibrator
input value (IN), the black body cavity temperature (PROB) and the temperature set
point (SET). The key interchanges the display presentation way:
IN = 23.456 mV
PROB= 225.01 ºC
PROB= 25.01 ºC
SET = 25.00 ºC
23.456
IN = Voltage (mV)
25.01
SET = 25.00 ºC
The black body temperature set point is selected directly by the keypad, even if
the message SET is not being displayed. The numeric keypad enables the SET
selection in any of the display presentation ways, to change the set point.
The set point value is increased by key and decreased by key. While the
keys are kept pressed, the set point continues to be increased or decreased.
The key does not have function in the manual operating mode of the
T-500PIR calibrators.
presys

PRESYS Instruments T-500PIR
Page 12
2.4 - Programmable Operating Mode
Pre-configured programs can be loaded from the calibrator memory, enabling
the programmable operating mode. The temperature programmed values of the cavity
are used directly, with no need to enter the set point.
The display shows STEPn beside the cavity temperature set point value in the
programmable mode. The number of the program is indicated by n. Using the keys
and, the programmed values of temperature set point are changed. The numeric
keypad continues available for manual selection of the black body cavity temperature in
the same way of the manual operating mode.
The automatic scan over the programmed temperatures is implemented by
defining the stabilization time of the thermo-element in the black body cavity.
The key enables the automatic scan over the points. When pressed, the
message STEPn gives place to 0s and the calibrator waits for the stabilization time
configured from 1 to 9 minutes, by the keys 1 to 9. The automatic scan is disabled by
pressing key again.
A countdown of the stabilization time is only started when the cavity temperature
reaches the programmed temperature and stabilizes within a range of approximately
0.20 ºC. At this time the buzzer beeps, in case it is configured to YES.
presys

PRESYS Instruments T-500PIR
Page 13
2.5 - Automatic Operating Mode
The infrared thermometer calibration is performed in an automatic way by the
T-500PIR calibrator. The configuration, as well as the calibration verification is carried
out by the calibrator itself. Also it is possible to use the ISOPLAN software and its work
orders, like a CAC - Computer Aided Calibration.
The independent automatic calibration, without the use of ISOPLAN, is planned
in the option TAGMAN from menu COM.
TAG EXEC VERIF
ADDRESS TAGMAN
Before start programming, configure the signal that will be read by the calibrator
in the menu IN. To calibrate pyrometers with local indication, for example, there is no
electric signal to be read. In this case, option IN from the menu must be configured to
NO and the calibrator will ask to enter the value indicated by the pyrometer, at the end
of the stabilization time of each calibration point.
The data for an automatic calibration are:
•TAG: the pyrometer tag identification.
•SP: the black body cavity temperature reference values for the calibration
(calibration points).
•TOL: the maximum tolerance for the pyrometer operation.
•STB: the stabilization time, in seconds, so that the pyrometer reading can be taken.
This timer starts just after the cavity reaches and stabilizes at the set point
temperature.
•STR: the calibration strategy of the programmed reference values. The available
strategies are: (UP), (DOWN), (UP - DOWN), (DOWN - UP),
(UP - DOWN - UP) and (DOWN - UP - DOWN).
•RP: the strategy number of repetitions.
•RGI: the pyrometer indication range.
•RGO: the operating temperature range that corresponds to the indication range
above.
The automatic calibration begins when the option EXEC from menu COM is
selected. All the operations are automatically performed by the T-500PIR calibrator.
The keypad does not work until the end of the calibration.
At the end of the stabilization time, the calibrator stores the thermometer reading
in memory and goes to the next point, in case some input signal has been previously
configured in the menu IN and connected to the calibrator terminals.
The CALIBRATION END message appears on the display at the end of the
automatic calibration. Press ENTER to confirm. The results can be verified in option
VERIF from menu COM.
The first message in option VERIF informs the calibration result, with the number
of points that have succeeded or not. Following, press ENTER to verify each one of the
presys

PRESYS Instruments T-500PIR
Page 14
readings performed by the calibrator. The keys and interchange 2 screens: one
that displays the cavity and thermo-element temperature value and the other displays a
message indicating the calibration point number and its state (OK or FAIL), besides the
error value in %.
The option TAG from menu COM can present a list of up to 4 tags that have
been downloaded or uploaded with ISOPLAN software. The key ENTER selects the tag
to be calibrated from the tag list. The automatic calibration starts by the option EXEC
from menu COM and the calibration data can be verified in option VERIF. To calibrate
automatically not using the ISOPLAN, there is a reserved place for one manual tag.
The selection of the manual tag is performed by confirming the option TAGMAN with
the key ENTER.
The option ADDRESS selects the communication address of the T-500PIR
calibrator. The communication protocol used is ModBus - RTU, with no parity and baud
rate of 9600. The calibrator communication with the computer can use RS-232 or RS-
485, for network option, according to the communication interface used. In order to
communicate with ISOPLAN software, configure ADDRESS to 1.
presys

PRESYS Instruments T-500PIR
Page 15
3.0 - Usage Recommendations
It is of great importance to know the instrument to be calibrated. Infrared
thermometers have characteristics which must be met so that the observed results are
correct, as setting of emissivity (if any), focal length and focus area, e.g. These data are
easily obtained in the thermometer user manual and this observation is needed to
prove the compatibility of thermometers with the calibrator.
To perform the readings, align the pyrometer with the black body cavity
horizontally. Respect the distance from the pyrometer to be calibrated in relation to the
black body cavity to the size of the actual cavity as pyrometer manual. Remember that
the area focused by the pyrometer to be calibrated must be less than or equal to the
black body cavity size in order to not introduce measurement errors.
The external sensor is an optional accessory that may be purchased to increase
the accuracy of temperature indication. This sensor is supplied with the parameters of
the Callendar-Van Dusen that can be configured in the RTD input of T-500PIR
calibrator.
4.0 - Safety Instructions
•Do not leave the place where the calibrator is on without identification and warnings.
•Before turning off the calibrator, return temperature black body cavity for values
close to ambient temperature.
presys

PRESYS Instruments T-500PIR
Page 16
5.0 - Calibrator Warning Messages
Warning
Meaning
Procedure
RAM ERROR
READ MANUAL
Problem in RAM
memory
Turn the calibrator off and
on. If the error persists,
send the instrument to the
factory
EEPROM ERROR
READ MANUAL
Problem in EEPROM
memory
Same as the previous item
LOW BATTERY
Level of battery voltage is
low
Check the T-500PIR
calibrator power supply
UNDER / OVER
Input signal out of
specifications or scaling
range
See item 1.1.1 on Input
Specifications
????.??ºC
Input sensor is open
Check input connections
and sensor
6.0 - PID Control Parameters
The T-500PIR calibrators have a PID control algorithm to calculate the
temperature control output.
The black body cavity stability and response time features are related to the PID
parameters, explained below:
The Kparameter (proportional gain) amplifies the error signal between the set
point and the cavity temperature to establish the output signal. When this parameter is
very high, the output reaction is very quick; however this can take the system into
oscillation. Decreasing this parameter, the cavity would not be able to react quickly
enough to external variations, giving the impression of a sudden out of control.
The Iparameter (integral gain) is responsible for the integral action and it is the
most important part in the set point control. While an error persists between the set
point and the cavity temperature, the integral action will actuate on the output signal
until the error is brought to zero.
The Dparameter (derivative gain) is responsible for the derivative action that
provides a quick response at the control output resulting from any rapt variation in the
cavity temperature. It is used to eliminate oscillations. However, it can cause
oscillations in the presence of much noise.
All temperature calibrators are tuned in factory and the parameters are close to
the optimum ones. In case one wants to improve a specific feature of the calibrator
(stabilization time or response time, for instance), make sure the alteration is made
reasonably.
presys

PRESYS Instruments T-500PIR
Page 17
7.0 - Calibration
Warning: Enter the following options only after understanding them completely.
Otherwise, it may be necessary to return the instrument to the factory
for recalibration!
In this manual, Calibration means Adjustment.
Select CAL option from the main menu and press the ENTER key. You should
then enter the password (PASSWORD) 9875 to access the calibration menu.
The password functions as a protection to calibration ranges. After the
password is entered, the menu displays the options:
IN OUT DATE
You should then choose the input range (IN) as the output range (OUT) is not
available for the user. DATE is an option which allows you to record the date on which
the calibration was performed and once it has been filled in, it will be displayed every
time the calibrator is turned on.
Options for IN calibration are:
mV mA OHM CJC
PROBE
7.1 - Input Calibration
Select the corresponding mnemonic and apply the signals presented in the
tables below.
When calibrating inputs, the display shows on the 2nd line the value measured
by the calibrator and on the 1st line the same value is expressed as a percentage.
Note that the applied signals just need to be close to the values shown in the
table. Once the signal has been applied, store the values of the 1st and 2nd
calibration points, by pressing keys 1 (1st point) and 2 (2nd point).
mV Input
1st point
2nd point
G4
0.000 mV
70.000 mV
G3
0.000 mV
120.000 mV
G2
0.000 mV
600.000 mV
G1
600.000 mV
2400.000 mV
mA Input
1st point
2nd point
Single range
0.0000 mA
20.0000 mA
presys
Table of contents
Other Presys Test Equipment manuals

Presys
Presys TA-1200P User manual

Presys
Presys T-25N User manual

Presys
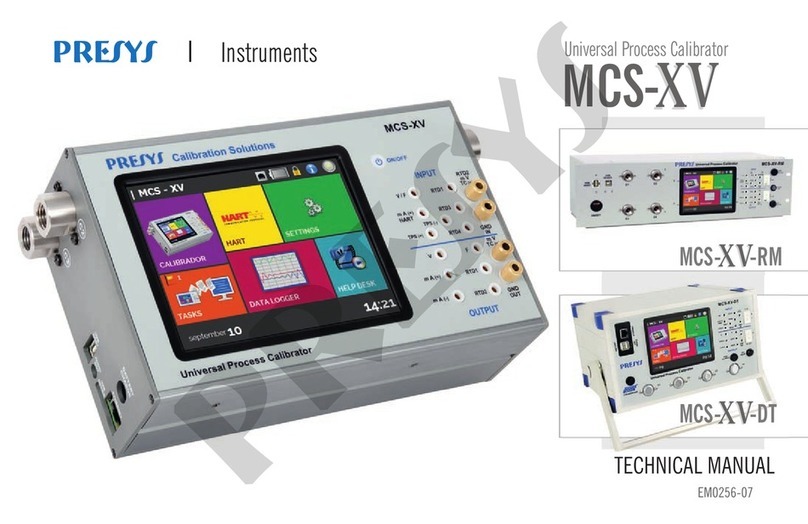
Presys MCS-XV User manual

Presys
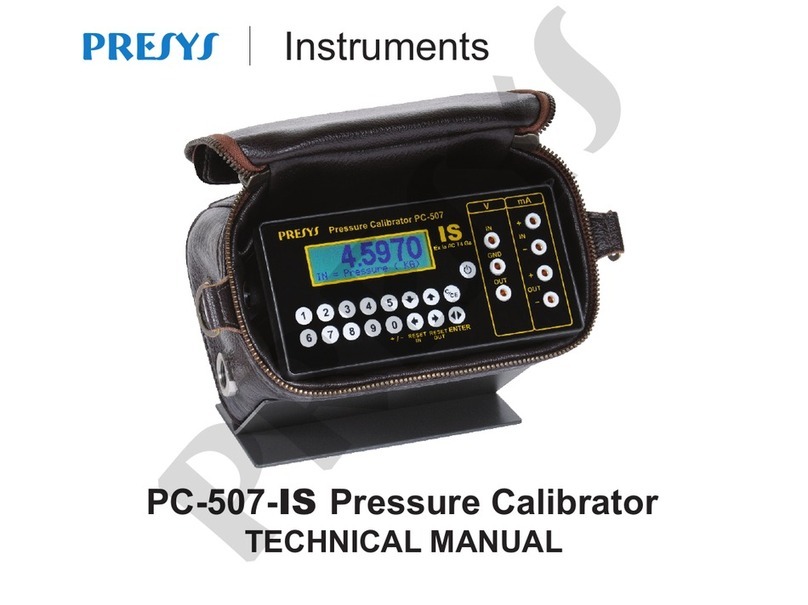
Presys PC-507-IS User manual

Presys
Presys MCS-12-IS User manual

Presys
Presys T-1200PH User manual

Presys
Presys T-350P User manual

Presys
Presys TA-1200PLAB User manual

Presys
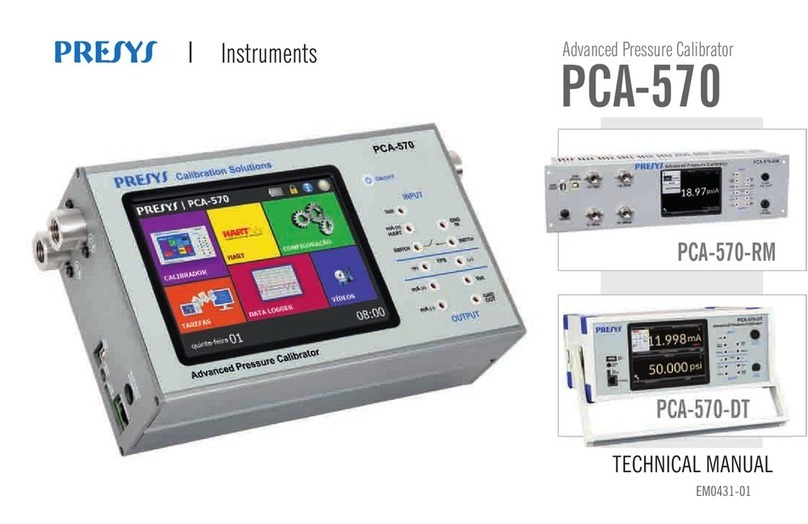
Presys PCA-570-RM User manual

Presys
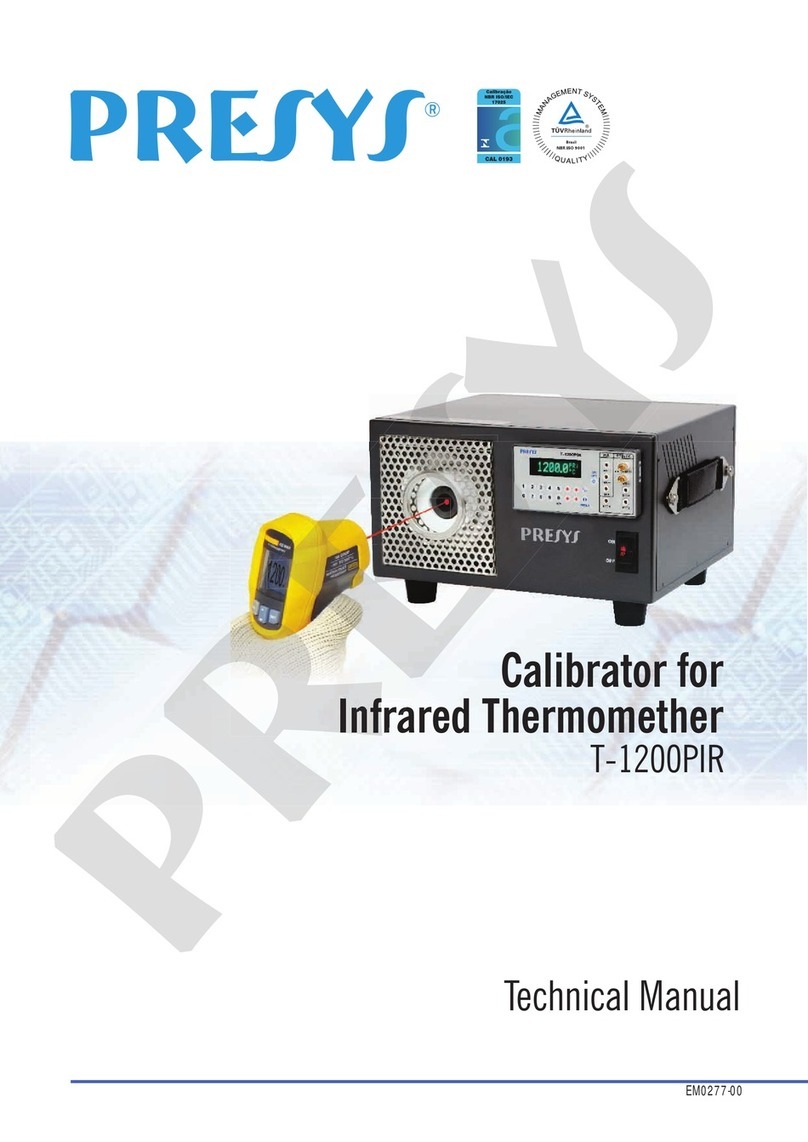
Presys T-1200PIR User manual