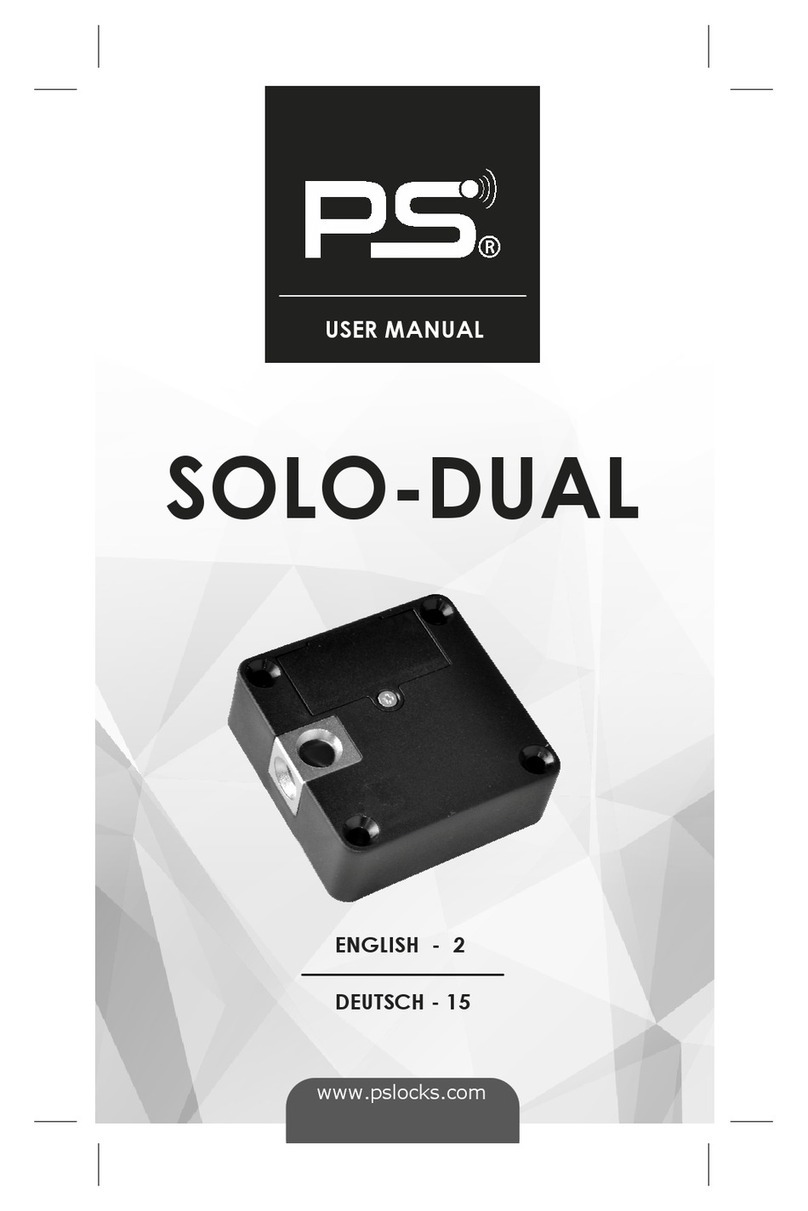
PS SOLO User manual

®
Page 1 / Version 1,0
PS GmbH
Melisau 1255
6863 Egg / Austria
FN 326841 z / A U64996348
SOLO
… an “invisible”, electronic lock with multiple usages …
Technology
Solo locks are available in the following different
models.
•
Bluetooth
•
RFID 125 kHz: Em4102/Em4200
•
RFID 125 kHz: EM4450/Hitag
•
RFID 13,56 mHz: all Mifare chips
•
Power 3V / 12V open/close
Bluetooth—Administration
•
Access control via App
•
Administration via App
•
Log-file via App
•
Access control via user groups
•
Please follow the instructions at the app
Power 3V 12V instructions
•
+ open (brown wire)
•
+ close (black wire)
•
0V GND (blue)
•
Default cable: 1,5m
•
Customized cable length with plugs possible
•
Metal casing on request
•
With / without “door closed switcher”
RFID optional features
•
Door open alarm
•
GYM– free locker mode
•
Close manually/automatically—bolt
Stand-alone electronic RFID lock for:
•
Shops and Retail: Glass cabinets and display
cases, supply cupboards, staff lockers
•
Hospitals: Storage cabinets, cupboards and lock-
ers for medical equipment or private belongings
•
Offices: Filing cabinets, kitchen and stationery
cupboards
•
Schools: Staff and student lockers, equipment
and storage cupboards
•
Clubs: Staff and visitor lockers, glass display cabi-
nets, equipment and storage cupboards

®
Page 2 / Version 1,0
PS GmbH
Melisau 1255
6863 Egg / Austria
FN 326841 z / A U64996348
Applications
About PS GmbH
Congratulations on your purchase of a PS lock. PS locks are developed, de-
signed and produced in Austria by PS GmbH.
PS locks are easy to install, simple to program and useful in many indoor
applications.
Since 1986, PS GmbH has been recognised as a reliable supplier and
wholesaler of furniture components.
With a brand new owned building, the whole production and development
moved back to Austria in the year 2012.
Quality
PS strives to provide customers with high-quality products. Excellent customer service as well as
fast lead times and excellent customer service.
We furthered that commitment when PS GmbH became ISO 9001:2008 certified on Sept. 15th,
2015.
With our ISO certified quality management, PS will continue to do our very best, every day, to
ensure you are confident in our services and get exactly what you need.
5-year warranty
PS locks products are built to the highest standard in Austria using mainly European components
due to this quality and assurance PS Locks can offer a 5 Year Warranty.
With this 5-year warranty, products will be repaired or replaced free of charge.
he PS 5-year warranty covers the repair or replacement of the product once returned to the
manufacturer in Austria. his excludes 3rd party damage, and transportation costs.

®
Page 3 / Version 1,0
PS GmbH
Melisau 1255
6863 Egg / Austria
FN 326841 z / A U64996348
RFID programming instructions
Activating the programming card
Initializing / activating a programming card (Who is the boss in future?)
1.Press the push-button on the rear side
2. he lock will make a ticking sound (signal). Hold the programming card on the lock within 3 seconds of hearing
this signal.
3. wo short ascending tones will confirm that the programming card has been saved successfully.
Initializing a key
Initializing the key card or chip key
1.Please place the programming card onto the lock.
2. he lock will make a ticking sound (signal). Place the key card or chip key onto the lock within 3 seconds of
hearing this signal.
3. wo short ascending tones will confirm that initialization was successful.
4. he lock can now be opened using the key card or the chip key.
Deleting the key card or chip key
1.Please place the programming card onto the lock.
2. he lock will make a ticking sound (signal). Place the key card or chip key onto the lock within 3 seconds of
hearing this signal.
3. wo short ascending tones will confirm that deletion was successful.
Delete all keys
o delete all keys at once, place the programming card onto the lock for several seconds.
Accessories
3050 - Battery
he 3 volt lithium battery has life-span of
10 years with the 125 KHz and 3 years with
the 13,56 MHz technology. he battery has
enough power to open the lock more than
30,000 times. When the battery starts to
run out, the lock will not longer lock and a
continuous tone will sound for 15 seconds,
at this point change the battery.
Metal kit
With a stamp in the metal door, the inter-
nal antenna of the SOLO and SOLO13 lock
will work through the metal door.
3060 glass set
his set is similar with the metal kit and consists of
an additional adhesive glue tape. Depending on the
where the force is applied, the double-sided sticky
tape on an untreated surface will hold up to 25 kg or
45 kg (55lbs or 99lbs), depending on the direction of
pull.
3051s - External power supply
he cable is 1.5 m long and can be
plugged directly into the lock. Each con-
verter can supply a maximum of 5 locks.
Never use transformers and batteries at
the same time!x 5 mm
3053s - Spacer plate
A square shaped spacer plate to prevent
cables from being crushed. Measure-
ments: 60 x 60 x 5 mm
Accessories
3040s - external antenna (125 KHz)
he flat external antenna is used
whenever the distance from the key is
greater than 25 mm or if the lock is
fixed onto a rear panel. Cable: 1,5m
3041 - round mini antenna (125
KHz)
With a hole of 7,5mm diameter, this
round mini antenna can be placed in
several variations.
3010 - Programming card
his card can be used to give or deny ac-
cess as well as to change the software
settings. he same programming card
can be assigned to multiple locks within a
shop / area for example.
3030 - Key card
he range is approx. 30 mm cross wood
or glass. Program up to 50 different keys
per lock.
3020 – Chip key
his chip key is extremely small with a
diameter of approx. 30 mm. It can be eas-
ily attached to a key ring. he maximum
range is 20 mm.

®
Page 4 / Version 1,0
PS GmbH
Melisau 1255
6863 Egg / Austria
FN 326841 z / A U64996348
Installation with the
latch 3071
Equipped with a mounting
bracket and a spring, this
latch gives a maximum
comfort during assembly
based on the 3D adjust-
able fixing.
he mounting tolerances are within 6 mm, and
the spring is used as a pusher for a door.
Installation with the latch 3069
his locking device is
made of ZAMAK, a robust
zinc aluminium alloy and
the predetermined break-
ing point is 35 kg. he
integrated pusher will
automatically open light drawers and cabinet
doors. he flexible pin allows a tolerance of
+/- 1 mm.
3068z - Sliding doors
his black metal locking device
has a predetermined breaking
point of 35 kg. he flexible pin
allows a tolerance of +/-3 mm.
3070 - mini locking device for electronic
locks
Features:
•
Small measurements and nice
design
•
Easy to install
•
Screw provided
•
No predetermined breaking point
•
olerance +/- 1.0 mm.
•
12.5 mm diameter

®
Page 5 / Version 1,0
PS GmbH
Melisau 1255
6863 Egg / Austria
FN 326841 z / A U64996348
Troubleshooting
Lock is open and the keys are not working:
•
he battery low alarm was activated.
•
Please insert a new battery.
Key is not working:
•
Is there any sound appearing? If so, please try
to activate the key with the programming card.
•
No sound: ry to find the right position at the
furniture. he keys have a higher range if you
place them fast at the right point than moving
slowly.
I lost my key:
•
Delete all keys with the programming card
•
Activate all keys again
he programming card does not work:
•
Do you have a second card?
•
If not, please unscrew the locks, press the but-
ton on the backside and teach the lock the pro-
gramming card again.
Motor runs, lock stays locked:
•
Maybe there is some pressure on the bolt in the
lock.
•
Move the door in all possible directions and try
it again
•
Press the door in and use your key again.
•
Adjust the locking devices after such a problem.
No sound with any card:
•
Use a flat iron part (not a screwdriver) and
break up the furniture. he rated breaking point
Security advice
Fixing the locks
ighten with care and manually.
Please avoid using any strong electri-
cal power.
Distance in battery mode
o avoid disturbances between the locks, please keep a
minimum distance of
< 10 cm >
Store
Whenever you prepare locks in advance, please remove
the battery immediately. Insert the battery again when
you have the minimum distance.
Disposal
All waste electrical and electronic equip-
ment must be collected separately from
general rubbish to be reused or recycled.
Other manuals for SOLO
1
Other PS Lock manuals
Popular Lock manuals by other brands
Pauli + Sohn
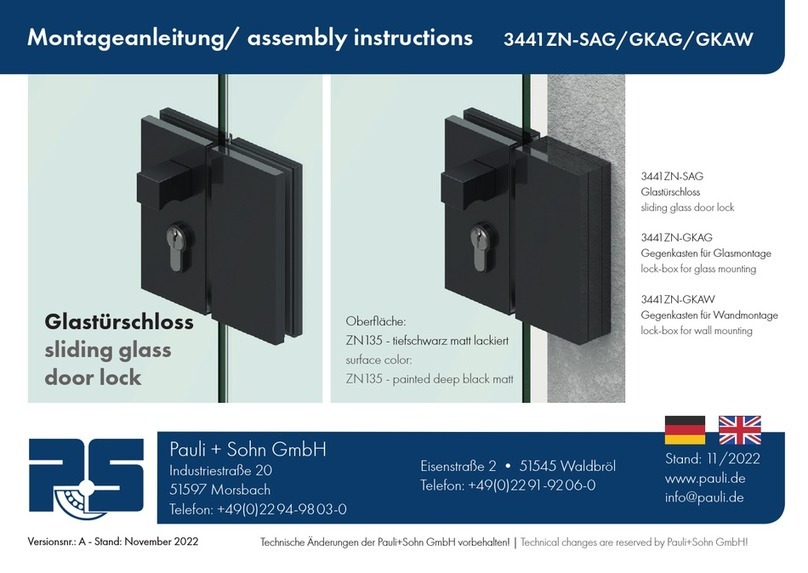
Pauli + Sohn 3441ZN-SAG Assembly instructions

Safety 1st
Safety 1st HS130 user guide
Assa Abloy
Assa Abloy Corbin Russwin UT5200 Series Parts and service manual
MicroIQ
MicroIQ Prox CWL instructions

Soyal
Soyal AR-0600M quick start guide

IPWatch
IPWatch IPLock Easy PT Assembly, operating and safety instructions
