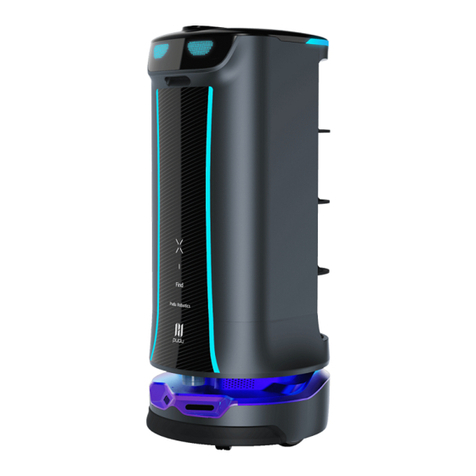
Pudu SwiftBot SWFD01 User manual

PuduSwiftBot Operation Guide
Version: V1.0
Model: SWFD01/SWFD11
Shenzhen Pudu Technology Co., Ltd.

PuduSwiftBot Operation Guide
Version: V1.0 Operation Guide
1
Copyright ©2022 Shenzhen Pudu Technology Co., Ltd. All rights reserved.
This document may not be copied, reproduced, transcribed or translated, in part or in whole, by
any persons or organizations, or be transmitted in any form or by any means (electronic,
photocopy, recording, etc.) for any commercial purposes without the prior written permission of
Shenzhen Pudu Technology Co., Ltd. The product specifications and information mentioned
herein are for reference only and are subject to change without prior notice. Unless otherwise
specified, the manual is intended as a guide only and all the statements are provided without
warranty of any kind.

PuduSwiftBot Operation Guide
Version: V1.0 Operation Guide
2
Introduction
Purpose
This manual describes the functions, technical specifications, and detailed operations
ofPuduSwiftBot to help users better understand and work with the robot.
Audiences
This manual is intended for:
Customers
Sales engineers
Installation and commissioning engineers
Technical engineers
Revision History
Time
Revision History
2022/01/15
Initial release
Signs
The signs listed below may appear in this manual with the following meanings.
Sign
Description
Danger
Indicates high potential hazards, which could cause
death or serious personal injury if not avoided.
Warning
Indicates moderate or low potential hazards, which
could cause minor personal injury or robot damage if
not avoided.
Caution
Indicates potential risks, which could cause robot
damage, data loss, or unpredictable consequences if
neglected.
Note
Provides additional information as the emphasis and
supplement to the main text.

PuduSwiftBot Operation Guide
Version: V1.0 Operation Guide
3
Table of Contents
1. Safety Instructions....................................................................................................................5
1.1 Power Usage .....................................................................................................................5
1.2 Robot Usage......................................................................................................................5
1.3 Working Environment.......................................................................................................6
2. Product Components.................................................................................................................8
2.1 Overview...........................................................................................................................8
2.2 Appearance & Components ..............................................................................................9
2.3 Specifications..................................................................................................................12
3. How to Use.............................................................................................................................15
3.1 Mapping Instructions .......................................................................................15
3.2 Quick Start Guide............................................................................................................15
3.2.1 Power On.................................................................................................................15
3.2.2 Power Off................................................................................................................15
3.3 Task Scenarios ................................................................................................................15
3.3.1 Product Features......................................................................................................15
3.3.2 Delivery Mode ........................................................................................................17
3.3.3 Cruise Mode............................................................................................................17
3.3.4 Guiding Mode .........................................................................................17
3.3.5 Customer Attraction Mode......................................................................17
3.3.6 Birthday Mode ........................................................................................17
3.3.7 Dish-Return Mode...................................................................................17
3.4 Settings............................................................................................................17
3.4.1 Map Settings ...........................................................................................................17
3.4.2 Cellular Network..................................................................................... 53
3.4.3 Turn on Cellular Network....................................................................... 53
3.5 Auto Charging................................................................................................. 54
3.6 Docking Instructions.......................................................................................................54
4. Troubleshooting......................................................................................................................55
4.1 Troubles during Operation..............................................................................................55
4.2 Positioning Failure..........................................................................................................55
4.3 Charging Failure .............................................................................................................55
4.4 Power-on Failure.............................................................................................................56
4.5 Robot Does Not Move Smoothly....................................................................................56
5. Maintenance and Care ............................................................................................................57
5.1 Component Maintenance ................................................................................................57
5.2 Cleaning Method.............................................................................................................57
6. After-sales Service Policies....................................................................................................58

PuduSwiftBot Operation Guide
Version: V1.0 Operation Guide
4
6.1 Free Warranty Service.....................................................................................................58
6.2 Out-of-warranty Service..................................................................................................59
6.2.1 Remote Technical Guidance Service ......................................................................59
6.2.2 Standard of After-sales Service Fee out of the Warranty........................................59
6.3 After-sales Service Consultation.....................................................................................59
6.4 Warranty Schedule for Major Components ....................................................................59
7. Compliance Information.........................................................................................................60
7.1 Federal Communications Commission Compliance Statement ......................................60
7.2 Industry Canada Compliance Statement ........................................................................60
7.3 Disposal and Recycling Information...............................................................................60

PuduSwiftBot Operation Guide
Version: V1.0 Operation Guide
5
1. Safety Instructions
1.1 Power Usage
Do not charge your robot using non-original chargers. If the charger is damaged,
replace it immediately.
When the battery drops to 20%, the robot should be charged timely. Running at a
low battery for a long time may impair battery life.
Make sure that the power voltage matches the voltage indicated on the charger, or it
may cause damages to the charger.
Unplug the charger timely after the charging cycle is complete. Do not leave the
charger plugged in for a long time if the robot is fully charged.
If the robot is not used for a long time, please turn the key switch in the battery box
to OFF.
Do not expose the charging pile to high temperatures or heating equipment,
including sunshine, heaters, microwave ovens, and water heaters.
Please dispose of the battery according to local regulations and do not dispose of it
as household waste. Improper handling may cause the battery to explode.
Please do not drop the battery, charging pile and charger or hit them with foreign
objects to avoid damage.
Do not use the battery or the charging pile if it is damaged.
Designate a person to charge the robot. Do not charge the robot in an unattended
manner.
When using the charger, ensure that the fastener of the charging interface is fully
engaged to avoid overheating during charging, which may cause burns or damage to the
equipment.
When using the charging pile, do not move the pile away from the designated
place.
Disconnect the robot from the charging pile when the indicator light on the pile
turns red. Please use the charging pile after the indicator light turns blue. If the red light
persists, contact Shenzhen Pudu Technology Co., Ltd. for technical support.
In case of malfunction of the charging pile (e.g., smoke, burning smell), cut off the
power supply of the pile immediately and contact Shenzhen Pudu Technology Co., Ltd.
for technical support.
1.2 Robot Usage
Do not cover the robot's top camera while it is working to prevent it from moving
abnormally. If the camera is covered, pause the current task and move the robot to the
correct route before continuing the task.
Do not remove the SIM card by yourself. Otherwise, the robot may work
improperly.

PuduSwiftBot Operation Guide
Version: V1.0 Operation Guide
6
Do not clean or maintain the robot when it is powered on and working.
Do not put open-flame stoves or any flammable and explosive articles on the robot.
Do not pick or place dishes while the robot is moving to avoid any food loss or
personal injury caused by accidental collision.
To avoid damage to the robot, please ensure that no scattered power cords and
sharp objects such as decoration wastes, glass, and nails are on the ground.
When the robot is in motion, no playing is allowed in front of the robot to avoid
unnecessary harm.
Do not move or transport the robot while it is working to prevent it from moving
abnormally.
In case of emergency, stop the robot by pressing the emergency stop button on the
top.
The robot must not be disassembled or repaired by untrained personnel. In case of
malfunction, contact Shenzhen Pudu Technology Co., Ltd. for technical support in time.
Observe the maximum weight a person is allowed to lift as required by local laws
and regulations when transporting the robot. Keep the robot upright during
transportation. Never attempt to transport it by lifting the tray or the box.
Do not spill any liquid into the robot to avoid any damage.
Although the robot features automatic obstacle avoidance, never block the robot
moving at a high speed to avoid any accidents.
Please prevent the robot from violent impact or shock to avoid any damage.
Do not clean the robot with caustic chemicals, cleansers, or detergents. Always
clean the robot by wiping it with a clean and dry cloth.
1.3 Working Environment
Do not use or charge the robot in a high temperature/pressure environment, areas
with fire or explosion hazard, or other dangerous scenarios to avoid personal injury or
robot damage.
The robot can only be used in an indoor environment on a flat and smooth surface
with a slope less than 5°and protrusions not more than 1.5 cm high.
Do not use the robot in a humid environment or on surfaces covered with fluid or
gooey stuff to avoid damage to the robot.
Do not use the robot in places where the use of wireless devices is explicitly
prohibited, otherwise it may cause interference to other electronic devices or lead to
other dangers.
The minimum travel width for a single robot is 0.8 m. The travel width is
recommended to be greater than 2 m when two robots pass head-on.
There is a 35 cm space between the two robots placed side by side at the standby
point, and a clearance of 15 cm from the rear wall and 35 cm from the side wall.

PuduSwiftBot Operation Guide
Version: V1.0 Operation Guide
7
Things that are black (e.g., skirting line), polished, or transparent (e.g., French
window) at the height of 20 cm to 25 cm may interfere with the radar reflection and
cause abnormal movement of the robot. Such sites should be modified (e.g., posting
stickers). Please contact Shenzhen Pudu Technology Co., Ltd. for technical support
The maximum climbing angle of the robot is 5°. Do not pause the robot on the
slope to avoid any sliding of the robot that may cause loss of dishes.
Do not dispose of the robot or its accessories as household waste. Always dispose
of the robot and its accessories according to local laws and regulations, and recycle
wherever possible.

PuduSwiftBot Operation Guide
Version: V1.0 Operation Guide
8
2. Product Components
2.1 Overview
PuduSwiftBot is an indoor robot that supports SLAM positioning and navigation solutions
integrating both Lidar and visual positioning. Featured with new interactive features such as
compartment door auto-open/close, voice interaction, laser projector, and peak hours algorithms, it
can be efficiently, safely, conveniently, and flexibly used in various scenarios. In addition,
PuduSwiftBot has a wide range of expansion interfaces and various communication methods
including 4G, Wi-Fi, Bluetooth, and Type-C USB. It can be connected with peripherals such as
code scanners and elevator controls, greatly enhancing the user experience.
PuduSwiftBot comes with various modes, including Food Delivery mode, Delivery mode, Cruise
mode, Guidingmode, Birthday mode, and Interactive mode to cater to the needs of different
scenarios.

PuduSwiftBot Operation Guide
Version: V1.0 Operation Guide
9
2.2 Appearance & Components
2.2.1 SWFD01 Appearance
No.
Description
1
LCD screen
2
Depth vision sensors
3
Front positioning camera
4
Trays
5
Galvo laser projector
6
Front Lidar
7
Drive wheels

PuduSwiftBot Operation Guide
Version: V1.0 Operation Guide
10
8
Auxiliary wheels
9
Power switch
10
SIM card slot and Type-C USB interface
11
Rear positioning camera
12
Key switch
13
Rear Lidar
14
Charging electrode plate
15
Light strip
16
Charging jack
17
Top tray (cup holder)
18
Vision sensor
19
Emergency stop switch
20
6-mic circular array kit

PuduSwiftBot Operation Guide
Version: V1.0 Operation Guide
11
2.2.2 SWFD11 Appearance
No.
Description
1
LCD screen
2
Depth vision sensors
3
Front positioning camera
4
Compartment door
5
Galvo laser projector

PuduSwiftBot Operation Guide
Version: V1.0 Operation Guide
12
6
Front Lidar
7
Drive wheels
8
Auxiliary wheels
9
Power switch
10
SIM card slot and Type-C USB interface
11
Rear positioning camera
12
Key switch
13
Rear Lidar
14
Charging electrode plate
15
Light strip
16
Charging jack
17
Trays
18
Top tray (cup holder)
19
Vision sensor
20
Emergency stop switch
21
6-mic circular array kit
2.2.3 Instructions for buttons
Button
Description
Power switch
Press and hold the power switch for 1 second to power on.
Press and hold the power switch for 3 seconds to power off as instructed on
the screen.
Emergency stop switch
In case of emergency, press the emergency stop switch to stop the robot.
Rotate the emergency stop switch clockwise, and resume the operation
according to the screen tips.
Key switch
Control the power supply of the robot. Make sure the power supply is ON
before charging or powering on the robot.
2.3 Specifications
Feature
Description
Model
SWFD01/SWFD11

PuduSwiftBot Operation Guide
Version: V1.0 Operation Guide
13
Operating voltage
DC 23–29.4V
Power input
AC 100–240 V, 50/60 Hz
Power output
29.4 V/ 8 A
Battery capacity
25.6 Ah
Charging time
4.5 h
Battery life
10–24 h
Cruise speed
0.5–1.2 m/s (adjustable)
Navigation
Laser and visual integrated SLAM positioning
Automatic compartment door
SWFD01: Not available
SWFD11: Available
Min. travel width
80 cm
Max. surmountable height
Full load: 15 mm
Empty load: 20 mm
Max. climbing angle
5º
Tray dimensions
502 mm x 433 mm
No. of trays
3
Height between trays
From top to bottom:
228 mm/229 mm/ 236 mm
Tray load
15 kg/layer
Machine material
ABS andPC
Robot weight
SWFD01: 55 kg
SWFD11: 65 kg
Robot dimensions
593 mm x 485 mm x 1277 mm
Screen size
10.1-inch LCD screen
Operation system
Android
Microphone
6-mic circular array kit
Speaker power
2 x 10 W stereo speakers
Service life
5 years
Working environment
Temperature: 0 ℃to 40 ℃
RH: ≤ 85%

PuduSwiftBot Operation Guide
Version: V1.0 Operation Guide
14
Storage environment
Temperature: -40 ℃to 65 ℃
RH: ≤ 85%
Working altitude
< 2000 m
Ground surface standard
Indoor environment, flat and smooth ground
IP rating
IP22
Frequency band range
Wi-Fi
2.4G Wi-Fi: 2412–2472 MHz, 2422–2462 MHz
5.2–5.6G Wi-Fi: 5180–5320 MHz, 5500–5700 MHz,
5190–5310 MHz, 5510–5670 MHz, 5210–5290 MHz,
5530–5610 MHz
5.8G Wi-Fi: 5745–5825 MHz, 5755–5795 MHz, 5775
MHz
Bluetooth
2402–2480 MHz
3G
B1/B8
4G
B1/B3/B7/B8/B20/B28/B34/B38/B40
Max. transmit power
Wi-Fi
2.4G Wi-Fi: 17.48 dBm
5.2–5.6G Wi-Fi: 13.35 dBm
5.8G Wi-Fi: 13.85 dBm
Bluetooth
LE: 5.96 dBm
BDR/EDR: 8.49 dBm
3G
B1: 23.56 dBm
B8: 23.43 dBm
4G
B1: 23.49 dBm
B3: 23.96 dBm
B7: 24.33 dBm
B8: 23.45 dBm
B20: 23.36 dBm
B28: 23.81 dBm
B34: 23.32 dBm
B38: 24.76 dBm
B40: 23.25 dBm

PuduSwiftBot Operation Guide
Version: V1.0 Operation Guide
15
3. How to Use
3.1 Quick Start Guide
3.1.1 Power On
Step 1 Make sure the key switch is turned to ON.
Step 2 Move the robot to the startup location.
Step 3 Press and hold the power switch for 1 second.
The light strip flashes, and the screen displays boot logo, animation, and Android desktop in turn,
indicating that the robot is powered on.
Note
The system will automatically start Pudu App by default after powering on. If not, tap the Pudu App icon on the
system desktop to start it.
Step 4 The robot is powered on, let's try it out!
3.1.2 Power Off
Step 1 Press and hold the power switch for 3 seconds.
The screen will pop up the Power Off and Restart options.
Step 2 Tap Power Off.
The light strip and screen will go off, indicating that the robot is powered off.
3.2 Task Scenarios
3.2.1 Product Features
The robot comes with various modes, including Food Delivery mode, Delivery mode, Cruise
mode, Guidingmode, Birthday mode, and Interactive mode to cater to the needs of different

PuduSwiftBot Operation Guide
Version: V1.0 Operation Guide
16
scenarios.
Mode
Description
Food Delivery
mode
The robot delivers food to multiple tables at the same time. After the dishes ordered
by different customers are placed on the trays and the table numbers are entered, the
robot automatically plans the best routes for delivery. After that, the robot
automatically returns to the pickup location.
Delivery mode
The user may select this mode to deliver items in non-dining scenarios. Its operation
is generally the same as that of Delivery mode, with differences in interaction voice
and interface prompts.
Cruise mode
The robot can cruise along a predetermined route with self-service desserts, snacks,
drinks, brochures, or napkins. The user may also set up stay locations along the
cruise route. The robot can invite customers to take free samples or try out the food
via voice broadcast when cruising.
Birthday mode
The robot delivers birthday cakes or gifts to customers, accompanied by customized
background music.
Guiding mode
The robot leads customers to their tables. Then, it automatically returns to the
greeting location.
Interactive mode
After the robot delivers to the destination, the customer can tap its screen for a lucky
draw.
Return
The robot directly returns to the pickup location or the departure location.
Auto charging
The robot directly returns to the charging pile for charging.
This function is only available if the user has purchased a charging pile and set up

PuduSwiftBot Operation Guide
Version: V1.0 Operation Guide
17
Mode
Description
its location during mapping.
Settings
The user can connect the robot to the Internet and Bluetooth devices, set the number
of trays, turn on delivery lights, laser projector, etc.
Note
To ensure a stable and safe operation of the robot, it is recommended that the delivery speed be lower than
0.9m/s, and the cruise speed at 0.5m/s or 0.6m/s.
3.2.2 Food Delivery Mode
Step 1 Tap Food Delivery on the main interface.
The Food Delivery mode interface is shown below.
Shortcut buttons on the Food Delivery mode interface are explained below.
Buttons
Description
View the previous task.
Set the arrival voice, the music during delivery, etc. See the table below for details.
Smart search of table numbers. Tap the icon to quickly search for table numbers
when there are too many tables.

PuduSwiftBot Operation Guide
Version: V1.0 Operation Guide
18
Buttons
Description
Open/close the compartment door.
This function is only available on SWFD11.
If the compartment door is open, the icon changes to
Set the Smooth mode.
The icon will be displayed after Smooth mode is enabled in the Food Delivery
Settings interface.
There are three states for Smooth mode:
: Disabled. Tap the icon to enable the Smooth mode once, and it will
be disabled by default after the task is completed; tap and hold for 1 second to
enable the Smooth mode permanently.
: Enabled once. Tap the icon to disable the Smooth mode; tap and hold
for 1 second to enable the Smooth mode permanently.
: Enabled permanently.Tap the icon to disable the Smooth mode.
When the Smooth mode is enabled, the robot will move at 0.4 m/s during food
delivery. After the task is completed, the robot will return at the currently set return
speed.
The Delivery Settings interface and descriptions of the settings are shown below.

PuduSwiftBot Operation Guide
Version: V1.0 Operation Guide
19
Food Delivery Settings
Description
This manual suits for next models
1
Table of contents
Other Pudu Robotics manuals
Pudu
Pudu HolaBot HL100 User manual
Pudu
Pudu Puductor2 PJ1 Standard User manual
Pudu
Pudu Puductor Robot User manual
Pudu
Pudu PuduBot User manual
Pudu
Pudu BelleBot BL100 User manual
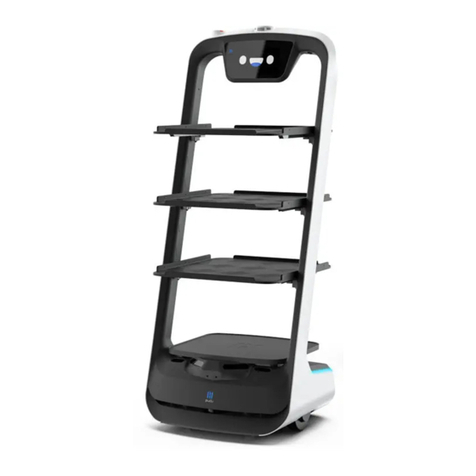
Pudu
Pudu PuduBot PD9 Anti-sunlight User manual
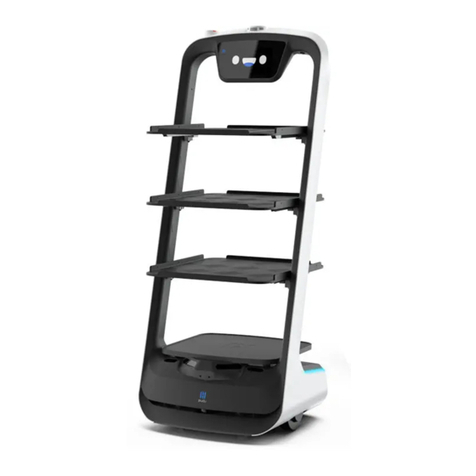
Pudu
Pudu PuduBot PD1 Standard User manual
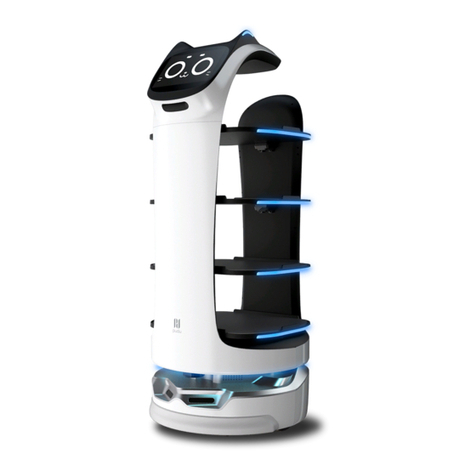
Pudu
Pudu BellaBot BL100 User manual

Pudu
Pudu HolaBot HL100 User manual
Popular Robotics manuals by other brands
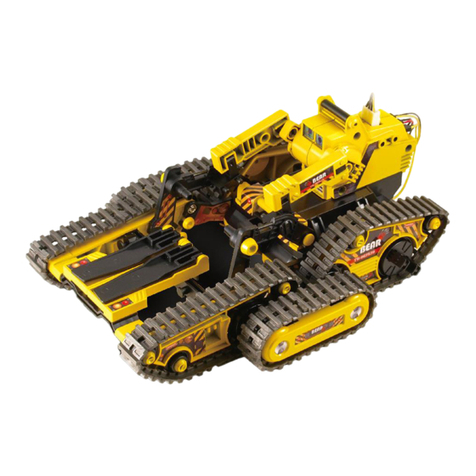
Pro's Kit
Pro's Kit GE-536N Assembly & instruction manual
Elecfreaks
Elecfreaks Arduino Starter Kit manual
Spinmaster
Spinmaster Boxer instruction manual
OnRobot
OnRobot RG2-FT user manual
Party Robotics
Party Robotics Bartendro B007V2 Getting started guide

Bizintek Innova, S.L.
Bizintek Innova, S.L. mOway Beginners manual

