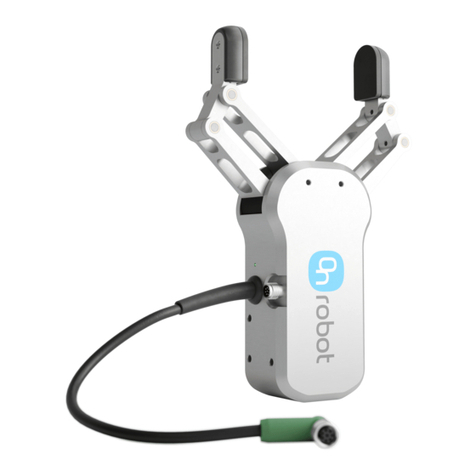
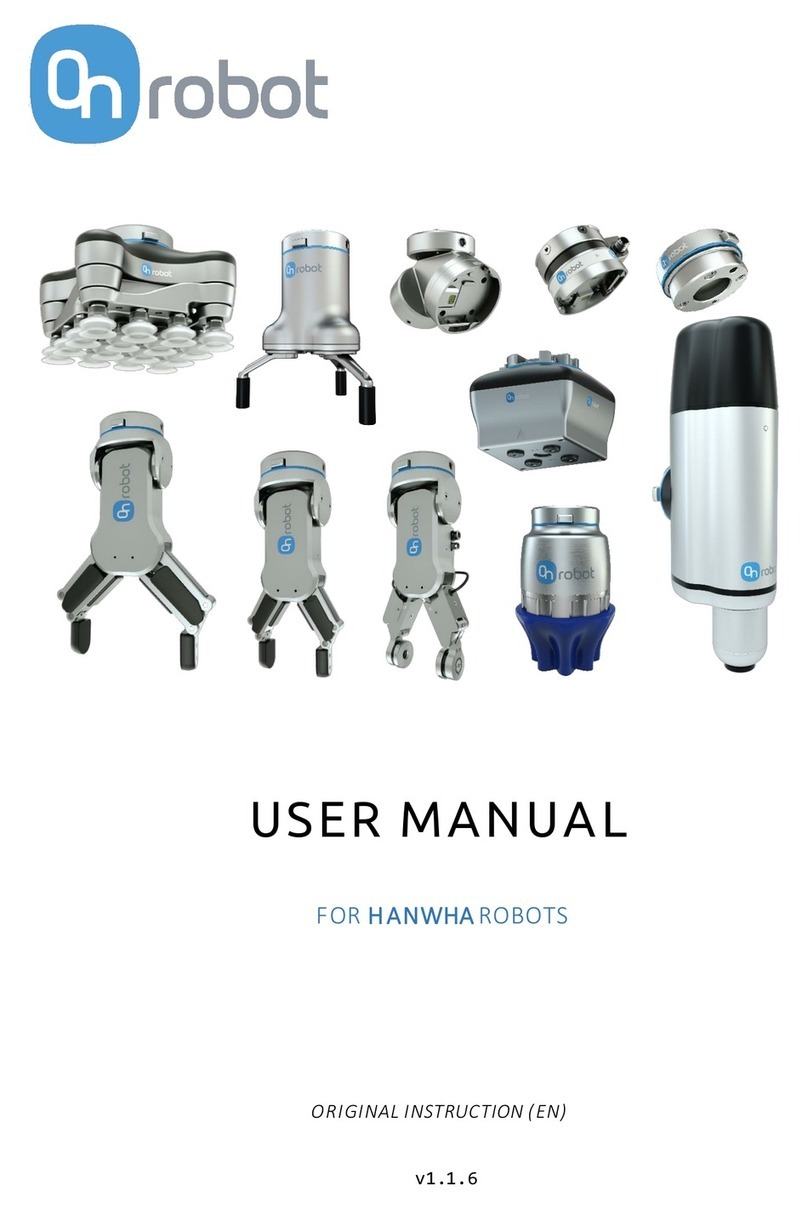
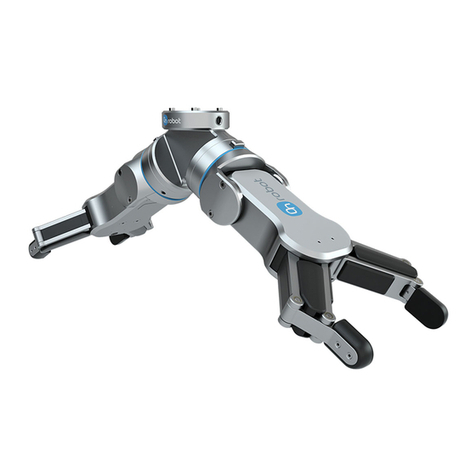
OnRobot RG2-FT User manual

USER MANUAL
RG2-FT
Industrial Robot Gripper
For the Universal Robots
Edition E1
OnRobot URCap Plugin Version 3.3.0
July 2018

OnRobot © 2018 www.onrobot.com
Content
1Preface ................................................................................................................................ 6
1.1 Target Audience .....................................................................................................................6
1.2 Intended Use .......................................................................................................................... 6
1.3 Important Safety Notice ........................................................................................................6
1.4 Warning Symbols ...................................................................................................................7
1.5 Typographic Conventions ......................................................................................................8
2Getting Started.................................................................................................................... 9
2.1 Scope of Delivery....................................................................................................................9
2.2 Mounting ..............................................................................................................................10
2.3 Mechanical Dimensions.......................................................................................................11
2.4 Load Capacity .......................................................................................................................11
2.4.1 Gripper Load .................................................................................................................11
2.4.2 Finger Sensor Load ......................................................................................................12
2.5 Fingertips..............................................................................................................................13
2.6 Gripper Working Range........................................................................................................14
2.6.1 Finger Thickness ..............................................................................................................15
2.6.2 Gripping Speed .............................................................................................................15
2.7 Cable Connections................................................................................................................16
2.8 UR Compatibility...................................................................................................................17
2.9 URCap Plugin Installation ....................................................................................................17
2.10 URCap Plugin Setup .............................................................................................................18
3Using the URCap Plugin..................................................................................................... 21
3.1 OnRobot Hand Guide Toolbar..............................................................................................21
3.2 OnRobot Feedback Variables ..............................................................................................23
3.3 OnRobot URCap Commands ...............................................................................................24
3.3.1 F/T Width .................................................................................................................24
3.3.2 F/T Set Load ...........................................................................................................27
3.3.3 F/T Zero ...................................................................................................................28
3.3.4 F/T Measure ...............................................................................................................29

OnRobot © 2018 www.onrobot.com
3.3.5 F/T Move ...................................................................................................................31
3.3.6 F/T Search...............................................................................................................33
3.3.7 F/T Waypoint..........................................................................................................35
3.3.8 F/T Path ...................................................................................................................37
3.3.9 F/T Detect...............................................................................................................39
3.3.10 F/T Insert Part...................................................................................................41
3.3.11 F/T Control ............................................................................................................44
3.4 Script Function .....................................................................................................................47
3.4.1 Zero the optical offset..................................................................................................47
3.5 Software Uninstallation.......................................................................................................47
4List of Acronyms................................................................................................................ 48
5Appendix ........................................................................................................................... 49
5.1 Technical Specifications.......................................................................................................49
5.2 Changing the IP of the Compute Box ..................................................................................50
5.3 Return Values.......................................................................................................................51
5.3.1 F/T Width Command Return Values ......................................................................51
5.3.2 F/T Move Command Return Values.........................................................................51
5.3.3 F/T Search Command Return Values....................................................................52
5.3.4 F/T Detect Command Return Values....................................................................52
5.3.5 F/T Insert Part Command Return Values ........................................................52
5.4 Troubleshooting ...................................................................................................................54
5.4.1 URCap Plugin Setup error............................................................................................54
5.4.2 Too Close to Singularity ...............................................................................................56
5.4.3 Warning sign on Hand Guide Bar.................................................................................57
5.4.4 “socket_read_binary_integer: timeout” ....................................................................57
5.4.5 “Socket vectorStream opening was unsuccessful.”...................................................57
5.4.6 Path Replay is Slower than Expected .........................................................................57
5.4.7 “Error number -2” on Path Saving ..............................................................................57
5.4.8 “Error number -3” on Path Saving ..............................................................................58
5.5 Declarations and Certificates ..............................................................................................59
OnRobot © 2018 www.onrobot.com
5.5.1 CE/EU Declaration of Incorporation (original).............................................................59
5.6 Editions.................................................................................................................................60

Preface 5
OnRobot © 2018 www.onrobot.com
Copyright © 2017-2018 OnRobot A/S. All rights Reserved. No part of this publication may be
reproduced, in any form or by any means, without the prior written permission of OnRobot
A/S.
Information provided within this document is accurate to the best of our knowledge at the
time of its publication. There may be differences between this document and the product if
the product has been modified after the edition date.
OnRobot A/S. does not assume any responsibility for any errors or omissions in this
document. In no event shall OnRobot A/S. be liable for losses or damages to persons or
property arising from the use of this document.
The information within this document is subject to change without notice. You can find the
latest version on our webpage at: https://onrobot.com/.
The original language for this publication is English. Any other languages that are supplied
have been translated from English.
All trademarks belong to their respective owners. The indications of (R) and TM are omitted.

Preface 6
OnRobot © 2018 www.onrobot.com
1Preface
1.1 Target Audience
This document is intended for integrators who design and install complete robot
applications. Personnel working with the gripper are expected to have the following
expertise:
A. Basic knowledge of mechanical systems
B. Basic knowledge of electronic and electrical systems
C. Basic knowledge of the robot system
1.2 Intended Use
The gripper is designed for grabbing objects, installed on the end effector of a robot,
typically used in pick and place and assembly applications. OnRobot is not liable for any
damage or injury resulting from misuse.
Misuse includes, but is not limited to:
•Use in potentially explosive environments.
•Use in medical and life critical applications.
•Use the Force/Torque sensor values for safety related purposes
•Use outside the permissible operational conditions and specifications
•Use before performing a risk assessment.
1.3 Important Safety Notice
The gripper is partly completed machinery and a risk assessment is required for each
application the gripper is a part of. It is important that all safety instructions herein are
followed. The safety instructions are limited to the gripper only and do not cover the safety
precautions of a complete application.
Below is listed some potential dangerous situations, that the integrator as a minimum must
take to consideration. Please note that there can be other dangerous situations depending
on the specific situation.
•Entrapment of limbs between the Grippers finger arms.
•Penetration of skin by sharp edges and sharp points on the grabbed object.
•Consequences due to incorrect mounting of the Gripper.
•Objects falling out of the Gripper, e.g. due to incorrect gripping force or to high
acceleration from a robot.

Preface 7
OnRobot © 2018 www.onrobot.com
The complete application must be designed and installed, in accordance with the safety
requirements specified in the standards and regulations of the country where the
application is installed.
1.4 Warning Symbols
DANGER:
This indicates a very dangerous situation which, if not avoided, could result
in injury or death.
WARNING:
This indicates a potentially hazardous electrical situation which, if not
avoided, could result in injury or damage to the equipment.
WARNING:
This indicates a potentially hazardous situation which, if not avoided, could
result in injury or major damage to the equipment.
CAUTION:
This indicates a situation which, if not avoided, could result in damage to the
equipment.
NOTE:
This indicates additional information such as tips or recommendations.

Preface 8
OnRobot © 2018 www.onrobot.com
1.5 Typographic Conventions
The following typographic conventions are used in this document.
Table 1: Conventions
Courier Text
File paths and file names, code, user input and computer output.
Italicized text
Citations and marking image callouts in text.
Bold text
UI elements, including text appearing on buttons and menu options.
Bold, blue text
External links, or internal cross-references.
<angle brackets>
Variable names that must be substituted by real values or strings.
1. Numbered lists
Steps of a procedure.
A. Alphabetical lists
Image callout descriptions.

Getting Started 9
OnRobot © 2018 www.onrobot.com
2Getting Started
2.1 Scope of Delivery
In the Universal Robots OnRobot RG2-FT Gripper Kit everything is provided that is required
to connect the OnRobot gripper to your UR robot.

Getting Started 10
OnRobot © 2018 www.onrobot.com
2.2 Mounting
Use only the screws provided with the gripper. Longer screws could damage the gripper or
the robot.
To mount the gripper, follow this process:
1. Fasten the Gripper bracket to the Robot by four M6x8 screws. Use 7 Nm tightening
torque. Use the T20 Torx L-key.
2. Fasten the Gripper to the adapter by six M4x8 screws. Use 2 Nm tightening torque.
Use the T20 Torx L-key.
CAUTION:
The design of the standard Gripper bracket allows the angle of the Gripper to
be adjusted from 0° to 180° in steps of 30°.
However, to ensure all software functions are work properly, mount the
gripper straight, exactly as you can see on the exploded view. Please also
note where the tool connector is relative to the gripper connector.

Getting Started 11
OnRobot © 2018 www.onrobot.com
2.3 Mechanical Dimensions
The dimensions are in millimeters.
2.4 Load Capacity
2.4.1 Gripper Load
Be aware that when grasping on an object, some of the parameters below are not directly
aplicative, but can be used to calculate the load on the Gripper.

Getting Started 12
OnRobot © 2018 www.onrobot.com
Parameter
Static
Unit
Fx
362
[N]
Mz
7,55
[Nm]
Mx
4,1
[Nm]
My
6,92
[Nm]
Mz1
22
[Nm]
Mx1
11
[Nm]
My1
22
[Nm]
The parameters in the fingertips are calculated at the shown position and will change in
relation to the finger positions.
2.4.2 Finger Sensor Load
The load that the gripper can handle is limited by the finger sensor. The actual object weight
that the gripper can lift may vary with the actual fingertips been used.
Parameter
Static
Unit
Fx
20
[N]
Fy
20
[N]
Fz
20
[N]
Mx
0.7
[Nm]
My
0.7
[Nm]
Mz
0.5
[Nm]

Getting Started 13
OnRobot © 2018 www.onrobot.com
NOTE:
The black elastic ring of the finger sensor should not be loaded at all. If any
object contacts that part of the fingertips the sensor measurement will be
corrupted and therefore be avoided.
2.5 Fingertips
The standard fingertips can be used for many different workpieces. If custom fingertips are
required, they can be made to fit the Gripper fingers.
NOTE:
During the fingertip design, the following shall be considered to maintain
optimal performance:
-Clear optical path for the proximity sensors
-Protect the proximity sensors from direct sunlight or strong light
source
-Avoid dust and liquid penetration
WARNING:
The proximity sensors are sensitive parts and shall be protected against:
-Direct strong light (such as directional laser sources)
-Direct high temperature
-Mechanical contacts in any case
-Expose to any liquid or fine conductive dust
Dimensions of the Gripper’s finger, in millimeters.

Getting Started 14
OnRobot © 2018 www.onrobot.com
2.6 Gripper Working Range
The working range is measured between the fingers. See the figure below, for the gripper
working range.
The dimensions are in millimeters.

Getting Started 15
OnRobot © 2018 www.onrobot.com
2.6.1 Finger Thickness
The default fingertips are considered while the finger thickness has been set and could not
be changed in the software. In case when custom fingertips are used, the user should
manually compensate for the difference in the finger thickness.
2.6.2 Gripping Speed
Speed table illustrating the difference in speed relative to the Gripper finger position.

Getting Started 16
OnRobot © 2018 www.onrobot.com
2.7 Cable Connections
To connect the gripper, follow this process:
1. Connect the 4 pin M8 cable (5m long) to the gripper. Ensure that the holes of the
cable are aligned with the pins of the connector on the gripper.
CAUTION:
Do not rotate the cable, only rotate the connector lock.
2. Secure the cable to the robot with cable ties.
CAUTION:
Make sure that enough extra cable length is available around the joints for
bending.
3. Place the Compute Box somewhere near or inside the UR robot control cabinet and
connect the 4 pin M8 gripper cable. The provided cable gland can be used to lead
the cable into the UR Control cabinet.
4. Connect the Compute Box‘s Ethernet interface with the UR controller’s Ethernet
interface via the supplied UTP cable.
5. Use the 3 pin M8 cable (1m long) to power the Compute Box from the UR’s control
box. Connect the brown cable to the 24V and the black cable to the 0V.
Power
Configurable Inputs
Configurable Outputs
PWR
◼
24V
◼
24V
◼
0V
◼
OV
◼
GND
◼
CI0
◼
CI4
◼
CO0
◼
CO4
◼
24V
◼
24V
◼
24V
◼
0V
◼
0V
◼
0V
◼
CI1
◼
CI5
◼
CO1
◼
CO5
◼
24V
◼
24V
◼
0V
◼
0V
◼
CI2
◼
CI6
◼
CO2
◼
CO6
◼
24V
◼
24V
◼
0V
◼
0V
◼
CI3
◼
CI7
◼
CO3
◼
CO7
◼
For more information, refer to the UR’s documentation.
6. Apply the correct network settings to both the Compute Box and the UR robot. The
default Compute Box IP address is 192.168.1.1, to change it, see Changing the IP of
the Compute Box.

Getting Started 17
OnRobot © 2018 www.onrobot.com
2.8 UR Compatibility
The Gripper URCap plugins were developed and tested on UR version 3.6. If the UR version is
older than 3.6 it is recommended to upgrade the robot.
2.9 URCap Plugin Installation
To install the OnRobot URCap plugin, follow this process:
1. Insert the OnRobot USB drive in the USB slot on the right side of the Teach Pendant.
2. A message dialog window appears asking for your permission to continue with the
installation.
NOTE:
During the installation the robot controller will be automatically
restarted. Make sure no program is running or edited before
proceeding.
Tap on Install to continue
3. A progress bar appears, indicating the upload is in progress.
4. Wait for the robot to reboot.
5. Initialize the robot.
Continue with URCap Plugin Setup.

Getting Started 18
OnRobot © 2018 www.onrobot.com
2.10 URCap Plugin Setup
Select the Installation tab, then select OnRobot FT Setup. The following screen is shown:
Wait a few seconds while the software is automatically discovering the available OnRobot
RG2-FT devices. The hourglass icon indicates that the discovery is still in progress.
Once it finishes the first found device is selected and automatically tested, and the following
screen is shown:

Getting Started 19
OnRobot © 2018 www.onrobot.com
The ok icon shows that the device is found, and the automatic test was successful, so
the device is ready to be used.
If no device is found or there was an error during the automatic test, then an error icon
is displayed. For troubleshooting URCap Plugin Setup error.
NOTE:
The discovery can be manually restarted by tapping on the refresh icon.
If multiple devices are available, the pre-selected device could be changed by
using the Discovered devices drop-down menu.
The status and basic information of the connected device is shown on the left:
Selected IP address: This shows the IP address of the selected device. Using the
factory default settings on the Compute Box the value will be 192.168.1.1.
Status: This shows OK or the error message in case of a malfunction.
Serial Number: The serial number of the RG2-FT.
Compute Box version: The software version of the Compute Box. This must match
the URCap version. If it does not match please update the Compute Box.
Status: This shows OK or in case of a malfunction it shows the error message.
The current network settings of the UR robot are showed to help the troubleshooting in case
of an error:
UR Robot IP: This shows the current IP address of the robot. Using the factory
default settings on the Compute Box the value must be 192.168.1.x.
UR Robot Subnet mask: The current subnet mask of the robot. Using the factory
default settings on the Compute Box the value must be 255.255.255.0.
The Hand Guide settings are in the bottom left:
Hold Handguide Enable checkbox: If checked (default value) the Hand Guide enable
button needs to be pressed constantly during the hand guiding. If unchecked, the
hand guiding could be started by tapping on the enable button and stopped by
tapping on the enable button again.
Hand Guide Timeout: After the set timeout value (in seconds) the hand guiding will
be stopped automatically. The default value is 0 that sets the timeout to infinite.

Getting Started 20
OnRobot © 2018 www.onrobot.com
NOTE:
After setting up the device the changes need to be saved to be part of the
current installation with the Load/Save button.
For embedded help, tap on the question mark icon.
Other manuals for RG2-FT
1
Table of contents
Other OnRobot Robotics manuals

OnRobot
OnRobot Gecko Gripper User manual

OnRobot
OnRobot VG10 User manual

OnRobot
OnRobot Gecko Gripper Product information sheet

OnRobot
OnRobot 2FGP20 User manual

OnRobot
OnRobot DOOSAN Gecko Gripper User manual

OnRobot
OnRobot UR CB3 Series User manual

OnRobot
OnRobot Gecko Gripper User manual

OnRobot
OnRobot RG6 User manual

OnRobot
OnRobot 3FG15 User manual

OnRobot
OnRobot RG2 User manual