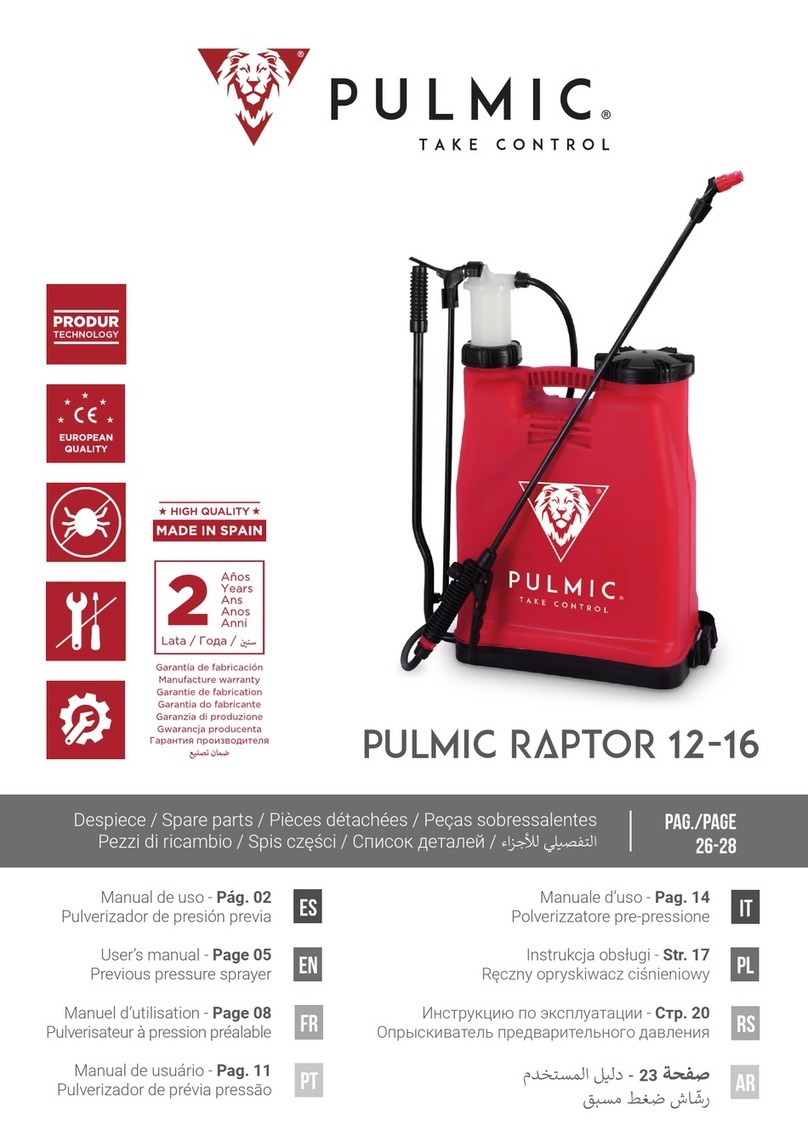
Pulmic PEGASUS 15 User manual

Active la garantía / Activate the warranty
Activer la garantie / Ative a garantia
Attivare la garanzia / Aktywuj gwarancję
Активируйте гарантию /
Manual de uso - Pág. 02
Pulverizador Eléctrico
User’s manual - Page 10
Electric Sprayer
Manuel d’utilisation - Page 18
Pulvérisateur Électrique
Manual de usuário - Pag. 26
Pulverizador Elétrico
Manuale d’uso - Pag. 34
Spruzzatore elettrico
Instrukcja obsługi - Str. 42
Opryskiwacz elektryczny
Инструкцию по эксплуатации - Стр. 50
Электрический опрыскиватель
- 63
www.gruposanz.es/activacion-garantia
ES
EN
fr
PT
IT
PL
RS
AR
PULMIC PEGASUS 15
Pag./PAGE
64-66
Despiece / Spare parts / Pièces détachées / Peças sobressalentes
Pezzi di ricambio / Spis części / Список деталей /

PULMIC PEGASUS 15 www.gruposanz.es
— 2 —
1. INTRODUCCIÓN Y USOS
Lea atentamente este manual antes de empezar a utilizar el pulverizador
y preste especial atención en las recomendaciones de mantenimiento, así
como su uso para un correcto funcionamiento y vida útil.
La empresa se reserva los derechos a cambios en la composición del
producto sin previo aviso, así como las características técnicas del mismo. No
se puede derivar reclamaciones de los datos e ilustraciones de este manual.
El manual original está escrito en español, por lo que prevalecerá sobre el
resto, en caso de conflicto o contradicciones entre otros idiomas.
Este pulverizador está especialmente diseñado para su uso con fitosanitarios
como fungicidas, insecticidas o herbicidas. Se puede usar tanto para
jardinería como pequeñas explotaciones agrícolas. En ningún caso se
debe de utilizar para pulverizar productos inflamables o industriales como
disolventes, alcalinos o ácidos.
2. COMPOSICIÓN Y PUESTA EN MARCHA
Antes de empezar a trabajar, debe terminar de cargar la batería (durante el
almacenamiento puede haber perdido parte de su carga). Para ello, la batería
deberá estar desconectada del pulverizador.
Enchufe el cargador a la red eléctrica y conéctelo a la batería hasta que
esté completamente cargada. Cuando el nivel de carga esté al completo,
los indicadores LED de la batería, dejarán de parpadear y permanecerán
encendidos.
El rango de temperatura de funcionamiento del pulverizador es de 1° a 50°C.
Para empezar a trabajar con PULMIC PEGASUS 15 accione el pulsador 3S
con su mano izquierda y se encenderá una luz de color verde, el pulverizador
arrancará en velocidad 1 (baja presión) adecuada para tratamientos herbicidas,
pulsando por segunda vez el indicador luminoso cambiará a luz color naranja,
obtendremos velocidad 2 (presión media) adecuada para tratamientos
herbicidas e insecticidas (según necesidades y boquilla utilizada), pulsando
por tercera vez el indicador cambiará a luz color rojo, obtendremos velocidad
3 (presión alta) adecuada para tratamientos insecticidas. Pulsando por cuarta
vez el indicador luminoso se apagará y el pulverizador se detendrá, quedando
este en estado de espera para ser usado de nuevo cuando se precise.

www.gruposanz.es
PULMIC PEGASUS 15
ES
— 3 —
NO OLVIDE DESCONECTAR EL EQUIPO AL FINALIZAR EL
TRABAJO.
Puede ver el vídeo de puesta en marcha del producto a través
del siguiente enlace o QR:
www.tiny.cc/puestaenmarcha-peg15
3. NORMAS DE SEGURIDAD
1. Utilice un equipo de protección adecuado para evitar el contacto de los
productos fitosanitarios con cualquier parte del cuerpo.
2. Leer las instrucciones contenidas en las etiquetas del producto, utilizar los
utensilios de preparación y mezcla adecuados, después de la preparación
lávese las manos y cara, para evitar la ingestión de producto, no coma,
beba ni fume durante su manipulación. Respete siempre las prescripciones
y las dosis indicadas en las etiquetas de producto.
3. Retire adecuadamente los envases vacíos o con sobrantes.
4. No pulverice sobre las personas, animales, ni instalaciones eléctricas.
Evitar la deriva a terrenos y cultivos colindantes, así como a fuentes, ríos
y estanques. No utilizar con viento en contra.
5. No use materiales inflamables o que fomenten la combustión.
6. No utilizar líquidos con temperaturas superiores a 40°.
4. CERTIFICADO CE
En cumplimiento con lo dispuesto en la Directiva Máquinas (2006/42 / CEE)
y en la ley 21/1992 de industria, el fabricante declara que este equipo ha sido
diseñado y probado de forma que cumple con las normas de Salud e Higiene
que le son exigibles. Normas técnicas armonizadas ISO 19932-1: 2013; ISO
4254-6: 2009; ISO 16119-1: 2013; UNE 68095-2: 1997; UNE-EN 61960: 2004;
2006/66 / CEE; 93 / 44EEC.
Todos los materiales y componentes han superado las correspondientes
pruebas de calidad para ser montados y puestos en servicio con seguridad.
En Valencia, enero de 2020.

PULMIC PEGASUS 15 www.gruposanz.es
— 4 —
5. LIMPIEZA Y MANTENIMIENTO
DEPÓSITO Y CONDUCCIONES
Limpiar el aparato y sus conducciones después de cada uso, con agua
limpia. Vacíe completamente el depósito desenroscando el tapón de
vaciado ubicado en la parte inferior del frontal de la máquina. Nunca deje
el pulverizador almacenado con productos fitosanitrios en el depósito,
conducciones o bomba.
FILTROS
Este equipo dispone de los siguientes filtros:
• Filtro de llenado del depósito (Ref. 1447).
• Filtro de aspiración (Ref. 14062). Está ubicado en el lateral del depósito y
se puede desmontar para su limpieza. Después de su limpieza, se vuelve
a montar en su alojamiento de la misma forma y posición original.
• Filtro de la empuñadura (Ref. 1453), situado en el interior de la empuñadura.
• Filtro de la boquilla herbicida, junto a la boquilla de pulverización.
• El correcto mantenimiento de los filtros es la mejor garantía para un buen
funcionamiento de su mochila. Limpie estos filtros de forma periódica
(cada jornada de trabajo) y sustitúyalos si presentan algún desperfecto.
BOQUILLAS
La mochila eléctrica se suministra con boquillas de calidad. Las prestaciones
de este equipo pueden verse disminuidas si se emplea una boquilla con
desgaste excesivo o si se utiliza una boquilla no recomendada. Sustituya la
boquilla cuando presente síntomas de deterioro.
RECARGA Y MANTENIMIENTO DE LA BATERÍA
La batería es un elemento muy sensible sometido a
desgaste, para alargar su vida útil es importante que
lea atentamente las recomendaciones de recarga y
mantenimiento.
Para recargar las baterías, extraiga la batería de su
alojamiento accionado la palanca de desbloqueo y
desplazando hacia arriba la batería (Ref. 13943) (ver
fig. 1), seguidamente conecte el cargador (Ref. 13980)
a la red por su conexión de 100/240vAC.
Seguidamente, deberá conectar la clavija 21v. DC a la
toma de la batería (Ref. 13943) situada en el lateral
trasero, posteriormente el LED verde de la batería
empezará a parpadear, lo que indicará que el proceso
de recarga ha comenzado.
Fig. 1

www.gruposanz.es
PULMIC PEGASUS 15
ES
— 5 —
En la batería, el indicador luminoso tiene el siguiente significado:
El tiempo aproximado para la recarga es de 4 a 5 horas (dependiendo
del nivel de descarga de la batería). Una vez finalizada la recarga, retire el
conector del alojamiento de la batería y posteriormente retire el cargador
(Ref. 13980) de la red eléctrica.
SE RECOMIENDA RECARGAR LA BATERÍA DESPUÉS DE CADA JORNADA
DE TRABAJO.
Nunca recargar la batería a temperaturas extremas, el rango de temperaturas
de carga es de 0⁰ a 40 C⁰. Es recomendable antes de iniciar la recarga
esperar un tiempo hasta que la batería se enfríe. Es normal que el cargador
se caliente ligeramente durante el proceso de carga.
En caso de largos periodos de inactividad, es recomendable extraer la
batería del pulverizador y almacenarla a media carga en un lugar seco y a
temperatura estable (rango ideal de 5° a 15°C), también es recomendable
vigilar el estado de carga al menos una vez cada seis meses y si procede
realizar la recarga oportuna en función del uso futuro.
En caso de sustitución de la batería, solicite un recambio original e insértela
en su alojamiento según las instrucciones. Utilice únicamente el cargador
suministrado con este equipo, conectado exclusivamente a enchufes
estándar de corriente alterna (100/240 voltios, 50-60 Hz).
LED ENCENDIDO 1 2 3 4 5
NIVEL DE CARGA Menos de 20% 21% - 40% 41 - 60% 61% - 80% 81% - 100%
ENCHUFE EL CARGADOR SOLAMENTE EN INTERIORES, EN LUGAR
SECO Y FUERA DEL ALCANCE DE LOS NIÑOS. NO USE EL CARGADOR
EN AMBIENTES EXPLOSIVOS. NO DEJE LA MOCHILA A LA INTEMPERIE
O ESTANCIAS CON RIESGO DE TEMPERATURAS BAJO CERO.
NO ABRA LA BATERIA NI ACERQUE A FUENTES DE CALOR. DEPOSITE
LAS BATERIAS INSERVIBLES EN UN PUNTO DE RECOGIDA AUTORIZADO.
EXPLOSIVO

PULMIC PEGASUS 15 www.gruposanz.es
— 6 —
MOTOR Y BOMBA
El motor y la bomba, así como el interruptor de
presión, son elementos sensibles sometidos a
desgaste, están integrados en un solo módulo y
necesitan mantenimiento preventivo para alargar
su vida útil.
Para conservar el cabezal de la bomba en buen
estado de funcionamiento, después de cada
aplicación, haga funcionar la mochila con agua limpia en circuito abierto
durante algunos minutos.
Nunca deje la bomba con productos fitosanitarios en su interior más de
8 horas, estos productos pueden precipitar o aglutinarse provocando
obstrucciones y un mal funcionamiento de la misma. Además, si estos
productos contienen concentraciones considerables de disolventes orgánicos
o solventes, dañaran los elementos internos de la misma.
No use ningún tipo de ácido corrosivo, en caso de hacerlo por accidente,
inmediatamente limpie el depósito y el circuito con agua pura haciéndola
circular en circuito abierto durante algún tiempo.
Para conservar el motor, no sumerja el pulverizador en ningún tipo de líquido
y protéjalo de la humedad en la medida de lo posible. Este motor es un
motor con escobillas de corriente continua, su desgaste y vida útil dependerá
exclusivamente de lo anteriormente mencionado, de la temperatura ambiente
y la presión media de trabajo.
Puede ver el vídeo del mantenimiento del producto a través del
siguiente enlace o QR:
www.tiny.cc/mantenimiento-peg15

www.gruposanz.es
PULMIC PEGASUS 15
ES
— 7 —
PROBLEMA POSIBLE CAUSA SOLUCIÓN
El pulverizador no se
enciende.
La batería no está
cargada. Cargar batería.
Cable suelto. Contáctenos y solicite
soporte técnico.
El depósito tiene fugas.
Las mangueras de
entrada y / o salida no
están bien conectadas a
la bomba.
Retire los tornillos y la
cubierta de plástico para
revisar la bomba. Afloje
las abrazaderas en ambas
mangueras, coloque la
manguera más cerca de la
bomba y vuelva a apretar la
abrazadera de la manguera.
Fugas por la zona de la
empuladura / boquilla.
Juntas sueltas, den mal
estado o rotas.
Revise todas las juntas
y reemplácelas si es
necesario.
La válvula de bola
dentro del conjunto de
la empuñadura está
defectuosa.
Contáctenos y solicite
soporte técnico / garantía.
Bomba / manguera /
empuñadura / lanza /
boquilla obstruidas.
No enjuagar el depósito
/ bomba / manguera /
empuñadura / boquilla(s)
con solución de limpieza
o agua después del uso.
Enjuague completamente
el pulverizador con agua
tibia y jabón después de
cada uso. Limpie el filtro
dentro del depósito.
Rotura de piezas. Desgaste y rotura. Contáctenos para la
cobertura de la garantía.
La bomba funciona de
manera constante o
intermitente.
Es necesario ajustar el
interruptor de presión en
la bomba.
Pongase en contacto con el
soporte técnico.
6. PROBLEMAS YSOLUCIONES
Puede ver los vídeos de las principales reparaciones a través del
siguiente enlace o QR:
www.tiny.cc/reparaciones-peg15

PULMIC PEGASUS 15 www.gruposanz.es
— 8 —
7. GARANTÍA
Este producto tiene una garantía de fabricación de 2 años desde la compra
del usuario (Mínimo indicado por la ley española) del producto salvo en
países que se apliquen condiciones de garantías específicas. En caso de
duda puede preguntar a su vendedor. La batería tendrá 1 año de garantía.
No se aplicará garantía por ninguna de las siguientes causas:
• No leer atentamente el manual de instrucciones.
• Desgaste por uso convencional (Incluidas las baterías).
• Uso de herramientas de trabajo no permitidas.
• Uso de la fuerza, inadecuada manipulación o accidente.
• Uso de piezas de repuestos no originales o inadecuadas.
• Uso de productos no permitidos.
• Omisión de los trabajos de mantenimiento necesarios.
Cualquier tipo de garantía debe de ser tratado por un distribuidor autorizado,
siempre junto con la factura de compra o tique especificando la fecha de
adquisición del producto y con el número de serie del mismo (foto del número
de serie). Los servicios de garantía no amplían el período de garantía ni
establecen nuevos plazos de garantía. Igualmente se recomienda registrar la
máquina a través del siguiente enlace para un correcto uso de la garantía. Los
datos de la garantía deben de ser del propio usuario final y no las del vendedor.
Active la garantía a través de nuestra página web:
www.gruposanz.es/activacion-garantia
¿Dónde encontrar el número de serie?
1) En la caja
2) En la batería
3) En el compartimento / soporte para batería

www.gruposanz.es
PULMIC PEGASUS 15
ES
— 9 —
Autonomía total estimada, calculada considerando 2 minutos de marcha y 1 minuto parado.
Altura de boquilla 40 cm, ancho de trabajo 114 cm, velocidad de avance 1 m/s.
Altura de boquilla 50 cm, ancho de trabajo 192 cm, velocidad de avance 1 m/s.
DATOS TÉCNICOS
Tipo de batería LI-ION Autonomía 4-7 h
Voltaje de la batería 18V Presión Máx. 4 bar
58 psi
Capacidad de la batería 2600 mAh Distancia de
pulverización
9 m
30 ft
Tiempo de carga de la
batería 4-5 h Capacidad del
depósito
15 L
4 gal
Cargador 21V / 1 Ah Vida útil de la bomba 1000 h
8. DATOS TÉCNICOS
BOQUILLA REGULABLE ROJA
Velocidad
seleccionada Presión (bar) Caudal (L/min) Litros / carga
de batería
Autonomía
total (min*)
12,1 0,7 173 370
23,1 0,9 144 240
34,2 1,1 136 185
BOQUILLA 4 SALIDAS
Velocidad
seleccionada Presión (bar) Caudal (L/min) Litros / carga
de batería
Autonomía
total (min*)
11,2 1,0 286 430
22,1 1,3 200 235
33,1 1,5 198 200
BOQUILLA HERBICIDA G.A.
Velocidad
seleccionada Presión (bar) Caudal (L/min) Litros / carga
de batería
Autonomía
total (min*)
Dosis
(L/ha**)
12,5 0,7 182 370 60
*
**
***
VALORES ESTIMADOS A UNA TEMPERATURA DE 20°C.
BOQUILLAS | Regulable, Herbicida GA y 4 salidas.

www.gruposanz.es
— 10 —
PULMIC PEGASUS 15
1. INTRODUCTION AND USES
Read this manual carefully before starting to use the sprayer and pay special
attention to the maintenance recommendations, as well as their use for
correct operation and useful life.
The company reserves the rights to changes the composition of the product
without prior notice as well as its technical characteristics. No claims can be
derived from the data and illustrations in this manual. The original manual
is written in Spanish, so it will prevail over the rest, in case of conflict or
contradictions between other languages.
This sprayer is specially designed for use with phytosanitary products such
as fungicides, insecticides or herbicides. It can be used both for gardening
and small farms. In no case should it be used to spray flammable or industrial
products such as solvents, alkalis or acids.
2. COMPOSITION AND START-UP
Before starting work, you must finish charging the battery (during storage
it may have lost some of its charge). To do this, the battery must be
disconnected from the sprayer.
Plug the charger into the mains and connect it to the battery until it is fully
charged. When the charge level is full, the battery LEDs will stop flashing
and stay on.
The sprayer’s operating temperature range is 1 ° to 50 ° C.
To start working with PULMIC PEGASUS 15, press the 3S button with your
left hand and a green light will turn on, the sprayer will start at speed 1
(low pressure) suitable for herbicide treatments, pressing a second time the
indicator light will change to orange light, we will get speed 2 (medium
pressure) suitable for herbicide and insecticide treatments (according to
needs and nozzle used), pressing the indicator for the third time will change
to red light, we will obtain speed 3 (high pressure) suitable for insecticide
treatments. Pressing for the fourth time the indicator light will turn o and
the sprayer will stop. In standby mode, the sprayer will be ready to be used
again when required.

www.gruposanz.es
EN
— 11 —
PULMIC PEGASUS 15
DO NOT FORGET TO DISCONNECT THE SPRAYER WHEN
FINISHING WORK.
Watch the product commissioning video through the following
link or QR:
www.tiny.cc/startup-peg15
3. SAFETY RULES
1. Use appropriate protective equipment to avoid contact of plant
protection products with any part of the body.
2. Read the instructions contained in the product labels, use the appropriate
preparation and mixing utensils, after preparation wash your hands and
face, to avoid ingesting the product, do not eat, drink or smoke during
handling. Always respect the prescriptions and doses indicated on the
product labels.
3. Properly remove empty or leftover containers.
4. Do not spray on people, animals, or electrical installations. Avoid drifting
to neighboring fields and crops, as well as to sources, rivers and ponds.
Do not use against the wind.
5. Do not use flammable or combustion-promoting materials.
6. Do not use liquids with temperatures higher than 40°.
4. CE DECLARATION OF CONFORMITY
In compliance with the provisions of the Machinery Directive (2006/42 / CEE)
and industry law 21/1992, the manufacturer declares that this equipment has
been designed and tested in such a way that it complies with the Health and
Hygiene regulations that apply to it. are enforceable. Harmonized technical
standards ISO 19932-1: 2013; ISO 4254-6: 2009; ISO 16119-1: 2013; UNE 68095-
2: 1997; UNE-EN 61960: 2004; 2006/66 / CEE; 93 / 44EEC.
All materials and components have passed the corresponding quality tests
to be assembled and put into service safely.
In Valencia, January 2020.

www.gruposanz.es
— 12 —
PULMIC PEGASUS 15
5. CLEANING AND MAINTENANCE
TANK AND PIPES
Clean the instrument and its pipes after each use, with clean water. Empty
the tank complete. Never leave the sprayer phytosanitary products stored in
the tank, pipes or pump.
FILTERS
This machine has the following filters:
• Tank filling filter (Ref. 1447).
• Suction filter (Ref. 14062). It is located on the side of the tank and can
be removed for cleaning. After cleaning, it should be reassembled in its
housing in the same original shape and position.
• Handle filter (Ref. 1453), located inside the handle.
• Herbicide nozzle filter, next to the spraying nozzle.
• The correct maintenance of the filters is the best guarantee for the proper
functioning of your backpack. Clean these filters periodically (every work
day) and replace them if damage.
NOZZLES
The electric sprayer is supplied with quality nozzles. The performance of
this equipment may be reduced if a nozzle with excessive wear or a non
recommended nozzle are used. Replace the nozzle when it present signs
of deterioration.
RECHARGE AND BATTERY MAINTENANCE
The battery is a very sensitive subjected to wear, to
lengthen its life is important to read the charging and
maintenance recommendations.
To recharge the batteries, extract the battery from its
housing by pressing the release lever and moving the
battery up (Ref. 13943) (see fig. 1), then connect the
charger (Ref. 13980) to the mains through its mains
connection. 100 / 240vAC.
Next, you must connect the 21v plug. DC to the battery
socket (Ref. 13943) located on the rear side, then the
green battery LED will start to blink, indicating that the
recharging process has begun.
Figure 1

www.gruposanz.es
EN
— 13 —
PULMIC PEGASUS 15
On the battery, the indicator light has the following meaning:
The approximate time for recharging is 4-5 hours (depending on the level of
discharge of the battery). After final charging, remove the connector from
battery housing and then remove the battery charger (Ref. 13980) of the
main electric web.
IT IS RECOMMENDED TO RECHARGE THE BATTERY AFTER EACH
WORKING DAY
Never recharge the battery with extreme temperatures, the charging
temperature range is 0° to 40C°. It is recommended before starting the
recharge wait a while until the battery gets cool. It is normal for the charger
to warm up slightly during charging.
For extended periods of inactivity, you should remove the battery from the
sprayer and store at half load in a dry and stable temperature (ideal range of
5° to 15°C), it is also advisable to monitor the state of charge at least once
every six months and whether to proceed with timely recharge depending
on future use.
When replacing the battery, have an original spare part and insert it into
accommodation as instructed. Use only the charger supplied with this
equipment, connected to a power socket AC standard (100/240 volts,
50-60 Hz).
CONNECT THE CHARGER ONLY IN INDOORS. IN DRY PLACES &
AWAY FROM CHILDRENS. DO NOT USE THE CHARGER IN EXPLOSIVE
ENVIRONMENTS. DO NOT LEAVE THE SPRAYER IN OUT DOORS. &
WITH TEMPERATURES BELOW ZERO.
DO NOT OPEN THE BATTERY OR KEEP NEAR ANY HEAT SOURCES.
LEAVE WASTED BATTERIES IN AN AUTHORIZED PLACE.
LEDs ON 1 2 3 4 5
CHARGE LEVEL Less than 20% 21% - 40% 41 - 60% 61% - 80% 81% - 100%
EXPLOSION RISK

www.gruposanz.es
— 14 —
PULMIC PEGASUS 15
MOTOR & PUMP
The motor, the pump and the pressure switch
are sensitive items subject to wear, they are
integrated into a single module and need
preventive maintenance to extend their useful life.
To keep the pump head in proper operating
condition after each application, run the sprayer
with clean water in open circuit for a few minutes.
Never let the pump with phytosanitaries inside over 8 hours, these products
may precipitate or agglutinate causing clogging and malfunction thereof.
Furthermore, if such products contain significant concentrations of organic
solvents or solvents will damage the internal elements thereof.
Do not use any corrosive acid, and if you do so by accident, immediately
clean the tank and clean the circuit with clean water in open circuit circulating
it for some time.
To preserve the motor, do not immerse the sprayer in any type of liquid and
protect it from moisture as much as possible. This motor is a DC brushed
motor, its wear and useful life will depend exclusively on the aforementioned,
the ambient temperature and the average working pressure.
Watch the product maintenance video through the following link
or QR:
www.tiny.cc/maintenance-peg15

www.gruposanz.es
EN
— 15 —
PULMIC PEGASUS 15
6. PROBLEMS AND SOLUTIONS
Watch the videos of the main repairs through the
following link or QR:
www.tiny.cc/troubleshooting-peg15
PROBLEM POSSIBLE CAUSE SOLUTION
Sprayer does not turn
on.
Battery is not charged. Charge battery.
Loose wire. Contact us for technical
support.
Leaks from tank area.
Input and/or output
hose(s) have a loose
connection with the
pump.
Remove screws and
remove the plastic
covering to expose pump.
Loosen clamps on both
hoses, position hose closer
to pump and re-tighten
hose clamp.
Leaks from gun/nozzle
area.
Loose / damaged /
broken seal(s)
Inspect all seals and
replace if necessary.
Ball valve inside gun
assembly is defective
Contact us for technical
support / warranty info.
Clogged pump / hose /
gun / wand / nozzle.
Not rinsing tank / pump
/ hose / gun / nozzle(s)
with cleaning solution or
water after use.
Rinse sprayer throughly
with warm, soapy water
after each use. Wipe down
filter inside tank.
Random part breaks. Wear and tear. Contact us for warranty
coverage.
Pump runs constantly or
intermittently.
Pressure switch
adjustment is needed on
the pump.
Contact us for technical
support.

www.gruposanz.es
— 16 —
PULMIC PEGASUS 15
7. WARRANTY
This product has a 2-year warranty from the user’s purchase (Minimum
indicated by Spanish law) of the product, except in countries where specific
warranty conditions apply. If in doubt you can ask your dealer. The battery
will have a 1-year warranty.
No warranty will be applied for any of the following causes:
• Do not read the instruction manual carefully.
• Wear from conventional use (Including batteries).
• Use of work tools not allowed.
• Use of force, improper handling, or accident.
• Use of non-original or unsuitable spare parts.
• Use of products not allowed.
• Omission of necessary maintenance work.
Any type of guarantee must be dealt with by an authorized dealer, always
together with the purchase invoice or ticket specifying the date of purchase of
the product and with its serial number (photo of the serial number). Warranty
services do not extend the warranty period or establish new warranty terms. It
is also recommended to register the machine through the following link for a
correct use of the guarantee. The data of the guarantee must be of the own end
user and not those of the seller.
Activate the warranty through our website:
www.gruposanz.es/en/warranty-activation
Where to find the serial number?
1) In the box
2) On battery
3) In the battery compartment / holder

www.gruposanz.es
EN
— 17 —
PULMIC PEGASUS 15
TECHNICAL SPECIFICATIONS
Battery Type LI-ION Autonomy
(2 batteries) 4-7 h
Battery voltage 18V Max. Pressure 4 bar
58 psi
Battery capacity 2600 mAh Spraying distance 9 m
30 ft
Battery charging time 4-5 h Tank capacity 15 L
4 gal
Charger 21V / 1 Ah Pump life 1000 h
8. TECHNICAL SPECIFICATIONS
Total autonomy, calculated considering 2 minutes working and 1 minute stopped.
Nozzle height 40 cm, working width 114 cm, forward speed 1 m/s.
Nozzle height 50 cm, working width 192 cm, forward speed 1 m/s.
RED ADJUSTABLE NOZZLE
Selected
speed Pressure (bar) Flow (L/min) Liters per
battery charge
Total autonomy
(min*)
12,1 0,7 173 370
23,1 0,9 144 240
34,2 1,1 136 185
4 OUTLETS NOZZLE
Selected
speed Pressure (bar) Flow (L/min) Liters per
battery charge
Total autonomy
(min*)
11,2 1,0 286 430
22,1 1,3 200 235
33,1 1,5 198 200
G.A. HERBICIDE NOZZLE
Selected
speed Pressure (bar) Flow (L/min) Liters per
battery charge
Autonomía
total (min*)
Dose
(L/ha**)
12,5 0,7 182 370 60
*
**
***
ESTIMATED VALUES AT A TEMPERATURE OF 20°C.
NOZZLES | Adjustable, GA herbicide and 4 outlets.

www.gruposanz.es
— 18 —
PULMIC PEGASUS 15
1. INTRODUCTION ET USAGES
Lire attentivement le manuel avant d’utiliser le pulvérisateur et prêter
particulière attention aux recommandations d’entretien, ainsi qu’à leur
utilisation pour un fonctionnement correct et une durée de vie utile.
L’Enterprise se réserve le droit de modifier sans préavis la composition du
produit ainsi que ses caractéristiques techniques. Aucune réclamation ne
peut être dérivée des données et des illustrations de ce manuel. Le manuel
original est écrit en espagnol, il prévaudra donc sur le reste, en cas de conflit
ou de contradictions entre d’autres langues.
Ce pulvérisateur est spécialement conçu pour être utilisé avec des produits
phytosanitaires tels que des fongicides, des insecticides ou des herbicides.
Il peut être utilisé à la fois pour le jardinage et les petites fermes. En aucun
cas, il ne doit être utilisé pour pulvériser des produits inflammables ou
industriels tels que des solvants, des alcalis ou des acides.
2. COMPOSITION ET MISE EN MARCHE
Avant de commencer le travail, vous devez finir de charger la batterie (pendant
le stockage, elle peut avoir perdu une partie de sa charge). Pour ce faire, la
batterie doit être débranchée du pulvérisateur.
Branchez le chargeur sur le secteur et connectez-le à la batterie jusqu’à ce qu’il
soit complètement chargé. Lorsque le niveau de charge est plein, les LED de la
batterie arrêtent de clignoter et restent allumées.
La plage de température de fonctionnement du pulvérisateur est de 1° à 50°C.
Pour commencer à travailler avec PULMIC PEGASUS 15, appuyez sur le bouton
3S avec votre main gauche et un voyant vert s’allumera, le pulvérisateur
démarrera à la vitesse 1 (basse pression) adaptée aux traitements herbicides,
en appuyant une deuxième fois le voyant passera à lumière orange, nous
obtiendrons la vitesse 2 (moyenne pression) adaptée aux traitements herbicides
et insecticides (selon les besoins et la buse utilisée), en appuyant une troisième
fois sur l’indicateur passera à la lumière rouge, nous obtiendrons la vitesse 3
(haute pression) adaptée pour les traitements insecticides. En appuyant une
quatrième fois, le voyant s’éteindra et le pulvérisateur s’arrêtera. En mode veille,
le pulvérisateur sera prêt à être réutilisé en cas de besoin.

www.gruposanz.es
FR
— 19 —
PULMIC PEGASUS 15
N’OUBLIEZ PAS DE DEBRANCHER LE PULVÉRISATEUR A LA
FIN DES TRAVAUX.
Regardez la vidéo de mise en service du produit via le lien ou
QR suivant:
www.tiny.cc/miseenmarche-peg15
3. NORMES DE SÉCURITÉ
1. Utiliser un équipement de protection approprié pour éviter le contact
des produits phytosanitaires avec n’importe quelle partie du corps.
2. Lire les instructions contenues dans les étiquettes des produits, utiliser les
ustensiles de préparation et de mélange appropriés, après la préparation
se laver les mains et le visage, pour éviter d’ingérer le produit, ne pas
manger, boire ou fumer pendant la manipulation. Respectez toujours les
prescriptions et les doses indiquées sur les étiquettes des produits.
3. Retirez correctement les contenants vides ou les restes.
4. Ne pas vaporiser sur les personnes, les animaux ou les installations
électriques. Évitez de dériver vers les champs et les cultures avoisinants,
ainsi que vers les sources, les rivières et les étangs.
Ne pas utiliser contre le vent.
5. Ne pas utiliser de matériaux inflammables ou favorisant la combustion.
6. Ne pas utiliser de liquides avec des températures supérieures à 40°.
4. DÉCLARATION DE CONFORMITÉ CE
Conformément aux dispositions de la directive sur les machines (2006/42/
CEE) et de la loi industrielle 21/1992, le fabricant déclare que cet équipement
a été conçu et testé de manière à être conforme aux réglementations en
matière de santé et d’hygiène applicables à il sont exécutoires. Normes
techniques harmonisées ISO 19932-1:2013; ISO 4254-6:2009; ISO 16119-
1:2013; UNE 68095-2:1997; UNE-EN 61960:2004; 2006/66 / CEE; 93
/ 44CEE.
Tous les matériaux et composants ont passé les tests de qualité
correspondants pour être assemblés et mis en service en toute sécurité.
À Valence, janvier 2020.

www.gruposanz.es
— 20 —
PULMIC PEGASUS 15
5. NETTOYAGE ET ENTRETIEN
RÉSERVOIR ET CONDUCTIONS
Nettoyer l’instrument et ses tuyaux après chaque utilisation, avec de l’eau
propre. Videz complètement le réservoir. Ne jamais laisser le pulvérisateur
de produits phytosanitaires stockés dans le réservoir, les conductions ou
la pompe.
FILTRES
Cette équipe dispose de ces filtres:
• Filtre de remplissage du réservoir (Réf. 1447).
• Filtre d’aspiration (Réf. 14062). Il est situé sur le côté du réservoir et peut
être retiré pour le nettoyage. Après nettoyage, il doit être remonté dans
son logement dans la même forme et position d’origine.
• Filtre poignée (Réf. 1453), situé à l’intérieur de la poignée.
• Filtre de buse de pulvérisation d’herbicide, à côté de la buse de pulvérisation.
• Le bon entretien des filtres est la meilleure garantie du bon
fonctionnement de votre sac à dos. Nettoyez ces filtres périodiquement
(tous les jours de travail) et remplacez-les s’ils sont endommagés.
BUSES
Le pulvérisateur électrique est fourni avec des buses de qualité. Les
performances de cet équipement peuvent être réduites si une buse
présentant une usure excessive ou une buse non recommandée est utilisée.
Remplacez la buse quand elle présente des signes de détérioration.
RECHARGE ET ENTRETIEN DE LA BATTERIE
La batterie est un élément très sensible soumis à une
usure, pour allonger sa vie utile il est important que
vous lisiez attentivement les recommandations de
rechargement et de maintien.
Pour recharger les batteries, sortez la batterie de son
logement en actionnant la poignée de déblocage et en
déplaçant vers le haut la batterie (Ref. 13943) (voir fig.
1), ensuite branchez le chargeur (Ref. 13980) au réseau
pour une connexion de 100/240vAC.
Une fois la lumière verte du chargeur s’allumera, vous
devrez connecter la cheville 21v. DC à la prise de la
batterie (Ref. 13943) située dans le derrière latéral, par
la suite il changera de lumière verte à rouge ce qu’il
indiquera que le cours de rechargement a commencé.
Figure 1
Table of contents
Languages:
Other Pulmic Paint Sprayer manuals
Pulmic
Pulmic RAPTOR 16 ADVANCE User manual

Pulmic
Pulmic PEGASUS 35 User manual

Pulmic
Pulmic INDUSTRIAL 35 User manual

Pulmic
Pulmic Taurus AIR+ User manual

Pulmic
Pulmic INDUSTRIAL 35 User manual
Pulmic
Pulmic PEGASUS 75 User manual
Pulmic
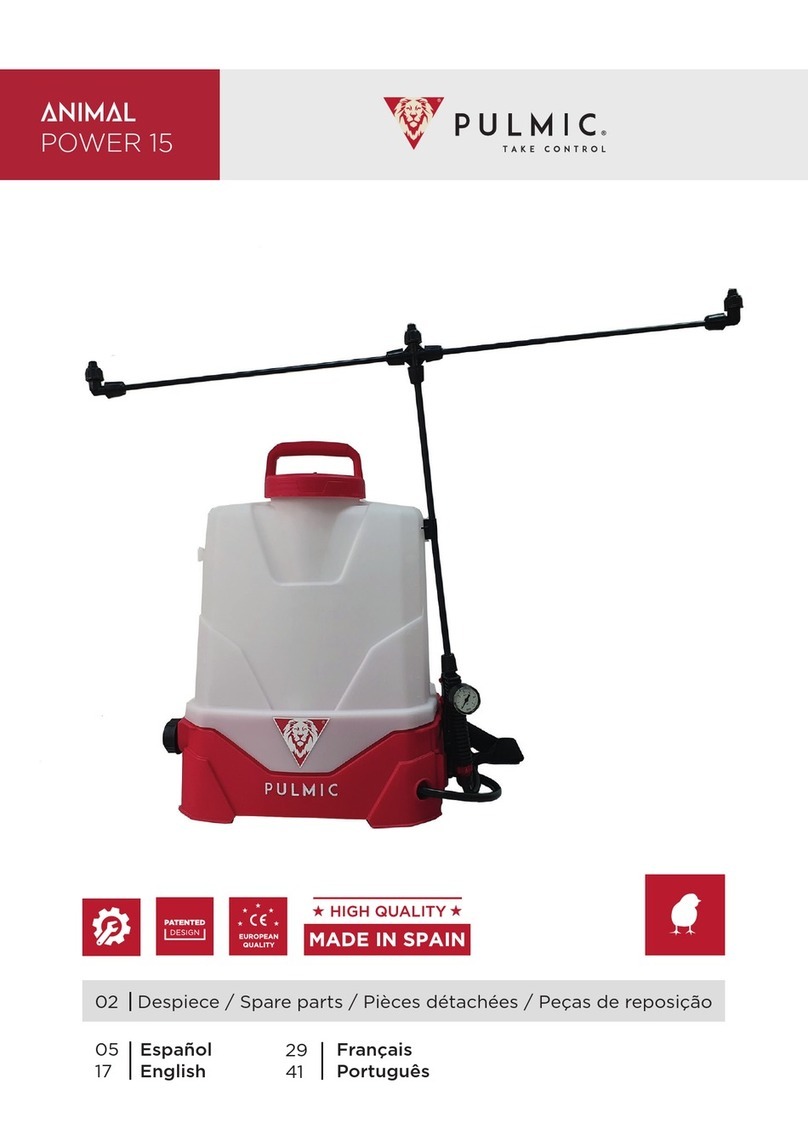
Pulmic ANIMAL POWER 15 User manual
Pulmic
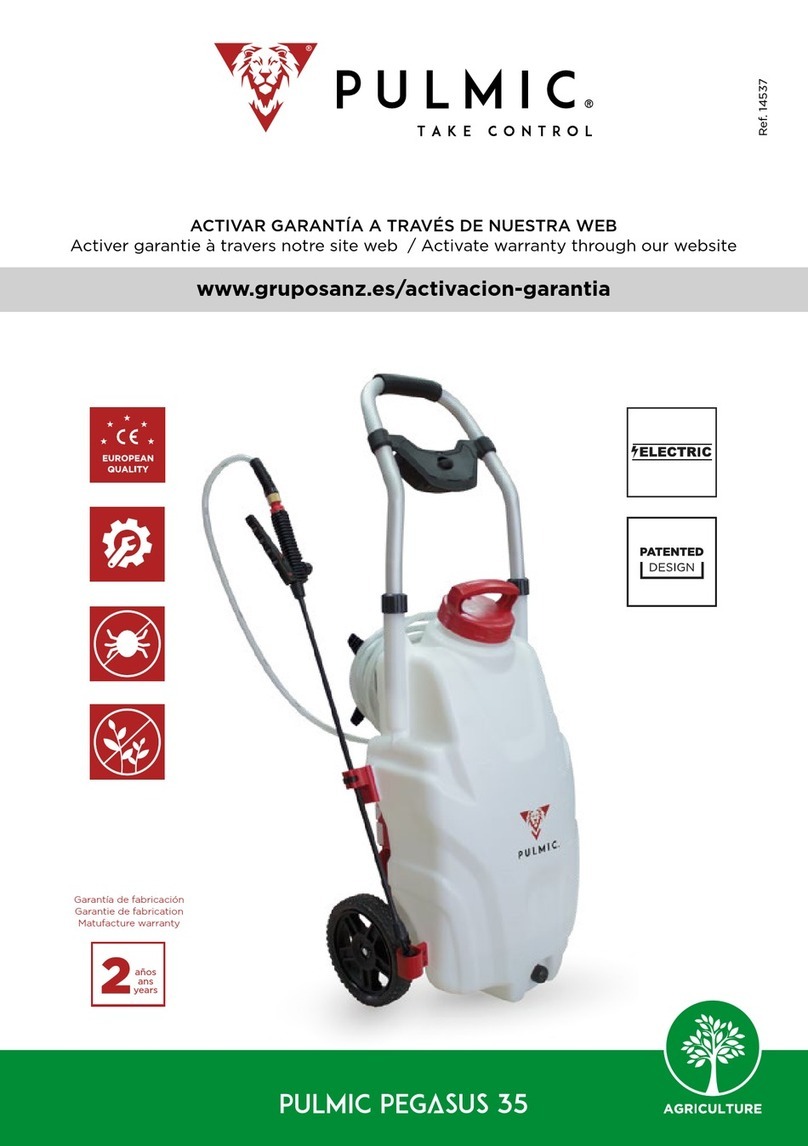
Pulmic PEGASUS 35 User manual
Pulmic
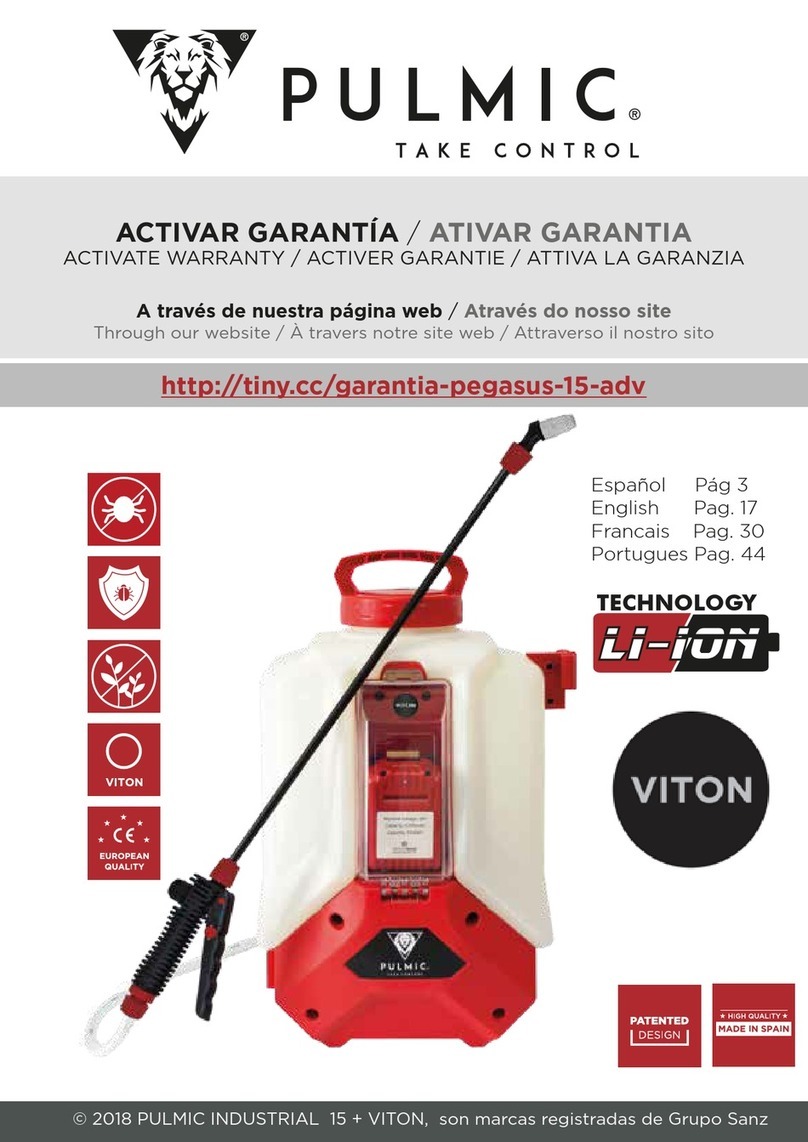
Pulmic 15+ VITON User manual

Pulmic
Pulmic INDUSTRIAL 35 User manual


