Pulsarlube USA, Inc
1480 Howard Street, Elk Grove Village, IL 60007, USA
Tel: (847) 593-5300 Fax: (847) 593-5303
www.pulsarlube.com
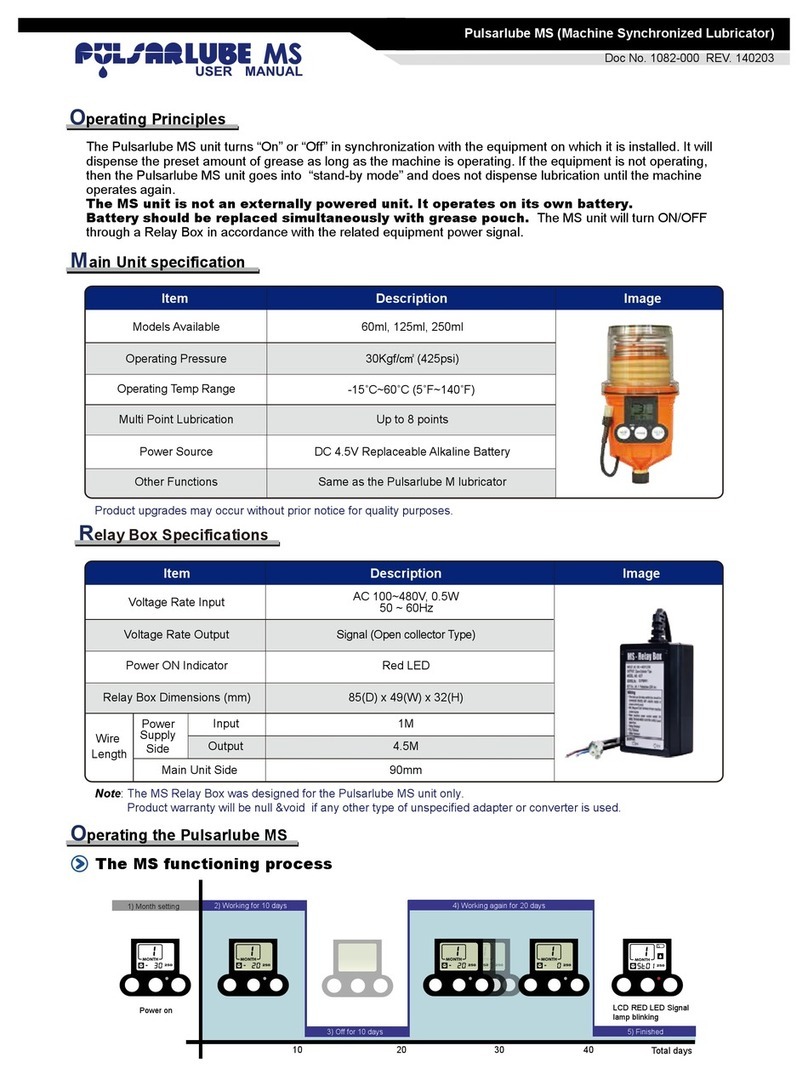
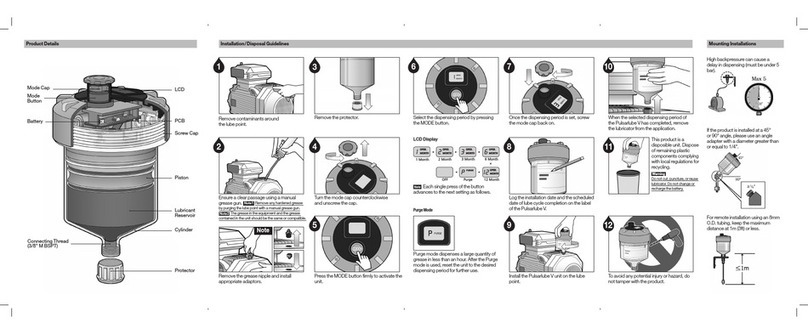
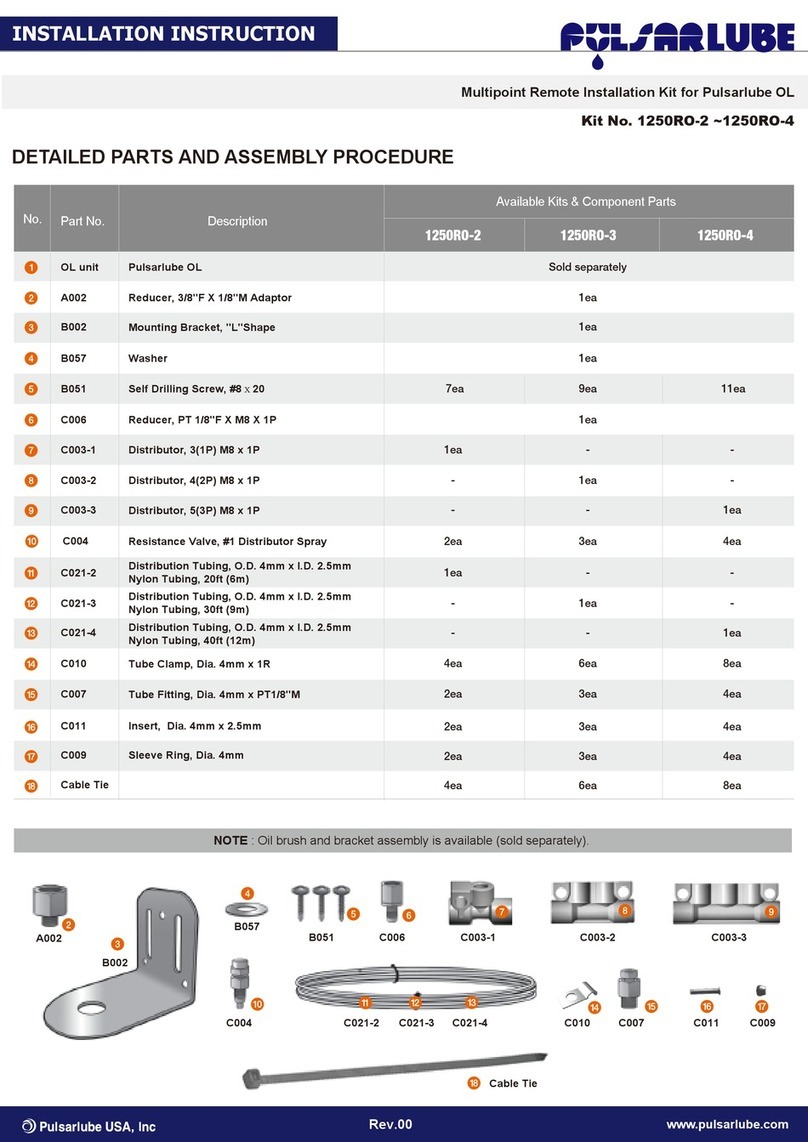
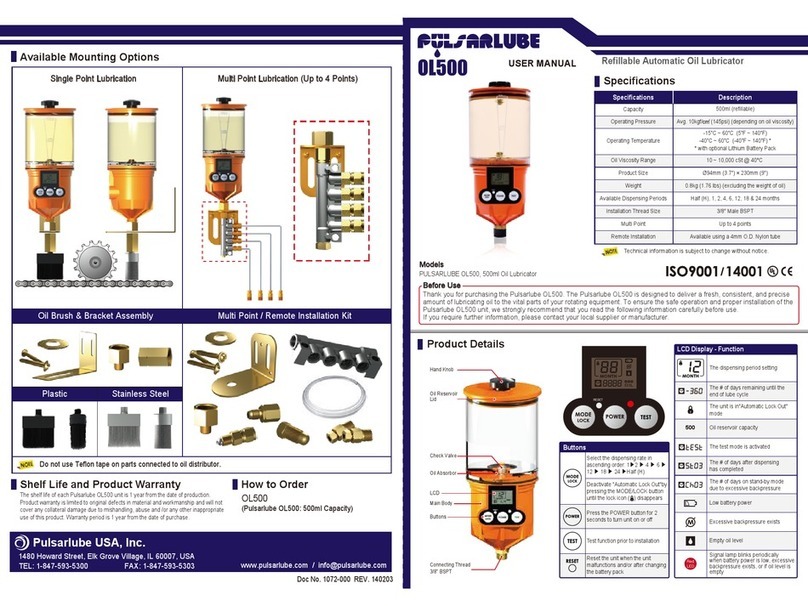
Multi-Point Installation
Install the mounting bracket (3) at a proper
location using screws (8) to allow for easy
installation and filling of oil.
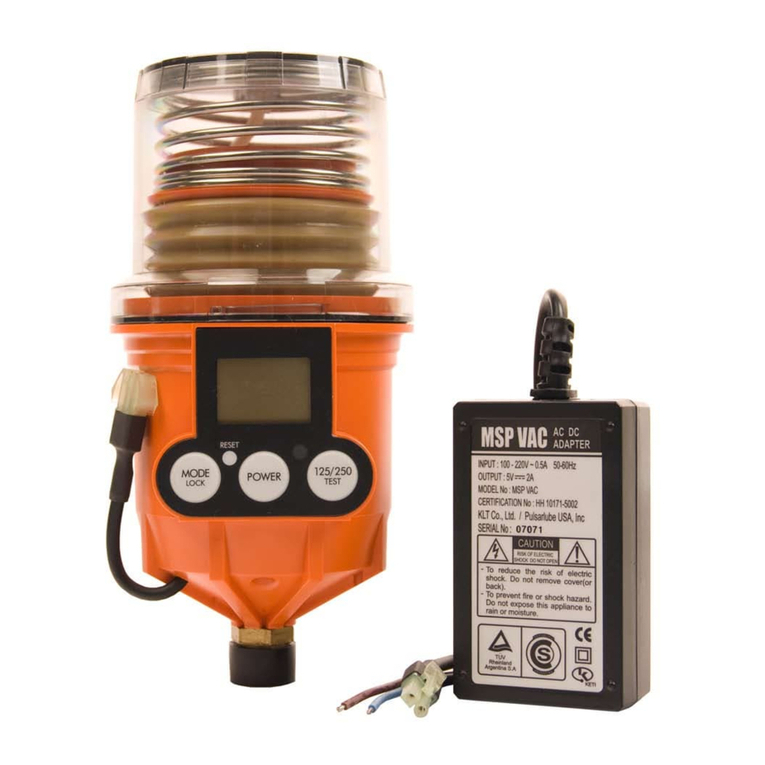
Install the lubricator using the adapter (2),
washer (4), and reducer (5).
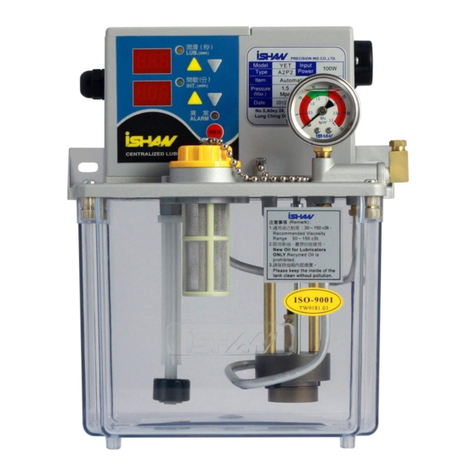
Remove the oil reservoir lid and fill the
cartridge with oil to the 500ml level on the
label. After closing the lid, turn the knob on the
lid counter clockwise to open the vent and
relieve vacuum pressure.
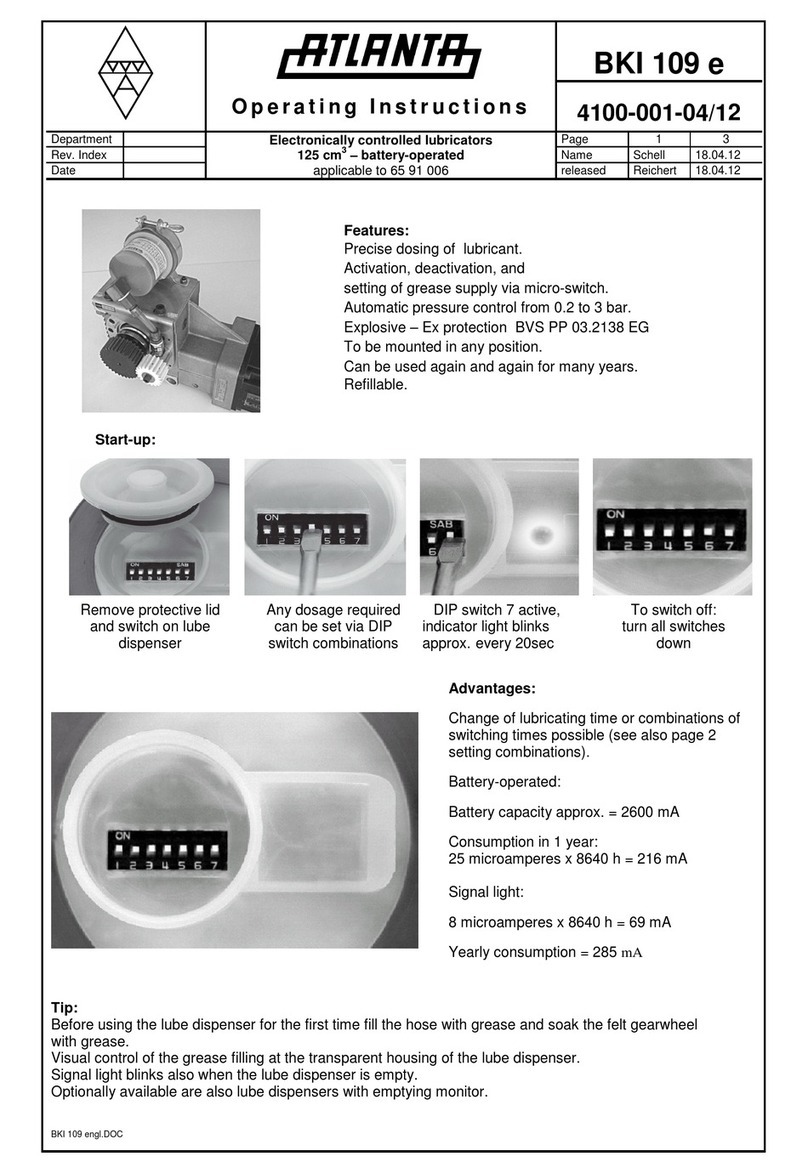
Press the “TEST” button for 2 seconds to run
test mode. Confirm that the unit is dispensing
oil properly.
Assemble the reducer (5) and the distributor
(6). The distributor must be installed near the
lubricator.
Connect one end of the tubing to the
resistance valve (7) and the other end of the
tubing to the fitting connector (11). Assemble
the insert (12) and sleeve ring (13) in order, as
shown in the circled image on the left. (If an oil
brush and bracket assembly is to be used,
connect brush to a fitting connector (11) at the
end of lube line using an appropriate socket.)
Use the tube clamps (10) and screws (8) to
affix the tubing (9) to a wall.
Apply PTFE Tape around the thread on fittings
(2) and (11) and on the tip of the lubricator. Do
not use PTFE Tape on parts (5), (7), or (9).
Output volume may vary depending on oil
viscosity, length of lube line, ambient
temperature, etc.
For oils below ISO VG 100, place the oilers below the
lube points and twist the lube lines a couple of times
to avoid oil leaks caused by gravity.
For oils below ISO VG 100 –OL500 products should be
installed below the lube points.
Note : All parts above are Metric thread.

