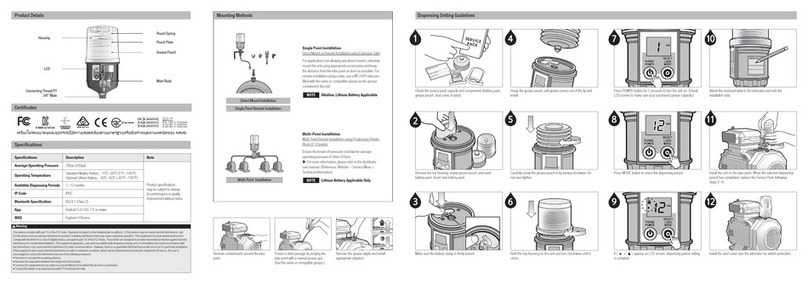
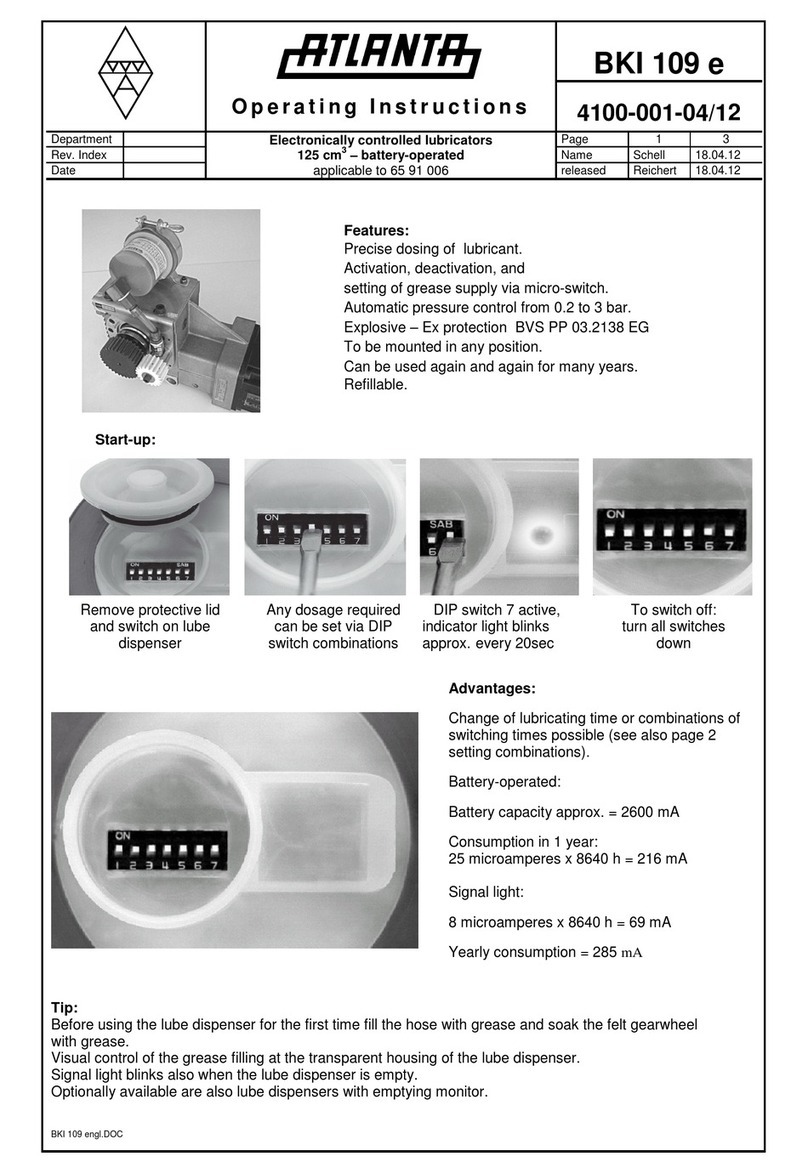
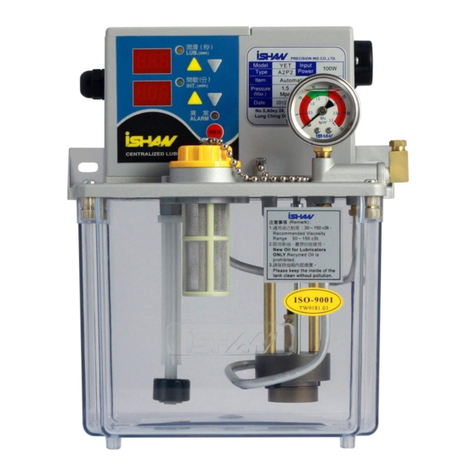
Press to power on press to select
the grease capacity press to set
desired dispensing period.
Remove contaminants around the lube
point.
Install the lubricator on the lube point.
After setting the sensor level, set up is
completed if you can see 1) the lock icon 2)
remaining days 3) set dispensing period and
4) grease capacity on the LCD.
Connect the cable of lubricator and the
sensor box cable.
Position the sensor box vertically and align it
to the shaft of the motor. The cap should be
positioned facing downwards.
Installation GuidelinesProduct Details
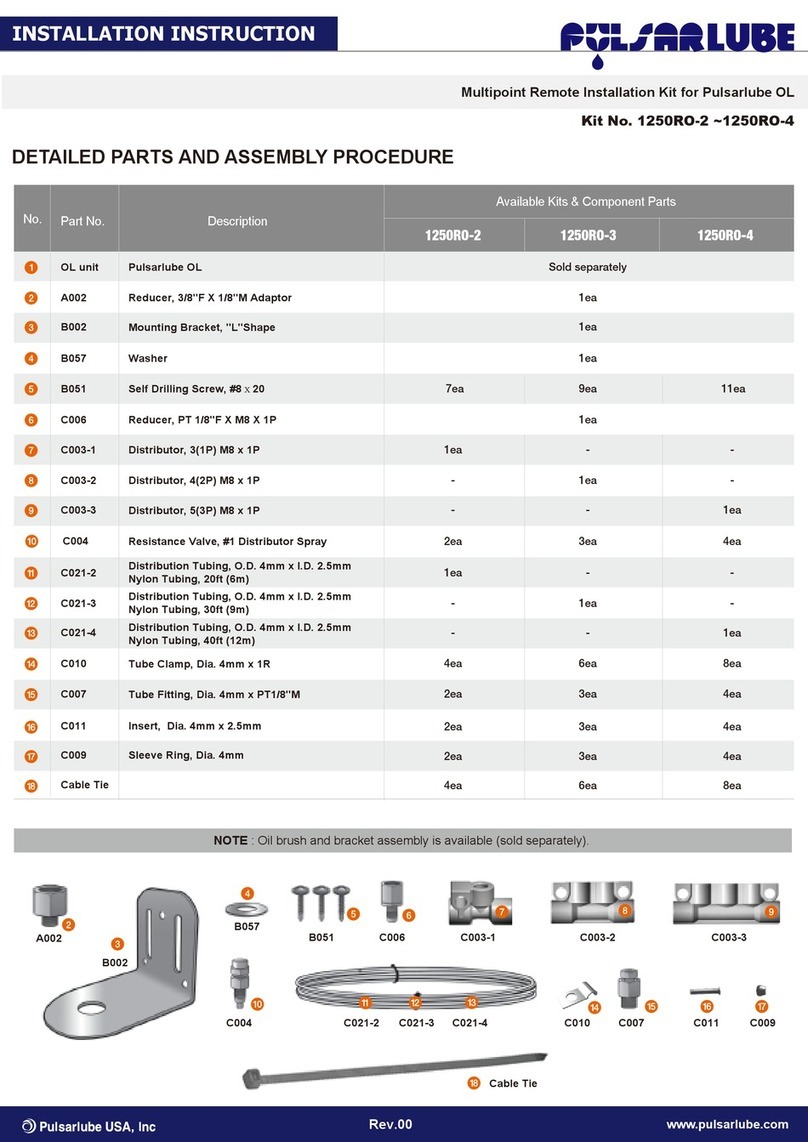
Insert the battery pack, secure the battery
clip, and purge the grease pouch until
grease comes out of the tip.
Note the installation date and the
completion date of lube cycle on the
label. Install the dust cover over the
lubricator.
Check the grease pouch capacity and
the service pack items (battery pack,
grease pouch, dust cover & label).
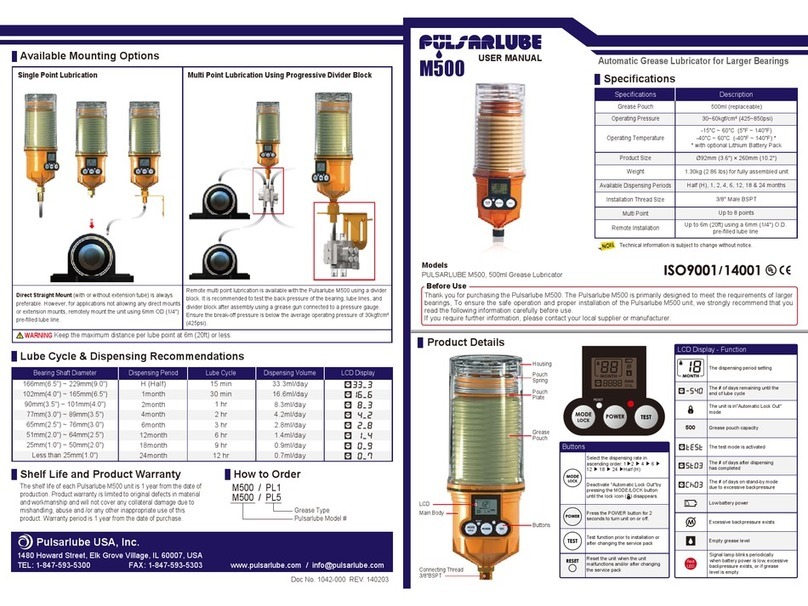
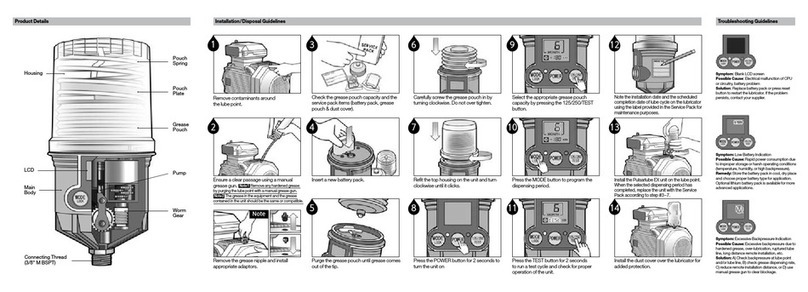
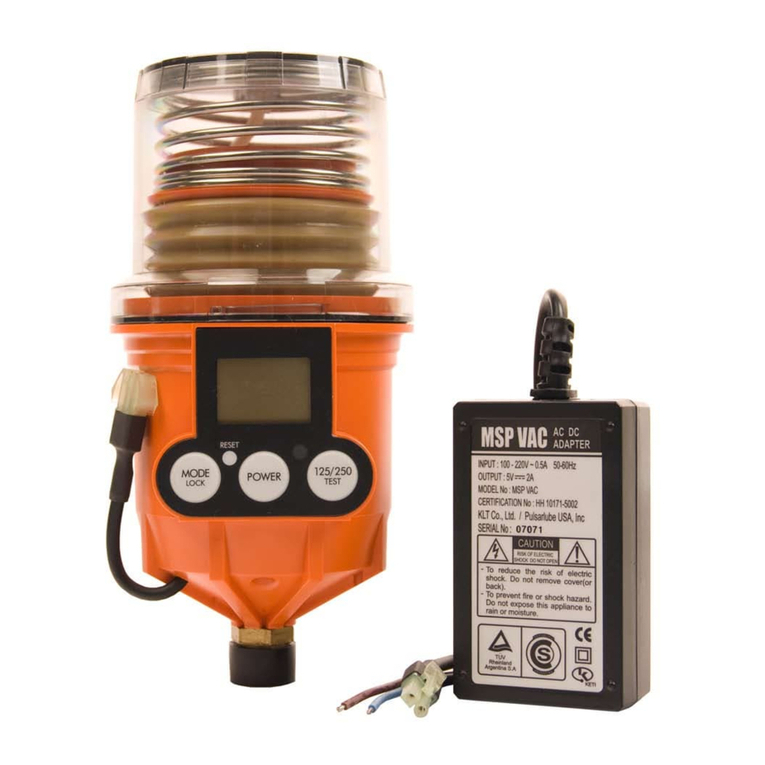
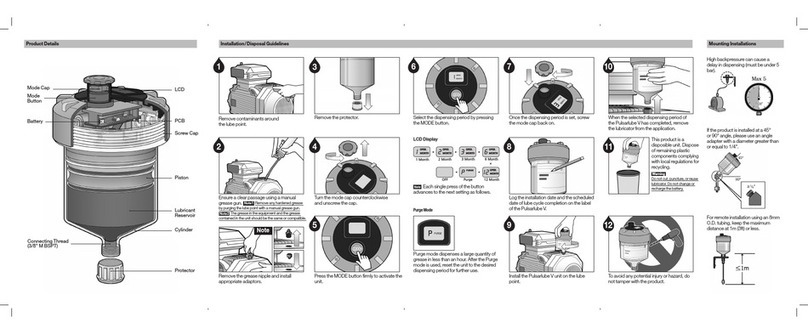
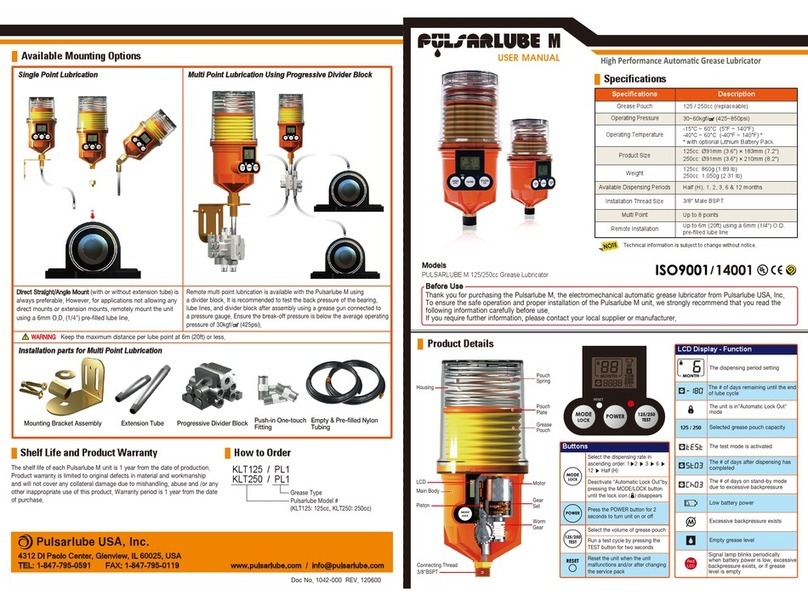
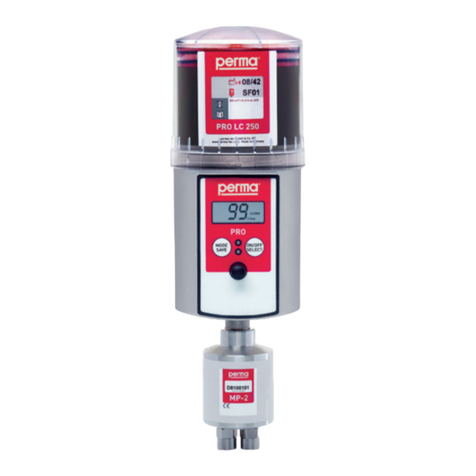
Housing
Pouch Spring
Pouch Plate
Grease Pouch
LCD
Sensor Box
(Vibration Detector)
Main Body
Connecting Thread
(3/8" M BSPT)
1 14
6
7
Install the dust cover over the lubricator for
added protection.
52
2
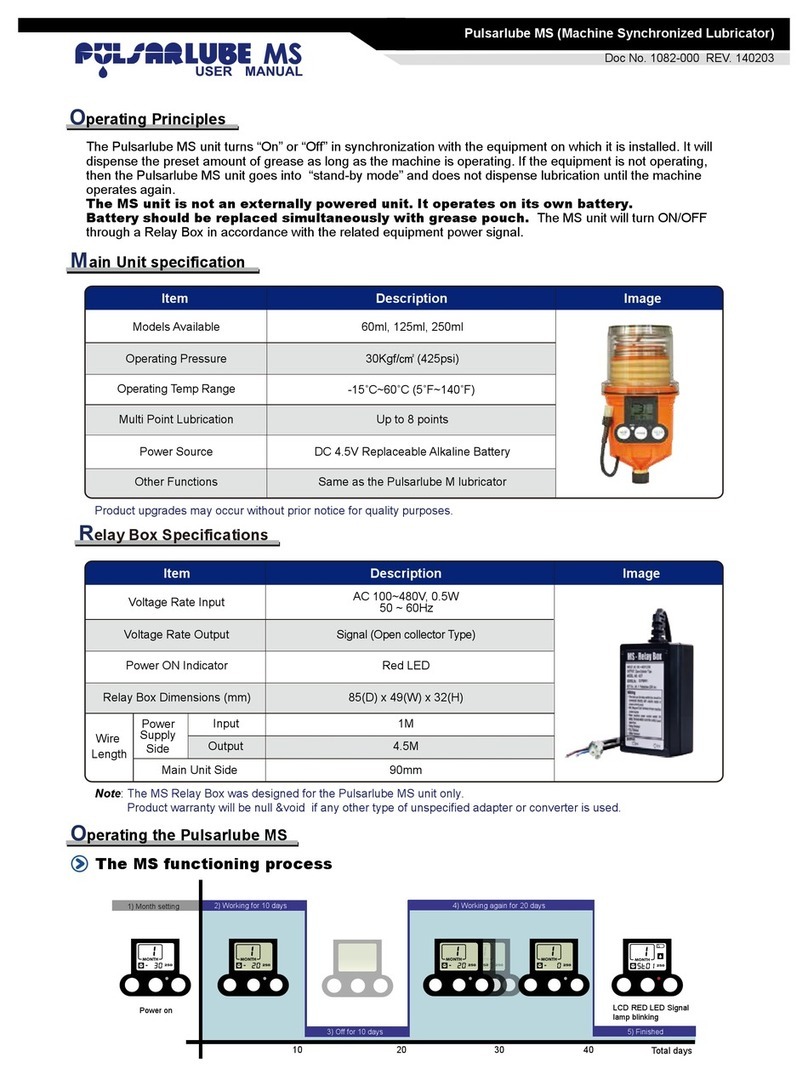
When the equipment is in operation,
the clock icon will be displayed.
When the equipment is in operation,
the clock icon remains off.
When the equipment is not in operation,
only the lock icon will be displayed.
When the equipment is not in operation,
all icons are displayed.
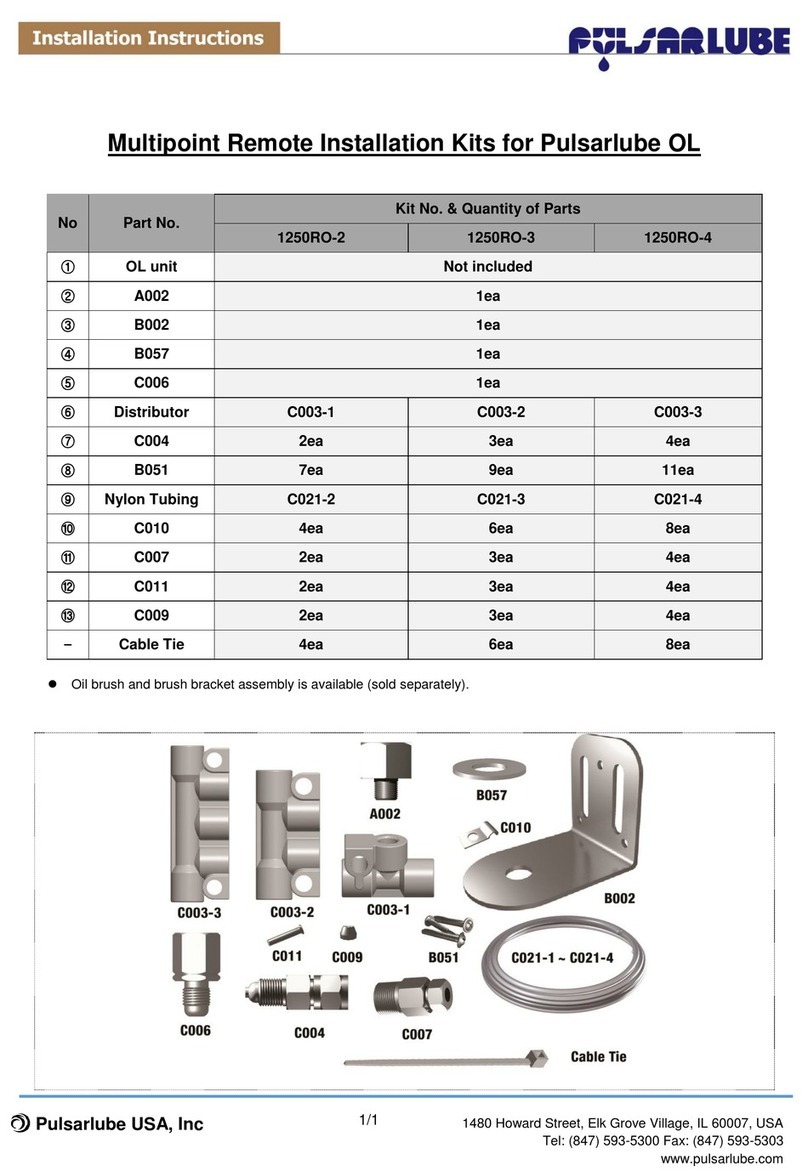
4. Set the dial to the lowest sensitivity until
the clock icon and red LED are displayed.
5. Repeat steps above, as necessary, to
ensure that vibration is correctly being
detected. If you fail to set the correct sensor
level, relocate the sensor box and try again.
How To Replace Service Pack
How To Adjust Sensor Level
LCD Display During Proper Synchronization
LCD Display During Improper Synchronization
Ensure a clear passage by purging the
lube point with a manual grease gun.
(Use the same or compatible grease.)
Hold and press to start Vibration
Detection Mode. Refer to the instructions
"How To Adjust Sensor Level"
3
3
8
9
1. Open the yellow cap of sensor box.
3. Turn the dial to lower and to raise
vibration sensitivity. 0 is the lowest
sensitivity and 10 is the highest sensitivity.
(Factory default setting: 10)
Carefully screw the grease pouch in
without over-tightening and ret the
housing until it clicks.
POWER
POWER
TEST
MODE
MODE
2. Hold and press to start Vibration
Detection Mode. It will last for 60 seconds.
POWER MODE
NOTE
If the unit is not operating in synchronization
properly, adjust and/or relocate the sensor box.
If the problem persists, contact your local distributor
or sales rep.
4
NOTE
The vibration detector checks for
vibration in 1 hour cycle.

