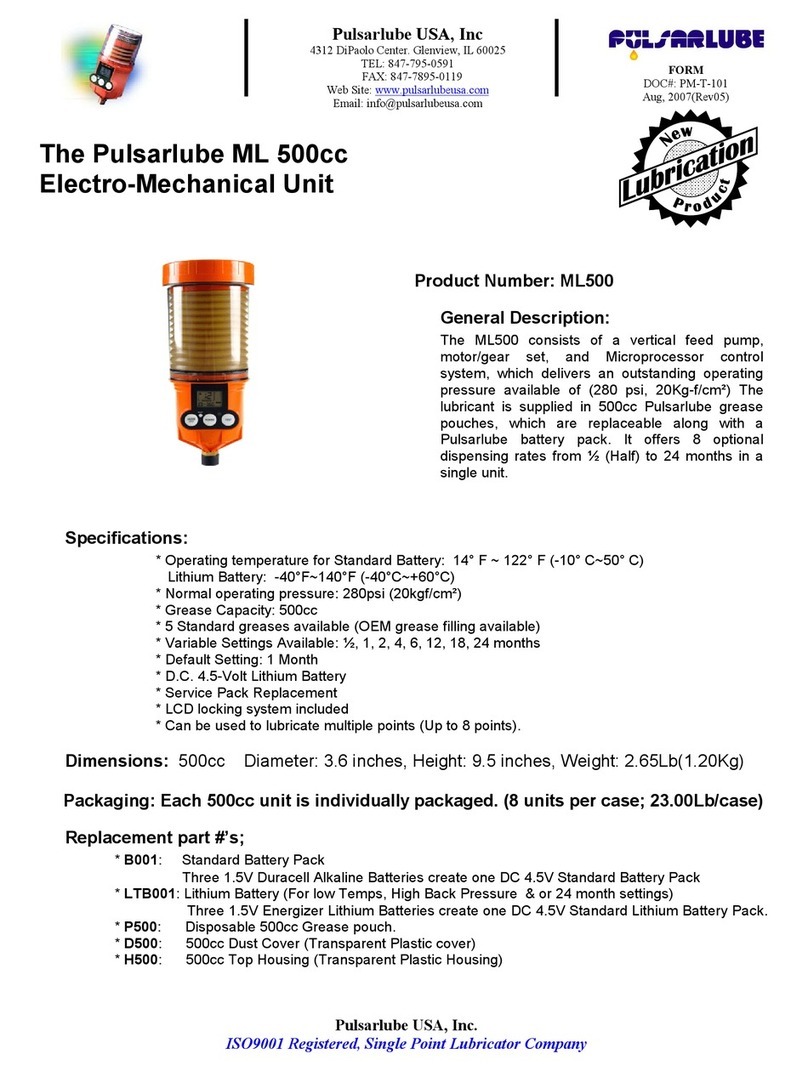
500
Installation Instructions
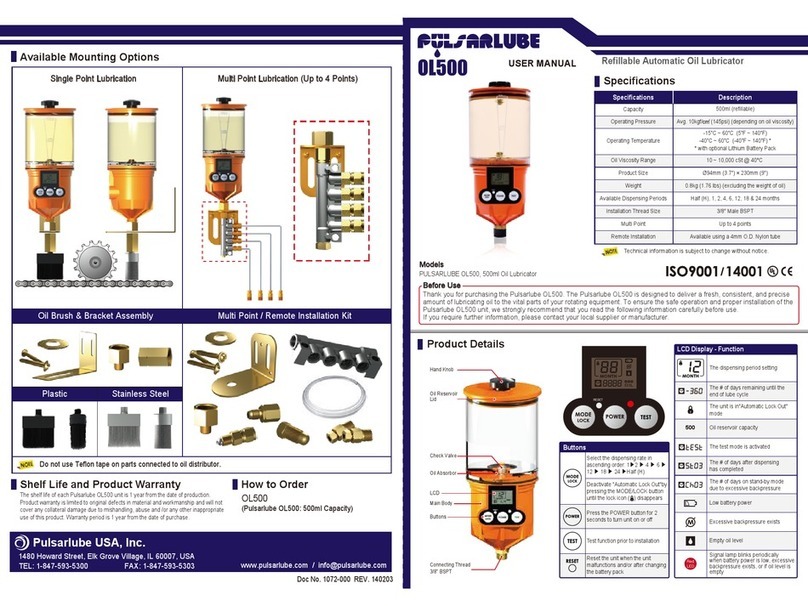
For Completely Assembled Pulsarlube M500 Unit - Initial Installation
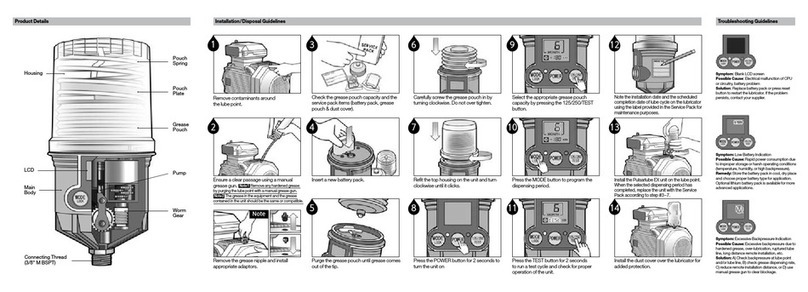
Before installation of the Pulsarlube M500 unit, remove contaminants around the lube
point and ensure a clear passage by purging the lube point with a manual grease gun.
Remove the grease nipple and check for hardened grease at the bearing lube point.
If hardened grease exists, clean the lube point before mounting the Pulsarlube M500
unit on the bearing.
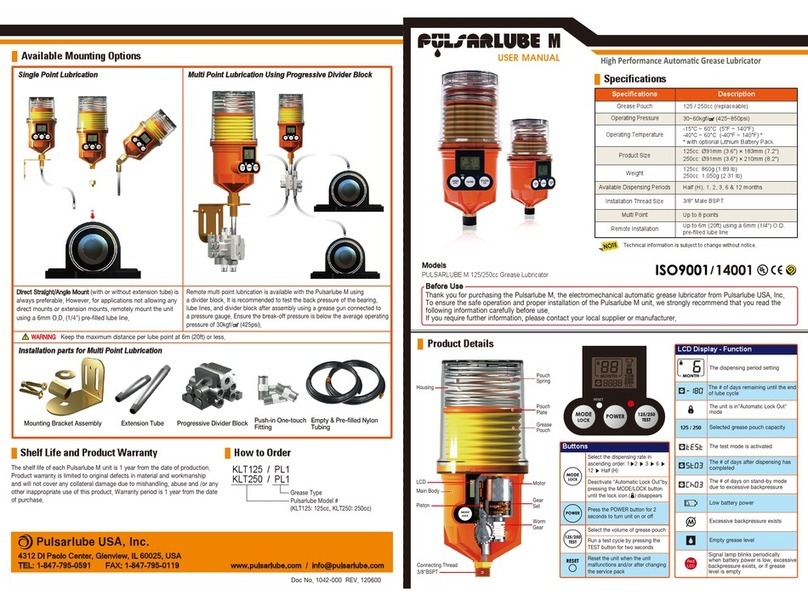
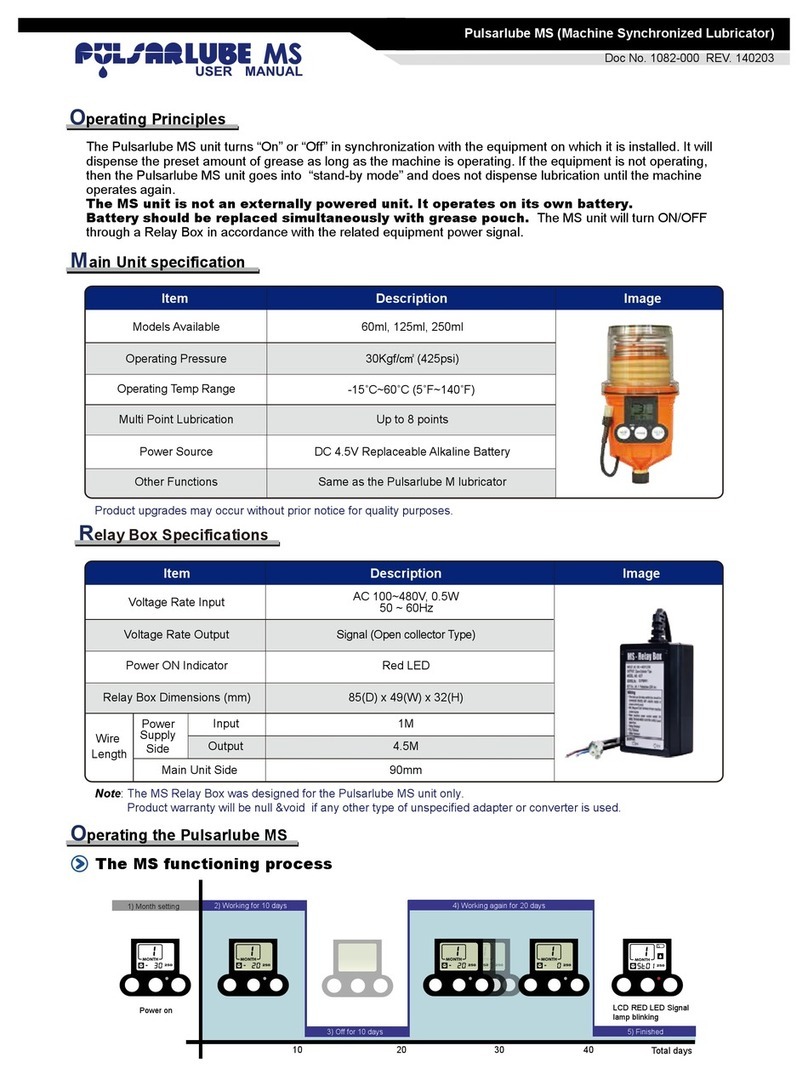
Press the MODE button to program the dispensing period.
Each time the MODE button is pressed, the dispensing period changes in ascending
order: 1▶2 ▶4 ▶6 ▶12 ▶18 ▶24 ▶H (H=Half month)
1
2
3
4
5
Install the Pulsarlube M500 unit on the lube point using appropriate adapters and
accessories as needed. Make sure that adapters and accessories are firmly tighten-
ed.
The installation date and the scheduled date of lube cycle completion should be
logged for maintenance purposes.
Quick Reference for Service Pack Installation
12 3 4 5
If the Pulsarlube M500 unit is provided with a replaceable service pack, the following procedure is required before step #2 of above.
For complete service pack installation instruction, please refer to the Service Pack user manual, step #2~6 in the section of "How to
Replace a Service Pack".
Service Pack Installation
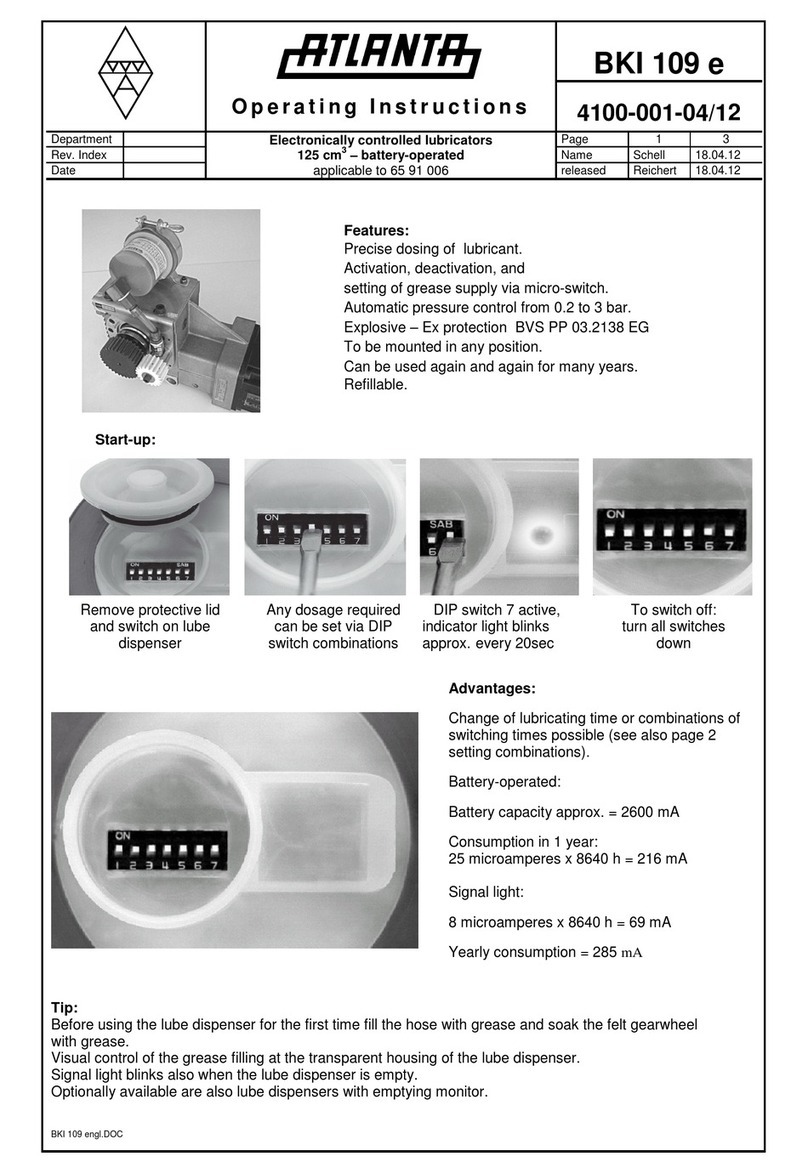
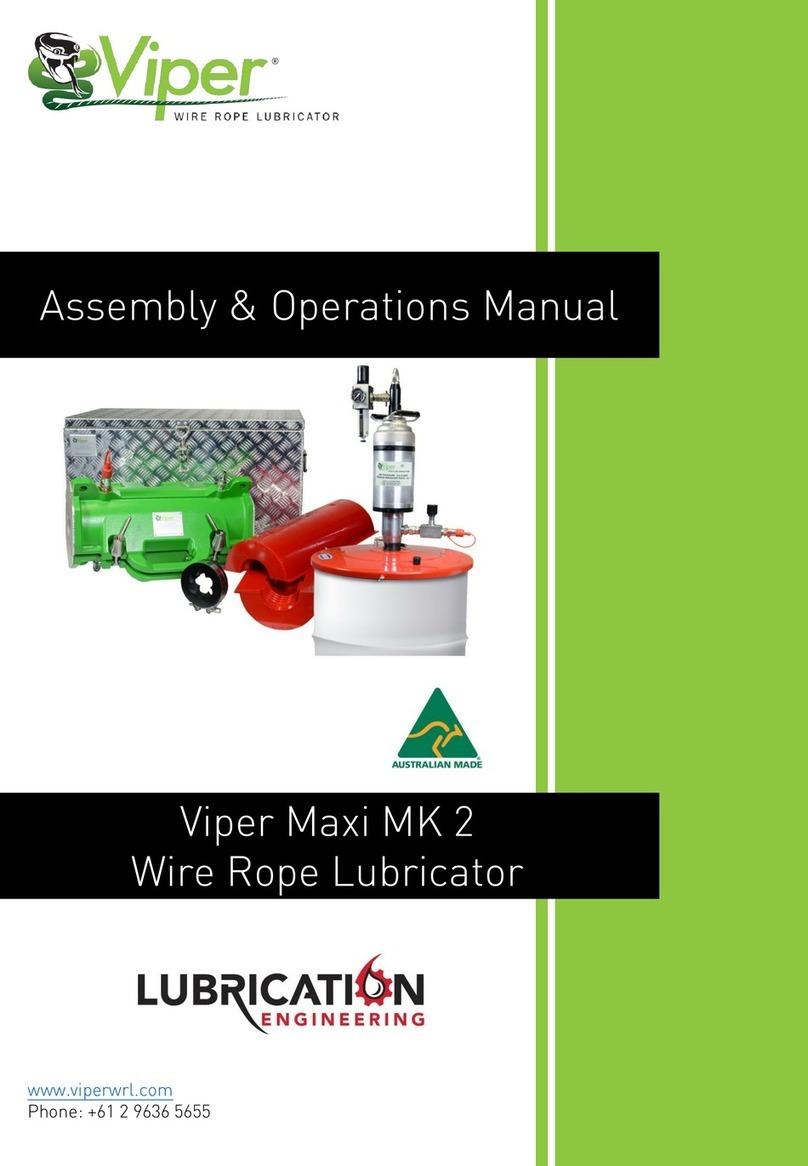
Turn the Pulsarlube M500 unit ON by depressing the POWER button for 2 seconds.
The red LED blinks once as soon as the POWER button is depressed.
Press the TEST button for 2 seconds to run a test cycle.
The unit will start to dispense grease and operate continuously in purge / test mode.
This process will last approximately 2 minutes to ensure every function of the
lubricator is working properly.
Troubleshooting Guideline
WARNING
Symptom Possible Cause of TroubleLCD Display Troubleshooting Steps
ㆍElectrical malfunction of CPU or circuitry
ㆍContact problem (open circuit) at buttons in
control panel
ㆍElectrical malfunction of CPU or circuitry
ㆍBattery pack installed incorrectly
ㆍFaulty or damaged battery pack
ㆍOld battery pack was not replaced
1. Make sure the battery pack is installed correctly
2. Replace battery pack
Contact your local supplier or manufacturer for either repair
or replacement
3. Contact your local supplier or manufacturer for either
repair or replacement
ㆍThe battery pack must be replaced together with each
grease pouch replacement
ㆍKeep battery pack stored in a cool, dry place to prevent
damage
ㆍExpired battery pack
ㆍExtreme storage conditions (temperature or
humidity)
ㆍFaulty or damaged battery pack
ㆍExtreme operating conditions
1. Ensure operating environment meets requirements
2. Replace battery pack
ㆍOver lubrication
ㆍHigh backpressure in lube line due to hardened
grease, ruptured lube line, long distance remote
installation, etc.
ㆍLow battery power due to extreme operating
conditions
ㆍGrease pouch incorrectly fitted
ㆍGrease pouch empty
ㆍGrease hardens due to cold temperature or
high oil separation
ㆍInstall and secure grease pouch correctly
ㆍReplace grease pouch and battery pack
ㆍUse appropriate quality grease for operating
environment
Unit Won't
operate
Low Battery
Indication
Excessive backpressure exists due to:
If the lubricator reaches the end of its cycle and
there is lubricant still remaining in the grease pack
Unit Won't
Dispense
Grease
Normal
Normal
Blank
Screen
ㆍCheck for grease hardening within the grease
pack or in the lube line.
unlock
1. Deactivate Auto Lock
3. Check if grease is
dispensing
2. Run test mode
If the issue is not solved, refer to
the steps below.
If after running test mode is
still present:
ㆍUninstall the lubricator from the bearing or remote
installation kit
ㆍResolve the cause of backpressure
before reinstalling lubricator
unlock
ㆍReplace battery pack
ㆍCheck backpressure at lube point
and/or lube line
ㆍCheck grease dispensing rate
ㆍReduce remote installation distance
ㆍUse a lithium battery pack in
extreme environments
If after running test mode is
no longer present, it is okay to
reinstall the lubricator.
To check for hardening of the grease.
1. Purge hardened grease out of
grease pack, then re-install.
2. Run the test mode and ensure that
the lubricator is dispensing properly.
Install the unit onto lube point.
3. If the lubricator is still not dispensing;
replace with new grease pack.
