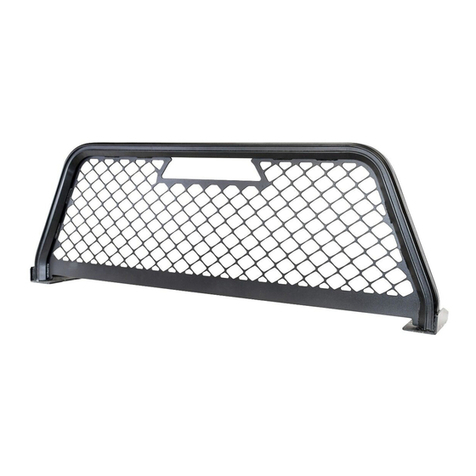
Venture TEC Rack Instruction Guide
1
Place the front hoop (NOTE: the rear hoop has
“Putco” etched on it) on the bed caps as shown in
Figure 1. Ensure that the gaps are consistent on
both sides of the vehicle. Use permanent marker
or punch to mark hole locations on bed cap.
2
3
4
8
9
5
6
7Use the top tubes assembled in step 5 to
position the rear hoop appropriately (Figure 3a
and 3b). Take care to ensure that the mounting
feet locations are identical on driver and
passenger sides.
Remove the rack and use the 1/8” drill bit to
drill pilot holes in the marked locations.
Use the 25/64” drill bit to enlarge the pilot holes.
Place the front hoop on the bed caps and install
the hardware as shown in Figure 2.
Once the top tube is in place, and gaps between mounting feet and bed rails are equal on driver’s
and passenger’s side, mark mounting hole locations.
Repeat the hole drilling process outlined in steps 2 and 3, then mount the rear hoop with
provided hardware. Fully tighten fasteners that secure hoops to bed before installing top and side
tubes.
Assemble the top tubes as described in steps 11
through 13.
Place the rear hoop on the vehicle as shown in
the rear hoop location image to the right. Its
location is determined by the top tubes.
NOTE: It is required that holes are drilled into the bed cap in order to securely mount the
hoops. Carefully follow the instructions and measure twice before drilling holes.
184800I
Figure 3a: Using top tube to locate rear hoop.
Figure 2: Front Mounting Hardware
Figure 1: Front Hoop Location
Rear Hoop Location
Figure 3b: Ensure slots on bracket are
centered over channels of front and
rear hoops.
Front Hoop Top Hoop Rear Hoop
