Hornet Instruction Guide - 2009-2018 Dodge Ram
1Remove items from packaging. Check to see
if all parts from above table of contents are
included.
2With a T20 Torx driver, remove and keep the
four screws holding in the 3rd brake light.
3Remove the 3rd brake light by pulling outwards
from the bottom of the light and unplugging
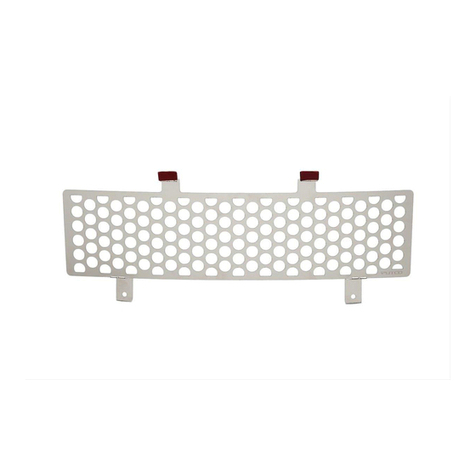
the 3rd brake light from its harness. (Figure 1) Figure 1: Installing Hornet Light onto bracket.
4Install the rubber bumpers onto the hornet
light bracket using the included 8-32 bolts
and nuts. Using the 9/64” Allen, set the nuts
inside the bumper and squeeze to tighten onto
the bracket as a socket will not fit inside the
counter bore as seen in Figure 2.
Figure 2: Installing bumpers
5Install the gasket onto the side of the bracket
that will be facing into the truck. This can
be seen in Figure 3. (Holding the light up to the
bracket will give a good indication of where the
gasket should be applied.)
Figure 3: Gasket installation.
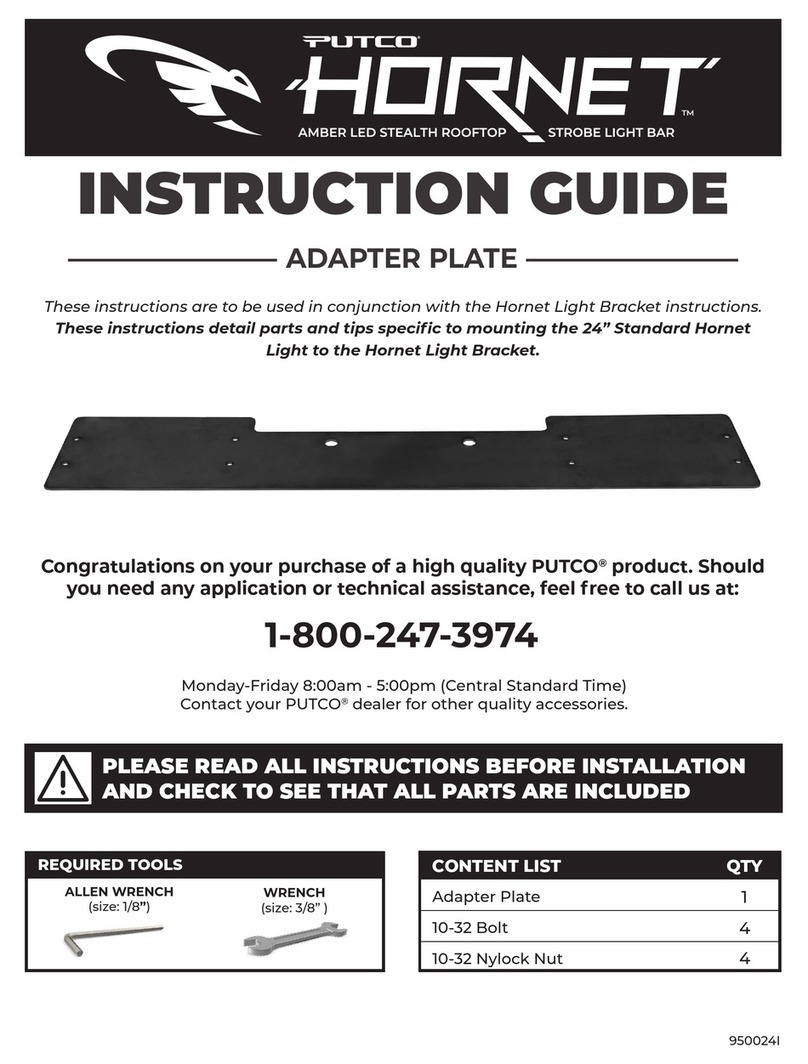
NOTE: If you have purchased a 24” Hornet
light, at this point proceed to the other set of
instructions included. (24” Hornet Adapter
Installation: 950024I)
6At this point, install the hornet light on to the
mounting bracket using the 10-32 nuts and
bolts. This will require the 1/8” Allen and the
3/8” wrench. (Figure 2)
Putco guarantees its Stainless Steel and Aluminum products against defects in workmanship and material for
as long as you own your vehicle. All painted products have a 90 day warranty on the painted surface. Any defects
resulting from faulty material or workmanship will be warranted by Putco and repaired or replaced at our discretion.
Putco assumes no extra labor costs. Damages caused by freight carriers, improper installation, misuse, collision, or
neglect will not be warranted by Putco.
950004I

