Qtx 3D OBJECTS 152.762UK User manual

152.762UK User Manual
TECHNICAL SPECIFICATION
Voltage : 230Vac, 50/60Hz Blue : 300mW 455nm
Fuse : 2A Slow blow DMX Channels : 20
Laser Class : 3B Dimensions : 220 x 176 x 99mm
Red Laser: 100mW 638nm Power Consumption : 45W
Green Power : 50mW 532nm Weight : 1.6k
IMPORTANT NOTE: This product conformed to Laser & LED afety standard
B EN60825-1 2007 incorporating corrigendum 2008
DISPOSAL:
Please disposal of the unserviceable device according to the current statutory requirement
Errors and omissions excepted.
Copyright© 2012. AV L Group Ltd.
3D OBJECTS
RGB LA ER
Order ref: 152.762UK
User Manual
IMPORTANT SAFETY NOTICE
Please Read this manual before operating
VERSION 1.0

152.762UK User Manual
INTRODUCTION:
3D OBJECTS RGB LASER
Thank you for purchasing this 3D Objects laser.
A laser unlike any other featuring innovative projection technology. This laser creates unique
solid 3D patterns that warp and rotate when projected on to a flat surface. A truly
mesmerizing effect perfect for any lighting rig. Operated in either stand-alone auto mode,
sound-to-light, individual pattern select mode or DMX.
True 3D effect
Brighter 638nm Red laser technology
0.45W total laser power (Red: 100mW, Green 50mW, Blue: 300mW)
Auto, sound-to-light, pattern select and 20 channel DMX modes
Master/slave mode
Easy digital display to set the mode of operation
Key controlled for laser safety
We recommend that this product is used within the guidelines H G95
152.762UK User Manual
Cont:
(14) Y axis otation
000 No rotation
001-219 Y axis rotational position manual adjust
220-255 Y axis auto rotation
(15) Adjust speed
fo CH14 000-255 When channel 14 is 220-255, adjust Y axis
auto rotation speed
(16) Z axis otation
000 No rotation
001-215 Z axis rotational position manual adjust
216-255 Z axis auto rotation
(17) Adjust speed
fo CH16 000-255 When channel 16 is 216-255, adjust Z axis
auto rotation speed
(18) W iting
000 No writing
001-254 Writing manually
255 Auto writing
(19) Adjust speed
fo CH18 000-255 When channel 18 is 255, adjust writing
speed
(20) Scan speed 000-255 Adjust scanning speed
Please note: Channel 3-20 is effective only under DMX 2 mode.

152.762UK User Manual
DMX Channel DMX
Value Cont ol content
(1) Mode
000-010 Black out
011-062 ound control
063-125 Auto running
126-189 DMX control
①
190-255 DMX control
②
(2) Gobos and
p og ams choose
000-255 elect programs under DMX control
①
000-255 elect gobos under DMX control
②
(3) St obe 000 No strobe
001-255 trobe (Fast to slow)
(4) Colou select
000-139 elect single colour
140-199 Different colours in seven sections
200-255 Colour auto change
(5) Adjust speed
fo CH4 000-255 When channel 4 is 200-255, adjust colour
change speed ( low to fast)
(6) X axis adjust
000 Centre
001-254 Manually adjust X axis position
255 Pattern moves along the X axis
(7) Adjust speed
fo CH6 000-255 When channel 6 is 255, adjust auto- moving
speed
(8) Y axis adjust
000 Centre
001-254 Adjust the position of the Y axis
255 Pattern moves along the Y axis
(9) Adjust speed
fo CH8 000-255 When channel 8 is 255, adjust auto-moving
speed
(10) Zoom in/out
000 tatic
001-254 Manually adjust the pattern size
255 Zoom in/out repeatedly
(11) Adjust speed
fo CH10 000-255 When channel 10 is 255, adjust zoom speed
(12) X axis otation
000 No rotation
001-219 X axis rotational position manual adjust
220-255 X axis auto rotation
(13) Adjust speed
fo CH12 000-255 When channel 12 is 220-255, adjust X axis
auto rotation speed
152.762UK User Manual
CAUTION
•Please ead this manual fully befo e installing o ope ating this
p oduct as it contains impo tant safety info mation elating to its
installation and ope ation.
•This Class 3B
lase p oduct emits haza dous levels of optical
adiation and will cause inju y to the eyes if viewed di ectly.
•This p oduct is not suitable fo p ojection di ectly at audiences o
othe pe sonnel.
•This p oduct must not be used fo any fo m of audience scanning
application and is fo p ofessional use only.

152.762UK User Manual
IMPORTANT INFOMATION:
This product is a Class 3B laser and should only be installed and used by personal who are
trained in the management of laser radiation and are able to operate in accordance within the
guidance given by the Health and afety Executive (H E) in H (G)95: “The Radiation afety of
Lasers used for Display purposes”.
Copies of this guide can be downloaded from the H E website below:
www.hse.gov.uk/pubns/priced/hsg95.pdf
This product contains no user-serviceable parts. Under no circumstances should any attempt
be made by the user to dismantle or modify it in any way.
INSTALLATION AND MOUNTING INSTRUCTIONS:
This product must be securely mounted so that its emission is always directed away from
people and objects that are able to reflect the emission towards people. In this regard the
separation distances of 3 metres vertically and 2.5 metres horizontally, cited in H (G)95 and
shown overleaf must be observed.
152.762UK User Manual
DMX
The fixture is equipped with 3-pin XLR connectors for DMX input and output. The E
connectors are wired in parallel. Only use a shielded twisted-pair cable designed for 3-pin XLR-
plugs and connectors in order to connect the controller with the fixture or one fixture with
another.
Building a serial DMX-chain:
Caution: At the last fixture, the DMX-cable has to end with a terminator. older a 120 Ohm
resistor between PIN 2 (-) and PIN 3 (+) into a 3-pin XLR-plug and plug it in the DMX-output
of the last fixture.
When in DMX mode there are two channels with the following function:

152.762UK User Manual
OPERATION FOR 3D OBJECTS LASER
Press the “MENU” button to enter setup mode followed by the “UP” & “DOWN” keys to select
the mode you desire. To confirm your selection press “ENTER”
Display Function
AUt Auto running random effects cycle
OU ound activated random effects cycle
rgb Colour select mode
P00-P19 Pattern select
001-512 DMX address
LA lave mode
152.762UK User Manual
VERTICAL BIRDS EYE VIEW:

152.762UK User Manual
VERTICAL CROSS SECTIONAL VIEW:
152.762UK User Manual
REAR PANAL 3D OBJECTS LASER:
1. Power ON/OFF witch
2. IEC Power IN
3. Digital display
4. ound sensitivity
5. Microphone
6. DMX OUT
7. DMX IN
8. afety Key

152.762UK User Manual
LAYOUT 3D OBJECTS LASER:
1. Mounting bracket
2. Thumb screw
3. Laser Aperture
152.762UK User Manual
PACKAGE CONTENTS:
Please check the contents to ensure that the product has been received in good condition.
Laser x 1unit User’s Guide x 1pc
IEC Power Lead x 1pc afety Keys x 2pcs
If you find any accessory is missing or the product has arrived with any problems, please
contact your retailer at once.
This product contains no user-serviceable parts so make no attempt to try to fix or modify this
item yourself as this will invalidate the warranty. We recommend you keep the original
package and proof of purchase for any possible replacement or returned demand.
SETUP:
1. Unpack the laser ensuring all packaging and tape is removed.
2. Always test the laser before fixing in a permanent location.
3. Connect the IEC mains plug and power up.
4. Insert the safety key and turn to a quarter turn clockwise. At this moment ensure that
no one is exposed to laser radiation.
5. elect which mode you want to operate the laser in.
6. Leave the laser to run for 10 minutes before installing in its location.

152.762UK User Manual
CONNECT WITH POWER SUPPLY – THE GROUND WIRE MUST BE
CONNECTED:
Use the supplied IEC lead to connect to the main power supply as follows:
Wi e Connection Inte national signal
Brown Live L
Blue Neutral N
Yellow /Cyan Earth
For your safety, please kindly pay attention to all of the warnings below:
Always plug in the power plug last and disconnect from the mains when the device is
not in use or before cleaning.
Do not install and operate the device in rain or extreme heat, moisture or dusty
environments.
This device is for indoor use only and in a dry environment.
Do not switch on immediately. Wait until the unit reaches room temperature.
Do not shake the device and avoid brute force when installing or operating.
Do not use the device during thunderstorms and please disconnect the power.
Do not use solvents or aggressive detergent to clean the device. Use a soft and clean
cloth.
Do not modify the device or the connected power cord without authorisation.
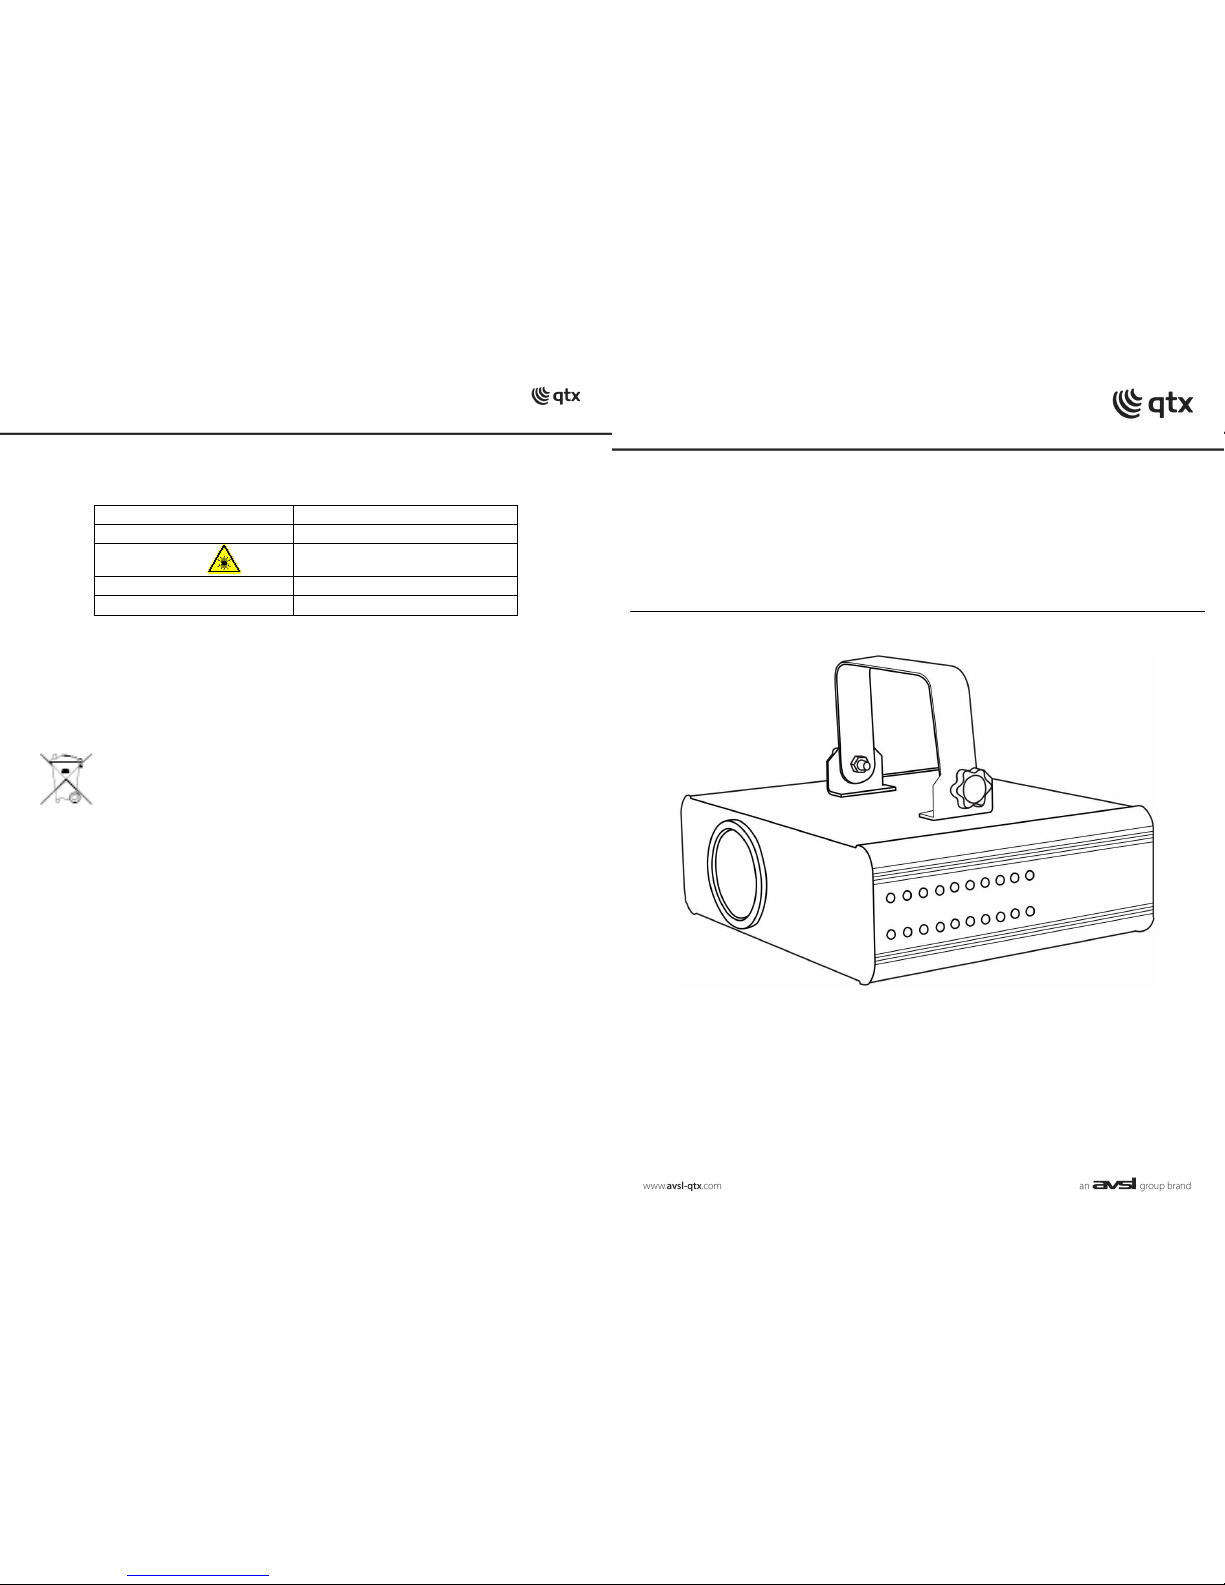
Do not stare into the aperture. This product emits hazardous levels of optical radiation
and will cause serious injury to the eyes if viewed at close range.
This product should be securely mounted so that its output emission is always directed
away from people and at objects that are able to reflect emission towards people. In
this regard, the separation distances cited in H (G)95 should be observed.
The symbol determines the minimum distance from lighted objects. The
minimum distance between light-output and the illuminated surface must be more than
0.5m.
152.762UK User Manual
TROUBLESHOOTING
If the unit is not functioning p ope ly
Check that the IEC cable is connected properly
Check that the mains power switch is on.
Check the fuse hasn’t blown (see below guide)
Check that the unit isn’t in DMX mode.
Check the safety key is turned to the on position.
If in sound to light mode ensure the microphone sensitivity is turned up.
REPLACING FUSE
First disconnect from the mains power supply then remove the fuse holder above the IEC
ocket to reveal the fuse. Replace with the correct fuse rating as stated on the product or in
the user manual. Then lock the fuse holder cover back into place.
GENERAL MAINTENANCE
Be sure to power off the fixture before conducting maintenance.
To maintain optimum performance and minimise wear, fixtures should be cleaned frequently.
Usage and environment are contributing factors in determining frequency. As a general rule,
fixtures should be cleaned at least twice a month. Dust build-up reduces light output &
performance as well as overheating. This can lead to reduced life and increased mechanical
wear.
Unplug fixture from power. Use a vacuum or air compressor and a soft brush to remove dust
collected on external vents and internal components. Clean all glass when fixture is cold with a
mild solution to the cloth or tissue, and drag dirt and grime to the outside of the lens. Gently
polish optical surfaces until they are free of haze and lint.
The cleaning of internal and external optical lenses and/or mirrors must be carried out
periodically to optimise light output. Cleaning frequently depends on the environment in which
the fixture operates: damp, smoky or particularly dirty surroundings can require cleaning fluid.
Always dry the parts carefully. Clean the external optics at least every 20 days.
Table of contents
Other Qtx Lighting Equipment manuals
Popular Lighting Equipment manuals by other brands

Larson Electronics
Larson Electronics EPL-48-4L-LED-D-V2-100C instruction manual

American DJ
American DJ X-Move LED Plus User instructions

Nikon
Nikon D-LEDI instructions

Matco Tools
Matco Tools IMPACT13 operating instructions

Lightronics
Lightronics AS40L owner's manual

Ortech
Ortech MH20-ST instruction manual