manuals.online logo
Brands
  1. Home
  2. •
  3. Brands
  4. •
  5. Radio Shack
  6. •
  7. Desktop
  8. •
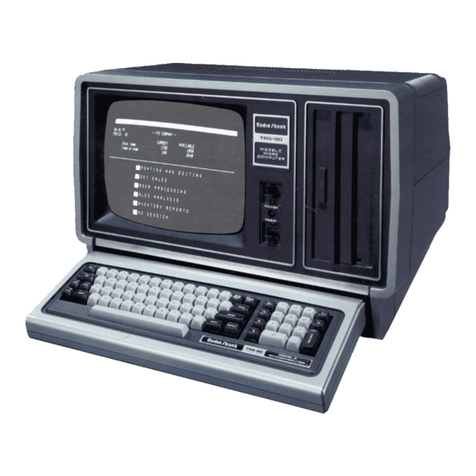
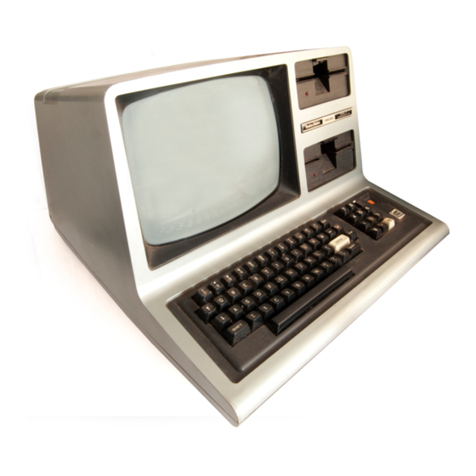
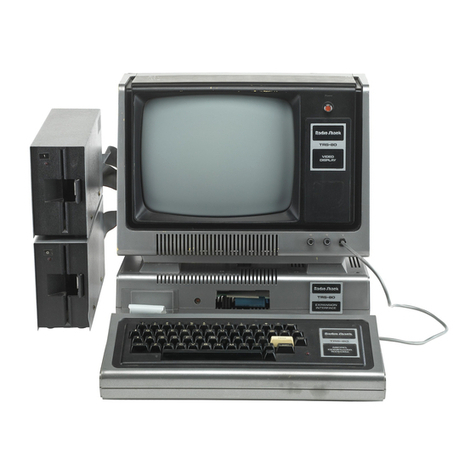
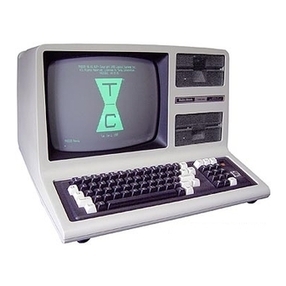
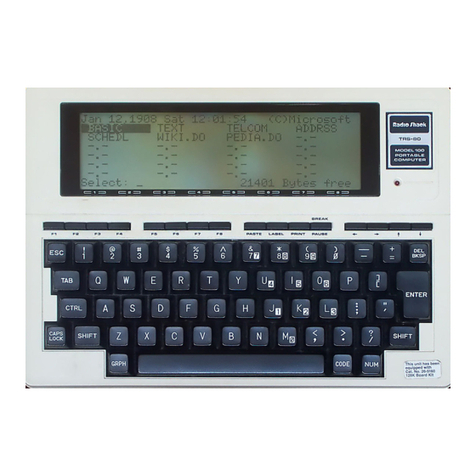
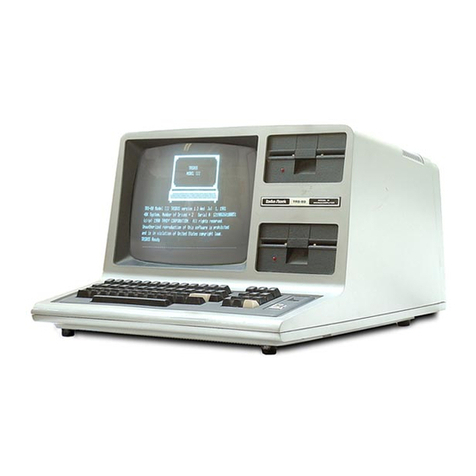
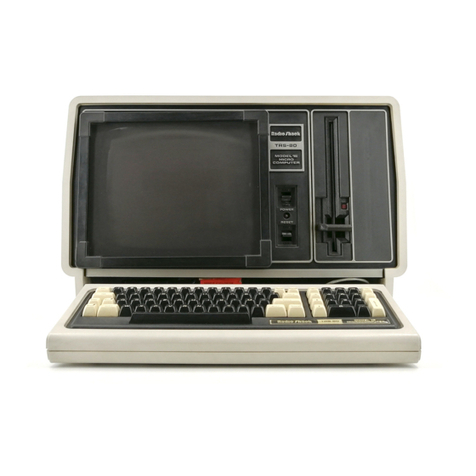
  9. Radio Shack TRS-80 User manual

Radio Shack TRS-80 User manual

®
Model IH
Disk System Owner's Manual
Mini-Disk Operation
TRSDOS™ Disk Operating System
Disk BASIC Programming Language
Radio /hack
The biggest name in little computers ™
*--
::
;
CUSTOM MANUFACTURED IN THE USA BY RADIO SHACK HADIVISION OF TANDY CORPORATION
The FCC Wants You to Know . .
.
This equipment generates and uses radio frequency energy. If not installed and used prop-
erly, that is, in strict accordance with the manufacturer's instructions, it may cause interfer-
ence to radio and television reception.
It has been type tested and found to comply with the limits for a Class Bcomputing
device in accordance with the specifications in Subpart Jof Part 15 of FCC Rules, which are
designed to provide reasonable protection against such interference in aresidential instal-
lation. However, there is no guarantee that interference will not occur in aparticular
installation.
If this equipment does cause interference to radio or television reception, which can be
determined by turning the equipment off and on, the user is encouraged to try to correct the
interference by one or more of the following measures:
•Reorient the receiving antenna
•Relocate the computer with respect to the receiver
•Move the computer away from the receiver
•Plug the computer into adifferent outlet so that computer and receiver are on different
branch circuits.
If necessary, you should consult the dealer or an experienced radio/television technician for
additional suggestions. You may find the following booklet prepared by the Federal Com-
munications Commission helpful: How to Identify and Resolve Radio-TV Interference
Problems.
This booklet is available from the US Government Printing Office, Washington, DC
20402, Stock No. 004-000-00345-4.
Warning
This equipment has been certified to comply with the limits for aClass Bcomputing device,
pursuant to Subpart Jof Part 15 of FCC Rules. Only peripherals (computer input/output
devices, terminals, printers, etc.) certified to comply with the Class Blimits may be attached
to this computer. Operation with non-certified peripherals is likely to result in interference to
radio and TV reception.
CHANGE OF ADDRESS
NOTE:If you move, please fill out this card and return it so that you may continue to
receive information regarding this program.
13070181
Version/Date
7R-0312
Purchase Date
NEW ADDRESS:
Name
Company
Address _
City
State Zip
Cat No.
OLD ADDRESS
Name
Company
Address _
City
State Zip
CHANGE OF ADDRESS
NOTE:If you move, please fill out this card and return it so that you may continue to
receive information regarding this program.
Purchase Date I30701S7
Version/Date
cat no. 26 -0312
NEW ADDRESS: OLD ADDRESS:
Name Name
Company Company
Address Address
City City
State Zip State 7jn
INSTRUCTIONS FOR USE
1
.
Register one software package per card only.
2. Complete the Software Registration portion of this form and mail it immediately.
The Catalog No. may be found by examining the upper-right corner of your diskette.
3. For convenience achange of address card has been included. Copy all information
from the Registration Card onto it prior to sending the Registration Card.
Computer Merchandising
P.O. Box 2910
Fort Worth, Texas 761 13-291
Attn :Software Registration
Computer Merchandising
P.O. Box 2910
Fort Worth, Texas 761 13-291
Attn: Software Registration
PLACE
STAMP
HERE
PLACE
STAMP
HERE
Model III Users
XFERSYS UTILITY ON TRSDOS 1.3
The Model III diskette in this package contains aNEW
version of TRSDOS which is not compatible with OLD versions
of TRSDOS.
OLD TRSDOS diskettes to be used under the NEW TRSDOS MUST
be XFERSYSed before use. Once XFERSYSed, an OLD TRSDOS
diskette becomes aNEW TRSDOS diskette and should not be
used with OLD TRSDOS again. If you started with an OLD
system or data diskette, the XFERSYSed diskette will be a
NEW system or data diskette respectively.
OLD diskettes used under NEW TRSDOS without XFERSYSing, may
cause extraneous information to be read at the end of
files, giving afalse End-of-File (EOF) indication. Some
programs will not function properly under these conditions.
NEW diskettes used under OLD TRSDOS, may not access all
data and/or NEW programs may not run correctly.
If you need to use the XFERSYS utility, see the TRSDOS
section of your TRS-80 Model III Disk System Owner's
Manual.
Note: When changing from one TRSDOS to the other, you MUST
press the RESET button each time the diskette in
Drive is changed. You may also XFERSYS onto aNEW
data disk. If this is done, all system files of the
system diskette will be moved onto the data diskette.
RADIO SHACK APPLICATION PROGRAMS WHICH WERE DELIVERED ON AN
OLD TRSDOS DISKETTE SHOULD NOT BE XFERSYSed.
OLD: TRSDOS 1.1 and 1.2.
NEW: TRSDOS 1.3
file: Acollection of information stored as one
named unit in the directory.
program: Afile which causes the computer to
perform afunction.
data: Information contained in afile which is
used by aprogram.
system diskette: Adiskette containing TRSDOS. When this
diskette is placed in Drive and the
RESET button is pressed, TRSDOS will begin
to run.
data diskette: Adiskette which does not contain TRSDOS.
If this diskette is placed in Drive and
RESET is pressed, the screen will clear
and "Not aSYSTEM Disk" will be displayed.
XFERSYS: Aprogram contained on the TRSDOS 1.3
diskette.
8759117-681
Tips On Loading Disk basic
There are several ways, other than those described in the manual, to start up Disk basic.
basic program -F.files -m: address
program is atrsdos file specification for aDisk basic program. After start-up, Disk basic will run the
program. This is optional.
-f: files tells Disk basic the maximum number of files that may be open at one time, files is a
number from to 15. This is optional; if omitted, 3is used. If Variable length files are
needed, you must include the suffix vafter files; otherwise, files will be Fixed length.
-w.address tells Disk basic not to use memory above the specified address. This is optional; if
omitted, Disk basic uses all memory up to Top.
If all options are omitted, Disk basic will prompt with HON MANY FILES? and MEMORY?
The options allow you to specify any or all of the following:
•Aprogram to run after Disk basic is started.
•The maximum number of data files that may be Open at one time. The larger the number of files,
the less area available for storing and executing your programs. (Note: Each Fixed length file takes
up 360 bytes and each Variable length file takes up 616 bytes of memory.)
•The highest address to be used by Disk basic during program execution. Omit this unless you are
going to call machine-language subroutines.
Examples ,fs
Under trsdos ready, if you type:
BASIC fENTERj,Disk basic will enter the command mode once you answer the files and
memory prompts.
BASIC -F:1(INTER]. Disk basic will Open one fixed length file and protect no memory.
BASIC -M :32000 CENTER), Disk basic will Open three fixed length files and will use
memory no higher than 32000.
BASIC PAYROLL -F:3M .
OTTER), Disk basic will start-up, then load and run the basic
program called payroll; three variable length files can be Opened, and basic can use all
available memory.
Note: If you PATCH Disk basic to prompt you for cassette speed when you enter Disk basic, you
will still be prompted with CASS' no matter which option you use.
Important Note for Model III trsdos 1.3 Users!
The 1.3 version of trsdos will return with ERROR 31 (PROGRAM NOT FOUND) when you
attempt to use the ROUTE command.
Thank-You!
Radio /hack
IADivision of Tandy Corporation -
8759109
Model III
Manual
Radio /hack®
]H ADIVISION OF TANDY CORPORATION
FORT WORTH, TEXAS 76102
TRS-80* Model III Disk System Owner's Man-
ual: ©1980 Tandy Corporation, Fort Worth,
Texas 76102 U.S.A. All Mights Reserved.
Reproduction or use, without express written per-
mission from Tandy Corporation or any portion of
this manual is prohibited. While reasonable
efforts have been taken in the preparation of this
manual to assure its accuracy, Tandy Corporation
assumes no liability resulting from any errors or
omissions in this manual or from the use of the
information obtained herein.
Model III TMSDOS™ Operating System: ©1980
Tandy Corporation, Fort Worth, Texas 76102
U.S.A. All Rights Reserved.
Model III BASIC Software: ©1980 Tandy Cor-
poration and Microsoft. All Rights Reserved.
The system software in the Model III microcom-
puter is retained in aread-only memory (ROM)
format. All portions of this system software,
whether in the ROM format or other source code
form format, and the ROM circuitry are copy-
righted and are the proprietary and trade secret
information of Tandy Corporation and Microsoft.
Use, reproductions, or publication of any portion
of this material without the prior written authori-
zation by Tandy Corporation is strictly prohibited.
10 9876543
OWNER'J
To Our Customers
Congratulations on your purchase of the Model III Disk System. We think it's a
valuable tool which will save you work as well as give you hours of enjoyment
(or maybe both at once). You'll have all the power of the non-disk Model III,
plus the following features:
•Your Computer can now be controlled by trsdos™ ,the powerful trs-80 Disk
Operating System, trsdos is included on adiskette with the Disk System.
•Using trsdos, you can run awide variety of programs, such as the Disk basic
interpreter included on the trsdos diskette.
aEach "system" diskette has approximately 126,720 bytes of storage available
for your own programs and data; each "data" diskette has 178,944 bytes
available.
8You can load and save data at the approximate rate of 250,000 bits per second.
•Your system can continue to grow in power and convenience. When Radio
Shack issues improvements and enhancements to the system programs, you
can "install" them simply by obtaining anew release of the trsdos diskette.
Model III Manuals
Publications related to the use of the Model III Disk System:
1
.
Model III Disk System Owner's Manual (this manual). We'll call it the "Disk
Manual" for short.
2. Model 111 Disk System Quick Reference Card.
3. Model III Operation and basic Language Reference Manual, the "Model III
Manual" for short.
4. Model HI basic Quick Reference Card.
For Disk Operation:
This Disk Manual supplements the Model III Manual. Use the Disk Manual as
the primary source of information; we'll tell you when to refer to the non-disk
Model III Manual
.
For Non-Disk Operation:
To use the Computer as anon-disk system, all you need is the Model III
Manual.
For Programming Information:
The Model III Manual contains most of the programming information, except
that which pertains to disk input/output. In this manual, we will assume that you
ri
1
LJ— TRS-80 MODEL 111 DISK SYSTEM
are familiar with the basic programming definitions and details given in the
Model III Manual.
About This Manual
The Model III Disk System is intended for use by novices as well as
experienced computer operators and programmers. In designing and writing this
Disk Manual, we've tried to define and satisfy the needs of both groups:
-Novices who might prefer asequential presentation which emphasizes
procedures and explains the purpose of various features.
•Experienced users who might prefer amore analytical presentation which
makes it easy to find specific information.
In this manual, you'll find information that should satisfy your needs, whichever
group you might belong to.
The "Sample Sessions" are especially geared for novices, while the Technical
Information chapters are for the more experienced users.
Keep in mind, however, that it isn't necessary to read the entire manual to
operate the Disk System, if you are only interested in Disk basic, for example,
read the Operation section of this book and then turn directly to the Disk basic
section. You can then go back to the trsdos section when you need to.
Special Terms
Even in the non-technical sections of this manual, we've had to use numerous
special terms. Rather than scattering and repeating definitions throughout the
book, we have used the following convention which we hope you'll find
helpful.
Special terms which are fully defined in another part of the manual are printed in
boldface. Look up the word or phrase in the Index; this will tell you where the
word is fully defined.
OWNER'S MANUAL
Contents
Operation
Installation 1
Operation 4
Diskettes ••5
fj Description Care
System Start-Up 6
Important Disk Operations 8
backup format Model 1/ III Conversion
Disk basic H
Quick Instructions Start-Up Loading Baud Rate
Troubleshooting and Maintenance 13
Notation and Abbreviations 14
Specifications 15
TRSDOS
Description of trsdos 17
Roles basic ram Use Memory Map
Using trsdos 20
Commands 20
Entering Syntax Forms
File Specification • • 22
File Name •23
Drive Specification 23
Password 24
AFew Important Definitions 24
Library Commands 26
Utility Commands ......... 67
Technical Information ...... 74
Disk Organization File Structure Systems Routines (I/O)
trsdos Error Codes/Messages .................................... 90
Ja» TRS-80 MODEL 111 DISK SYSTEM
Disk BASIC
Introduction ................ 91
Enhancements to Model III Disk basic ............................. 93
Abbreviations Commands
Disk-Related Features 116
File Manipulation File Access
Methods of File Access ............................. 145
Sequential QRandom
Disk basic Error Codes/Messages ................................ 155
Appendix A/Tips On Loading Disk BASIC .156
Index .157
Customer Information 160
Warranty ....... .................................. Back Cover
iv
OPERATION
OPERATION
OPERATION
OPERATION
OPERATION
OPERATION
OPERATION
OPERATION
OPERATION
OPERATION
OPERATION
OPERATION
Vi =Tirt! ION
OPERATION
OPERATION
OPERATION
OPERATION t^
Installation
First set up the Computer according to the instructions in the Model III Manual.
If you have aone- or two-drive system, installation is now complete. The built-
in drives should be ready for use.
If you have athree- or four-drive system, you need to connect the external
drives.
External Disk Drives
The two external drives are not interchangeable. They have different Radio
Shack Catalog Numbers and afew internal differences.
System
Name Catalog
Number
First External Drive Purchased
(Includes Cable)
Second External Drive Purchased
"Drive 2/3" 26-1164
"Drive 2' 26-
The 26-1 164 drive may be used as Drive 2or 3, depending on the number of
drives in the system. In athree-drive system, it is always Drive 2(the last
drive). In afour-drive system, it is always Drive 3(again, the last drive).
The 26-1 161 drive may only be used in afour-drive system, in which it must be
Drive 2.
1
.
Locate the flat "ribbon" cable that was included with the 26-1 164 drive.
Notice that it has asingle plug on one end, and two plugs clustered at the
other end. See Figure 1for plug labels.
2. Connect the solitary "Computer" plug to the Disk Expansion Jack on the
bottom rear of the Computer. See Figure 2.
3. Now refer to Figure 3. Connect the external drive(s) to the other end of the
cable, as follows:
3-A. If you have one external drive (26-1 164):
Connect it to the "Drive 2" plug near the middle of the ribbon cable.
3-B. If you have two external drives (26-1 164 and 26-1 161):
Connect the 26-1 164 to the "Drive 3" plug on the end of the cable.
Connect the 26-1 161 to the "Drive 2" plug near the middle of the cable.
4. Plug the external drive(s) into an appropriate source of ac power. Power
requirements are specified on the unit and in the specifications given in this
manual.
You are now ready to start the Disk System.
1h ""RS-80 MODEL ill DISK SYSTEM
Computer Plug
Drive 3Plug
Figure 1. External Disk Cable with Plugs Labeled.
Figure 2. Connection of the External Disk Cable to the Model III.
OPERATION It
MINI-DISK (REAR VIEW)
Attach the plug so the cable exits
toward the rear of the Computer.
EDGE CARD PLUGS GUIDE PIN
Figure 3. Connection of external disk drives.
aTRS-80 MODEL 1(1 DISK SYSTEM
Operation
First, take afew minutes to become familiar with the various elements of your
Disk System. Refer to Figures 4and 5. This is very important. If you try to use
the Computer without having alittle background information, you could damage
adiskette.
Figure 4. The Model 111 Disk System with External Drives (optional/extra).
CD Drive 0. The trsdos "system diskette" goes
in this drive.
©Drives 1, 2, and 3. These drives may
contain "data diskettes." Data diskettes are
described briefly in this chapter.
©Drive Select led. When adrive is being
accessed, its led lights up.
©Drive Door. To insert or remove adiskette,
open this door. Never remove adiskette
while the led is lit, or while the diskette
contains open files.
©Reset Button. When you press this button,
the Computer will attempt to load the
operating system software from Drive 0. The
trsdos diskette should be in Drive when
you press this button.
©Power Switch. All drives should be empty
when you turn the Computer on or off.
Otherwise, the information on the diskettes
could be destroyed.
Figure 5. ADiskette. (Catalog Number 26-305, 26-405, or 26-406)
©Storage Envelope. While adiskette is not in
use, keep it here.
©Write Protect Notch. When this is covered,
the disk-drives cannot write (change infor-
mation) on the diskette. Do not pinch the tab
into the notch when you apply it. If the tab
becomes indented, the disk drive may not
sense that the disk is write-protected. Leave
the notch uncovered if you want to save or
change information on the diskette.
©Jacket. The diskette is permanently sealed
inside this protective jacket. Do not attempt
to remove it.
©Read/Write Window. The disk drive
accesses the diskette surface through this
window. Don't touch the diskette surface.
©Label. To write on this label, use only afelt-
tipped pen. Any other writing implement
might damage the diskette.
Diskettes
In general, handle diskettes carefully, using the same precautions you use with
tape cassettes and high-fidelity records. Asmall indentation, dust particle, or
scratch can render all or part of adiskette unreadable
—
permanently.
•Keep the diskette in its storage envelope whenever it is not in one of the
drives.
•Do not place adiskette in the drive while you are turning the system on or off.
•Keep diskettes away from magnetic fields (transformers, AC motors, magnets,
tvs, radios, etc.). Strong magnetic fields will erase data stored on adiskette.
n: TRS-80 MODEL lil DISK SYSTEM
•Handle diskettes by the jacket only. Do not touch any of the exposed surfaces.
Don't try to wipe or clean the diskette surface; it scratches easily.
•Keep diskettes out of direct sunlight and away from heat.
•Avoid contamination of diskettes with cigarette ashes, dust or other particles.
•Do not write directly on the diskette jacket with ahard point device such as a
ball point pen or lead pencil; use afelt tip pen only.
•Store diskettes in a vertical file folder on ashelf where they are protected from
pressure to their sides (just as phono records are stored).
•In very dusty environments, you may need to provide filtered air to the
computer room.
Tips on Labeling Diskettes
Each diskette has apermanent label on its jacket. This label is for "vital
statistics" that will never change. For example, to help keep track of diskettes.
it's agood idea to assign aunique number to each diskette. Write such anumber
on the permanent label. You might also put your name on the diskette, and
record the date when the diskette was first put into use. Remember, use only a
felt tip pen for marking.
This "permanent" label is not agood place to record the contents of the diskette
since that will change, and you don't want to be erasing or scratching out
information from this label.
System Start-Up
1. Turn all peripherals on.
2. Turn the Computer on. Wait until all disk drive motors stop.
3. Locate the trsdos diskette that was supplied with the Disk System. Insert it
into Drive 0, with the label side facing up and the read/write window
pointing into the drive slot. See Figure 6.
4. When the diskette is fully inserted, close the drive door.
5. Press reset. The Computer should now load trsdos and begin the start-up
dialog described in the next section.
If nothing happens on the Display, or if the message: DISKETTE? or NOT A
SYSTEM DISK is displayed, check the following:
•Are you using atrsdos "system" diskette?
•Is the diskette properly inserted into Drive 0?
•If external drives are present, are they properly connected and turned on?

Other manuals for TRS-80

46

This manual suits for next models

1

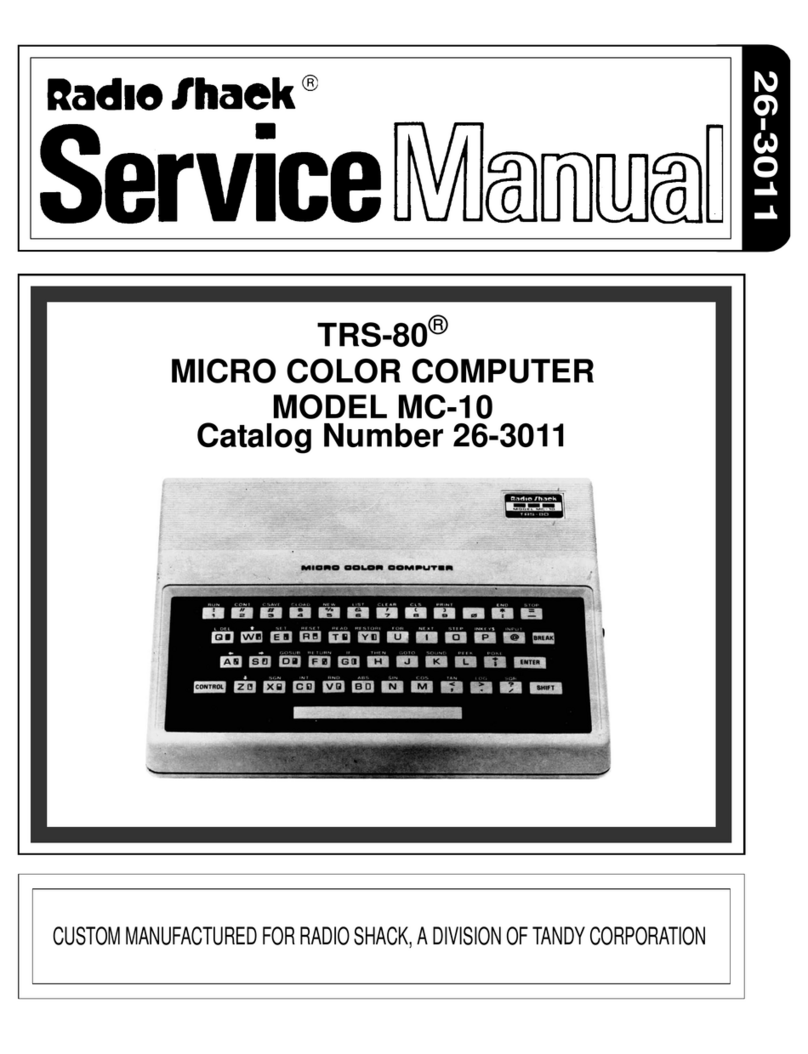
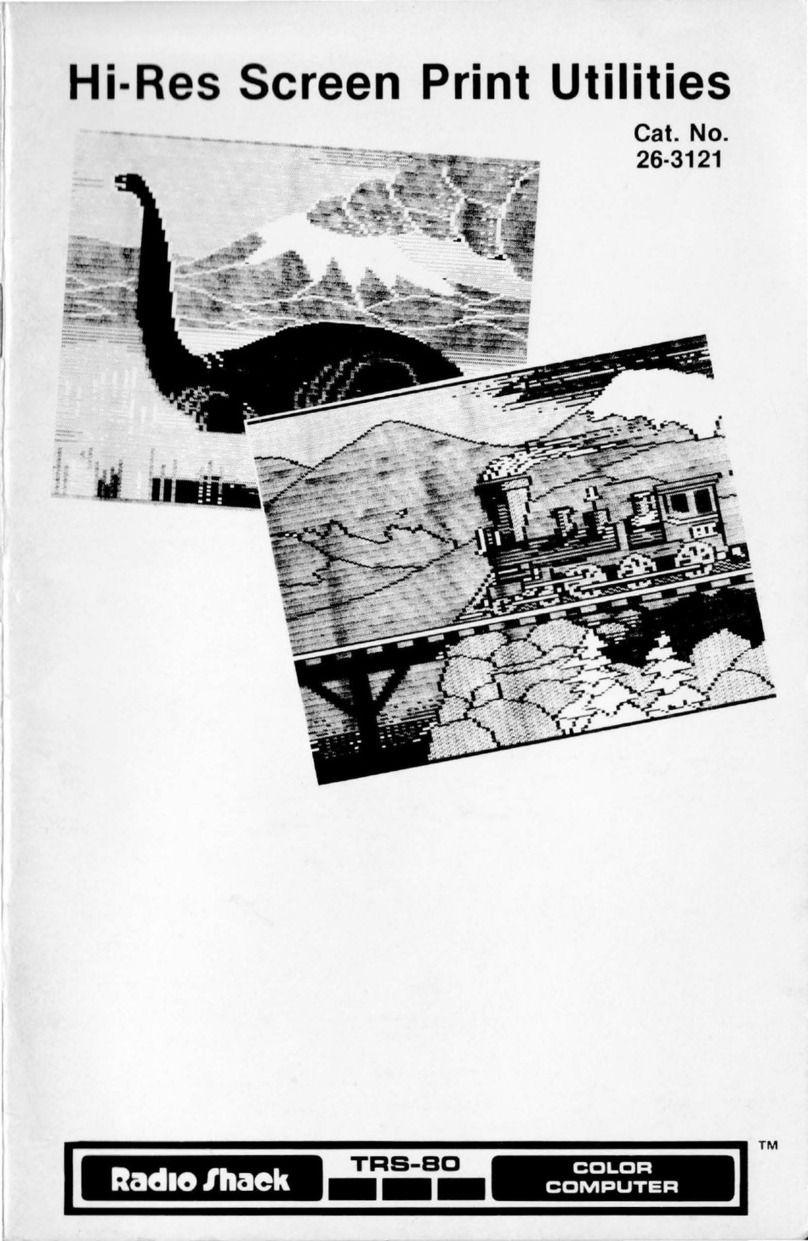
Other Radio Shack Desktop manuals

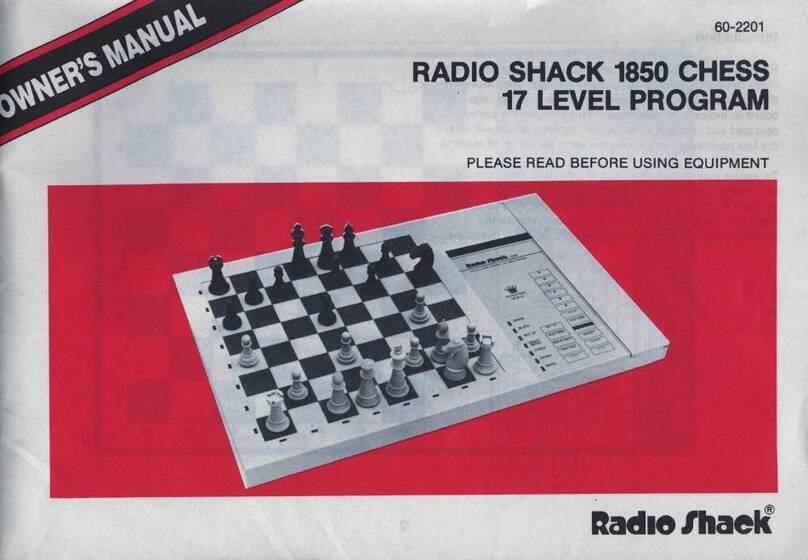
Radio Shack 1850 User manual

Radio Shack

Radio Shack 1850 User manual

Radio Shack TRS 80 PC-4 User manual

Radio Shack

Radio Shack TRS 80 PC-4 User manual

Radio Shack 32K InvestoGraph User manual

Radio Shack

Radio Shack 32K InvestoGraph User manual

Radio Shack TRS-80 User manual

Radio Shack

Radio Shack TRS-80 User manual

Radio Shack TRS-80 III User manual

Radio Shack

Radio Shack TRS-80 III User manual

Radio Shack TRS-80 User manual

Radio Shack

Radio Shack TRS-80 User manual

Radio Shack TRS-80 VIDEOTEX User manual

Radio Shack

Radio Shack TRS-80 VIDEOTEX User manual

Radio Shack TRS-80 Product manual

Radio Shack

Radio Shack TRS-80 Product manual

Radio Shack TRS-80 Model 12 User manual

Radio Shack

Radio Shack TRS-80 Model 12 User manual

Radio Shack TRS-80 Model 16B User manual

Radio Shack

Radio Shack TRS-80 Model 16B User manual

Radio Shack TRS-80 PC-4 User manual

Radio Shack

Radio Shack TRS-80 PC-4 User manual

Radio Shack TRS-80 User manual

Radio Shack

Radio Shack TRS-80 User manual

Radio Shack 1750L User manual

Radio Shack

Radio Shack 1750L User manual

Radio Shack TRS-80 User manual

Radio Shack

Radio Shack TRS-80 User manual

Radio Shack TRS-80 III User manual

Radio Shack

Radio Shack TRS-80 III User manual

Radio Shack TRS-80 DT-1 User manual

Radio Shack

Radio Shack TRS-80 DT-1 User manual

Radio Shack TRS-80 III User manual

Radio Shack

Radio Shack TRS-80 III User manual

Radio Shack TRS-80 User manual

Radio Shack

Radio Shack TRS-80 User manual

Radio Shack TRS-80 User manual

Radio Shack

Radio Shack TRS-80 User manual

Radio Shack TRS-80 Color Computer 2 User manual

Radio Shack

Radio Shack TRS-80 Color Computer 2 User manual

Radio Shack CHESS COMPUTER 1450 User manual

Radio Shack

Radio Shack CHESS COMPUTER 1450 User manual

Radio Shack TRS-80 Product manual

Radio Shack

Radio Shack TRS-80 Product manual

Radio Shack System 80 User manual

Radio Shack

Radio Shack System 80 User manual

Radio Shack TRS-80 User manual

Radio Shack

Radio Shack TRS-80 User manual

Popular Desktop manuals by other brands

Lenovo ThinkStation E20 Vodič za korisnike

Lenovo

Lenovo ThinkStation E20 Vodič za korisnike

IBM PC 300GL Types 6275 Setting-up guide

IBM

IBM PC 300GL Types 6275 Setting-up guide

Dell Inspiron 24-5400 Setup and specifications

Dell

Dell Inspiron 24-5400 Setup and specifications

Advantech DLoG DLT-V72 Series quick start guide

Advantech

Advantech DLoG DLT-V72 Series quick start guide

Sony PCV-LX810 - Vaio Slimtop Computer user guide

Sony

Sony PCV-LX810 - Vaio Slimtop Computer user guide

IBM 2196 user guide

IBM

IBM 2196 user guide

Lenovo ThinkCentre M900z 10F2 Hardware Maintenance Manual

Lenovo

Lenovo ThinkCentre M900z 10F2 Hardware Maintenance Manual

Moxa Technologies MC-5157-AC/DC user manual

Moxa Technologies

Moxa Technologies MC-5157-AC/DC user manual

Samsung DP300A2A-A01US user guide

Samsung

Samsung DP300A2A-A01US user guide

Silver Monkey SMX user manual

Silver Monkey

Silver Monkey SMX user manual

Atari 400 user guide

Atari

Atari 400 user guide

ClearCube CD10 Series quick start guide

ClearCube

ClearCube CD10 Series quick start guide

FIC AquaPAD user manual

FIC

FIC AquaPAD user manual

HP dx7300 - Microtower PC Technical reference guide

HP

HP dx7300 - Microtower PC Technical reference guide

Lenovo ThinkCentre E50 Quick reference guide

Lenovo

Lenovo ThinkCentre E50 Quick reference guide

Northern Micro Spirit P8Q87-AS user guide

Northern Micro

Northern Micro Spirit P8Q87-AS user guide

Acer Aspire RC500 owner's manual

Acer

Acer Aspire RC500 owner's manual

Dell EMC ChengMing 3988 Setup and specifications guide

Dell EMC

Dell EMC ChengMing 3988 Setup and specifications guide

manuals.online logo
manuals.online logoBrands
  • About & Mission
  • Contact us
  • Privacy Policy
  • Terms and Conditions

Copyright 2025 Manuals.Online. All Rights Reserved.