manuals.online logo
Brands
  1. Home
  2. •
  3. Brands
  4. •
  5. RADWAG
  6. •
  7. Scale
  8. •
  9. RADWAG AS R2 PLUS User guide

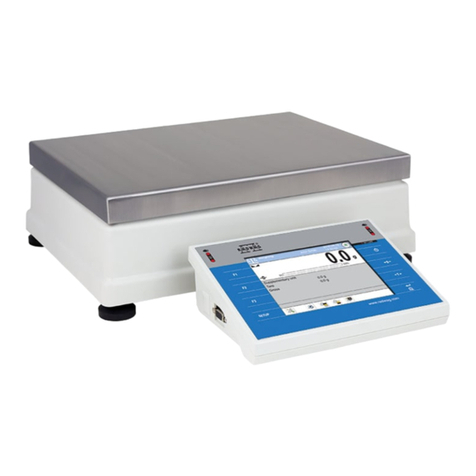
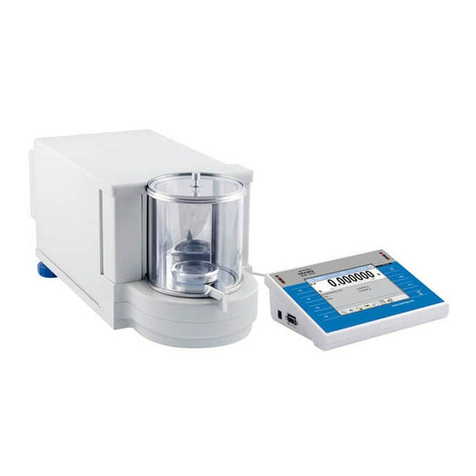
RADWAG AS R2 PLUS User guide

Start up Guide
Analytical balances:
• AS R2 PLUS
Precision balances:
• PS R1
• PS R1.M
• PS R2
• PS R2.M
• PS R2.H
• PS R2.M.H
Analytical
and Precision Balances
IMMB-03-02-11-21-EN
To view a complete User Manual go to the website or scan QR code:
radwag.com/en/manuals/198
1. CONTENT
AS R2 PLUS (d=0,01mg)
AS R2 PLUS (d=0,1mg)
Balance
×1
Balance
×1
Weighing pan
×1
Weighing pan
×1
Draft shield
×1
Draft shield
×1
Centring ring
×1
Bottom insert
×1
Bottom insert
×1
Power adapter*
×1
Power adapter*
×1
Models: PS R1 (d=1mg) |PS R2 (d=1mg)
Balance
×1
Weighing pan
×1
Draft shield
×1
Grounding foot
×1
Foot
×3
Power adapter*
×1
Power adapter*
×1
Models: PS R1.M |PS R2.M
Balance
×1
Weighing pan
×1
Draft shield
×1
*The plug type may vary by country.
fabric dust
cover
×1
Power adapter*
×1
Power adapter*
×1
Models: PS R2.H
Models: PS R2.M.H
Balance
×1
Balance
×1
Weighing pan
×1
Weighing pan
×1
Draft shield
×1
Draft shield
×1
*The plug type may vary by country.
2. UNPACKING
1 2 3
Keep the packaging should a
warranty claim or service be required.
TOP
3. RECOMMENDATIONS AND WARNINGS
+40 °C
+104°F
+10 °C
+50 °F
Operate the device in a room where the temperature ranges between 10–40 °C
(50–104 °F) and where the relative humidity is below 80%.
Place the balance on a solid surface to ensure stability. To obtain stable and
repeatable weighing results, an anti-vibration table is recommended.
Place the balance away from heat
sources. Avoid exposing the balance
to the sunlight.
Avoid air drafts and air movements
at the workstation.
Avoid exposing the balance to amag-
netic field. Do not weigh magnetic
substances.
Make sure that the balance is placed
on an even surface.
Do not place the balance in a hazard-
ous area. Do not weigh explosive
materials.
Do not place the balance on an
unstable ground exposed to shocks
and vibrations.
4. ACTIVITIES TO BE DONE PRIOR TO OPERATION
Keep the transport
lock should a warranty
claim or service be
required.
Keep the transport
lock should a warranty
claim or service be
required.
4.1. Transport lock removal
4.2. Grounding spring check
Models: AS R2 Series
Models: PS R2 series | PS R1 series
1 2
1 2
Check whether the grounding
spring takes its intended
location.
Make sure that the grounding
spring juts slightly out of the
hole.
Check whether the grounding
spring takes its intended
location.
Make sure that the grounding
spring juts slightly out of the
hole.
1
1
2
2
3
3
Install the
grounding foot
in a freely
selected opening.
Models: AS R2 (d=0,1 mg)
Models: PS R1 (d=0,01 mg) |PS R2 (d=0,01 mg)
5. COMPONENTS ASSEMBLY
1 2 3 4
Models: AS R2 (d=0,01 mg)
1
1
1
2
2
2
Models: PS R1.M |PS R2.M
Models: PS R2.H
Models: PS R2.M.H
6. PREPARING FOR WORK
6.1. Temperature stabilization
6.2. Leveling
Prior to switching the device on, let it
reach room temperature (estimated
stabilisation time: 1-8 hours).
Connect the power adapter
to DC connector.
Connect the power
adapter to the mains.
USB 1 USB 2
1 2 3
6.3. Switch the balance on
To switch the device on, press ON / OFF key.
Your balance is ready to use!
To level the balance, turn its
feet and keep turning the feet
until an air bubble takes the
central position.
7. PANEL AND SCREEN
7.1. Panel keys
7.2. Home screen
Select working
mode Switching ON/OFF
Start adjustment Databases
Enter setup Working mode
functions
Taring Zeroing
PRINT/ENTER
Unit selection / ESC
Navigation keys
Measurement result
Stable indication
pictogram
Pictogram of active
working mode
Messages
and information
Zeroing pictogram
8. BASIC OPERATIONS
Wait for the adjustment completion.
1 2
Press key to start the adjustment.
8.1.1. Adjustment (for models with an internal adjustment only)
8.1.2. Adjustment (for models with an external adjustment only)
1 2
Press to enter “Setup” menu. To proceed to calibration, press key.
The adjustment mass standard does not come with
the balance. Prior to adjustment prepare the right
mass standard.
You are recommended to use mass standard
of class F1 or F2. View the table and select
the mass standard you need.
It is recommended to carry out adjustment operation prior to running the WEIGHING mode. External adjustment
is carried out using an external mass standard of the right accuracy and weight value, which value depends
on device type and capacity.
Balance
model
Mass
standard
[g]
PS 200/2000.R1 1 000
PS 600.R1 500
PS 750.R1 500
PS 1000.R1.M 1 000
PS 3500.R1.M 2 000
PS 4500.R1.M 2 000
PS 6100.R1.M 5 000
Using keys select “External calibration”
and press key.
The balance has been zeroed.
1 2
Make sure that the weighing pan is empty
and press key.
8.2. Zeroing
3 4
With unloaded weighing pan, press key.
7 8
Wait for the adjustment completion. Upon process completion unload the weighing
pan and press key.
5 6
Wait for completion of the start mass determina-
tion process.
Load the weighing pan with mass standard
and press key.
The balance has been tared.
1 2
With loaded weighing pan: upon stabilisation of
the weighing result, press key.
8.3. Taring
Using keys select “Working mode”
and press key.
Using keys select working modes for which
accessibility is to be set and press key.
1
3
2
4
Press to enter “Setup” menu.
In the “Accessibility” position press key.
8.4. Working modes accessibility
5
Using keys set accessibility parameter to
‘Yes’ value for a selected working mode and
press key to confirm.
To configure other working
modes, follow the above
procedure.
Using keys select working mode and press
key to confirm.
1 2
Using key enter working modes menu.
8.5. Selecting working mode
Detailed overview of the
settings of the working
modes is to be found in
balance’s main user manual.
• Weighing
• Parts Counting
• Checkweighing
• Dosing
• Percent Weighing
• Density Determination of Solids
• Density Determination of Liquids
• Statistics
• Totalising
• Peak Hold
• Pipettes Calibration
The menu features the following
working modes:
Using keys select “Units” and press key.
1 2
Press to enter “Setup” menu.
8.6. Weighing unit accessibility
Using keys select unit for which accessibility
is to be set and press key.
3 4
While “Accessibility” parameter is on,
press key.
5
Using keys set accessibility parameter to
“Yes” value for a selected unit and press
key to confirm.
To configure other mass
units, follow the above
procedure.
9. SETTINGS
9.1. Administrator’s logging in
Some balance settings are accessible for Administrator exclusively.
Prior balance parameters setup, log in as Administrator.
To enter user parameters, press key.Press key to enter “Database” menu.
12
Press key to select the weighing unit.
8.7. Weighing unit selection
1
* Units available for verified balances exclusively
The balance enables selecting the following
weighing units:
• Gram [g]*
• Miligram [mg]*
• Kilogram [kg]*
• Carat [ct]*
• Pound [lb]
• Ounce [oz]
• Troy ounce [ozt]
• Pennyweight [dwt]
• Hong Kong Tael [tlh]
• Singapore tael [tls]
• Taiwanese tael [tlt
• Chinese tael [tlc]
• Momme [mom]
• Grain [gr]
• Tical [ti]
• Newton [N]
3 4
Using keys select “1111” and press
key to confirm.
Using keys select “Admin” and press
key to confirm.
5
You have logged as the administrator.
Upon logging in pictogram
is displayed:
9.2. User settings
1
Press key to enter databases. Using keys select “View/Edit” option
and press key to confirm.
Prior to balance users setup, log in as Administrator (point 9.1.).
2
Press key to add a new user.
Using keys select “Code” and press
key to confirm.
Using keys enter user code and press
key to confirm.
6
8
7
9
Using keys enter user name and press
key to confirm.
Press key to add a new user.
In the following steps, set:
• User name
• Code
• Passsword
• Permissions level
• Language
5
To select “Users” parameters, press key.
3 4
Using keys select “New” and press
key to confirm.
Using keys select “Password” and press
key to confirm.
Using keys enter user password
and press key to confirm.
10 11
Using keys select “Access Level”
and press key to confirm.
Using keys select permissions level
and press key to confirm.
12 13
Using keys select “Language” and press
key to confirm.
Using keys select menu language and press
key to confirm.
14 15
10. PERIPHERAL DEVICES CONNECTORS
Power adapter
Computer
Computer
Computer
Additional
display
Additional
display
Barcode
scanner
Barcode
scanner
Barcode
scanner
Printer Printer
Printer
Keyboard

Other manuals for AS R2 PLUS

1

This manual suits for next models

6

Other RADWAG Scale manuals

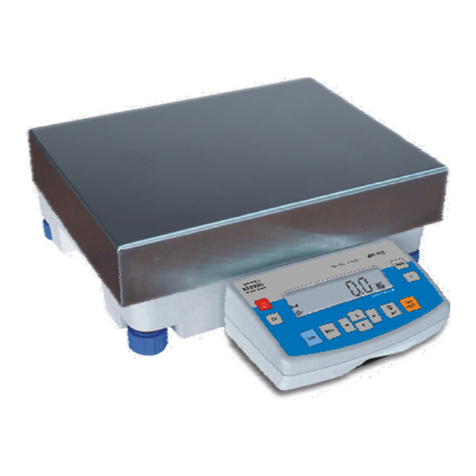
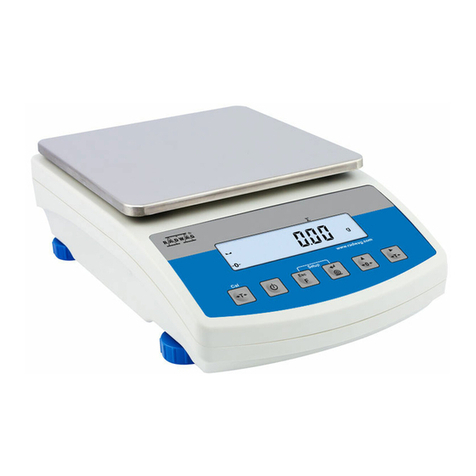
RADWAG BALANCES APP/2C SERIES User manual

RADWAG

RADWAG BALANCES APP/2C SERIES User manual

RADWAG WLC/C2 User manual

RADWAG

RADWAG WLC/C2 User manual

RADWAG WTC series User manual

RADWAG

RADWAG WTC series User manual

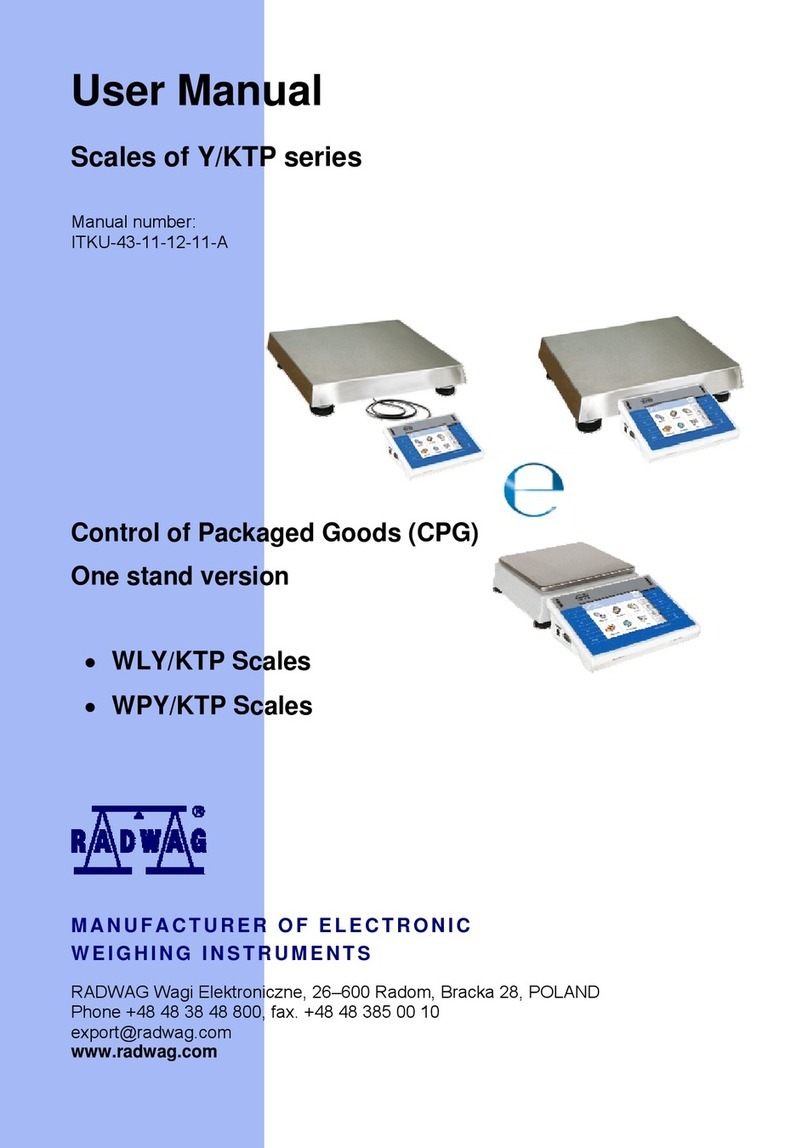
RADWAG Y/KTP series User manual

RADWAG

RADWAG Y/KTP series User manual

RADWAG WTC series User manual

RADWAG

RADWAG WTC series User manual

RADWAG PS X7.M User guide

RADWAG

RADWAG PS X7.M User guide

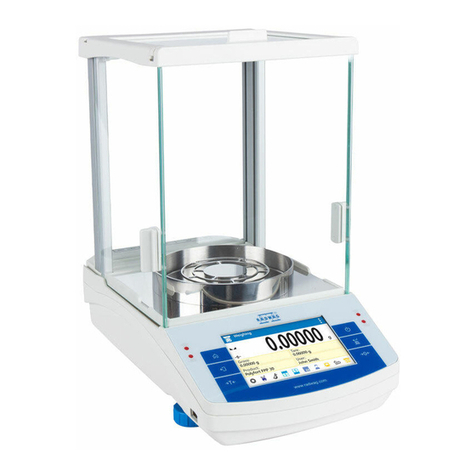
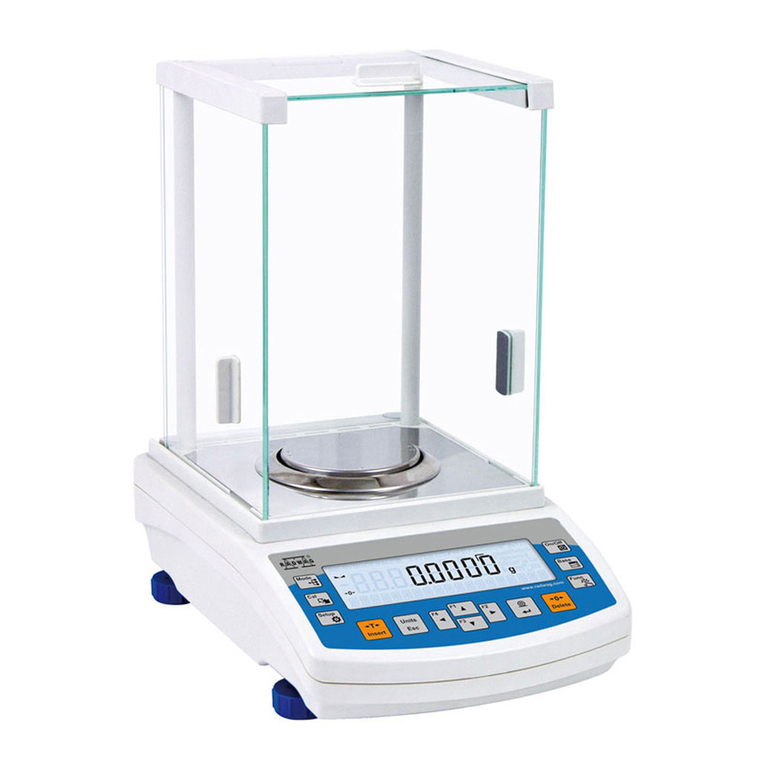
RADWAG AS R2 User manual

RADWAG

RADWAG AS R2 User manual

RADWAG PM 10.C32 User manual

RADWAG

RADWAG PM 10.C32 User manual

RADWAG HX7 User manual

RADWAG

RADWAG HX7 User manual

RADWAG BWLC-C1 Series User manual

RADWAG

RADWAG BWLC-C1 Series User manual

RADWAG WTC 6 User manual

RADWAG

RADWAG WTC 6 User manual

RADWAG TWM4 User manual

RADWAG

RADWAG TWM4 User manual

RADWAG PM 4Y User guide

RADWAG

RADWAG PM 4Y User guide

RADWAG XA 5Y.M.A User guide

RADWAG

RADWAG XA 5Y.M.A User guide

RADWAG WLX series User manual

RADWAG

RADWAG WLX series User manual

RADWAG APP 35.R2 User manual

RADWAG

RADWAG APP 35.R2 User manual

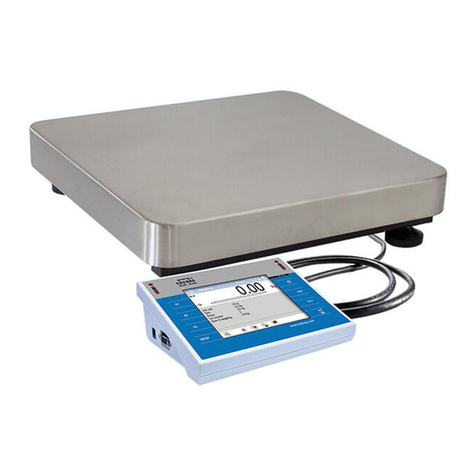
RADWAG PM C32 User guide

RADWAG

RADWAG PM C32 User guide

RADWAG WLC User manual

RADWAG

RADWAG WLC User manual

RADWAG WPW/E User manual

RADWAG

RADWAG WPW/E User manual

RADWAG TMX series User manual

RADWAG

RADWAG TMX series User manual

RADWAG TMC 0,3/0,6 KTPS/H1 User manual

RADWAG

RADWAG TMC 0,3/0,6 KTPS/H1 User manual

RADWAG AS R2.PLUS User manual

RADWAG

RADWAG AS R2.PLUS User manual

RADWAG AS X2 Series User manual

RADWAG

RADWAG AS X2 Series User manual
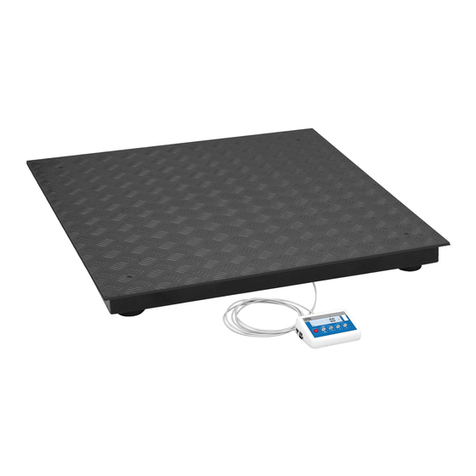
RADWAG C315 Series User manual

RADWAG

RADWAG C315 Series User manual

Popular Scale manuals by other brands

USA Measurements US-PC-PH-15 User's & technical manual

USA Measurements

USA Measurements US-PC-PH-15 User's & technical manual

Cardinal Detecto 854F Series owner's manual

Cardinal

Cardinal Detecto 854F Series owner's manual

Hyundai KVE 305 instruction manual

Hyundai

Hyundai KVE 305 instruction manual

Sartorius Economy Series operating instructions

Sartorius

Sartorius Economy Series operating instructions

Elane PS 3000 W user manual

Elane

Elane PS 3000 W user manual

Sartorius PMA 35D Installation and operating instructions

Sartorius

Sartorius PMA 35D Installation and operating instructions

CAS LP-II Network manual

CAS

CAS LP-II Network manual

Johnson Luna Instructions for use

Johnson

Johnson Luna Instructions for use

Unit UBS-2156 user manual

Unit

Unit UBS-2156 user manual

Escali Stela product manual

Escali

Escali Stela product manual

Health O Meter 553KL Operation manual

Health O Meter

Health O Meter 553KL Operation manual

AWS ScaleMate SM-200 user manual

AWS

AWS ScaleMate SM-200 user manual

Adler AD 3167 user manual

Adler

Adler AD 3167 user manual

Adam Equipment CFC SERIES Service manual

Adam Equipment

Adam Equipment CFC SERIES Service manual

Zelmer 34Z011 user manual

Zelmer

Zelmer 34Z011 user manual

Soehnle STATIVWAAGE 7730 user manual

Soehnle

Soehnle STATIVWAAGE 7730 user manual

Sartorius Master series Installation and operating instructions

Sartorius

Sartorius Master series Installation and operating instructions

ADE KE 850 instruction manual

ADE

ADE KE 850 instruction manual

manuals.online logo
manuals.online logoBrands
  • About & Mission
  • Contact us
  • Privacy Policy
  • Terms and Conditions

Copyright 2025 Manuals.Online. All Rights Reserved.