R&G Racing
Unit 1, Shelleys Lane, East Worldham, Alton, Hampshire GU34 3AQ.
Tel:
+44
(0)1420
89007
Fax
+44
(0)
1420
87301
www.rg-racing.com Email: in[email protected] PAGE 9 OF 12 RAD0253
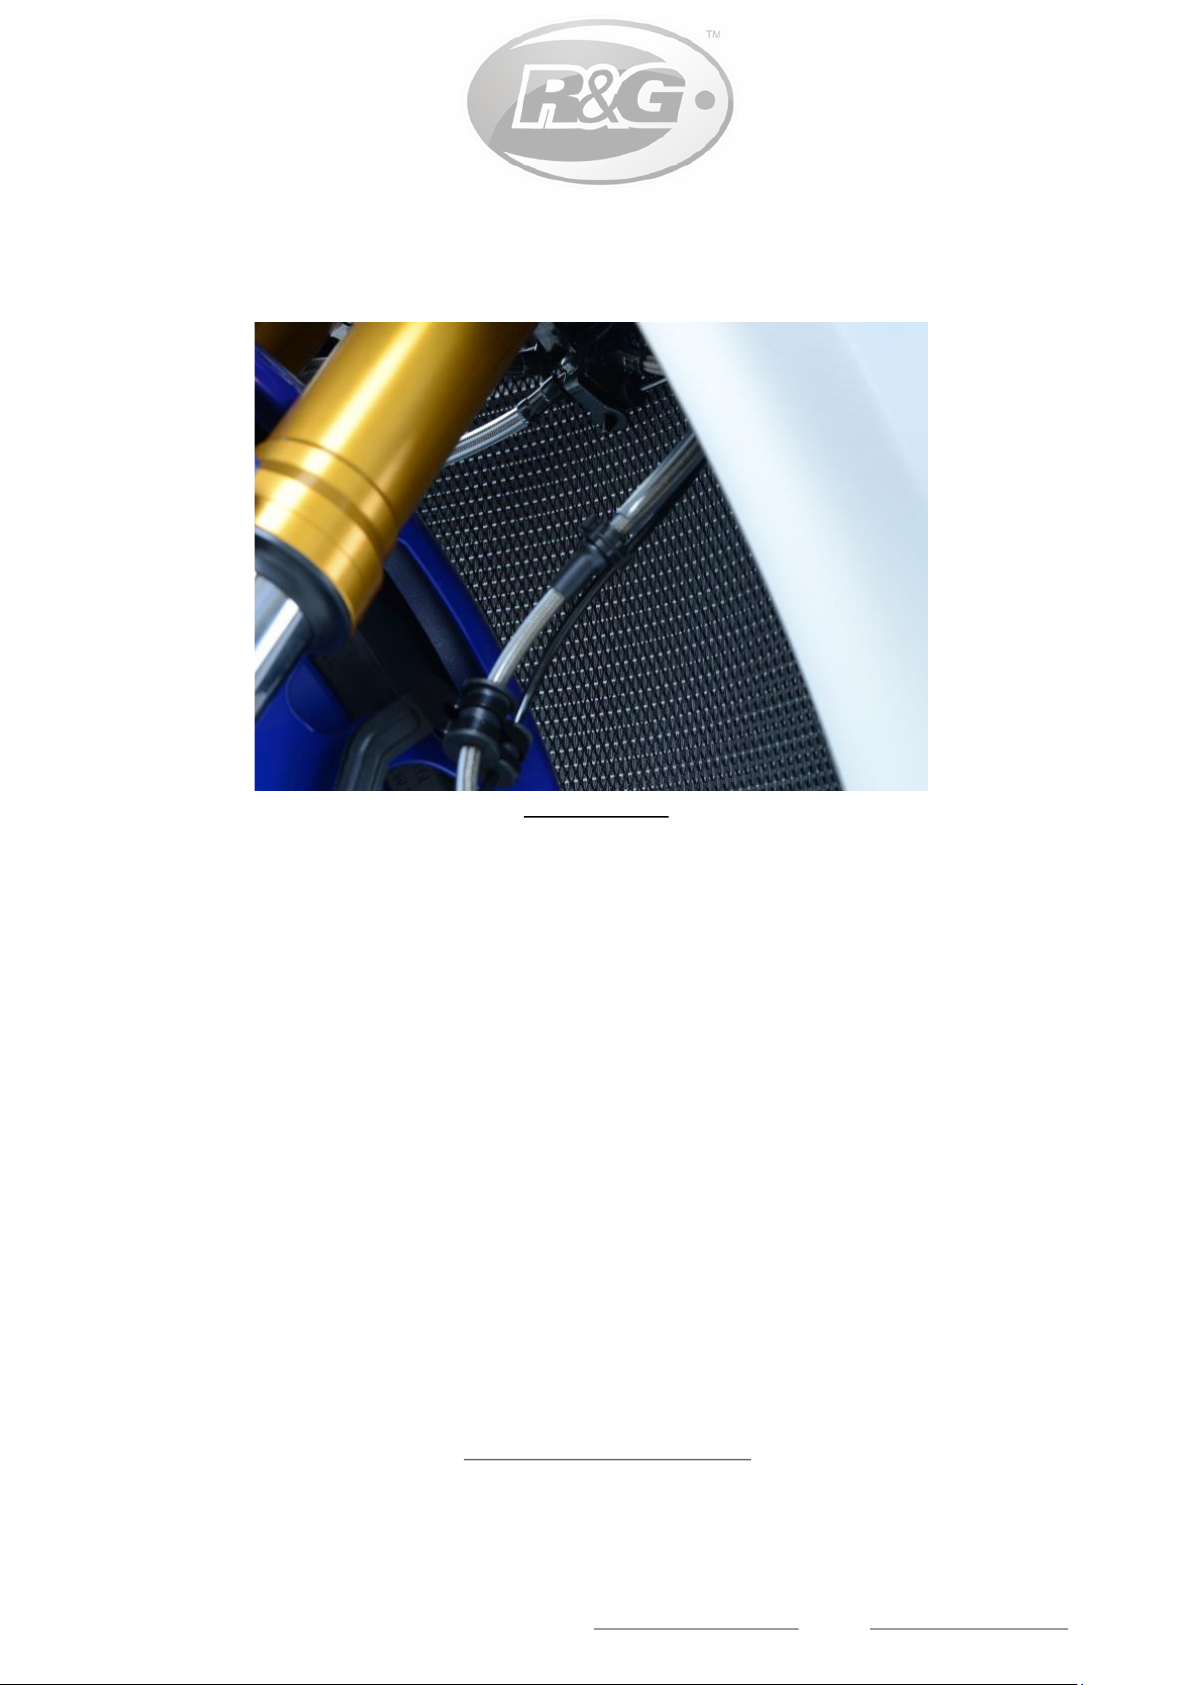
NOTICE DE MONTAGE
• Pour installer la protection radiateur, coupez la bande de mousse fournie en morceaux de 10 mm
de large et collez-les au bas du cadre de la protection de radiateur, de sorte qu'ils se trouvent
entre la protection de radiateur et le radiateur.
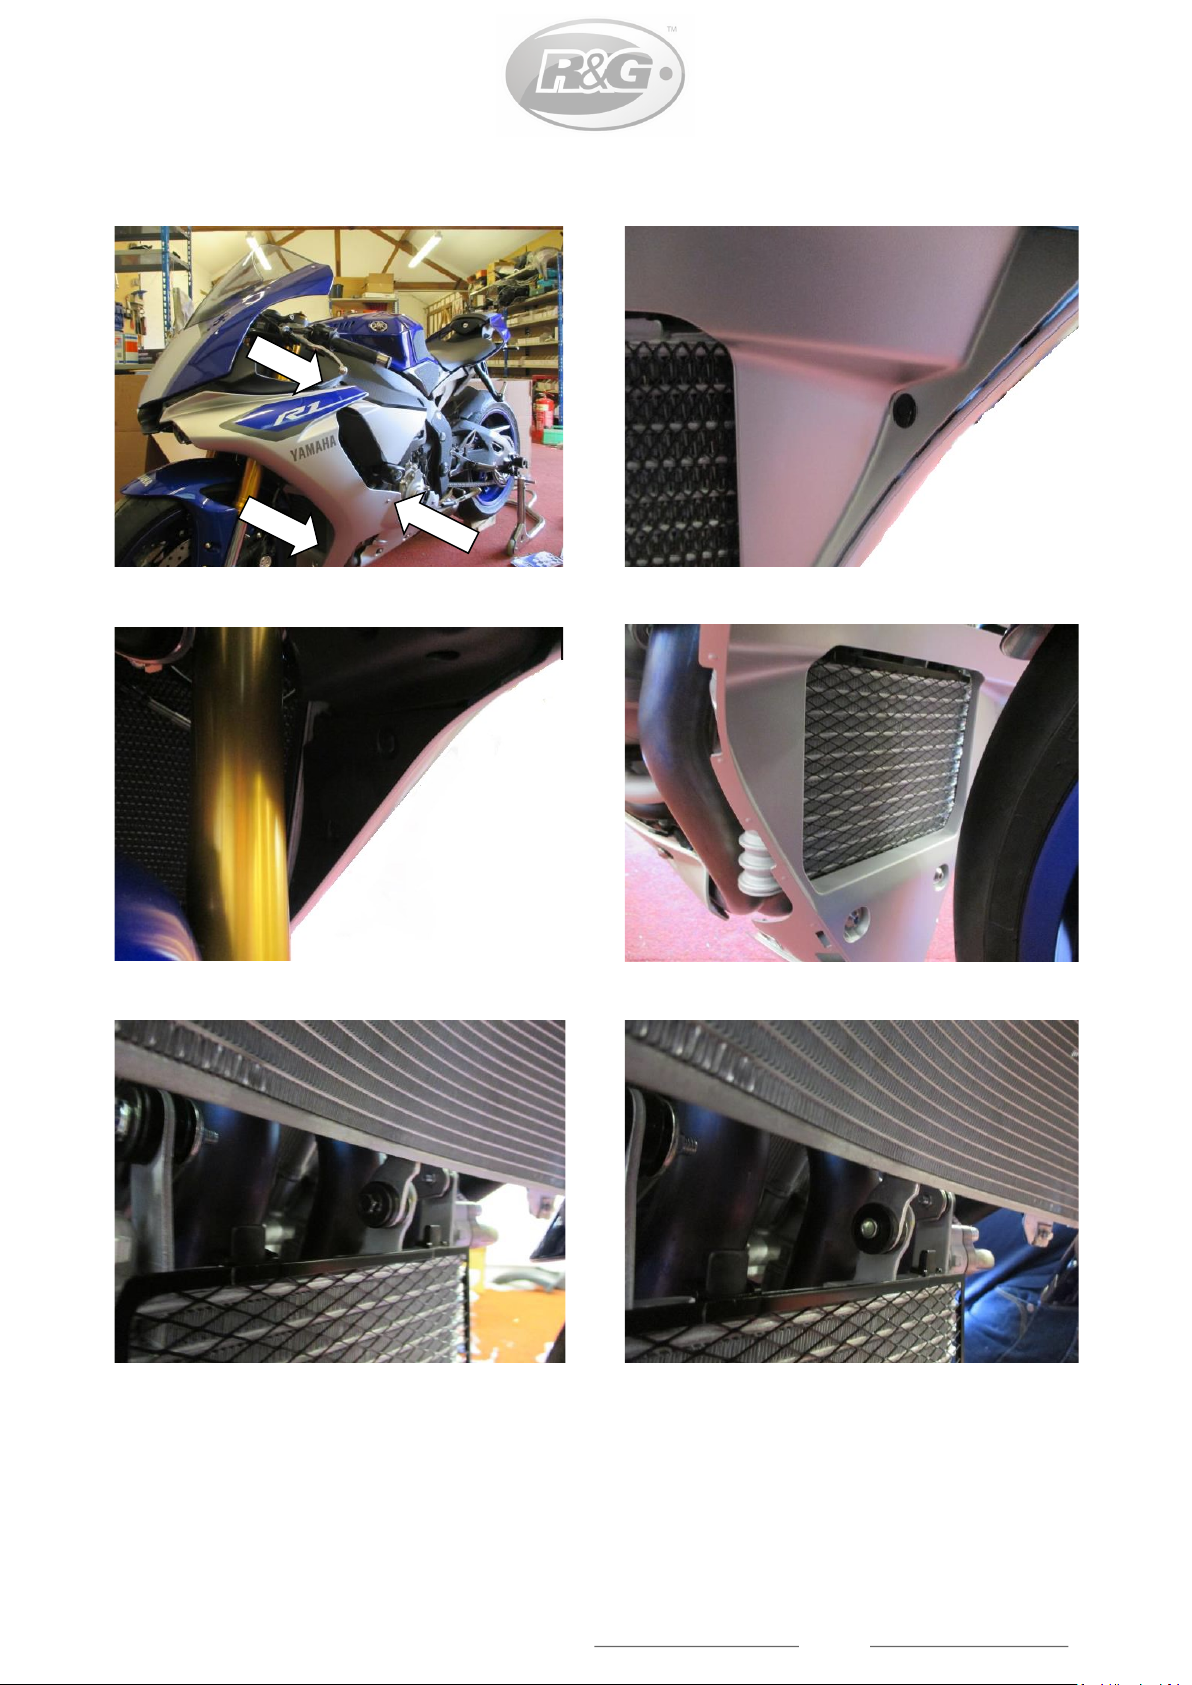
• Retirez les carénages de la moto. Pour ce faire sur le côté gauche de la moto, retirez les trois
fixations rapides du carénage, comme indiqué sur la flèche dans la photo 1. À l'intérieur du
carénage, vous devez retirer quatre rivets, comme indiqué sur les photos 2 et 3, avant que le
panneau puisse doucement être tiré vers l’avant et retiré de la moto.
• Répétez cette procédure pour retirer le carénage du côté droit de la moto. Veuillez noter qu'il n'y
a que trois rivets à droite.
• Retirez les deux boulons qui fixent le carénage du refroidisseur d'huile, comme indiqué sur la
photo 4.
• Retirez le capot en le soulevant pour dégager les deux languettes de fixation du refroidisseur
d’huile, comme indiqué sur la photo 5.
• Retirez le boulon de fixation inférieur du radiateur, comme indiqué sur les photos 5 et 6.
• Placez la protection R&G en place et réinsérez le boulon de fixation inférieur dans la protection de
radiateur, puis dans le support de radiateur, avant de serrer légèrement.
• Prenez un serre-câble et insérez-le dans l'un des trous fendus du haut, avant de l'enrouler autour
du support de radiateur supérieur et de le serrer légèrement, comme indiqué sur les photos 7 et
8. Répétez cette étape de l'autre côté.
• Assurez-vous que la protection de radiateur soit correctement montée, puis serrez le boulon de
fixation inférieur (en veillant à ce que le support de protection de radiateur repose sur le moyeu
et contre le caoutchouc) et serrez les attaches de câble par le haut avant de couper l'excédent.
• Remontez le capot du radiateur d'huile et serrez les deux boulons.
• Remontez les carénages des deux côtés de la moto et replacez les boulons dans l'ordre inverse du
démontage.
ISSUE 1 01/11/2019 (BG)