manuals.online logo
Brands
  1. Home
  2. •
  3. Brands
  4. •
  5. RealFlame
  6. •
  7. Heater
  8. •
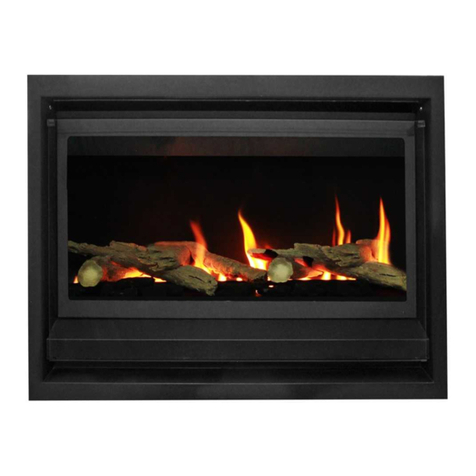
  9. RealFlame Captiva Island Series Installation instructions

RealFlame Captiva Island Series Installation instructions

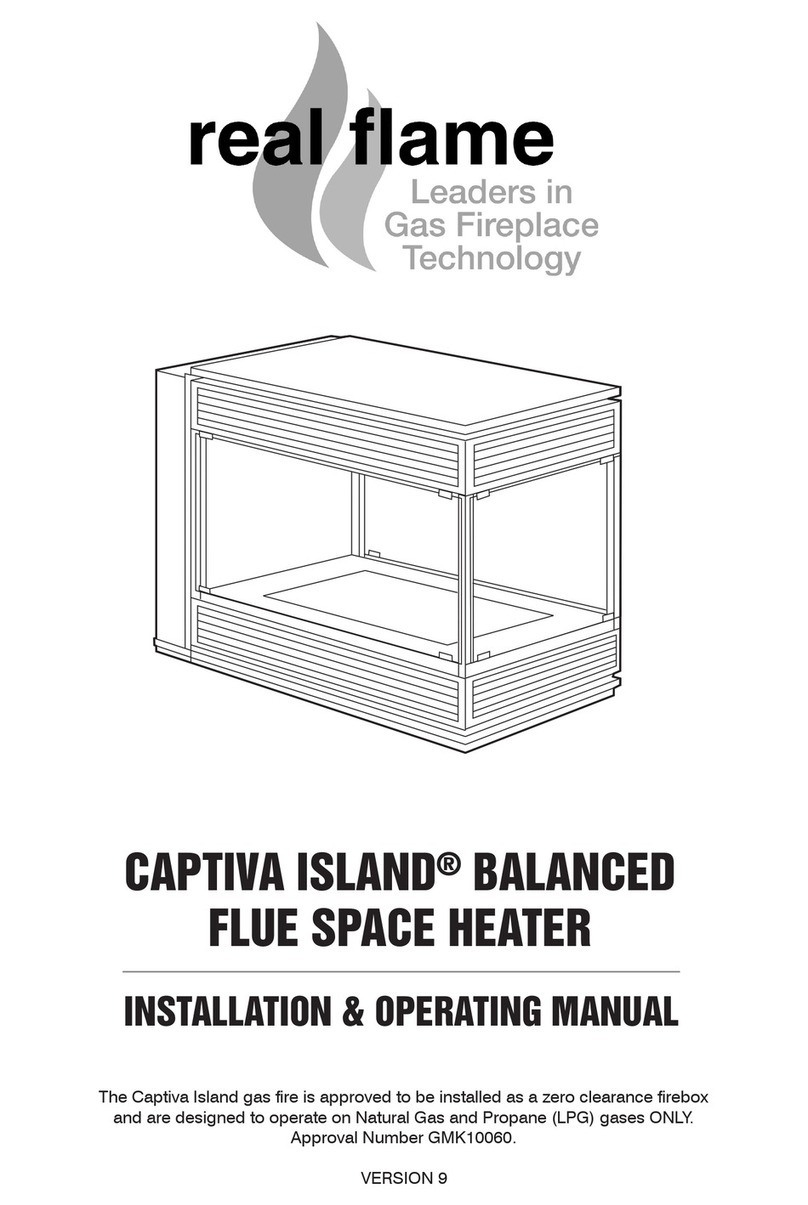
CAPTIVA ISLAND®BALANCED
FLUE SPACE HEATER
INSTALLATION & OPERATING MANUAL
The Captiva Island gas fire is approved to be installed as a zero clearance firebox
and are designed to operate on Natural Gas and Propane (LPG) gases ONLY.
Approval Number GMK10060.
VERSION 14
2
WARRANTY INFORMATION
The benefits provided to you under the following warranty are in addition to any other rights and remedies available to
you under the law.
1. Warranty
If:
(a) during the first 15 years from the date of purchase ( irebox Warranty Period), there is a defect in the firebox of the
Real lame Gas Burner; or
(b) during the first 2 years from the date of purchase (Parts Warranty Period), there is a defect in the gas valves or
other parts of the Real lame Gas Burner,
due to improper workmanship or material, Real lame will replace or repair the Real lame Gas Burner without
charge. Any replacement product is warranted only for the time remaining on the original irebox Warranty Period
or the Parts Warranty Period as relevant.
2. Registration
You must register to receive the benefit of this warranty by completing the warranty registration on our website
(www.realflame.com.au) or completing and mailing the attached registration card within 30 days of purchase of
your Real lame Gas Burner (or, if the Real lame Gas Burner is fitted to a new home, within 30 days of the date
of settlement of purchase of such new home).
3. Exclusions
Real lame is not obliged to replace or repair the Real lame Gas Burner under clause 1 if:
(a) it has been improperly stored, installed, connected, used, operated or repaired, or damaged, abused, tampered
with, altered (without our written approval), or not maintained in strict accordance with our installation and
operating instructions; or
(b) it has been installed in an outdoor setting.
4. Limit of Liability
The warranty provided under this warranty is limited to replacement or repair of the Real lame Gas Burner only,
at our option. To the extent permitted by law, Real lame excludes liability for consequential loss or any other loss
or damage caused to property or persons arising from any cause whatsoever, and damage arising from normal
wear and tear.
5. Claiming under the Warranty
In order to claim under this warranty you must, within the irebox Warranty Period or the Parts Warranty Period
(as relevant), contact Real lame, providing the original proof of purchase and the details below:
Supplier Name___________________________________________________________________________
Date Of Purchase / settlement of property if new home _________________
Model / Serial Number_______________________
This warranty does not cover the cost of claiming under the warranty or transporting the Real lame Gas Burner to and
from the supplier.
Our goods come with guarantees that cannot be excluded under the Australian Consumer Law. You are entitled to a
replacement or refund for a major failure and for compensation for any other reasonably foreseeable loss or damage.
You are also entitled to have the goods repaired or replaced if the goods fail to be of acceptable quality and the failure
does not amount to a major failure.
If you would like to speak to someone about your Real lame Gas Burner or claiming under this warranty, please
contact the Real lame Service Warranty Desk on 1300 554 155.
Glen Dimplex Australia Pty Ltd ACN 69 118 275 460
Head Office: 1340 erntree Gully Road, Scoresby 3179
Telephone: (03) 8706 2000 acsimile: (03) 876 2001
WARNING
The “Captiva Island” has a primary safety glass fitted in front of the inner glass panels. This safety glass is
fitted to the appliance to reduce the risk of injury from burns and at no time should this glass be permanently
removed. NOT INTENDED OR IREPLACE INSERT. or protection of young children or the infirm, a
secondary guard is required.
The appliance is not intended for use by persons (including children) with reduced physical, sensory or
mental capabilitites, or lack of experience and knowledge, unless they have been given supervision or
instruction concerning use of the appliance by a person responsible for their safety. Children should be
supervised to ensure that they do not play with the appliance.
INSTALLATION NOTICE
The installation of this appliance is only to be carried out by an authorised person in accordance
with the Manufacturer’s Instructions, local gas fitting regulations, AS5601-2013 installation code for
gas burning appliances and any other relevant statutory regulations.
In all cases the installation of this appliance shall meet the requirements as set out in AS5601-2013.
N TE: Not intended for fireplace insert.
Do not install in a fireplace.
N TE: A slight smell may be apparent for the first few hours of use. This is due to the heat resistant
paint curing. It is recommended to open windows in the room for the first lighting of the fire. In some
instances a slight discolouration may occur inside the firebox. This is a normal condition and is not
covered by warranty.
This heater is designed to have a luminous flame and may exhibit a slight carbon deposit.
IMPORTANT SAFETY NOTICE
D N T PLACE ARTICLES N R AGAINST THIS APPLIANCE.
D N T USE R ST RE FLAMMABLE MATERIALS IN R NEAR THIS APPLIANCE.
D N T SPRAY AER S LS IN THE VICINITY F THIS APPLIANCE WHILST IT IS IN PERATI N.
CARE MUST BE TAKEN T ENSURE THAT ANY RETURN AIR REGISTER R EXHAUST SYSTEM
D ES N T ADVERSLEY AFFECT THE PERATI N F THE APPLIANCE R DRAUGHT F
CHIMNEY R FLUE.
D N T M DIFY THIS APPLIANCE.
D N T PERATE WITH GLASS PANELS REM VED FR M THIS APPLIANCE.
WARNING
The outer glass panel gets extremely hot! Precaution should be taken and young children
supervised at all times when heater is operating.
3
SERVICING
It is recommended you service your gas fire every 2 years as a minimum.
CORD REPLACEMENT
Electrical cord replacement must be undertaken by qualified and trained personnel only.
CONTENTS
Contents .................................................................................................................4
Data Plate ...............................................................................................................5
Zero Clearance introduction ...................................................................................6
Dimensions 2 sided ................................................................................................7
Dimensions 3 sided ................................................................................................8
Timber frame installation.........................................................................................9
luing options........................................................................................................11
Ceramic set up and installation procedures..........................................................12
Servicing and maintenance ..................................................................................14
Parts list ...............................................................................................................18
lue termination (cowls) regulations .....................................................................19
Remote control operating guide............................................................................20
Electrical diagram .................................................................................................23
Real lame contact information ............................................................................24
4
MDEL CAPTIVA ISLAND SERIAL N . DATE F MANUFACTURE
GAS TYPE APPR VAL: GMK10060
NATURAL GAS @ 0.95 kPa Test Pressure Point (High) Injector Size Gas Consumption
2 x 2.55 mm 43 Mj/hr
LPG @ 2.65 kPa Test Pressure Point (High) Injector Size Gas Consumption
2 x 1.30 mm 43 Mj/hr
NATURAL GAS @ 0.50 kPa Test Pressure Point (Low) Injector Size Gas Consumption
2 x 2.55 mm 33 Mj/hr
LPG @ 1.50 kPa Test Pressure Point (Low) Injector Size Gas Consumption
2 x 1.30 mm 33 Mj/hr
DATA PLATE (Affixed to the base of the unit for reference to gas pressure & consumption)
5
CAPTIVA ISLAND ZERO CLEARANCE MODEL
INTRODUCTION
The Real lame “Captiva Island” is a log/coal or pebble effect space heater for use with Natural
Gas and Propane.
The Real lame warranty will be voided by, and Real lame disclaims any responsibility for the
following actions:
• Modification of the space heater and/or components including balanced flue assembly or
glass door.
• Use of any component part not manufactured or approved by Real lame in combination
with this “Captiva Island” fireplace system.
• Installation other than as instructed in this manual.
CAUTIONS
• Due to its high operating temperature, the appliance should be located out of traffic and
away from furniture and draperies.
• Children and adults should be alerted to the hazards of the high surface temperature, which
could cause burns or clothing ignition.
• Young children should be carefully supervised when they are in the same room as the
appliance.
• Clothing or other flammable materials should not be placed on or near the appliance.
SELECTING YOUR APPLIANCE LOCATION
Your appliance may be installed in any location that is free of ducted return air vents or electrical
wiring and plumbing. Safety, as well as efficiency of operation, must be considered when selecting
the heater location. Try to select a location that does not interfere with room traffic, and offers
access for the Balanced lue terminal installation. Refer to AS5601-2004 for minimum clearances
for Balanced lue termination.
WARNING
When this appliance is installed directly on carpeting, tile or other combustible materials other than
wood flooring, the appliance should be installed on a metal or wood panel extending the full width
and depth of the appliance.
Should your heater exhibit abnormal operation, unusual flame, odours, excessive glass
discolouration or failure to operate, please switch off and have the appliance serviced by a
qualified personnel.
6
WARNING
Transit material such as cardboard packaging, pallet, plastic wrap, glass warning labels and burner
media protection label must be removed prior to use of appliance.
7
DIMENSIONS
Captiva Island 2 sided trim
BC
D E F
GH
I
J
B
C
ABC
890 995 50
ABCDE GH
870 560 1100 940 160 100 180 100
IJ
245 115
Captiva Island 2 sided
BC
D E F
GH
I
J
B
C
D
SIDE x 2 END
DIMENSIONS
Captiva Island 3 sided trim
ABCD
890 995 50 575
ABCDE GH
870 560 1100 940 160 100 180 100
IJ
245 115
8
Captiva Island 3 sided
CAPTIVA ISLAND ZERO CLEARANCE MODEL (continued)
Captiva Island Zero Clearance Timber Frame Installation
9
Flue Size Inner uter
2 sided 100mm 180mm
3 sided 100mm 180mm
2 sided
3 sided
Zero Clearance cowl types
• The Captiva Island balanced flue space heater is a zero clearance type heater which comes
complete in a zero clearance casing.
• The flue can terminate horizontally or vertically.
Vertical top
termination
Horizontal rear
termination
ABCDE GH
890 1100 560 715 805 210 470 210
Model
2 sided
890 1100 560 715 805 210 470 210 3 sided
Dimensions (in mm)
A
B
C
D
E
H
G
120
200 65
120
Gas Inlet
(On base) Power Cord
(On base)
The fan, control
module and remote
control module are
all located behind
the louvre
Gas connection - 15mm (1/2") Compression connection
Electrical connection - 3 Pin 10Amp GPO plug
Power rating of appliance 230V 50Hz 0. Amp
CAPTIVA ISLAND FRAME DETAIL
Timber Frame Installation
10
A
B
B
DD
C
C
*
**
**
*
Model ABC* D**
2 sided 1000 1225 560 600
3 sided 1000 1150 560 600
Floor 0 mm
Sides 50 mm
Top 100 mm
Flue uter 50 mm
3 sided2 sided
IMPORTANT
Install unit and
fluing before
plasterboard. NOTE: Plaster to
run beyond stud
and behind trim
A
Plaster
NOTE: Plasterboard to run
beyond stud as shown, and to
go behind trim.
* Note: The “C” dimension is the finished depth including cladding.
**Note: The “D” dimension is the minimum required to allow room for
the flue to exit the unit and fit a 90° elbow for vertical termination.
IRE
IRE
IRE
Clearances from combustables
ISLAND ZERO CLEARANCE MODEL (continued)
INSTALLATION OF VERTICAL VENTING
Vertical terminations must be installed with the following clearances:
• Minimum of 500 mm from the nearest part of the roof (Measurement is taken from the
bottom of the termination).
• Minimum of 1500 mm from any mechanical air inlet.
• Minimum of 500 mm from any building structure or obstruction facing the termination.
• Maximum vent height is 4.8 meters from the base of the unit.
• Minimum clearances 50mm from flue to all combustible materials must be maintained.
• 2 x 45° off sets allowed, must not exceed 25% of the height.
e.g. Typical vent installation of 4.8 meters from base of unit;
25% of 4.8 meters = 1.2 meters.
HORIZONTAL FLUE TERMINATION LOCATION
This section is used to determine where your Balanced lue termination will be located.:
• lue terminations shall not be recessed in walls or sidings.
•EXTREMELY IMPORTANT: In heavy snow areas take extra care to prevent blocking
flue termination with snow removal equipment.
• lue gases exiting flue terminals are very hot and must not be restricted to assure fireplace
combustion is not affected.
• Do not place, build any obstruction, plant any bushes or for any reason attempt to conceal
the flue termination. To do so will affect the operation of the fireplace and may be hazardous.
• This unit must always vent directly to outdoors.
• lue runs outside the above options must be checked with the manufacturer first.
CAUTIONS AND REQUIREMENTS
All flueing must maintain a clearance of 50mm from combustible materials.
N TE: It is imperative for satisfactory operation of the “Island” space heater that no flueing
components be modified in any way. All components have been manufactured to
eliminate the need for modification when properly selected and installed.
NOTE: NOT TO SCALE
HORIZONTAL FLUE RUNS VERTICAL FLUE RUN
0.6 m MIN
1.2 m MAX
11
4.8 m MAX
5.0 m MAX 4.5 m MAX
3.6 m MIN
0.6 m
3.0 m
CAPTIVA ISLAND ZERO CLEARANCE MODEL (continued)
Captiva Island Fire Installation Procedure
12
Locate fire into frameout as per page 10
Connect to gas supply and check for leaks
Connect to power supply
Install flue as per directions on page 11
Plaster to unit with trims removed and then install trims
Test unit for safe operation and show customer correct operating procedure
TICK BOXES
igure (1) Remove logs and coals from box
and place supplied coals randomly around
burner as shown. Do not cover burner rail.
igure (3) Place logs A & B as shown in mirror
image of logs A & B on opposite side.
igure (2) Install logs A & B as shown.
igure (4) Place logs C & D as shown, again
logs C & D will be a mirror image.
NOTE: There should be the following
ceramics in the box:
• 2 x large side logs
• 2 x medium side logs
• 2 x curved centre logs
• 2 x tapered straight end logs
• 1 x top log
• 1 x packet small tapered coals (??)
• 1 x packet crescent shaped coals (6)
• 1 x packet square flat coals (12)
igure (5) Place log E on top as shown.
CAPTIVA ISLAND ZERO CLEARANCE MODEL (continued)
Captiva Island Fire Installation Procedure (continued)
igure (1) Place the 12 large pebbles into the
burner as shown.
igure (3) inally place the 32 small pebbles
as shown.
igure (2) Add the 16 medium pebbles as
shown.
NOTE: There should be 32 small pebbles,
16 medium pebbles and 12 large pebbles
contained in the box.
PEBBLE OPTION
To install pebbles follow the instructions below taking care not to place the pebbles over the
burner rail.
13
SERVICING AND MAINTENANCE
To follow when servicing,
removing fan or changing
valve or control modules.
IMP RTANT: P WER MUST BE
IS LATED PRI R T CARRYING
UT THE SERVICE/MAINTENANCE.
IT IS REC MMENDED THAT Y UR HEATER BE SERVICED AT LEAST EVERY TW
YEARS BY A QUALIFIED TRADESMAN.
SERVICE/MAINTENANCE NLY T
BE CARRIED UT BY AN
AUTH RISED PERS N.
igure (1) To remove glass panel or panels,
first remove the top louvre frames by
removing the Allen screws.
igure (3) Once the louvres are loose you can
remove the frames, and then take the louvre
sets off.
igure (5) Remove the outer glass.
igure (2) Then loosen the louvres by
loosening the screws at each end.
igure (4) Now loosen the outer glass holders
whilst holding the glass.
14
SERVICING AND MAINTENANCE (continued)
igure (7) Loosen the top and bottom screws
on the inner glass frames. Do end glass if 3
sided model.
igure (6) Now remove the stainless steel
corner section by removing two screws from
top and two from bottom.
igure (8) Slide the inner glass out of the side
and also the end if 3 sided model supplied.
igure (9) Set up ceramics as per page 12
and 13.
igure (11) To remove the control module,
disconnect wires and lift from double sided
tape. Then remove module.
igure (10) To remove the remote control
module, remove all wire connections and lift
from double sided tape. Then remove module.
15
igure (15) Remove the centre nut from the
fan bracket and pivot the fan clockwise to clear
the plenum chamber.
igure (17) To remove burner, lift the burner
surround and remove.
igure (14) To remove the fan, undo the two
screws from the bracket in front of the fan and
remove bracket.
igure (16) Remove the bottom curb and slide
the fan out.
igure (13) Remove all wires and undo
screws from both fixing brackets. Remove
valve.
igure (12) To remove the gas valve
disconnect the main gas pipe from the left
side and the burner pipe from the right.
SERVICING AND MAINTENANCE (continued)
16
igure (21) Undo the pilot tube nut.
igure (23) Remove burner.
igure (20) Undo the main burner nut.
igure (22) Diconnect the flame rod sensor
and sparker leads.
igure (19) Tilt the burner up an support with
a suitable block.
igure (18) Undo the four fixing screws (one
in each corner).
SERVICING AND MAINTENANCE (continued)
17
After carrying out service or replacing parts, reverse the above processes
to reinstate the components.
Prior to lighting ensure there are no gas leaks.
If your Captiva Island fireplace still does not operate correctly, consult your dealer.
All service and repairs should be performed by an authorised person or company.
All spare parts and optional trim finishes are available from Real Flame Pty Ltd.
GAS CONTROL ASSEMBLY
Inlet Test
Pressure Point
Outet Test
Pressure Point
Adjustment
for High
Adjustment
for Low
Gas Outlet
Gas Inlet
Gas Control Valve Module Box
Remote Control Module
Sensor
PARTS LIST
Remote Control
18
CAPTIVA ISLAND FLUE TERMINATION (COWLS) REGULATIONS
Balanced Flue
19
20
REMOTE CONTROL OPERATING GUIDE
The Landscape 1000 & 1600 are controlled completely by the use of the
remote control; this remote can be used either as a manual operation or an
auto operation.
•The remote thermostat uses radio frequency to transmit to the gas/fan
controller.
• The remote thermostat has a LCD display
• The remote thermostat uses 2 off “AA” batteries which should last for 12 months. (Depending
on quality of battery.) Batteries should be changed when smoke alarms are changed.
• The remote control and the controller are non-serviceable parts and if faulty should be
returned to Real lame Pty Ltd for replacement.
Factory Set Features
• When turned on the fire will always start on the low setting and remain on low for 3 minutes,
it will then go to the high setting.
• The fan will automatically come on in the high mode after the fire has been operating for 3
minutes 20 seconds.
• When the fire shuts off on auto mode or is shut off in manual mode, the fan will continue to
operate for 3 minutes in the “High” mode.
• The fire can be operated in either “Auto” mode or “Manual” mode.
On/Off
Press and release the button to turn the thermostat on and off.
Setting the day of the week and time
With the thermostat off, press and hold the ‘T’ button for 2 seconds or longer to initiate
programming the time. Time, the hour setting and AM/PM will flash.
Setting the hour function
Press and release the sor tbutton to increase or decrease the hour setting by 1 hour.
Press ‘OK’ to accept.
Setting the minute function
Press and release, or press and hold the sor tbutton to increase or decrease the minute setting
by 1 minute.
Press ‘OK’ to accept.
Quick Start Guide
Locating the remote
The remote houses the thermostat that controls the heat output of the fire. When storing the
remote either on its wall bracket or by placing it somewhere in the room where the fire is located,
ensure there are no other heat sources that will affect the thermostats ability to accurately read the
room temperature. or example, by placing the remote in direct sunlight or under a cushion, the
fire may turn down or off before the room reaches the set temperature.
Setting the day of the week function
Press and release the sor tbutton to change the day of the week to the following or previous
day. Press and hold the sor tbutton for 2 seconds or longer to increase or decrease the day of
the week by 1 day every 0.5 seconds.
Press ‘OK’ to complete setting.

This manual suits for next models

2

Other RealFlame Heater manuals

RealFlame ELEMENT 1200 Installation instructions

RealFlame

RealFlame ELEMENT 1200 Installation instructions

RealFlame HEATSEEKER 700 Installation instructions

RealFlame

RealFlame HEATSEEKER 700 Installation instructions

RealFlame ELEMENT 1200 User manual

RealFlame

RealFlame ELEMENT 1200 User manual

RealFlame LANDSCAPE BALANCED Installation instructions

RealFlame

RealFlame LANDSCAPE BALANCED Installation instructions

RealFlame ELEMENT 1200 Installation instructions

RealFlame

RealFlame ELEMENT 1200 Installation instructions

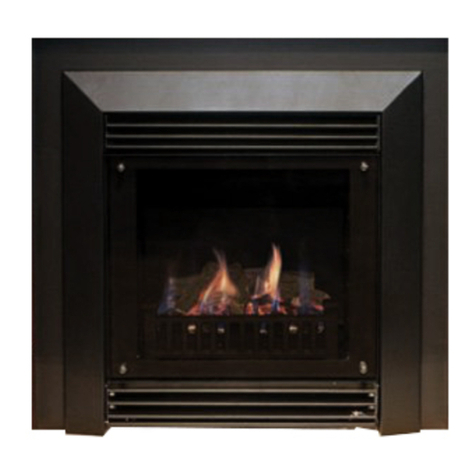
RealFlame Captiva 600 Installation instructions
RealFlame

RealFlame Captiva 600 Installation instructions
RealFlame PYROTECH Installation instructions

RealFlame

RealFlame PYROTECH Installation instructions

RealFlame LANDSCAPE 1000 Installation instructions

RealFlame

RealFlame LANDSCAPE 1000 Installation instructions

RealFlame 561 User manual

RealFlame

RealFlame 561 User manual

RealFlame Inspire 700 Installation instructions

RealFlame

RealFlame Inspire 700 Installation instructions

RealFlame PYROTECH SPACE HEATER Installation instructions

RealFlame

RealFlame PYROTECH SPACE HEATER Installation instructions

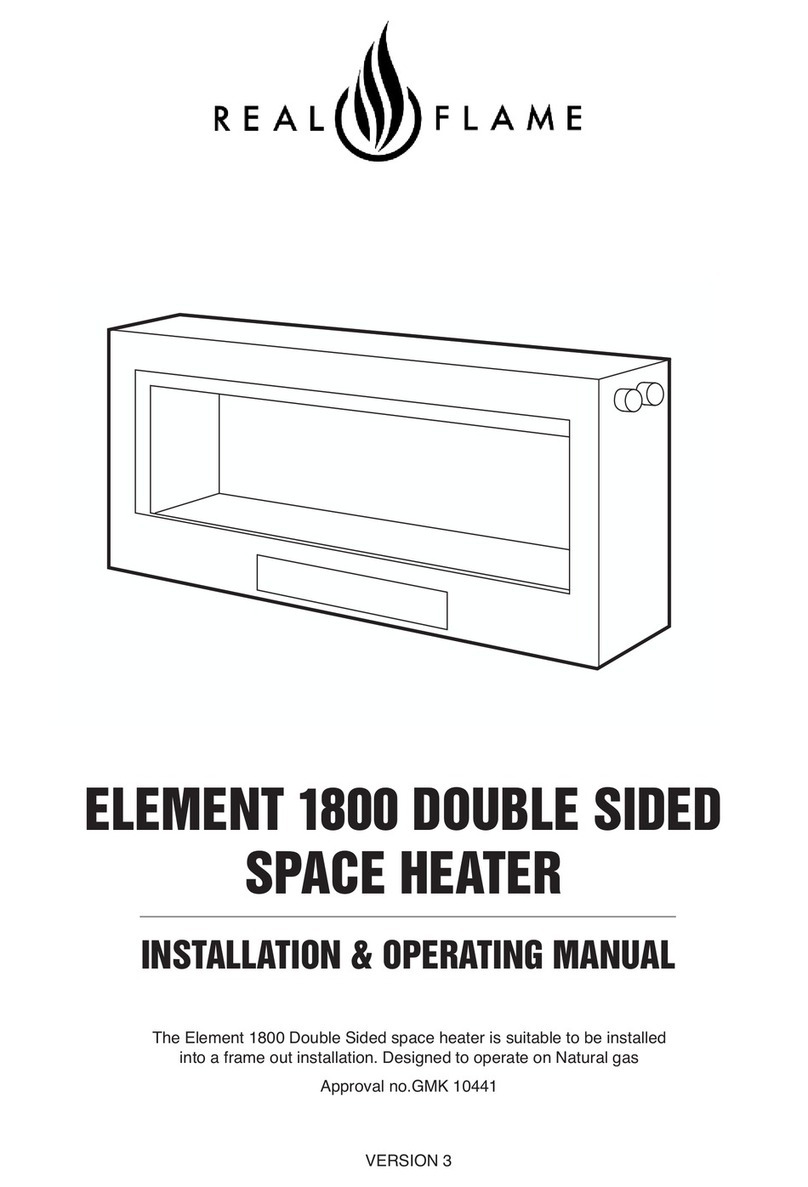
RealFlame ELEMENT 1800 DOUBLE SIDED Installation instructions

RealFlame

RealFlame ELEMENT 1800 DOUBLE SIDED Installation instructions

RealFlame Element 1200 MARK 2 User manual

RealFlame

RealFlame Element 1200 MARK 2 User manual

RealFlame Captiva Island User manual

RealFlame

RealFlame Captiva Island User manual

RealFlame ACCENT 800 Installation instructions

RealFlame

RealFlame ACCENT 800 Installation instructions

RealFlame VEKTOR 1100 User manual

RealFlame

RealFlame VEKTOR 1100 User manual

RealFlame VEKTOR 1100 Installation instructions
RealFlame

RealFlame VEKTOR 1100 Installation instructions

RealFlame Captiva 600 Installation instructions

RealFlame

RealFlame Captiva 600 Installation instructions

Popular Heater manuals by other brands

Silverline COMFORT 1200 DIGITAL IPX4 manual

Silverline

Silverline COMFORT 1200 DIGITAL IPX4 manual

Roda RSP-500 operating instructions

Roda

Roda RSP-500 operating instructions

Star Progetti Varma Tec VARMA 301 operating instructions

Star Progetti

Star Progetti Varma Tec VARMA 301 operating instructions

Defy DHC 7220 W instruction manual

Defy

Defy DHC 7220 W instruction manual

Myson ULOW-E2 Technical guide

Myson

Myson ULOW-E2 Technical guide

Pelonis NTY15-16LA owner's manual

Pelonis

Pelonis NTY15-16LA owner's manual

ensto BETA-MP Series Operation instructions

ensto

ensto BETA-MP Series Operation instructions

Sealey SPACE WARMER  LP401 instructions

Sealey

Sealey SPACE WARMER LP401 instructions

Burda Perfectclime RELAX DARK IRC IP55 Series Installation and operating instructions

Burda

Burda Perfectclime RELAX DARK IRC IP55 Series Installation and operating instructions

ALPATEC taurus TROPICANO MICA 3D 1500 Instructions for use

ALPATEC

ALPATEC taurus TROPICANO MICA 3D 1500 Instructions for use

Hyundai HAL 200 instruction manual

Hyundai

Hyundai HAL 200 instruction manual

FLINQ H3 PRO instruction manual

FLINQ

FLINQ H3 PRO instruction manual

Goldair GPH100-2PK operating instructions

Goldair

Goldair GPH100-2PK operating instructions

Holmes HFH5606 owner's guide

Holmes

Holmes HFH5606 owner's guide

Aurora AU 067 manual

Aurora

Aurora AU 067 manual

iGenix IG9514 user manual

iGenix

iGenix IG9514 user manual

Electricfor RMO4 installation manual

Electricfor

Electricfor RMO4 installation manual

Reddot R-9777 installation instructions

Reddot

Reddot R-9777 installation instructions

manuals.online logo
manuals.online logoBrands
  • About & Mission
  • Contact us
  • Privacy Policy
  • Terms and Conditions

Copyright 2025 Manuals.Online. All Rights Reserved.