manuals.online logo
Brands
  1. Home
  2. •
  3. Brands
  4. •
  5. Resource
  6. •
  7. Indoor Furnishing
  8. •
  9. Resource Nuovoliola User manual

Resource Nuovoliola User manual

Assembly
Instructions
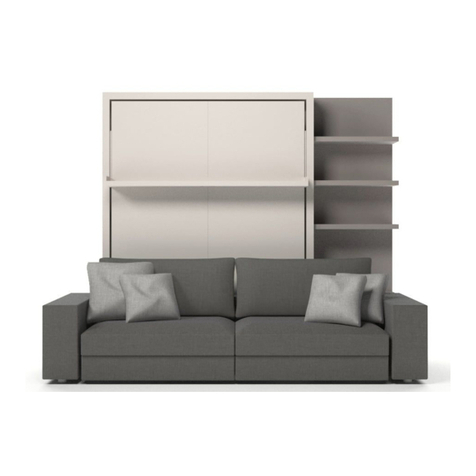
Nuovoliola
WARNING
READ CAREFULLY BEFORE BEGINNING INSTALLATION.
IMPROPER INSTALLATION OF THE PRODUCT MAY CAUSE SERIOUS INJURY
Warranties for all products purchased from Resource Furniture, LLC are
only valid if the product has been properly assembled, Installed by a trained
professional, and operated in accordance with the assembly instructions.
Resource Furniture accepts no responsibility for any damage or injury caused
by Improper Installation.
Installation must be performed by a licensed contractor or a trained
professional, who will ensure proper assembly and installation.
Installation must be performed by at least 2 people.
Improper installation may result in permanent damage to the bed.
Improper installation of this product can cause serious or fatal injury.
All hardware must be properly tightened. No parts of the model should be
left loose or unstable.
NUOVOLIOLA MATTRESS SPECIFICATIONS
Recommended weight: ~ 64 lbs
Recommended dimensions: 79 1/2 x 60 x 7” 1
NUOVOLIOLA OVERVIEW
Carpet can be placed
up to or against wooden
arm base
2
NUOVOLIOLA OVERVIEW
3
NUOVOLIOLA OVERVIEW
8
4
NUOVOLIOLA OVERVIEW
5
NUOVOLIOLA COMPONENTS
CODE QT Y. COMPONENTS
1 1 Right side panel
2 1 Left side panel
3 1 Top horizontal panel
4 1 Base with sofa seat
5 2 Left/right small side panels (already attached to 1 & 2)
6 1 Right back panel
7 1 Left back panel
8 1 Bed frame
9 1 Mattress support bar
10 1 Front shelf
11 1 Padded sofa seat
12 1 Wooden sofa arm left
13 1 Wooden sofa arm right
14 1 Padded sofa arm left (optional)
15 1 Padded sofa arm right (optional)
NUOVOLIOLA STRUCTURAL HARDWARE
CODE QT Y. COMPONENT DESCRIPTION
A 13 7 x 36 6MA Pins
B 13 D15 L17 Cam Connectors
C 7 3.5 x 20 Wood screws for back
panels
D 4 5MA x 50 Screws for side panels
E 6 4MA x 18 Screws for mattress support
bar
F 4 4 x 40 Screws to attach top panel
G 1 4 x 25 Screws for padded back bar
6
7
1
2
STRUCTURE ASSEMBLY
11
ASSEMBLY OF THE STRUCTURE
IMAGE 3
Attach the (3)top horizontal panel to the (2)left side panel with 2 (A)
pins and 2 (B)cam connectors, and to the back panels with 4 (F)screws.
These pieces are pre-assembled.
AASSSSEEMMBBLLYYOOFFTTHHEESSTTRRUUCCTTUURREE
IMAGE 4
Attach the (1)right side panel to the (4)base using 2 (D)screws, and
to the top horizontal panel and back panels with 5 (A)pins and 5 (B)
cam connectors
Secure the back panels to the base using 4 (F) screws.
12
Attach the (2) left side panel to the (4) base using 2 (D) screws.
Attach the 7 left back panel to the 2 left side panel using 3 A pins and 3 B cam connectors.
Attach the 6 right back panel to the 7 left back panel with 3 A pins and 3 B cam connectors.
STRUCTURE ASSEMBLY
11
ASSEMBLY OF THE STRUCTURE
IMAGE 3
Attach the (3)top horizontal panel to the (2)left side panel with 2 (A)
pins and 2 (B)cam connectors, and to the back panels with 4 (F)screws.
These pieces are pre-assembled.
AASSSSEEMMBBLLYYOOFFTTHHEESSTTRRUUCCTTUURREE
IMAGE 4
Attach the (1)right side panel to the (4)base using 2 (D)screws, and
to the top horizontal panel and back panels with 5 (A)pins and 5 (B)
cam connectors
Secure the back panels to the base using 4 (F) screws.
12
(C)
(C)
(C)
3
4
Attach the (3) top horizontal panel to the (2) left side panel with 2 (A) pins and 2 (B) cam
connectors, and to the back panels with 4 (F) screws.
Attach the 1 right side panel to the 4 base using 2 D screws, and to the top horizontal
panel and back panels with 5 A pins and 5 B cam connectors. Secure the back panels to
the base using 7 C screws.
8
9
Wand Light Exploded Diagram
Cord Length = 118”
Back
Front
5
OPTIONAL WAND LIGHTING
Drill 1/2” hole at 18 1/8” below upperbed structure panel (from inside) and 11/2” in from the
side. Install mounting plate with provided wood screws, aligning the 1/2” drill holes.
10
LEVELING THE STRUCTURE
LEVELING THE BED
IMAGE 14:
Ensure that the structure is level and plumb.
To compensate for any floor unevenness, use the adjustable feet on the
bottom panel (det. 14a) to level the structure.
det.14a
14
6Ensure that the structure is level and plumb. To compensate for any floor unevenness,
use the adjustable feet on the bottom panel (det. 1 4a) to level the structure.
7
8
BED FRAME INSTALLATION
LEVELING THE BED
IMAGE 14:
Ensure that the structure is level and plumb.
To compensate for any floor unevenness, use the adjustable feet on the
bottom panel (det. 14a) to level the structure.
14
det.5a
ASSEMBLY OF THE BED FRAME
IMAGE 5
Unscrew the safety plates fixed to the (4) base, as shown in det.
5a. The safety plates must be securely reattached after the levers
are inserted. (see next page for details)
15
ASSEMBLY OF THE BED FRAME
IMAGE 6
Position the ((88)) bed frame within the structure as shown. Place the
levers located near the head of the bed frame into their slots as
shown in det. 66aa, and re-attach the safety plates from Image 55.
Ensure that pins on the bedframe slide into the base of the structure
as shown in det. 66bb.
Note: It is recommended to USE proper floor protection around the
work area, under the bed frame, so that the metal feet do not
scratch the floor.
16
det.6b
det.6a
Unscrew the safety plates fixed to the (4) structure base, as shown in det. 5a.
Position the (8) bed frame within the structure as shown. Place the levers located near the head
of the bed frame into their slots as shown in det. 6a, and re-attach the safety plates from Image
5. Ensure that pins on the bedframe slide into the base of the structure as shown in det. 6b.
Note: It is recommended to USE proper floor protection around the work area, under the bed
frame, so that the metal feet do not scratch the floor.
11
BED FRAME INSTALLATION
7
9Attach the (9) mattress support bar to the bed frame using six (E) screws.
12
FRONT SHELF INSTALLATION
ASSEMBLY OF THE BED FRAME
IMAGE 7
Attach the (9) mattress support bar to the bed frame using six
(E) machine bolts.
17
ASSEMBLY OF THE BED FRAME
IMAGE 7
Attach the (9) mattress support bar to the bed frame using six
(E) machine bolts.
17
10 Attach the shelf to the feet of the bed frame, as shown, using 4 (G) screws.
13
11
SOFA ARMS INSTALLATION
Installing the front shelf
IMG.9: Attach the shelf to the feet of the bed frame, as shown, using 4 (I) screws.
OPENING THE BED
IMAGE 10:
Grasp the handle in the center of the shelf and pull down the bed, gently accompanying the
bed with both hands until it reaches the ground.
18
Installing the front shelf
IMG.9: Attach the shelf to the feet of the bed frame, as shown, using 4 (I) screws.
OPENING THE BED
IMAGE 10:
Grasp the handle in the center of the shelf and pull down the bed, gently accompanying the
bed with both hands until it reaches the ground.
18
Remove the machine bolts from the wooden arms (12-13) and attach the wooden arms to
the base (4) using the (8) machine bolts.
14
PADDED SOFA ARMS INSTALLATION
Installing the front shelf
IMG.9: Attach the shelf to the feet of the bed frame, as shown, using 4 (I) screws.
OPENING THE BED
IMAGE 10:
Grasp the handle in the center of the shelf and pull down the bed, gently accompanying the
bed with both hands until it reaches the ground.
18
Installing the front shelf
IMG.9: Attach the shelf to the feet of the bed frame, as shown, using 4 (I) screws.
OPENING THE BED
IMAGE 10:
Grasp the handle in the center of the shelf and pull down the bed, gently accompanying the
bed with both hands until it reaches the ground.
18
12 Insert the padded sofa arms (14-15) into the wooden sofa arms (12-13) and fasten using (8) wood
screws 4x40 .
15
PADDED SOFA CUSHION INSTALLATION
13 Place the (11) padded sofa seat on top of the metal sofa seat and attach to the back of the metal
sofa seat using the velcro located in back of the padded seat cushion.
16
MATTRESS AND HEADBOARD INSTALLATION
14 Attach the headboard (if purchased by client) to the back of the structure. Secure the mattress to
the bedframe by fastening the two buckled straps.
17
BED AND HEADBOARD INSTALLATION
15 To balance the bedframe, adjust the spring tension controllers with the 8mm allen wrench
provided. Turn clockwise to adjust the tension in order to close the bed with ease. Ensuring
that each side of the bedframe is adjusted equally.
Note: An excessive number of turns may damage the cable.
ADJUSTING THE TENSION ON THE BED FRAME SPRINGS
IMAGE 12:
To balance the bedframe, adjust the spring tension controllers with the 8mm allen wrench
provided. Turn clockwise to adjust the tension in order to close the bed with ease. Ensuring that
each side of the bedframe is adjusted equally.
Note: An excessive number of turns may damage the cable.
ASSEMBLY OF THE BED & HEADBOARD
IMAGE 11:
Attach the headboard (if purchased by client) to the back of the structure.
Secure the mattress to the bedframe by fastening the two buckled straps.
19
18
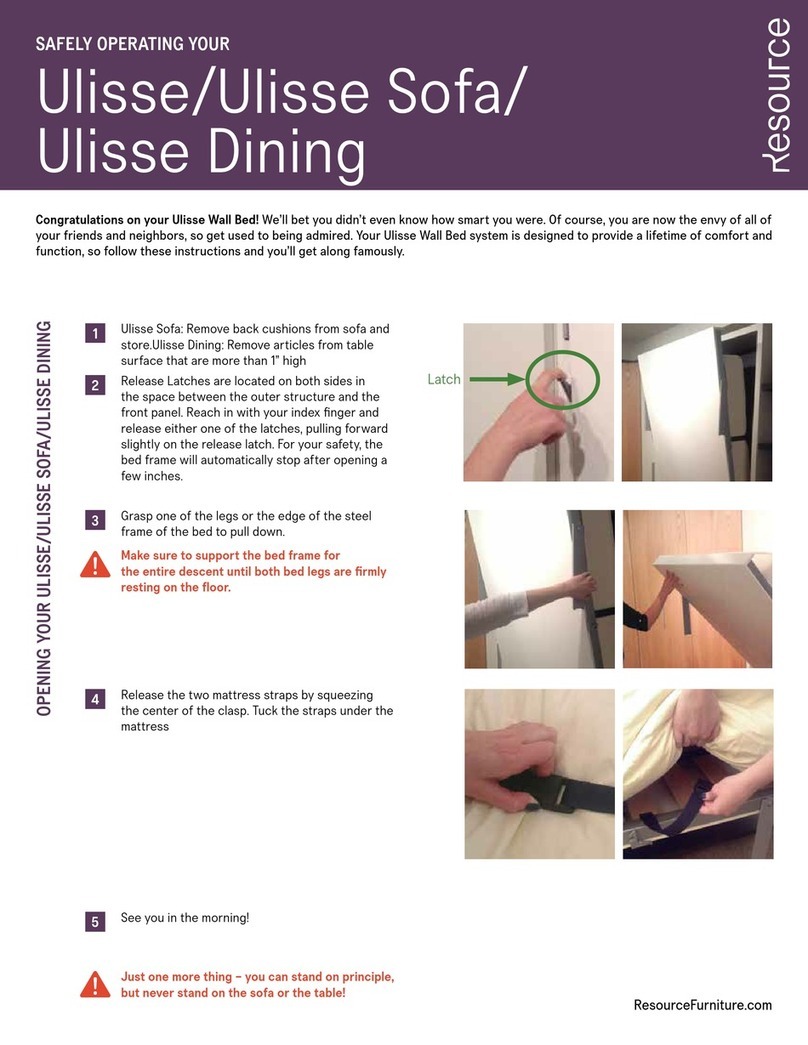
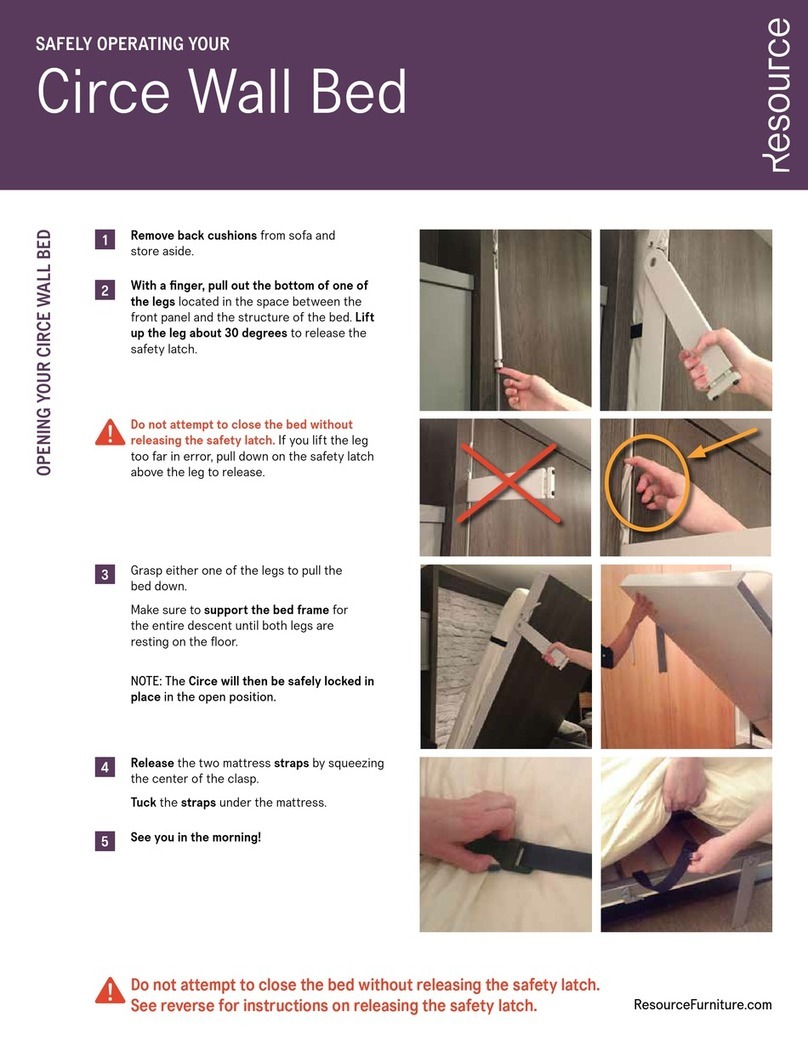
OPENING YOUR NUOVOLIOLA WALL BED
SAFELY OPERATING YOUR
NUOVOLIOLA BED
Grasp the handle located in the middle
of the shelf and pull with one hand, while
supporting the top of the bed frame with
the other as you walk backwards, allowing
the bed frame to descend under control.
Make sure to support the bed frame with
both hands for the entire descent until the
shelf is firmly resting on the floor.
It may be necessary to gently push down
on the bed frame for the final few inches.
Release the two mattress straps by
squeezing the center of the clasp.
Tuck the straps under the mattress.
Sleep!
Prior to opening bed, remove any items
taller than approx. 12.”
Remove back cushions.
To store the cushions or bedding under
seat, lift sofa seat from bottom front edge
for Nuovoliola.
If you have a coee table, push table against
sofa. DO NOT STAND ON TABLE! If you cannot
reach shelf, move table aside.
Make sure that any and all items on shelf
are stable and secure at all times.
1
2
3
4
5

Other Resource Indoor Furnishing manuals
Resource Kali 90 User manual

Resource

Resource Kali 90 User manual

Resource Tango 223 User manual

Resource

Resource Tango 223 User manual
Resource Kali Board 90 User manual

Resource

Resource Kali Board 90 User manual

Resource ALTEA Work 90 User manual

Resource

Resource ALTEA Work 90 User manual

Resource Kali Duo Sofa User manual

Resource

Resource Kali Duo Sofa User manual

Resource Oslo Series User manual

Resource

Resource Oslo Series User manual

Resource Swing 0 User manual

Resource

Resource Swing 0 User manual

Resource Ulisse Wall Bed User manual

Resource

Resource Ulisse Wall Bed User manual

Resource Kali Duo Board User manual

Resource

Resource Kali Duo Board User manual

Resource Circe User manual

Resource

Resource Circe User manual

Resource LGM User manual

Resource

Resource LGM User manual

Resource Altea 90 User manual

Resource

Resource Altea 90 User manual

Resource Penelope 2 User manual

Resource

Resource Penelope 2 User manual

Resource Ulisse Dining User manual

Resource

Resource Ulisse Dining User manual

Resource Circe Wall Bed User manual

Resource

Resource Circe Wall Bed User manual

Resource Swing With Chaise User manual

Resource

Resource Swing With Chaise User manual

Popular Indoor Furnishing manuals by other brands

DREAMS MOORE BED Assembly instruction

DREAMS

DREAMS MOORE BED Assembly instruction

Monarch Specialties I 4267 Assembly instructions

Monarch Specialties

Monarch Specialties I 4267 Assembly instructions

Populas ACCELLA Assembly instructions

Populas

Populas ACCELLA Assembly instructions

Wholesale Interiors C6412A-G49-GF Series Assembly instructions

Wholesale Interiors

Wholesale Interiors C6412A-G49-GF Series Assembly instructions

Euroseats 75.BUR.002 installation guide

Euroseats

Euroseats 75.BUR.002 installation guide

bednest cot user guide

bednest

bednest cot user guide

Lifetime Kidsrooms 30255 Assembly instructions

Lifetime Kidsrooms

Lifetime Kidsrooms 30255 Assembly instructions

RTA Techni Mobili RTA-BC19 Assembly instructions

RTA

RTA Techni Mobili RTA-BC19 Assembly instructions

Furniture of America Calliope CM7751TV Assembly instructions

Furniture of America

Furniture of America Calliope CM7751TV Assembly instructions

Do+Able Products 12347 Assembly instructions

Do+Able Products

Do+Able Products 12347 Assembly instructions

Costway HW61359 user manual

Costway

Costway HW61359 user manual

Lanberg WF10-2304-10B user manual

Lanberg

Lanberg WF10-2304-10B user manual

Weelko Practi 1021A quick start guide

Weelko

Weelko Practi 1021A quick start guide

Bell'O WAVS331 Assembly instructions

Bell'O

Bell'O WAVS331 Assembly instructions

Furniture of America CM5677TV Assembly instructions

Furniture of America

Furniture of America CM5677TV Assembly instructions

American Standard Colony Fitright Round Front 10" Rough-In Toilet... Specification sheet

American Standard

American Standard Colony Fitright Round Front 10" Rough-In Toilet... Specification sheet

Balmani Mitra basin cabinet - wood installation guide

Balmani

Balmani Mitra basin cabinet - wood installation guide

URBAN OUTFITTERS MAIA CONSOLE Assembly instructions

URBAN OUTFITTERS

URBAN OUTFITTERS MAIA CONSOLE Assembly instructions

manuals.online logo
manuals.online logoBrands
  • About & Mission
  • Contact us
  • Privacy Policy
  • Terms and Conditions

Copyright 2025 Manuals.Online. All Rights Reserved.