manuals.online logo
Brands
  1. Home
  2. •
  3. Brands
  4. •
  5. Resource
  6. •
  7. Indoor Furnishing
  8. •
  9. Resource Penelope 2 User manual

Resource Penelope 2 User manual

Assembly
Instructions
Penelope 2
WARNING
READ CAREFULLY BEFORE BEGINNING INSTALLATION.
IMPROPER INSTALLATION OF THE PRODUCT MAY CAUSE SERIOUS INJURY
Warranties for all products purchased from Resource Furniture, LLC are
only valid if the product has been properly assembled, Installed by a trained
professional, and operated in accordance with the assembly instructions.
Resource Furniture accepts no responsibility for any damage or injury caused
by Improper Installation.
Installation must be performed by a licensed contractor or a trained
professional, who will ensure proper assembly and installation.
Installation must be performed by at least 2 people.
Improper installation may result in permanent damage to the bed.
Improper installation of this product can cause serious or fatal injury.
No anchor can be used twice. If the product is removed from the wall, new
anchor holes must be drilled and new hardware must be used.
All hardware must be properly tightened. No parts of the model should be
left loose or unstable.
The wall bed must be secured to the wall in four locations using appropriate
hardware. The contractor or installer must select the proper anchoring hardware.
• The wall anchors included are for solid concrete walls only.
• Walls with wooden studs: Wood screws must be screwed into wooden studs in
the wall.
• Any other wall composition: A proper wall anchor suitable for the wall’s
construction must be selected by the contractor or installer.
PENELOPE 2 MATTRESS SPECIFICATIONS
Recommended weight: ~ 66 lbs
Recommended dimensions: 78 3/4 x 59 x 7” 1
PENELOPE 2 OVERVIEW
PENELOPE MATTRESS
Recommended weight: ~ 66lbs
Recommended size: 78 x 59 x 7inches
86
86 5/8
65 3/4
13 3/4
86 5/8
65 3/4
PENELOPE 2
2
7
6
1
4
3
A
BC
6
D
2
PENELOPE 2 OVERVIEW
3
PENELOPE 2 OVERVIEW
Note: Bed base comes fully assembled but can be disassembled if needed.
5
8
PENELOPE 2 COMPONENTS
CODE QT Y. COMPONENTS
1 1 Right vertical panel
2 1 Left vertical panel
3 1 Top horizontal panel
4 1 Bottom horizontal panel
5 1 Bed frame
6 2 Back panels
7 1 Back panels spline
8 1 Mattress support bar
4
PENELOPE 2 TOOLS
QTY. DESCRIPTION
1 Allen wrench 4 MM
1 Allen wrench 5 MM
1 Allen wrench 6 MM
CODE QT Y. COMPONENT DESCRIPTION
A 8 7 x 36 6MA Pins
B 8 D15 L17 Cam connectors
C28 3.5 x 30 Wood screws for attaching
back panels to structure
D 4 M8x30MM Hex screw - for attaching bed
frame to structure
E 2 5MA x 20 TPSE Hex screw - for mattress
support bar
PENELOPE 2 STRUCTURAL HARDWARE
PENELOPE 2 WALL MOUNTING HARDWARE
2
2
2
2
2
5
Note: The installer must determine the composition of the wall and appropriate anchors
prior to installation. The wall anchors included are for solid concrete walls only.
CODE QT Y. DESCRIPTION
WA 4Wall anchors supplied anchors are for
solid concrete walls only.
WB 4 Wall brackets
WC 24 3.5x20MM wood screw for attaching wall
brackets to top of bed.
6
STRUCTURE ASSEMBLY
1Screw 4 (A) pins into both the (1) right vertical and (2) left vertical panels. Attach the (3) horizontal
top and (4) horizontal bottom panels to the vertical panels by inserting and tightening 8 (B) cams.
Attach the (7) lower back panel to the structure with 14 (C) wood screws. Insert (8) back panel
spline into lower back panel and place the (7) upper back panel on top of the spline attaching it to
the structure using 14 (C) screws.
7
Wand Light Exploded Diagram
Cord Length = 118”
Front
Back
2
OPTIONAL WAND LIGHTING
Headboard must be installed on site before light fixture. Drill 1/2” hole at 10 1/4” above headboard and
1 1/2” in from the side. Install mounting Plate with provided wood screws, aligning the 1/2” drill holes.
8
LEVELING THE STRUCTURE
detail 21a
3Ensure that the structure is level and plumb. To compensate for any floor unevenness,
use the adjustable feet on the bottom panel (det. 21a) to level the structure.
9
4
WALL BED ATTACHMENT
1
2
3 4
1 2
3
4
1 2
3
4
1
2
3 4
After the unit is level and plumb it should be securely attached to the wall using the
metal angle mounting brackets as shown in the images below. A proper wall anchor
suitable for the wall’s construction must be selected by the contractor or installer.
10
MATTRESS BAR INSTALLATION
5Mattress bar must be installed before the bed base is inserted into the structure.
Hex screw REF: P
E
11
6
BED BASE INSTALLATION
5
1
5
1
Inserting the bed base into the structure.
12
BED BASE INSTALLATION
7Attaching the bed base to the structure.
Hex screw REF: O
D
13
8
HEADBOARD AND MATTRESS INSTALLATION
Headboard is optional.
14
9Opening the Unit.
BED OPERATION
15
BED OPERATION
10 Closing the Unit.
SAFELY OPERATING YOUR
PENELOPE 2 BED
OPENING YOUR PENELOPE 2 WALL BED
1
2
3
4
Grasp either one of the legs to pull the
bed down.
Make sure to support the bed frame for
the entire descent until both legs are
resting on the floor.
NOTE: The Penelope 2 will then be safely
locked in place in the open position.
Do not attempt to close the bed without
releasing the safety latch. If you lift the
leg too far in error, pull down on the safety
latch above the leg to release.
Release the two mattress straps by
squeezing the center of the clasp.
Tuck the straps under the mattress.
See you in the morning!
With a finger, pull out the bottom of one
of the legs located in the space between
the front panel and the structure of the
bed. Lift up the leg about 30 degrees to
release the safety latch.
Do not attempt to close the bed without
releasing the safety latch. See reverse for
instructions on releasing the safety latch.
16
SAFELY OPERATING YOUR
PENELOPE 2 BED
1
2
3
4
CLOSING YOUR PENELOPE 2 WALL BED
Remove bed pillows and tuck bedding
in on all sides around and under the
mattress.
Latch both mattress straps over the
bedding.
Continue to lift bed frame as you walk
forward toward wall. Push bed frame
into structure until you hear both safety
latches above the legs “click” into place.
This indicates that the bed is now fully
locked.
Release one of the safety latches. Stand
at the foot of the bed at either corner.
Using one hand, apply gentle downward
pressure on the bed while pushing down
on one of the release levers with the
other hand. You do not have to release
both latches.
Once properly released, the bed will be
easy to lift. If you feel any resistance, let
go and repeat step 2.
Oh, and did we mention: Do not attempt to
close the bed without releasing the safety
latch? I thought so.
Have a great day!
Do not attempt to close the bed without
releasing the safety latch.
The all-important
Safety Latch
NOTE: Your Penelope 2 is designed so that most bedding can remain on the bed when
closed. If you experience diculty closing the bed, your bedding might be too thick.
17
ResourceFurniture.com
New York
Los Angeles
San Francisco
Washington, D.C.
Toronto
Calgary
Vancouver
Mexico City

Other Resource Indoor Furnishing manuals
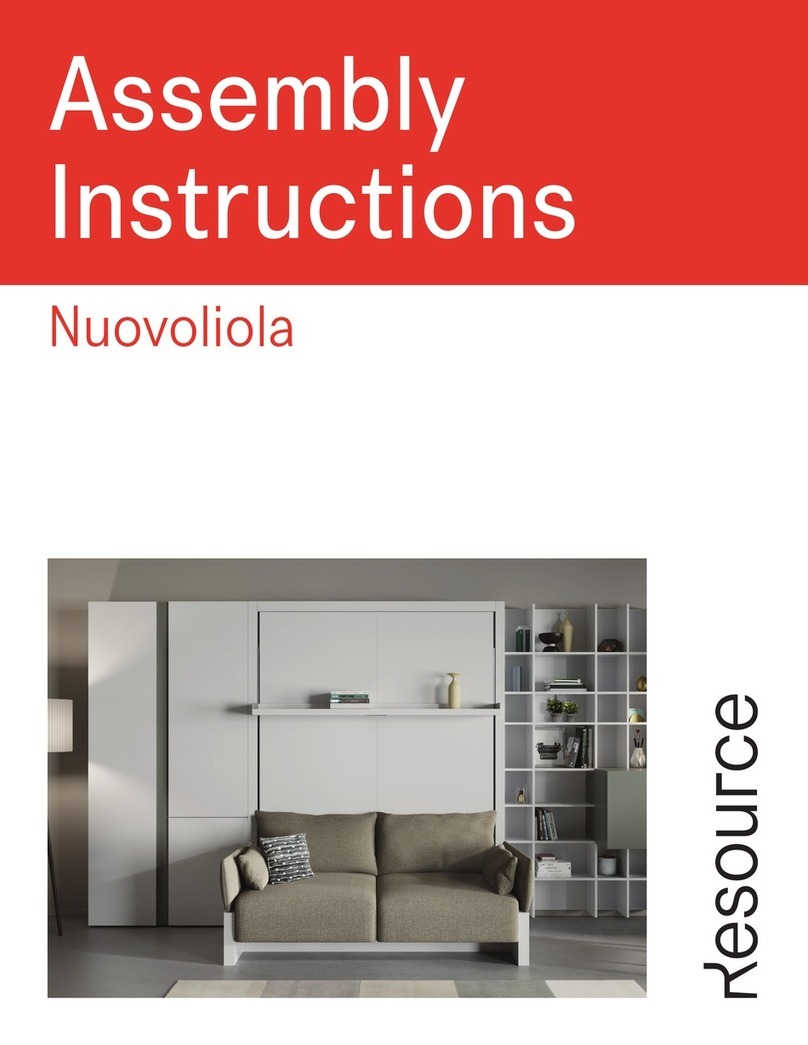
Resource Ulisse Dining User manual

Resource

Resource Ulisse Dining User manual

Resource Nuovoliola User manual

Resource

Resource Nuovoliola User manual
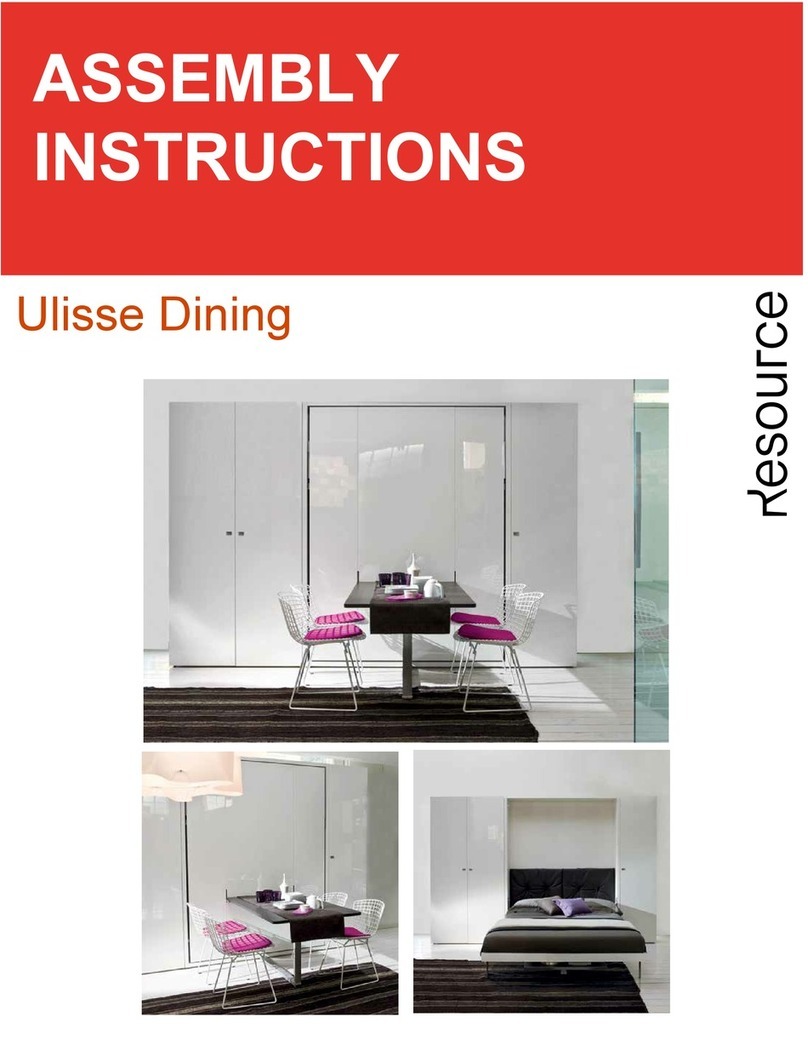
Resource Tango 223 User manual

Resource

Resource Tango 223 User manual

Resource Oslo Series User manual

Resource

Resource Oslo Series User manual

Resource Kali Board 90 User manual

Resource

Resource Kali Board 90 User manual

Resource Ulisse Wall Bed User manual

Resource

Resource Ulisse Wall Bed User manual

Resource Altea 90 User manual

Resource

Resource Altea 90 User manual

Resource ALTEA Work 90 User manual

Resource

Resource ALTEA Work 90 User manual

Resource Kali Duo Board User manual

Resource

Resource Kali Duo Board User manual

Resource LGM User manual

Resource

Resource LGM User manual

Resource Swing 0 User manual

Resource

Resource Swing 0 User manual

Resource Kali 90 User manual

Resource

Resource Kali 90 User manual

Resource Circe Wall Bed User manual

Resource

Resource Circe Wall Bed User manual

Resource Circe User manual

Resource

Resource Circe User manual

Resource Kali Duo Sofa User manual

Resource

Resource Kali Duo Sofa User manual
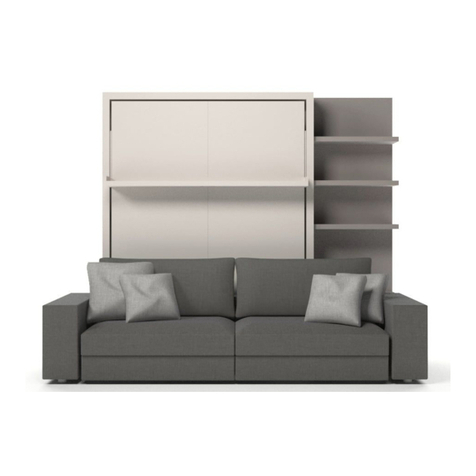
Resource Swing With Chaise User manual
Resource

Resource Swing With Chaise User manual

Popular Indoor Furnishing manuals by other brands

Preggio PARAWA-132 Lawa Assembly instruction

Preggio

Preggio PARAWA-132 Lawa Assembly instruction

Wilhelm Schildmeyer 558310 Assembly instructions

Wilhelm Schildmeyer

Wilhelm Schildmeyer 558310 Assembly instructions

Germania 1684 Assembly instruction

Germania

Germania 1684 Assembly instruction

Kimball Fluent Series Assembly instructions

Kimball

Kimball Fluent Series Assembly instructions

Rauch M2582 Assembly instructions

Rauch

Rauch M2582 Assembly instructions

Dunelm Indi Dressing Table Assembly instructions

Dunelm

Dunelm Indi Dressing Table Assembly instructions

Office Star Products Pro-Line II 86725 operating instructions

Office Star Products

Office Star Products Pro-Line II 86725 operating instructions

Furniture Solutions 15DIJ3SS instruction manual

Furniture Solutions

Furniture Solutions 15DIJ3SS instruction manual

Techni Mobili RTA-8338 Assembly instructions

Techni Mobili

Techni Mobili RTA-8338 Assembly instructions

norix TNT0802-BX1 Assembly instructions

norix

norix TNT0802-BX1 Assembly instructions

Epoch Design Radia 5119 instructions

Epoch Design

Epoch Design Radia 5119 instructions

philrouge EOS Relax Assembly and use manual, care instructions

philrouge

philrouge EOS Relax Assembly and use manual, care instructions

Baxton Studio 0021-1 Assembly instructions

Baxton Studio

Baxton Studio 0021-1 Assembly instructions

Hülsta Now! 12700 Assembly instruction

Hülsta

Hülsta Now! 12700 Assembly instruction

ECR ELR-17306 manual

ECR

ECR ELR-17306 manual

Kvik TO841 manual

Kvik

Kvik TO841 manual

Rauch M2640 Assembly instructions

Rauch

Rauch M2640 Assembly instructions

Argos Seychelles Table 801/8300 Assembly instructions

Argos

Argos Seychelles Table 801/8300 Assembly instructions

manuals.online logo
manuals.online logoBrands
  • About & Mission
  • Contact us
  • Privacy Policy
  • Terms and Conditions

Copyright 2025 Manuals.Online. All Rights Reserved.