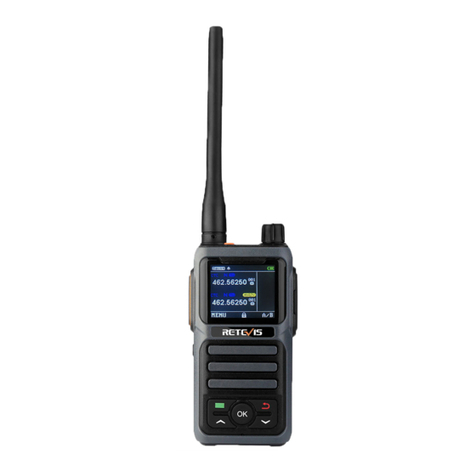
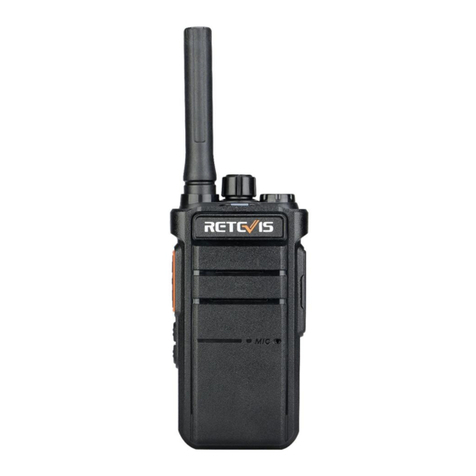
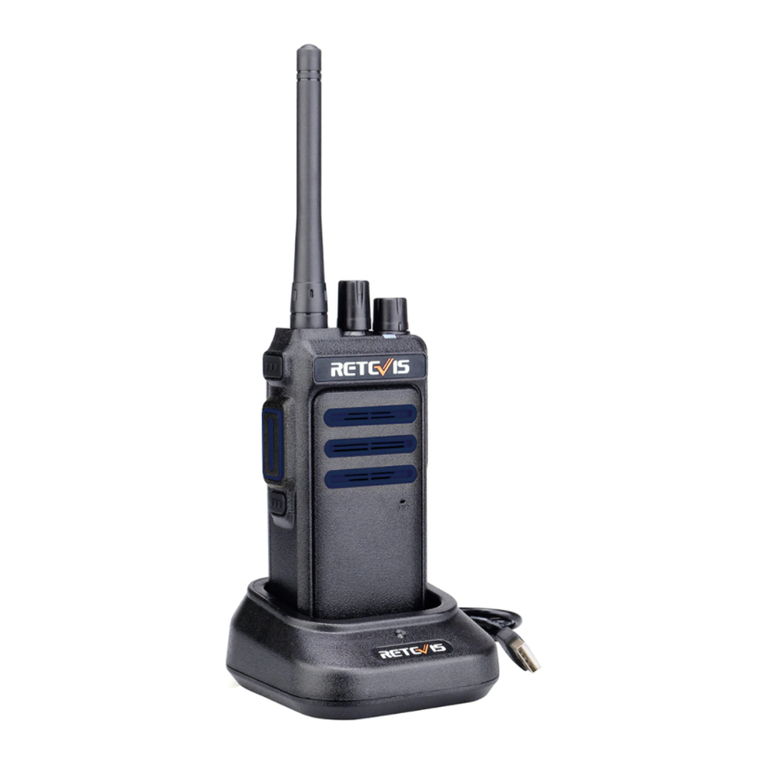
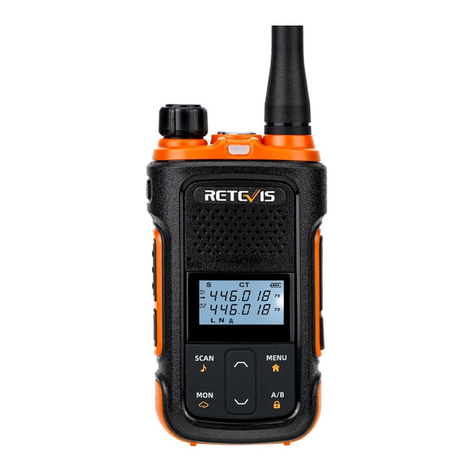
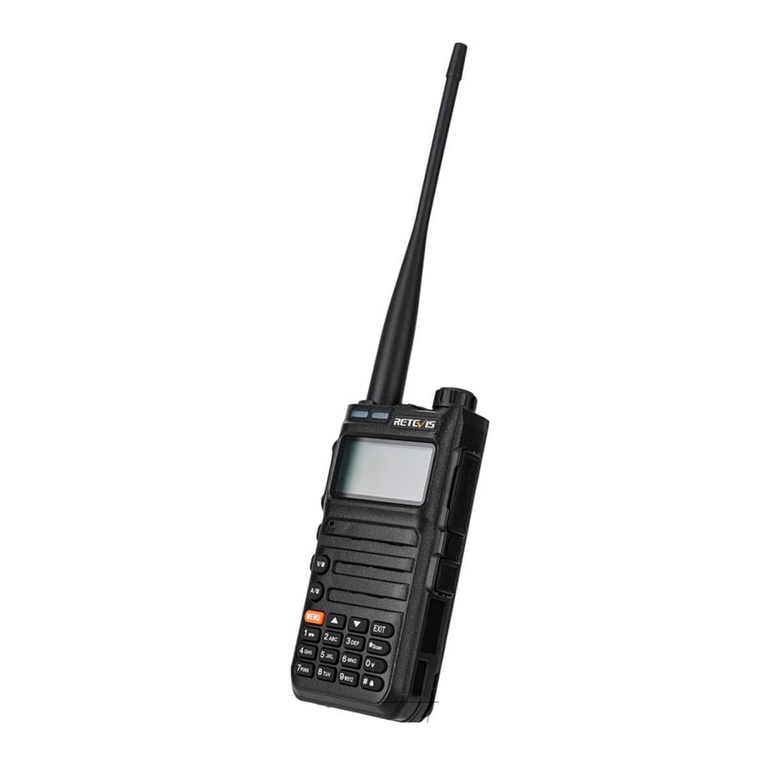
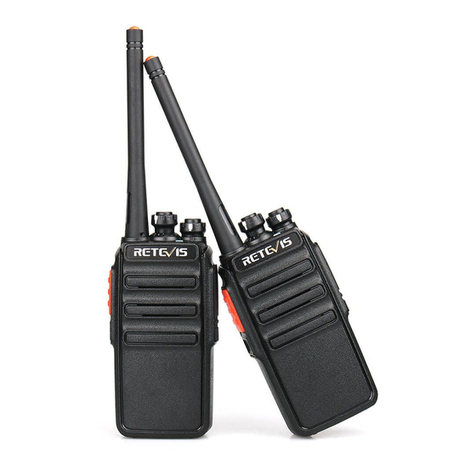
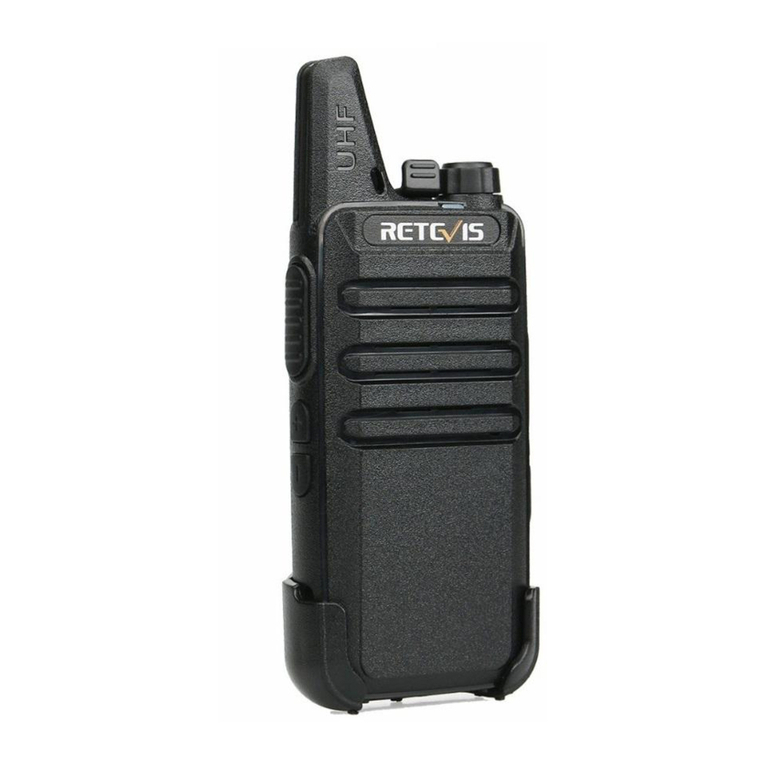
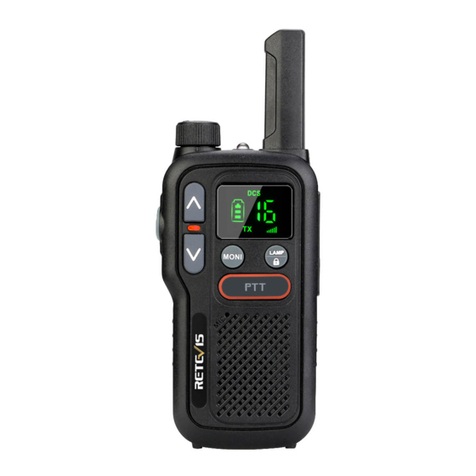
Retevis RT76P User manual

7

Warning
+
Please
read
this
manual
carefully
before
using
this
transceiver.
*
Please
do
not
communicate
or
charge
this
transceiver
in
flammable,
explosive
and
area
which
transceiver
communication
is
prohibited
(such
as
oil
station,
gas
station,
airport
etc.
)
+
Please
do
not
operate
this
transceiver
without
license
in
government
laws
banned
areas.
*
Please
make
sure
this
transceiver
avoids
the
sunshine,
and
avoids
to
put
it
near
any
heating
device.
+
Please
make
sure
this
transceiver
avoids
any
dusty,
humid
and
water
splashed
place,
and
also
to
put
it
near
any heating
device.
+
If
transceiver
smells
or
smokes,
please
remove
the
battery
pack
from
transceiver
at
once,
and
then
please
contact
your
nearest
distributor.
*
The
repair
job
of
this
transceiver
is
in
the
charge
of
professionals
&
technical’s,
self-
disassembly
is
prohibited.
Unpacking
and
Checking
the
Equipment
Carefully
unpack
the
transceiver.
We
recommend
that
you
identify
the
items
in
the
following
table
before
discarding
the
packing
material.
If
any
item
is
missing
or
has
been
damaged
during
shipment,
please
contact
your
first
seller.
Standard
Accessories
Battery
Charger
Belt Clip
User’s
Manual

Battery
Information
Notice
for
charging
battery
The
battery
is
not
charged
at
the
factory,
please
charge
it
before
using.
Charge
the
battery
for
the
first
time
after
purchase
or
extended
storage
(more
than
2
months)
may
not
bring
the
battery
to
its
normal
operating
capacity.
After
repeating
fully
charge/
discharge
cycle
for
two
or
three
times,
the
operating
capacity
will
reach
the
best
performance.
The
battery
life
will
be
over
when
the
operating
time
decreases
even
though
it
fully
and
correctly
charged.
Please
replace
the
battery.
Battery
Charger
Type
Please
use
our
company’s
designated
charger;
other
models
may
cause
explosion
and
injure
people.
Notice:
1.
Do
not
short-circuit
our
company
designated
charger.
Never
attempt
to
remove
the
casing
from
the
battery,
we
show
no
responsibility
on
the
faulty
caused
by
modifying
freely
without
permission
of
our
factory.
2.
The
ambient
temperature
should
be
between
0
and
40
in
charging.
Charging
outside
this
range
may
not
fully
charge
the
battery.
3.
Always
switch
off
the
transceiver
equipped
with
a
battery
before
charging.
Otherwise,
it
will
interfere
with
correct
charging.
03
4.
To
avoid
interfering
the
charging
procedure,
please
do
not
cut
off
the
power
or
take
out
the
battery
during
charging.
5.
Don’t
recharge
the
battery
if
it
is
already
fully
charged.
This
may
shorten
the
life
of
the
battery
or
damage
the
battery.
6.
Don’t
charge
the
battery
or
transceiver
if
it
is
damp.
Dry
it
before
charging
to
avoid
danger.
7.
Don’t
charge
the
battery
or
the
transceiver
when
it
is
wet.
Wipe
dry
with
a
dry
cloth
before
charging
to
avoid
danger.
WARNING:
when
buttons
or
ornamental
chains
and
other
electric
metals
with
the
battery
terminals,
the
battery
may
cause
damage
or
hurt
bodies.
If
the
battery
terminal
short
circuit,
it
will
generate
a
lot
of
heat,
please
be
careful
when
you
bring
or
use
the
battery,
please
put
battery
or
radio
into
an
insulated
container.
Do
not put
it
into
the
metal
container.
How
to
charge
the
battery
After
installing
the
battery,
if
the
battery
capacity
indicating
icon
shows
~,,
it
means
Low
Battery,
please
charge
the
battery.
Please
use
our
company
default
charger
to
charge
the
battery;
the
charger
light
will
indicate
the
charging
status.
Indicator
Status
Red
Light
In
Charging
Green
Light
Fully
Charged

Battery
Information
Notice
for
charging
battery
The
battery
is
not
charged
at
the
factory,
please
charge
it
before
using.
Charge
the
battery
for
the
first
time
after
purchase
or
extended
storage
(more
than
2
months)
may
not
bring
the
battery
to
its
normal
operating
capacity.
After
repeating
fully
charge/
discharge
cycle
for
two
or
three
times,
the
operating
capacity
will
reach
the
best
performance.
The
battery
life
will
be
over
when
the
operating
time
decreases
even
though
it
fully
and
correctly
charged.
Please
replace
the
battery.
Battery
Charger
Type
Please
use
our
company’s
designated
charger;
other
models
may
cause
explosion
and
injure
people.
Notice:
1.
Do
not
short-circuit
our
company
designated
charger.
Never
attempt
to
remove
the
casing
from
the
battery,
we
show
no
responsibility
on
the
faulty
caused
by
modifying
freely
without
permission
of
our
factory.
2.
The
ambient
temperature
should
be
between
0
and
40
in
charging.
Charging
outside
this
range
may
not
fully
charge
the
battery.
3.
Always
switch
off
the
transceiver
equipped
with
a
battery
before
charging.
Otherwise,
it
will
interfere
with
correct
charging.
03
4.
To
avoid
interfering
the
charging
procedure,
please
do
not
cut
off
the
power
or
take
out
the
battery
during
charging.
5.
Don’t
recharge
the
battery
if
it
is
already
fully
charged.
This
may
shorten
the
life
of
the
battery
or
damage
the
battery.
6.
Don’t
charge
the
battery
or
transceiver
if
it
is
damp.
Dry
it
before
charging
to
avoid
danger.
7.
Don’t
charge
the
battery
or
the
transceiver
when
it
is
wet.
Wipe
dry
with
a
dry
cloth
before
charging
to
avoid
danger.
WARNING:
when
buttons
or
ornamental
chains
and
other
electric
metals
with
the
battery
terminals,
the
battery
may
cause
damage
or
hurt
bodies.
If
the
battery
terminal
short
circuit,
it
will
generate
a
lot
of
heat,
please
be
careful
when
you
bring
or
use
the
battery,
please
put
battery
or
radio
into
an
insulated
container.
Do
not put
it
into
the
metal
container.
How
to
charge
the
battery
After
installing
the
battery,
if
the
battery
capacity
indicating
icon
shows
~,,
it
means
Low
Battery,
please
charge
the
battery.
Please
use
our
company
default
charger
to
charge
the
battery;
the
charger
light
will
indicate
the
charging
status.
Indicator
Status
Red
Light
In
Charging
Green
Light
Fully
Charged

How
to
charge
the
Battery
1.
Plug
the
charger
into
the
AC
power
outlet.
2.
Connect
the
battery
or
walkie-talkie
with
the
battery
to
the
Charging
dock
3.
Please
make
sure
the
battery
is
well
connected
to
the
charging
contacts.
Meanwhile
the
indicator
light
turns
red,
charging
starts.
4.
Charging
time
is
about
4
hours
.
After
4
hours,
the
indication
light
will
turn
green,
charging
finishes.
CAUTION:
Power-off
the
radio
when
charging.
Maintenance
And
Cleaning
Do
not
directly
hold
the
antenna
or
external
microphone.
Use
the
cloth
without
wool
to
wipe
the
dust
on
intercom,
dirty
quality,
prevent
contact
bad.
please
cover
the
headphone
jack
when
not
using
the
intercom.
after
long-term
use
of
the
intercom,
the
keys,
control
buttons
and
the
case
is
easy
to
get
dirty,
you can use
a
neutral
detergent
(do
not
use
highly
corrosive
chemicals)
and
warm
cloth
cleaning.
05
Accessory
Installing
Installing/Removing
the
Battery
Pack
Install
the
battery
pack,
insert
the
top
two
ends of
the
battery
pack
into
the
two
grooves
on
the
top
of
the
intercom,
and
then
buckle
the
bottom.
(1)
When
the
battery
is
removed,
please
first
confirm
that
the
intercom
is
off,
then
break
the
bottom
of
the
buckle,
the
battery can
be
removed
from
the
ejection
side.
(2)
i
4
T
(1)
(2)
06

7

7

09
Side
Button1/
Alarm
Button
PTT(Push
to
Talk)
Button
Side
Button2
a
|
Hs
|
Ne)
SSS
SSS
SSS
Earphone
Jack/
Programming
Connector
Battery:
—y4-
Supply
power
to
the
radio
1.
PTT
button
Transmit
and
receive
the
switch
button.
When
transmitting,
press
this
button
and
speak
to
the
microphone.
Release
this
button
for
receiving.
2.
Side
Button
1(Alarm
button)
Short press
to
turn
on
ID
list.
Long
press
to
turn
on the
alarm
function.
There
are
3
modes
of
alarm,
which
can
be
edited
through
menu
operation
and
programming
software.
3.
Side
Button
2
The
multi-function
button.
The
multi-function
button
has
two
modes:
long
press
and
short
press.
The
button
functions
can
be
edited
by
the
programming
software.
There
are
6
types
of
functions:
FM
radio,
power
switch,
monitor,
scan,NOAA
and
talk
around.
4.
LCD
Display
Display
all
working
status
of
the
two
way
radio.
5.
360
degree
Channel
Switch
Replace
[
ZZ)
/
(IK)
buttons,
for
changing
channels,
frequency,
and
menu
and
so
on.
6.
A/B
Band
Switch
under
the
standby
status,
short
press
[
ES)
to
select
A
band
or
B
band.
When
selected,
the
transmission
will
be
transmitted
with
priority
on the
current
channel.
7.
Switch
frequency
mode
/
channel
mode
under
the
standby
status,
long
press
[@W]
to
select
frequency
model
and
channel
mode.
10

7

7

Icon
Instruction
Icon
Instruction
Tull
Channel
strength
indication
H
The
current
transmit
power
is
high
power
(the
longest
communication
distance
and
the
biggest
power
consumption);
L
The
current
transmit
power
is
low
power
(the
most
power
saving,
the
communication
distance
is
relatively
not
far)
yt
This
symbol
appears
when
the
side
tone
switch
is
set
to
button
side
tone
/
button
+
identity
code
/
identity
code
oes
This
symbol
indicates
that
the
current
status
is
DCS
CT
This
symbol
indicates
that
the
current
status
is
CTCSS
This
symbol
appears
in
the
frequency
mode,
which
indicates
that the
transmitting
frequency
is
the
+
receiving
frequency
plus
a
frequency
difference
frequency.
The
frequency
of
the
frequency.
difference
is
set
in
menu
27.
This
symbol
appears
in
frequency
mode,
which
means
that
the
transmitting
frequency
is
-
the
receiving
frequency
minus
a
frequency
difference
frequency.
The
frequency
difference
frequency.
is
set
in
menu
27.
o
The
appearance
of
this
symbol
indicates
that
dual-frequency
waiting
is
on,
and
itis
ina
dual-waiting
state.
13
Icon
Instruction
wf
This
symbol
appears
when
the
buttonboard
is
locked;
press
the
[*]
button
to
unlock
and
the
symbol.
disappears
y
Indicates
that
the
sound
emission
function
is
activated.
When
the
sound
pressure
level
of
the
microphone
reaches
the
set
value,
the
emission
starts.
GM
|
Remote
kill
indication
F
Reverse
the
receiving
and
transmitting
frequency
under
channel
mode
and
frequncy
mode
rH
It
appears
when
the
channel
is
working
in
narrowband
mode
Display
the
current
remaining
power
of
the
battery;
[cma]
)
Battery
full
charge
indication;
[<8]
<4]
]
¢m™]
|
Battery
remaining
amount
reminder;
[¢_]]
The
battery
is
nearly
empty,
the
icon
frame
will
flash,
and
the
radio
is
prohibited
from
transmitting
at
this
time
Arabic
|
Current
channel
number
NO.
Arabic
|
Current
channel
number
NO.
WA
|
Current
working channel
Mable
Current
working
frequency
14

Icon
Instruction
Icon
Instruction
Tull
Channel
strength
indication
H
The
current
transmit
power
is
high
power
(the
longest
communication
distance
and
the
biggest
power
consumption);
L
The
current
transmit
power
is
low
power
(the
most
power
saving,
the
communication
distance
is
relatively
not
far)
yt
This
symbol
appears
when
the
side
tone
switch
is
set
to
button
side
tone
/
button
+
identity
code
/
identity
code
oes
This
symbol
indicates
that
the
current
status
is
DCS
CT
This
symbol
indicates
that
the
current
status
is
CTCSS
This
symbol
appears
in
the
frequency
mode,
which
indicates
that the
transmitting
frequency
is
the
+
receiving
frequency
plus
a
frequency
difference
frequency.
The
frequency
of
the
frequency.
difference
is
set
in
menu
27.
This
symbol
appears
in
frequency
mode,
which
means
that
the
transmitting
frequency
is
-
the
receiving
frequency
minus
a
frequency
difference
frequency.
The
frequency
difference
frequency.
is
set
in
menu
27.
o
The
appearance
of
this
symbol
indicates
that
dual-frequency
waiting
is
on,
and
itis
ina
dual-waiting
state.
13
Icon
Instruction
wf
This
symbol
appears
when
the
buttonboard
is
locked;
press
the
[*]
button
to
unlock
and
the
symbol.
disappears
y
Indicates
that
the
sound
emission
function
is
activated.
When
the
sound
pressure
level
of
the
microphone
reaches
the
set
value,
the
emission
starts.
GM
|
Remote
kill
indication
F
Reverse
the
receiving
and
transmitting
frequency
under
channel
mode
and
frequncy
mode
rH
It
appears
when
the
channel
is
working
in
narrowband
mode
Display
the
current
remaining
power
of
the
battery;
[cma]
)
Battery
full
charge
indication;
[<8]
<4]
]
¢m™]
|
Battery
remaining
amount
reminder;
[¢_]]
The
battery
is
nearly
empty,
the
icon
frame
will
flash,
and
the
radio
is
prohibited
from
transmitting
at
this
time
Arabic
|
Current
channel
number
NO.
Arabic
|
Current
channel
number
NO.
WA
|
Current
working channel
Mable
Current
working
frequency
14

Quick
operation
instructions
Menu
First
level
menu
Second
level
menu
display
Description
of
the
secondary
No.
display
characters characters
menu
settings
Squelch
level.
The
lower
the
level,
the
more
0
Squelch
0,...,9
easily
it
will
be
disturbed.
The
higher
the
level,
the
worse
the
sensitivity.
Best
set
to
medium.
4
Ste
2.5KHZ,5.0KHZ,6.25KHZ,10KHZ
In
frequency
mode,
press
[
&]
or
[
V]
P
12.5KHZ.20KHZ.25KHZ50KHZ
button
to
change
the
frequency
step
High
Transmission
at
high
power
2
Tx
Power
Low
Transmission
at
low
power
OFF
Turn
off
power
save
mode
3
Power
save
ON
Turn
on
power
save
mode
OFF
Turn
off
VOX
mode
4
Vox
Level
1,
2,
10
Activated
sound
pressure
level
Wide
Wide
band
working
5
Bandwidth
Narrow
Narrow
band
working
Bright
Backlight
always
on
6
Backlight
:
:
1Sec,2Sec,:
10Sec
Time
from
backlight
to
auto
off
Menu
First
level
menu
Second
level
menu
display
Description
of
the
secondary
No.
display
characters characters
menu
settings
OFF
Turn
off
Dual
Standby
7
Dual
Standby
ON
Turn
on
Dual
Standby
OFF
Turn
off
Beep
prompt
8
Beep
Prompt
ON
Turn
on
Beep
Prompt
OFF
Turn
off
VOICE
9
VOICE
ON
Turn
on
VOICE
OFF
Press
and
hold
PTT
Button
to
transmit
10
Tx
over
time
Numbers
from
15
to
600,
in
15-step
15,30,---600
increments,
indicating
the
maximum
time
to
transmit
when
the
PTT
button
is
pressed
OFF
No
CTCSS/DCS
11
Rx
DCS
DO23N,::,D7541
DCS
sequence
OFF
No
CTCSS/DCS
12
Rx
CTCSS CTCSS
sequence,
Simultaneous
typing
67.0HZ,~-,254.1HZ
of
standard
or
CTCSS
non-standard
by
buttonboard
15
16

Menu
First
level
menu
Second
level
menu
display
Description
of
the
secondary
No.
display
characters
characters
menu
settings
OFF
No
CTCSS/DCS
13
Tx
DCS
DO23N,-::,D7541
DCS
sequence
OFF
No
CTCSS/DCS
14
Tx
CTCSS
CTCSS
sequence,
Simultaneous
typing
67.0HZ,-:,254.1HZ
of
standard
or
CTCSS
non-standard
by
buttonboard
Voice
OFF
Turn
off
voice
compandor
15
Compand
ON
Turn
on
voice
compandor
OFF
DT-ST
Can
monitor
the
DT
-
ST
16
DTMFST
ANI-ST
Only
monitor
to
the
ANI
-
ST
DT+ANI
Both
monitor
1000Hz/1450Hz/
. . :
17
R-TONE
Repeat
signaling
code
selection
1750Hz/2100Hz
17
Meni
First
level
menu
Second
level
menu
display
Description
of
the
secondary
No.
display
characters
characters
menu
settings
When
needed,
send
the
group
of
information
18
S-CODE
1,2,
...,15
codes(Information
code
can
only
be
written
by
frequency
writing
software)
Time
mode
scan,
stay
on
the
current
channel
Time
for
a
while
after
scanning
the
signal,
and
then
continue
scanning
Carrier
mode
scanning,
stop
scanning
19
Scan
Mode
Carrier
after
scanning
the
signal until
the
signal
disappears
s
CH
Search
mode:
stay
on
the
current
channel
ear
after
scanning
the
signal
OFF
Turn
off
ANI
-
Match
20
ANI
Match
Turn
on
ANI
-
Match,
The
speaker
can
only
ON
sound
after
receiving
the
correct
identity
signaling
decode
OFF
Press
PTT
without
sending
code
Press
PTT
to
send
the
code
(the
content
21
PTT-ID
BOT
of
the
transmission
code
is
set by
the
frequency
writing
software)
EOT
Release
PTT
sent
code
18

Menu
First
level
menu
Second
level
menu
display
Description
of
the
secondary
No.
display
characters
characters
menu
settings
Send
and release
codes
when
you
release
21
PTT-ID
BOTH
and
press
the
PTT
button
Frequency
Channel
mode
is
_in
frequency
mode
Channels
are
displayed
as
channel
names
22
MDF-A
Name
(The
specific
name
is
set
in
the
writing
software)
CH
NUM
Display
by
channel
number
Frequency
Channel
mode
is
in
frequency
mode
Channels
are
displayed
as
channel
names
23
MDF-B
Name
(The
specific
name
is
set
in
the
writing
software)
CH
NUM
Display
by
channel
number
OFF
Channel
occupied
also
allows
transmission
24
Busy
Lockout
ON
Channel
is
occupied
and
transmission
is
prohibited
25
Key
Auto
OFF
Turn
off
button
auto
lock
Lock
ON
Turn
on
button
auto
lock
In
frequency
mode,
there
is
no
frequency
26
Direction
None
difference
between
the
transmitting
frequency
and
the
receiving
frequency
19
Menu
First
level
menu
Second
level
menu
display
Description
of
the
secondary
No.
display
characters characters
menu
settings
In
frequency
mode,
the
transmitting
frequency
is
equal
to
the
receiving
frequency
Plus
plus
the
frequency
difference
26
Direction
_
In
frequency
mode,
the
transmitting
Minus
frequency
is
equal
to
the
receiving
frequency
minus
the
frequency
difference
In
frequency
mode,
the
difference
between
transmitting
and
receiving
frequencies
27
Offset
00.0000,
-,99.9975
(whether
it
is
effectively
controlled
by
the
frequency
difference
direction
Standby
time
backlight
colors
selection.
28
WT-LED
Close,Blue,
Orange,
Purple
Default
Color
is
Blue
Receiving
time
backlight
colors
selection.
29
RX-LED
Close,Blue,
Orange,
Purple
Default
Color
is
Purple
Transmitting
time
backlight
colors
selection.
30
TX-LED
Close,Blue,
Orange,
Purple
Default
Color
is
Orange
On
Site
Local
Alarm
Sound
Send
Sound
Giving
local
alarm
sound
while
sending
alarm
31
Alarm
Mode
sound
to
other
members
automatically
Send
code
Giving
local
alarm
sound
while
sending
the
pre-set
DTMF
identification
code
20
Table of contents
Other Retevis Two-way Radio manuals

Retevis
Retevis RB635 User manual

Retevis
Retevis RB28 User manual

Retevis
Retevis RT46 User manual

Retevis
Retevis RA35 User manual

Retevis
Retevis RT622 User manual

Retevis
Retevis RB86 User manual

Retevis
Retevis RT65 User manual

Retevis
Retevis RB19 User manual

Retevis
Retevis RT18 User manual

Retevis
Retevis RT28 User manual

Retevis
Retevis RB85 User manual

Retevis
Retevis RT-628 Manual

Retevis
Retevis RA36 User manual

Retevis
Retevis RB627B User manual
Retevis
Retevis RT42 User manual

Retevis
Retevis RT29 User manual

Retevis
Retevis RT669 User manual

Retevis
Retevis RB22 User manual

Retevis
Retevis RB618 User manual

Retevis
Retevis RT638 User manual