In the standby mode, press UP+DOWN to enter scan function,
the green indicator light is blink quickly, the radio scans between
the added channels. When a valid voice signal is scanned, it
automatically stays in this state until the signal disappears. Press
any key to exit scan mode.
channels up or down. The screen displays the current channel
number, when the voice prompt function is turned on, the
corresponding channel is broadcasted.
To ensure the best receiving volume, please keep the distance
between the microphone and the mouth from 2.5cm to 5cm
when transmitting.
Transmitting call: change the channel and press PTT key, the
SCAN
FLASHLIGHT
Chinese/English prompt voice change
Transmit repeater activate audio
Advanced operations
In the standby mode, long-press MONI key to open monitor
function, release to exit the MONI mode.
Power on the RB18, short press LAMP key to open the flashlight.
Short press LAMP key again to turn off the flashlight.
Press PTT+DOWN to open the radio, changing the Chinese/English
prompt voice.
CPS programming path: Editor- Language change( Option: Chinese
/English)
Edit- Language switch (Option: ON/OFF). Language switch is set to
OFF, the voice prompt function will be turned off.
Press PTT+UP to transmit repeater activate audio 1750HZ, 1450HZ
2100HZ.
CPS programming path: Edit- Side key function( Option: 1750, 1450
2100HZ)
CTCSS/CDCSS Code function
CPS program
Connect the radio to the computer by a special cable, you can read
and write the frequency of radio, set the function parameters, etc.
Through the CPS programming software, edit the received and
transmitted sub-audio of each channel to prevent receiving
MONITOR
KEYBOARD LOCK
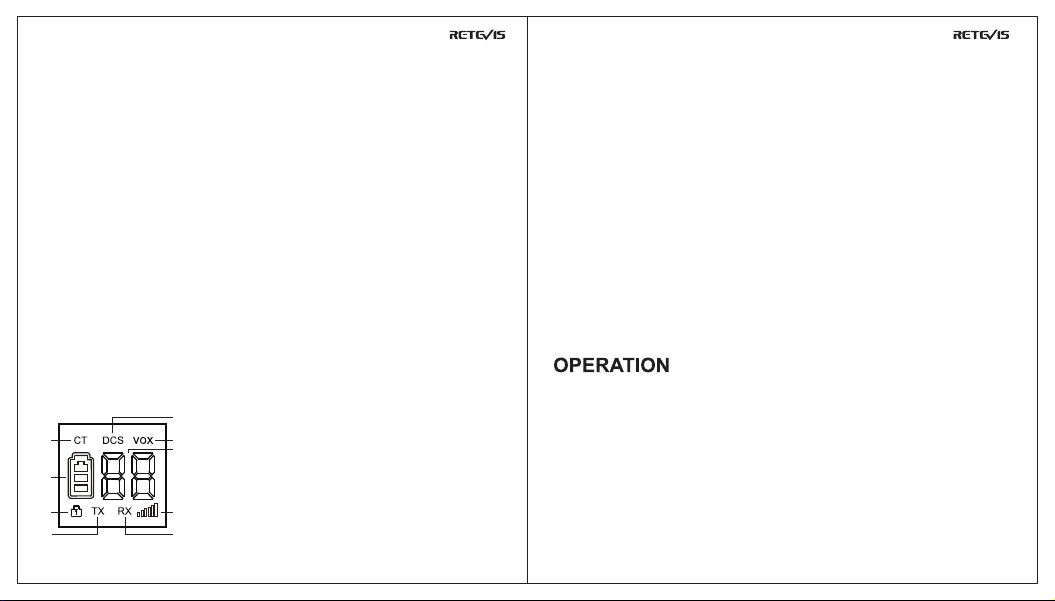
TRANSMITTING
radio is in the transmitting state, the red indicator light is always
on and the TX icon is displayed. Then speak into the microphone
in a normal tone.
CPS programming path: Edit- Channel edit- Scan add (Option: Yes
/No). Select the channel you want to add and set to Edit- scan
switch (Option: On/Off), set to On.
Receiving call: after releasing PTT key, a beep will sound, the radio
is receivable mode. When receiving a call, the green indicator light
is always on and the RX icon is displayed.
0807
Press and hold the LAMP / LOCK button to lock or release the up
or down button for channel selection. When the channel is locked,
the LOCK icon is displayed.
Other function keys are not restricted by lock.