FRENCH COLUMN GLASS TABLE LAMP
IMPORTANT SAFETY INSTRUCTIONS
INSTALLATION BY A LICENSED ELECTRICIAN IS STRONGLY
RECOMMENDED.
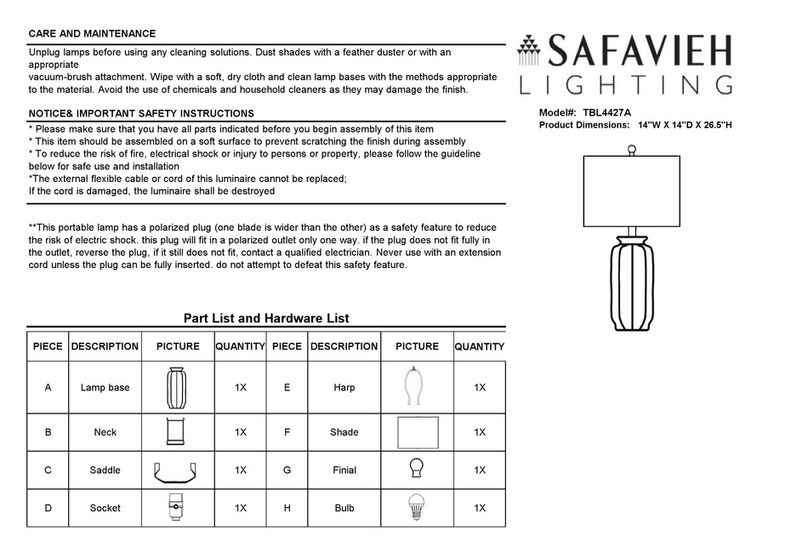
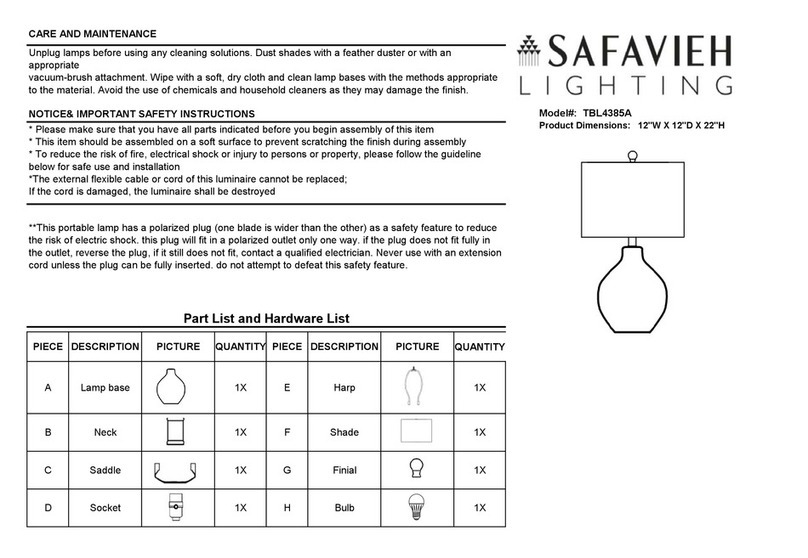
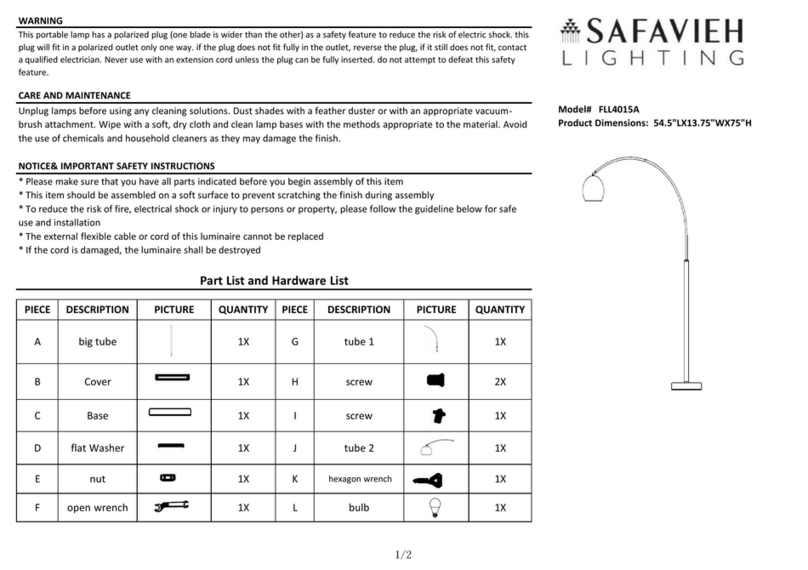
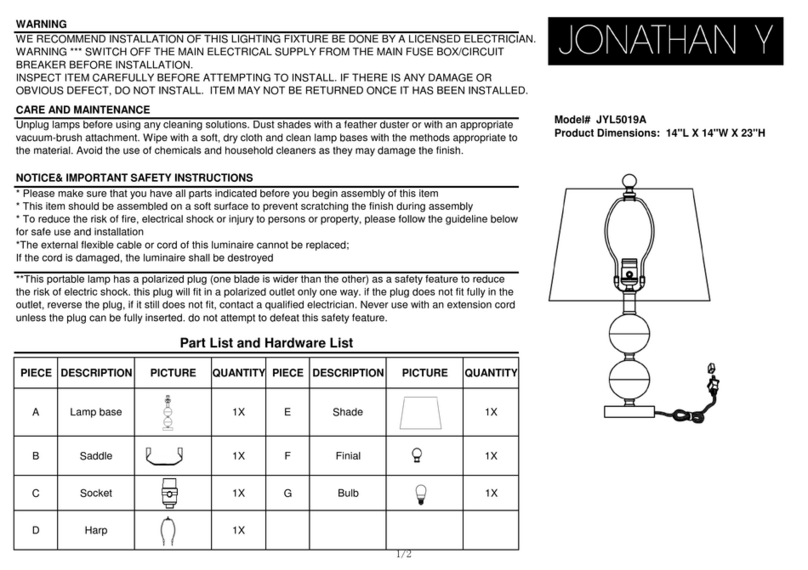
For safety purposes, this lamp is equipped with a polarized plug (one
blade is wider than the other). If the plug does not fit securely into
outlet, do not force it - contact a professional electrician. Use the
plug with an extension cord only if it can be fully inserted into the
cord’s socket. Never alter the plug in any way.
This fixture has been rated for two (2) 75-Watt maximum TYPE A
standard bulbs (not included) or two (2) compact fluorescent bulbs
(not included) or two (2) 4.5-Watt SBLED light bulbs (included). To
avoid the risk of fire, do not exceed the recommended wattage.
WARNINGS
All wires are connected. When unpacking, be careful not to pull
wires, as a bad connection may result. Do not connect electricity
until your fixture is fully assembled. To reduce the risk of fire,
electrical shock, or personal injury, always turn off fixture and allow it
to cool prior to replacing the light bulb. Do not touch or look directly
at the bulb when fixture is illuminated. Keep flammable materials
away from lit bulb.
WARNING: This product can expose you to lead, which is
known to the State of California to cause cancer and birth defects or
other reproductive harm. For more information, go to
www.P65Warnings.ca.gov.
THIS IS NOT A TOY AND THE PRODUCT HAS NO
PLAY VALUE.
WARNING: STRANGULATION HAZARD
Keep cord at least 3 ft away from cribs, bassinets, and toddler beds.
Keep out of reach of children under 3.
ASSEMBLY & INSTALLATION
SHUT OFF THE MAIN ELECTRICAL SUPPLY FROM THE FUSE
BOX OR CIRCUIT BREAKER PANEL.
1. Carefully remove all parts from the box and remove all plastic
covering.
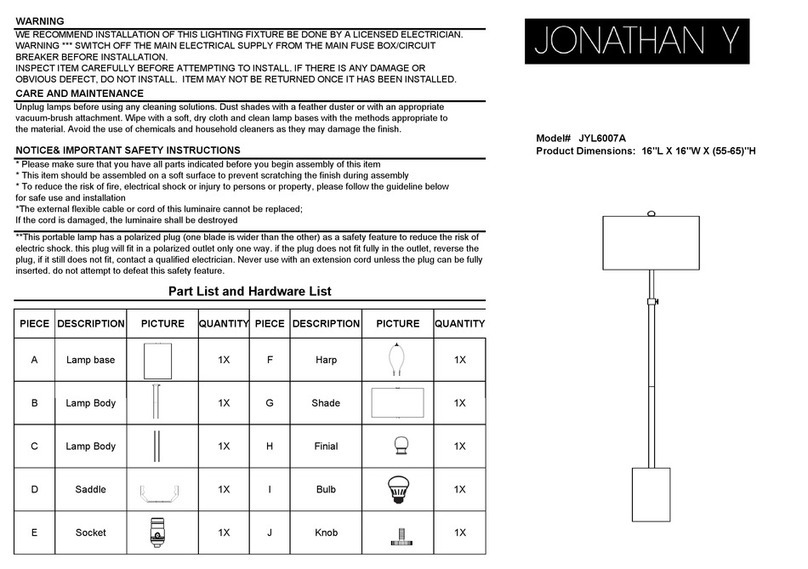
2. Thread Shade Support Tube (B) into top threaded opening of
“S” Cluster (C)
3. Unscrew the Finial (A) from Shade Support Tube (B) and place
the desired shade (sold separately) over top nipple of Shade
Support Tube (B).
4. Attach the Finial (A) and tighten to secure the shade.
5. Insert Bulbs (F) into threaded sockets.
6. Plug into proper electrical outlet and test fixture.
7. Assembly is complete.
HEIGHT ADJUSTMENT
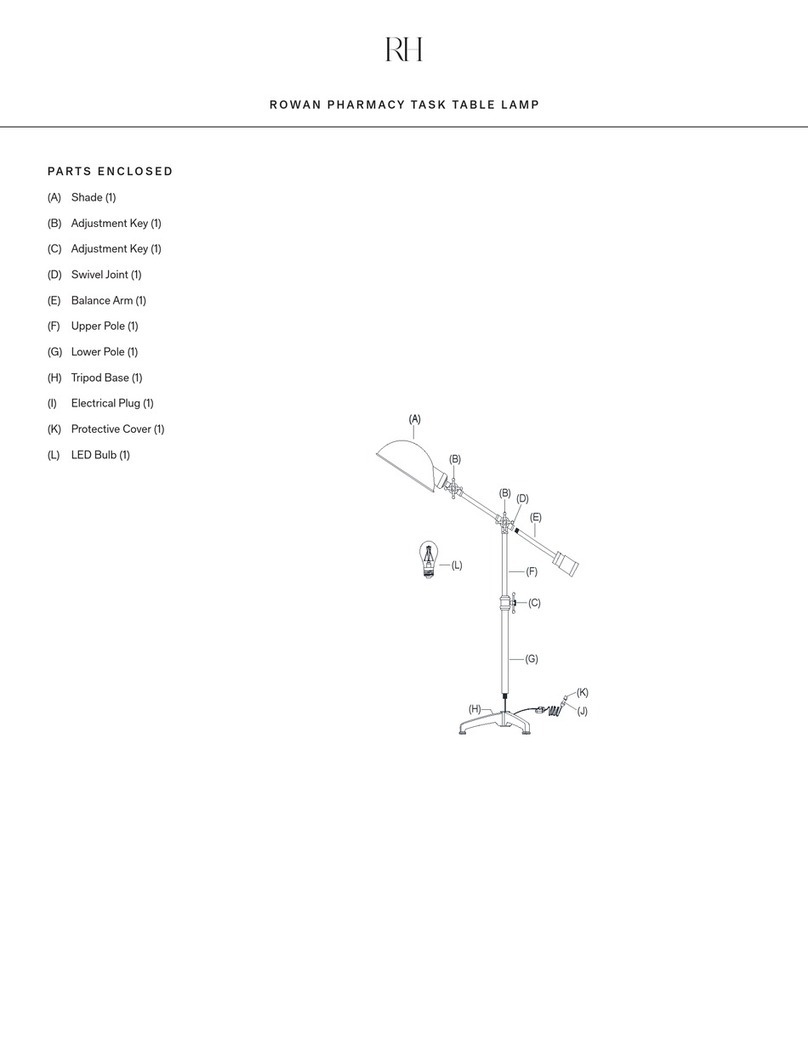
1. Loosen Adjustment Key (E) in the counter-clockwise direction.
2. Adjust lamp by pulling or pushing Upper Pole (D) up or down to
desired height.
3. Tighten the Adjustment Key (E) in the clockwise direction.
CARE INSTRUCTIONS
Do not use polishes or cleaners on your lamp. Just wipe clean with
a soft cloth.
