manuals.online logo
Brands
  1. Home
  2. •
  3. Brands
  4. •
  5. Roca
  6. •
  7. Toilet
  8. •
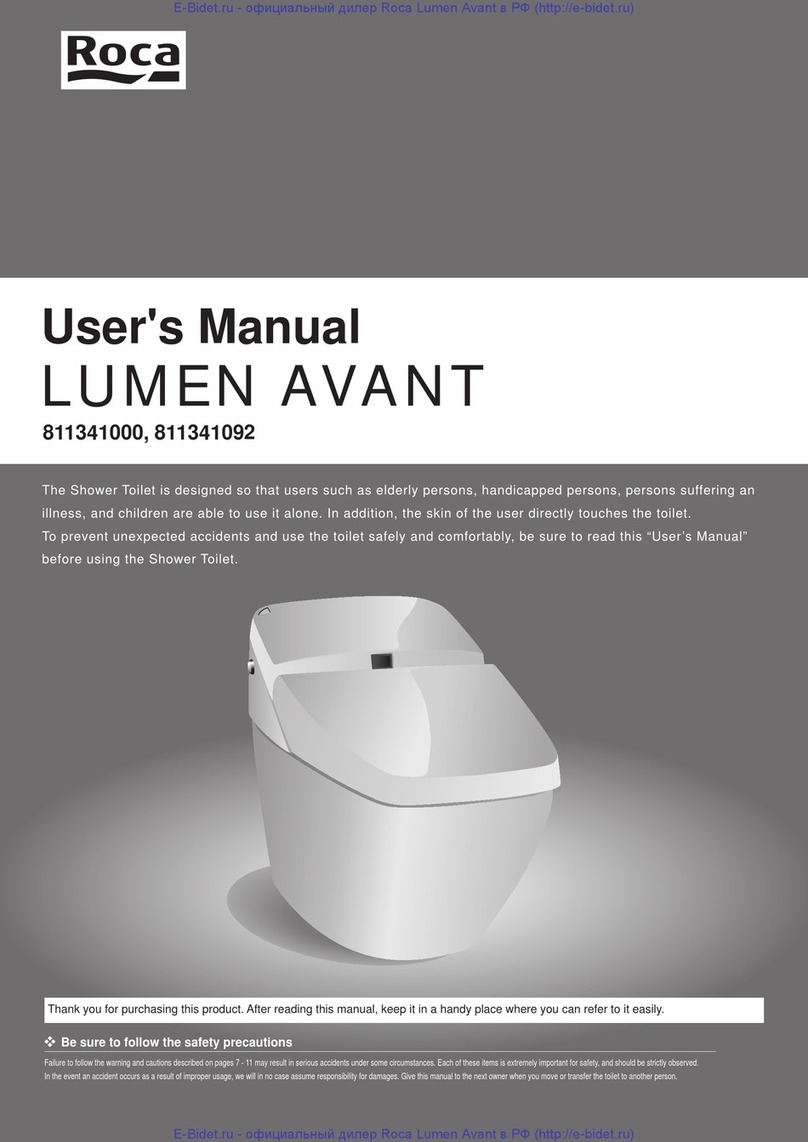
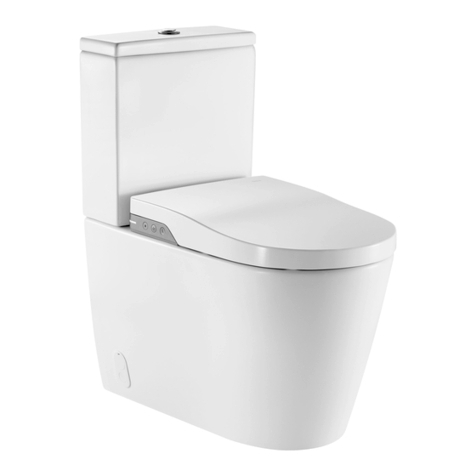
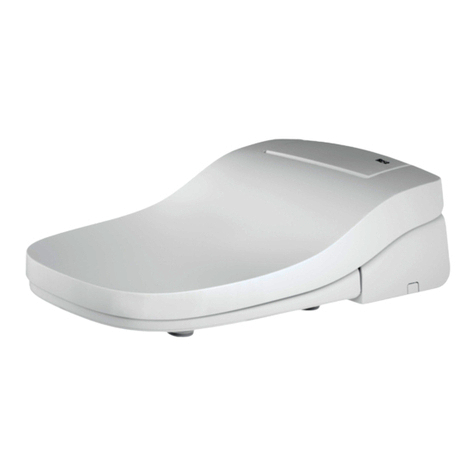
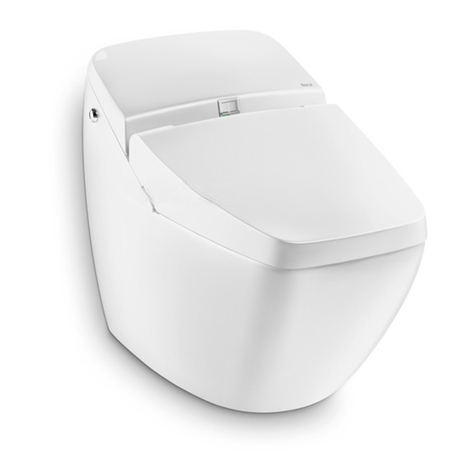
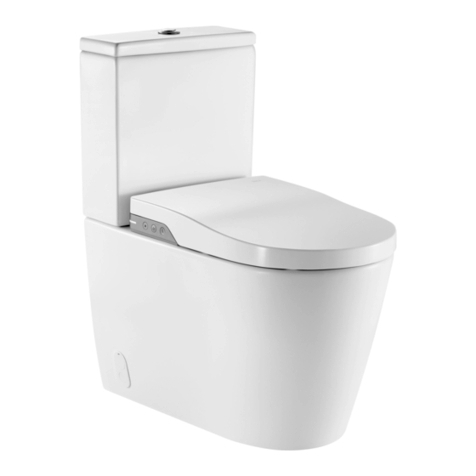
  9. Roca UMEN AVANT 811340400 User manual

Roca UMEN AVANT 811340400 User manual

Installation Manual
Names of Parts
Observe Safety Precautions for Safety!
These safety precautions are essential for safe
installation and use of the product.
Please read the precautions thoroughly before
installing the product.
WARNING
Indicates a potentially hazardous
situation which, if not avoided, could
result in death or serious injury.
Indicates a potentially hazardous
situation which, if not avoided, may
result in minor or moderate injury or
damage to other property.
...
Explanation of Hazard Symbols
Firmly secure the water supply pipe to prevent any looseness.
* Abnormal noise or water leakage may result.
Secure Water Supply Pipe!
Be sure to connect the water supply parts to the household water supply line.
Using intermediate, industrial or well water will affect the durability of electrical and
mechanical parts, resulting in accidents.
The space required for installing the toilet is as shown in the figure below.
* Secure at least 70 mm space on both the left and right of the toilet bowl when viewed
from the front.
Checking Power Supply
Water Supply
●
The minimum operation water pressure is 17 L per minute, and at least 0.1 MPa
(1.0 kgf/cm2) when flowing. The maximum water pressure is 0.75 MPa (7.6 kgf/cm2).
When using other appliances simultaneously, water pressure of at least 0.1 MPa
(1.0 kgf/cm2) is required. If the minimum water pressure is less than this value,
the ideal washing performance may not be obtained.
●The above water pressure cannot be obtained if the pipes are 10A or less. Use
pipes of 15A (13 mm) or more.
Water Pressure
Minimum Installation Clearance
WARNING
Do not allow any anyone except an authorized service
technician to disassemble, repair or modify this product.
* Electric shock, fire, or injuries may result.
Be sure to connect the grounding lead.
*
Electric shock may result in case of malfunction of the product or leakage.
Do not pour water or cleanser onto the body or the power plug.
* Electric shock or fire may result.
Do not install the product in a constantly humid location.
* Electric shock or fire may result.
Do not use any loose outlet or an ungrounded outlet.
* Electric shock or fire may result.
Do not connect the product to any water source other than tap water.
* The inside of the product may be corroded, causing an
electric shock, fire or skin inflammation.
Do not remove or insert the power plug with wet hands.
* Electric shock may result.
●
Do not use the product with any power supply other than 220 - 240 VAC.
●
Do not plug any other appliances into the same power outlet.
* Fire may result.
Do not nick, damage, carve, bend unduly, pull, twist or
bind the power cord, place any heavy object on it, or
pinch the power cord between any objects.
* The power cord may be damaged, causing electric shock
or fire.
Be sure to adjust the water shutoff valve and check
for water leakage after installation.
* Water may leak, resulting in water flooding over the floor.
Flush any foreign matter and rust in the pipes
completely before connecting the product.
*
Damage inside the product may cause water leakage, resulting in water flooding over the floor.
If freezing weather is anticipated before handing the
product to the customer, drain water and leave it.
*
Damage from freezing may cause water leakage, resulting in water flooding over the floor.
●When removing the strainers, be sure to close the
water shutoff valve.
●When attaching the strainers, tighten these
completely so that there is no clearance.
* Water may leak, resulting in water flooding over the floor.
Firmly insert the power plug into the outlet.
*
Electric shock or fire may result.
Follow the instructions below when performing wiring and installing the outlet.
Consign wiring work to a qualified electrician.
●Be sure to perform grounding work.
* Consign wiring work to a qualified electrician.
●This product must be grounded. This allows the current to escape in case of
a short circuit, reducing the possibility of electric shock. The power cord is
equipped with a grounding lead. Do not use an adapter with the power plug
of the product, or do not connect the plug via any alternative method to an
inappropriately structured outlet.
●
Install the outlet in a position as high above the floor as allowed by the length of the
cords to avoid exposure to splashing water. The length of the power cord is 1.0 m.
* Do not insert the power plug into the outlet until installation is completed. Failure
to observe this may cause malfunction of the product.
Install the product correctly according to this Installation Manual.
* Electric shock, fire, or injuries may result.
* Water may leak, resulting in water flooding over the floor.
Pre-installation Precautions
●Do not hold the mounting plate of the toilet bowl.
* Deformation of the mounting plate may hinder correct
connection or correct flushing of the toilet, or may cause
water leakage.
●When lifting the toilet bowl, be sure to use
the handhold and lift the toilet bowl with two
persons.
●Be sure to work in two person teams when
installing the toilet bowl.
Toilet bowl
Floor securing member
Drain socket
Suction film unit
Water valve
Due proofing toilet bowl 811340400,
811340492
Checking Parts (check inside the package)
Toilet bowl
securing screws
Toilet bowl
Suction film unit
Water supply hose
(650 mm)
Water shutoff valve
Water supply
pipe
Ring shaped cover
Water supply
pipe cover
Drain socket
Floor securing member
Floor securing AY bolts
Installation manuals
Water valve
Clip (large/white)
Driving unit
Body Mounting plate
Handhold
PAW-1109-EU(12010)
Mounting plate
Mounting plate
Clip (large/white)
Clip (large/silver)
Clip (medium)
Water supply hose
1190 or more
460
400 or more
700 or more
Unit: mm
790
Product No. sticker
(Right side when viewed from front of toilet bowl)
LUMEN AVANT
70 or more
Gasket
CAUTION
...
CAUTION
70 or more
Water shutoff valve
E-Bidet.ru - официальный дилер Roca Lumen Avant вРФ (http://e-bidet.ru)
Thank you for purchasing this product.
●
Carefully read this Installation Manual to install the product correctly.
●Be sure to test operation after installation has been completed.
●
Be sure to pass this Installation Manual, User’s Manual and Warranty Certificate
to customers. When passing these to customers, explain the operation method.
CAUTION
Installation Procedure
Note 3
●
Do not put your hand on, or
step on, the water shutoff valve.
* The pipe may buckle or be
damaged, causing water leakage.
*
The wall or floor may be damaged.
●
Attach the water supply inlet of
the water shutoff valve, to prevent
the water supply hose being bent.
1
Position of Water Supply Pipe and Drain Pipe
Prepare the water supply pipe and the drain pipe.
* When water supply is on the right side, prepare the
water supply pipe symmetrically relative to the drain
pipe.
Note 7
When attaching the drain socket
to the flange, be sure to attach the
gasket to the drain socket (rear).
Note 5
Do not drop the drain socket by
mistake.
*
The member may be damaged, causing water leakage.
Note 6
Be sure to attach the drain socket so
that it is parallel to the rear wall. If the
socket is angled, the toilet bowl will
also be on an angle when installed.
Wall
Drain socket
300 or more
330
280
280
100
100
300
Water supply pipe 1/2B
(supply from wall)
Drain pipe
Unit: mm
Water supply pipe 1/2B
(supply from floor)
Note 1
Be sure to observe the dimensions on the
drawing to position the water supply pipe.
Note 2
●
Insert a plug (LF-7T recommended) into
the water supply pipe and cover the
drain pipe with a vinyl bag or similar to
protect these pipes from foreign matter
until the toilet is installed.
●Firmly secure the water supply
pipe to prevent it wobbling.
See Note 1 See Note 2
Note 4
Attach the flange so that the two
T-bolts are parallel to the wall.
3Attaching Drain Socket
(3)
Drill the pilot holes (ø11 mm, 55 mm deep) at the positions marked in step (2).
Completely remove chips, and then insert the floor securing AY bolts. Push the edge
of the rubber tube into the the hole, pull the bolt in the tube hard to expand the rubber
tube to form complete contact with the hole, and then unscrew the bolt to remove it.
Drain socket
Floor securing member
(4)
Attach the gasket to the drain socket and secure these with T-bolts.
See Note 6See Note 5 See Note 7See Note 4
(1) Remove the open/close handle.
(2) After wall or floor work has been completed, attach
the water supply pipe and the water shutoff valve.
* When attaching the water shutoff valve to the water
supply pipe, wrap the threaded section of the pipe with
sealing tape or similar sealing material.
* When supplying water from the wall, angle the water
supply inlet of the water shutoff valve approximately 20
degrees below horizontal level. This makes water supply
hose attachment easier.
When supplying water from the floor, angle the water supply
inlet of the water shutoff valve approximately 45 degrees
toward the wall for the same purpose.
(3)
After the water shutoff valve has been attached, attach the open/close handle.
* Check that the handle is at the closed position.
●Water supply from wall
2
Attaching Water Shutoff Valve
See Note 3
Click
Positioning groove
Open/close handle
●Water supply from floor
* Remove the open/close handle from the water shutoff valve,
and set the tool to the tool setting section (hexagonal) on
the water shutoff valve, and then tighten the valve firmly.
Approx. 20 deg.
Water shutoff valve
Seal tape
Water supply pipe
Water supply inlet
Floor
Tool setting section
(hexagonal)
Water shutoff valve
Seal tape
Water supply inlet
Approx. 45 deg.
Water supply pipe
Water supply pipe
Wall
Tool setting section
(hexagonal)
Open/close handle
Open/close handle
(1) Attach the flange to the drain pipe, and set the T-bolts upside down.
(2)
Position the drain socket and the floor securing member temporarily, and mark
the positions of the pilot holes for the floor securing AY bolts (5 locations).
Drain socket
Washer
Floor securing AY bolt
Flange
Flange nut
Washer
Gasket
Flange
Gasket
Drain outlet
Flange
Tile
Mortar
Concrete
Pull up
Expand rubber tube
(5)
Secure the drain socket with the floor securing AY bolts (5 locations).
Floor securing pilot hole
Rear
Rubber tube
Parallel
E-Bidet.ru - официальный дилер Roca Lumen Avant вРФ (http://e-bidet.ru)
Firmly attach the clip.
*
Incorrect attachment will cause water leakage.
Note 13
Attach the clip so that the ends of the
clips are engaged and you hear a click.
*
Incorrect attachment will cause water leakage.
Note 15
5Connecting Flushing Hose to Water Valve
Do not remove the body connection
clip until after checking the water flow.
Body connection clip
Note 11
(4) Secure the water valve frame to the mounting plate of the toilet bowl
with the screws (3 locations).
Water valve frame
Mounting plate
(2)
Insert the flushing hose into the water valve spout, and secure these
with the clip (large/white).
(3) After the clip (large/white) has been attached, turn the clip to check
that the clip is engaged with the groove correctly.
(5)
Thread the bead chain through the bean chain tube of the water valve, and hook the manual lever on the water valve.
Manual lever
Hook
* Insert the thin section between beads near the manual lever through the slit into the
bead chain tube, and pull the chain up. The entire bead chain is inserted in the tube.
(1) Remove the protection cap from the water valve spout.
Clip (large/white)
Flushing hose
Water valve
Protection cap
See Note 12 See Note 13
See Note 11
6Connecting Water Supply Hose
Thread the water supply hose through the hole on the rear of the toilet bowl, and connect this hose to the water valve and the water shutoff valve.
(3) After the clip (large/white) has been attached, turn the clip to check
that the clip is engaged with the groove correctly.
See Note 16
[On toilet bowl side]
(1) Remove the protection cap from the water valve inlet.
(2)
Insert the water supply hose into the water valve inlet, and secure these
with the clip (large/white).
Click
Bend
4
(1) Lift the toilet bowl holding both sides with
two persons.
Toilet bowl
Installing Toilet Bowl * Be sure to work in two person teams when installing the toilet bowl.
(3)
Insert the toilet bowl securing screw into the center hole
at the top of the toilet bowl, and use a flat screwdriver (or
hexagon wrench) to secure the toilet bowl.
See Note 10
Note 8
●Do not hold the mounting plate
of the toilet bowl.
*
Deformation of the mounting plate may
hinder correct connection or correct flushing
of the toilet, or may cause water leakage.
Note 10
Do not tighten the screws too
tightly against the ceramic.
* Doing so may crack the ceramic.
Reference 1
●Handholds (2 locations) are
provided on the toilet bowl.
Hold the handholds and the
rims to lift the toilet bowl.
Rims
Handholds
Bead chain
tube
Bead chain
Water valve
Do not place the base or drain outlet
of the toilet bowl on the drain socket.
* The socket or packing may be
damaged, causing water leakage.
Note 9
Do not drop the water valve by
mistake.
*
The member may be damaged, causing water leakage.
Note 12
See Note 15
Click
Water supply hose
Insert
Water valve inlet
O-ring
Protection cap
Clip (large/white)
Bend
See Note 8
See Reference 1
(2)
Insert the drain outlet of the toilet bowl into the center of
the drain rubber joint of the drain socket.
For toilet bowl with heater:
Drain rubber joint
Toilet bowl outlet
Insert
Toilet bowl
See Note 9
See Reference 2
Be careful not to damage the
O-ring.
* Broken or damaged O-ring will
cause water leakage.
Note 14
Reference 2
●
After the drain outlet of the toilet
bowl is inserted into the drain
socket, connect the connector
of the cord from the toilet bowl
and that from the drain socket.
Top view
Toilet bowl
Drain socket
Toilet bowl
Inside when viewed from top
Connector from
toilet bowl
Connector from
drain socket
See Note 14
See Reference 3
Reference 3
●
When removing the clip, hold the
clip with your fingers and insert a
flat screwdriver
as shown
in the figure
and push it
downward.
Push
Attachment drawing
Flushing hose
Water valve
Clip (large/white)
Protection cap
Screw
Screw
See Note 13 See Note 14 See Note 17
See Note 15
See Reference 3
50mm
Toilet bowl securing screw
Floor securing member
Distance between top
surface of ceramic
and top surface of
toilet bowl securing
screw is 50 mm.
After insertion
Do not bend the water supply hose
at a sharp angle or make it too taut.
*
The hose may be damaged, causing
water leakage or flushing malfunction.
Note 16
Solenoid valve
Water valve side view
Water valve
inlet
Water valve
spout
Flushing hose
Water shutoff valve
Water supply hose
Hole
Water valve
inlet Water valve
spout
Water supply hose
Solenoid
valve
Attachment drawing Water valve side view
E-Bidet.ru - официальный дилер Roca Lumen Avant вРФ (http://e-bidet.ru)
PAW-1109-EU(12010)
Be sure to perform depressurizing.
*
Omission of depressurizing will cause
water to splash when connecting the body.
Note 19
Reference 4
●
Lightly pull up the suction film unit
to check that the unit is secured
with the hook-and-loop fastener.
Pull up
Depressurizing
Close the water shutoff valve. Then open and close the manual lever on the
water valve to perform depressurizing, and then close the manual lever.
Pull up the connector of the cord from the driving unit close to the water valve section.
This makes installation of the body easier.
See Note 19
[On water shutoff valve side]
6Connecting Water Supply Hose (continued from previous page)
7Checking Water Leakage
1.
Turn the manual lever on the water valve counterclockwise 180 degrees to
open the water valve. Then open the water shutoff valve fully to supply water.
2.
Open and close the manual lever several times to check
that there is no water leaking at connecting sections.
Water is stopped approximately five seconds after the manual lever is closed.
Open
Manual lever
Solenoid valve
For the bonding section
between the water shutoff
valve and wall, lift the ring
shaped cover and the water
supply pipe cover to check
that there is no water leakage.
Manual lever
Close
Open
Attaching Suction Film Unit
Preparing to Connect Toilet Bowl to Body
Attachment drawing
Suction film unit
Air hose connection port
(1) Insert the air hose connection port into the connection port on the front
surface of the suction film unit, and secure these with the clip (medium).
Turn the clip to check (medium) that the clip is engaged with the groove correctly.
10
9
Air hose connection port
Connection port on front surface
of suction film unit
Clip (medium)
Suction film unit
(2)
Insert the connection port on the rear surface of the suction film unit into the elbow of the drain until
the connection port contacts the hook-and-loop fastener.
* The suction film unit can be
inserted smoothly by pushing
the section right above the
connection port.
Drain elbow
Connection port on rear
surface of suction film unit
Suction film unit
Suction film unit support
Hook-and-loop fastener
See Reference 4
See Note 14
See Note 14
Remove the cap from the water supply hose immediately
before connecting the hose to the water shutoff valve.
* Dust may enter the water supply
hose during installation, resulting
in water shutoff failure.
Note 17
Connector
①
②
Leakage check sections
Connecting section between water shutoff valve and wall or floor
Connecting section between water shutoff valve and water supply hose
Solenoid valve
Floor
Connecting section between hoses and water valve
Reference 3
●
When removing the clip, hold the
clip with your fingers and insert a
flat screwdriver
as shown
in the figure
and push it
downward.
Push
Be very careful not to open or
close the manual lever excessively.
* The manual lever may be
damaged.
Note 18
See Note 18
See Note 18
See Note 13
(1)
Remove the protection cap from the water supply hose, and insert the
water supply hose into the water supply inlet of the water shutoff valve.
(2) Secure these with the clip (large/silver).
Water supply inlet
Protection cap
(3)
After the clip (large/silver) has been attached, turn the clip
to check that the clip is engaged with the groove correctly.
Water shutoff
valve
Clip (large/silver)
Water supply hose
Water supply hose
Click
Bend
See Note 13See Note 14 See Note 15
See Reference 3
Water shutoff valve
Open
Water shutoff valve
Close
Water shutoff
valve
8
E-Bidet.ru - официальный дилер Roca Lumen Avant вРФ (http://e-bidet.ru)

This manual suits for next models

1

Other Roca Toilet manuals

Roca IN-WASH INSPIRA A803060002 User manual

Roca

Roca IN-WASH INSPIRA A803060002 User manual

Roca MULTICLEAN PREMIUM A80400800 User manual

Roca

Roca MULTICLEAN PREMIUM A80400800 User manual

Roca IN-WASH INSPIRA A803061001 User manual

Roca

Roca IN-WASH INSPIRA A803061001 User manual

Roca IN-WASH INSPIRA SMART CC BTW A80306100R User manual

Roca

Roca IN-WASH INSPIRA SMART CC BTW A80306100R User manual

Roca INSPIRA WH A803094001 User manual

Roca

Roca INSPIRA WH A803094001 User manual

Roca IN-WASH INSPIRA A803063001 User manual

Roca

Roca IN-WASH INSPIRA A803063001 User manual

Roca EURET A35945M000 User manual

Roca

Roca EURET A35945M000 User manual

Roca MULTICLEAN PREMIUM A80400600 User manual

Roca

Roca MULTICLEAN PREMIUM A80400600 User manual

Roca INSPIRA FS A803095001 User manual

Roca

Roca INSPIRA FS A803095001 User manual

Roca LUMEN AVANT 811341000 User manual

Roca

Roca LUMEN AVANT 811341000 User manual

Roca IN-WASH INSPIRA User manual

Roca

Roca IN-WASH INSPIRA User manual

Roca MULTICLEAN A804001 Series User manual

Roca

Roca MULTICLEAN A804001 Series User manual

Roca MULTICLEAN PREMIUM A80400600 User manual

Roca

Roca MULTICLEAN PREMIUM A80400600 User manual

Roca LUMEN AVANT User manual

Roca

Roca LUMEN AVANT User manual

Roca DAMA SENSO COMPACT User manual

Roca

Roca DAMA SENSO COMPACT User manual

Roca IN-WASH INSPIRA A803060001 User manual

Roca

Roca IN-WASH INSPIRA A803060001 User manual

Roca IN-WASH INSPIRA A803061002 User manual

Roca

Roca IN-WASH INSPIRA A803061002 User manual

Roca IN-WASH INSPIRA SMART TOILET WH User manual

Roca

Roca IN-WASH INSPIRA SMART TOILET WH User manual

Roca IN-WASH INSPIRA A803060001 User manual

Roca

Roca IN-WASH INSPIRA A803060001 User manual

Roca MULTICLEAN A804001 Series User manual

Roca

Roca MULTICLEAN A804001 Series User manual

Roca IN-WASH INSIGNIA A803104001 User manual

Roca

Roca IN-WASH INSIGNIA A803104001 User manual

Roca 9505388 User manual

Roca

Roca 9505388 User manual

Roca LUMEN User manual

Roca

Roca LUMEN User manual

Roca IN-WASH INSIGNIA A803104001 User manual

Roca

Roca IN-WASH INSIGNIA A803104001 User manual

Popular Toilet manuals by other brands

Geberit Centaurus 236400600 Care Instructions

Geberit

Geberit Centaurus 236400600 Care Instructions

Globo FOS09.BI Assembly instructions

Globo

Globo FOS09.BI Assembly instructions

Kohler STERLING quick start guide

Kohler

Kohler STERLING quick start guide

DURAVIT SensoWash i Lite 620000 2 0310 Series Mounting instructions

DURAVIT

DURAVIT SensoWash i Lite 620000 2 0310 Series Mounting instructions

Pacific Bay PB-TS01W installation guide

Pacific Bay

Pacific Bay PB-TS01W installation guide

Foremost TT-8210-WL instructions

Foremost

Foremost TT-8210-WL instructions

Geberit AQUACLEAN ALBA user manual

Geberit

Geberit AQUACLEAN ALBA user manual

American Standard Baby Devoro 2282 installation instructions

American Standard

American Standard Baby Devoro 2282 installation instructions

Woodbridge B0950S/V8300 Installation and care guide

Woodbridge

Woodbridge B0950S/V8300 Installation and care guide

Vetus HATO212B Installation instructions and operation manual

Vetus

Vetus HATO212B Installation instructions and operation manual

Zoeller QWIK JON 200 Quick reference guide

Zoeller

Zoeller QWIK JON 200 Quick reference guide

Hansa Concept 7674 0172 0039 Mounting and operating instructions

Hansa

Hansa Concept 7674 0172 0039 Mounting and operating instructions

rba RBA8851-137-PP Installation, operation and maintenance instructions

rba

rba RBA8851-137-PP Installation, operation and maintenance instructions

Drive TSE 150 operating instructions

Drive

Drive TSE 150 operating instructions

JABSCO 58500 Series quick start guide

JABSCO

JABSCO 58500 Series quick start guide

dynarex 10364 quick start guide

dynarex

dynarex 10364 quick start guide

Mirabelle BRADENTON MIRBD241AS installation instructions

Mirabelle

Mirabelle BRADENTON MIRBD241AS installation instructions

Kohler ESCALE K-24838T-S installation instructions

Kohler

Kohler ESCALE K-24838T-S installation instructions

manuals.online logo
manuals.online logoBrands
  • About & Mission
  • Contact us
  • Privacy Policy
  • Terms and Conditions

Copyright 2025 Manuals.Online. All Rights Reserved.