12. To remove ingredients (e.g. beef, chicken, meat, any ingredients with original oil
and will have excess oil from ingredients collected on the bottom of the basket),
Please use tongs to pick ingredients one by one.
Do not turn over the pan, otherwise, the oil collected on the bottom of the basket
will leak onto the ingredients.
13. To remove ingredients (e.g chips, vegetable or ingredients with no excess oil from
the ingredients), please turn off the basket and pour ingredients to tableware.
Tip: To remove large of fragile ingredients, lift the ingredients out of basket by a pair
of tongs.
14. When a batch of ingredients is ready, the air fryer is instantly ready for preparing
another batch.
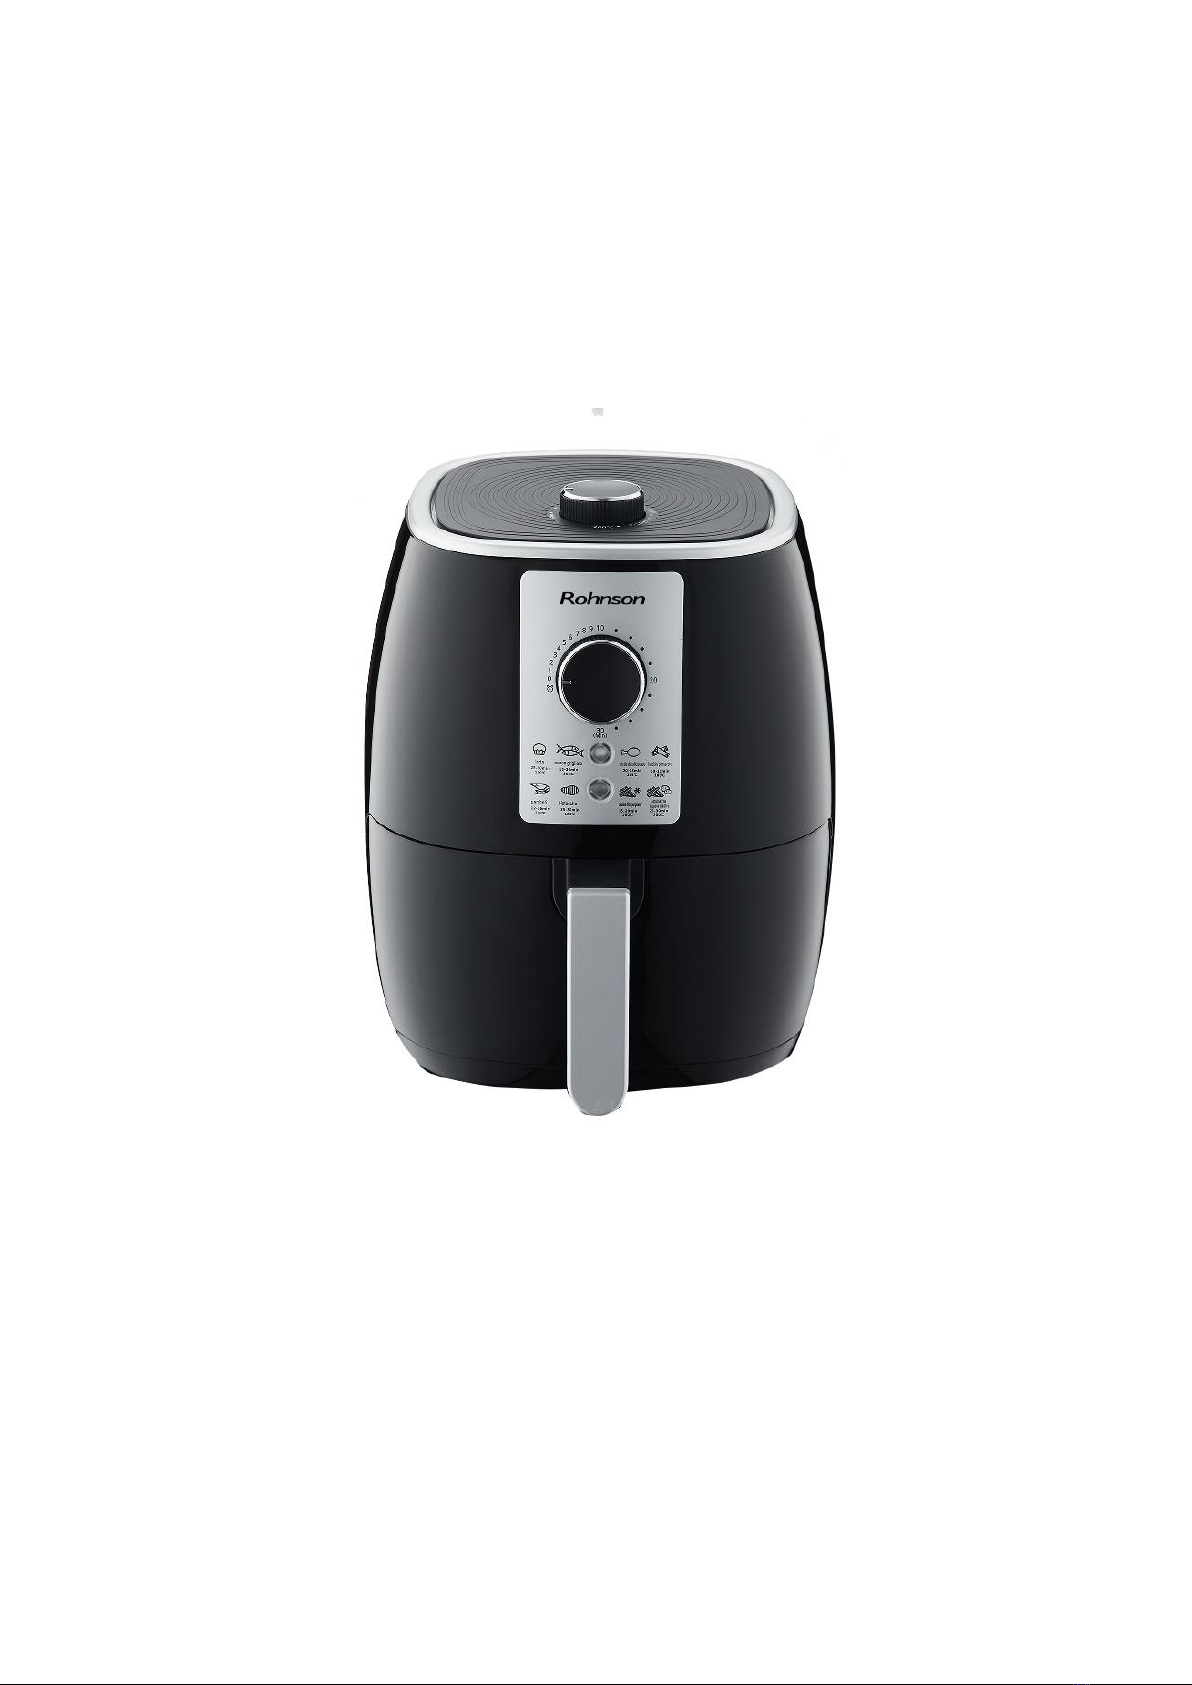
SETTINGS
This table below will help you to select the basic settings for the ingredients.
Note: Keep in mind that these settings are indications. As ingredients differ in origin
size, shape and brand. We can’t guarantee the best setting for your ingredients.
Because the rapid air technology reheats the air inside the appliance instantly, pull
the pan briefly out of the appliance during hot air frying barely disturbs the process.
Tips:
-Smaller ingredients usually require a slightly shorter preparation time than larger
ingredients.
-A larger amount of ingredients only requires a slightly longer preparation time, a
smaller amount of ingredients only requires a slightly shorter preparation time.
-Shaking smaller ingredients halfway during the preparation time to optimizes the
result and can help prevent unevenly fried ingredients.
-Add some oil to fresh potatoes for a crispy result. Fry your ingredients in the air fryer
within a few minutes after you adding the oil.
-Do not prepare extremely greasy ingredients such as sausages in the air fryer.
-Snacks can be prepared in an oven can also be prepared in the air fryer.
-The optimal amount for prepare crispy fries is 500 grams.
-Use pre-made dough to prepare filled snacks quickly and easily. Pre-made dough
also requires a shorter preparation time than homemade dough.
-Place a baking tin or oven dish in air fryer basket if you want to bake a cake or
quiche or if you want to fry fragile ingredients or filled ingredients.
-You can also use the air fryer to reheat ingredients. To reheat ingredients, set the
temperature to 150oC for up to 10 minutes.