manuals.online logo
Brands
  1. Home
  2. •
  3. Brands
  4. •
  5. Roper Rhodes
  6. •
  7. Indoor Furnishing
  8. •
  9. Roper Rhodes Diverge Floor Mounted Unit User manual

Roper Rhodes Diverge Floor Mounted Unit User manual

Customer Services, Roper Rhodes Ltd, Brassmill Lane Trading
Estate, Bath, BA1 3JF
Tel:01225 303 900 | Fax: 01225 448 877
Email: [email protected] | Web: www.roperrhodes.co.uk
Installation Procedure:
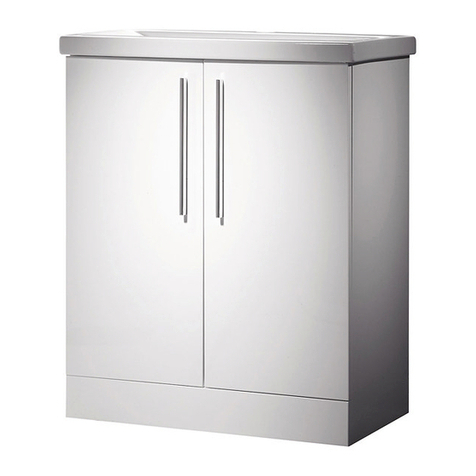
Diverge Floor Mounted Unit
Installation & aftercare instructions (600mm Unit Shown for Illustration Purposes)
Please retain for future reference
600, 800 & 1000mm
Securing the unit
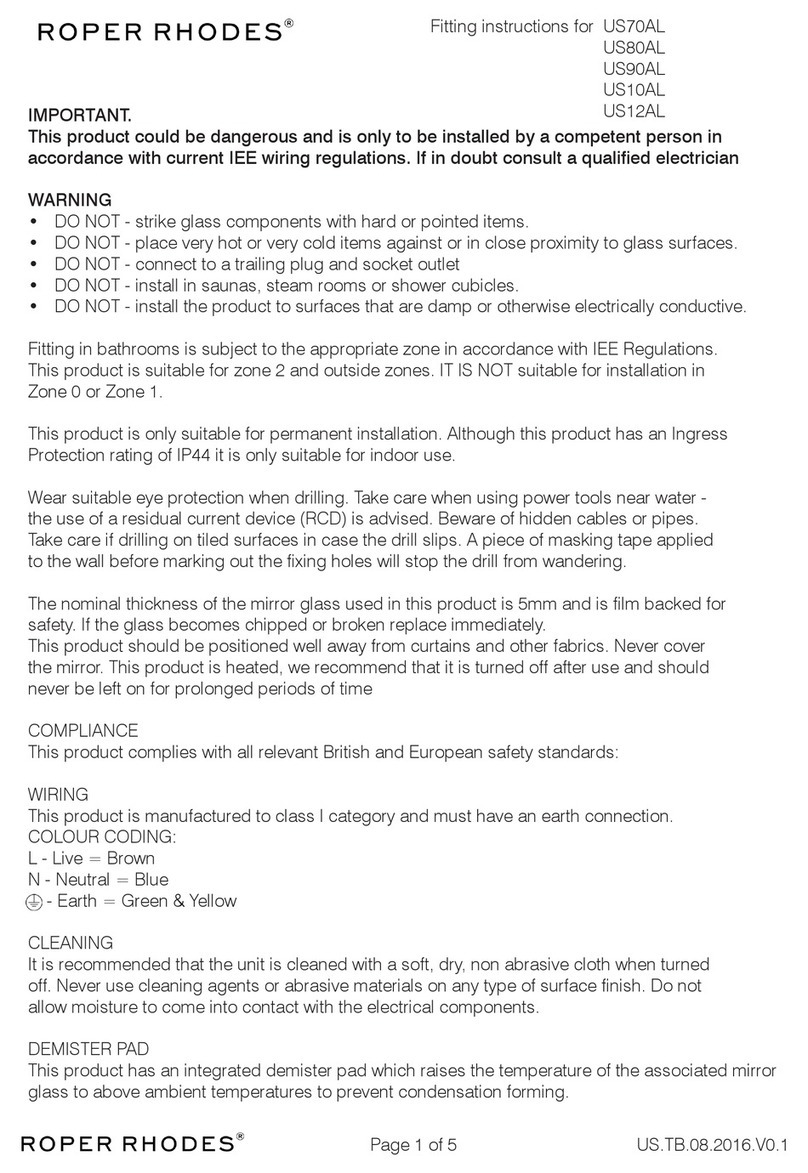
It is recommended that the unit and basin are secured to a suitably reinforced wall to ensure stability. The units can be secured through the holes in
the back upper brace. The wall plugs supplied are only suitable for solid stone/brick walls. For plasterboard walls use specialist wall plugs along with
supplementary wall strengthening as units can be very heavy. Seek advice from a specialist about the suitability of fixings to be used.
Wear suitable eye protection when drilling. Take care when using power tools near water - the use of a residual current device (RCD) is
recommended. Beware of hidden pipes or cables. Take care when drilling tiled surfaces as the drill might slip. Use a piece of masking tape to prevent
the drill from wandering.
RR-DIVFM REV : 21.07.2014
Drawing 1 Drawing 2
Door Hinge Adjustment
Hinges may require adjustment for correct door alignment. This is achieved with the adjustable soft close hinges using the
adjustment screws A, B and D (see Drawing 1). To access these you will first have to remove the screw cap cover. The hinges also
feature a quick release mechanism to quickly and easily detach the door from the furniture frame, this is activated by pressing
button C (see Drawing 1).
1. 2.
To make adjustment 1 (see Drawing 1)
tighten/loosen adjustment screw A.
To make adjustment 2 (see Drawing 1)
simply turn screw B
To make adjustment 3 (see Drawing 1)
unscrew screws D. Move doors into
correct position and re-fix
Button C is the quick release, press this
on both hinges to remove a door by
releasing the hinges from their
mounting plates.
2
2
Door
Furniture frame
CBA
1
1
Drawer Fascia Adjustment
To make adjustment 1 (Up and Down) turn screw A (see drawing 4)
To make adjustment 2 (Left and Right) turn screw B (see drawing 4)
Rotate plastic cover.
Fascias may require adjustment for correct alignment. If adjustment is required follow instructions below.
A
B
2
21
1
34
D
D
3
3
Customer Services, Roper Rhodes Ltd, Brassmill Lane Trading
Estate, Bath, BA1 3JF
Tel:01225 303 900 | Fax: 01225 448 877
Email: [email protected] | Web: www.roperrhodes.co.uk
Installation Procedure:
Diverge Floor Mounted Unit
Installation & aftercare instructions (600mm Unit Shown for Illustration Purposes)
Please retain for future reference
600, 800 & 1000mm
RR-DIVFM REV : 21.07.2014
Replacement Components
Furniture Aftercare Instructions
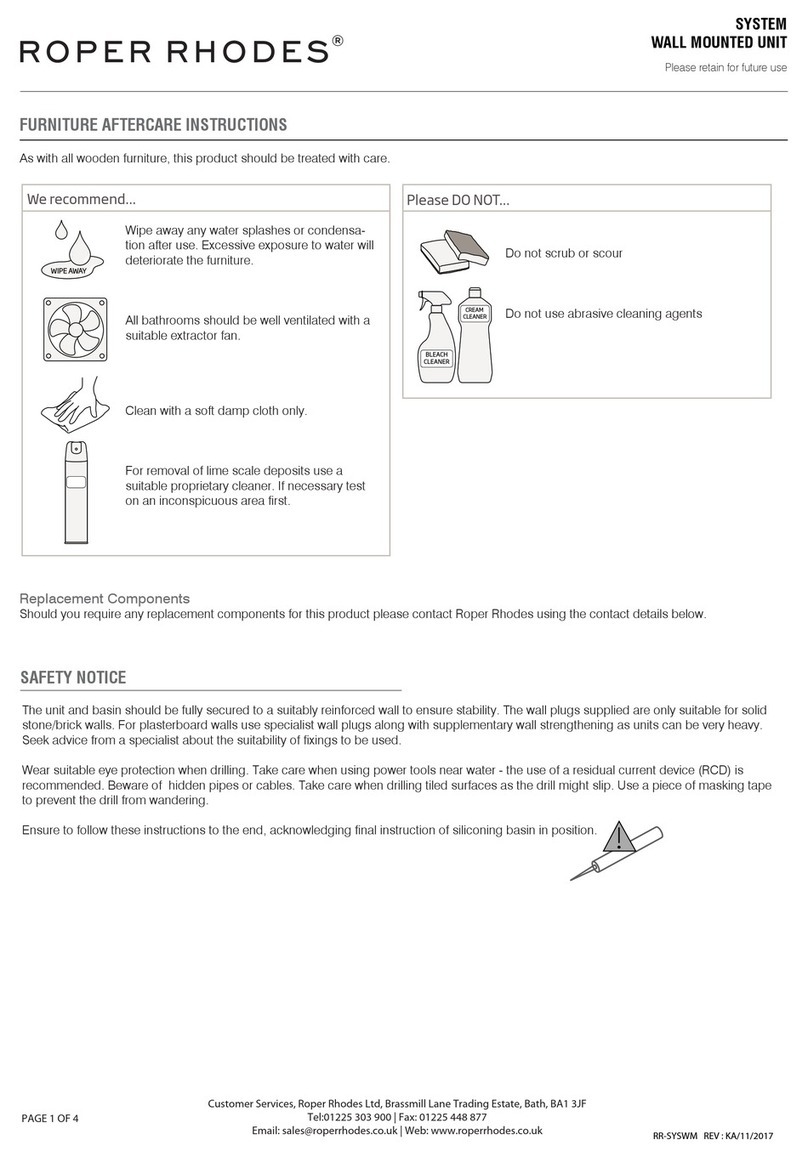
As with all wooden furniture, this product should be treated with care.
We recommend...
Wipe away any water splashes or condensation after use. Excessive exposure to water will deteriorate the furniture.
All bathrooms should be well ventilated with a suitable extractor fan.
Clean with a soft damp cloth only.
Use a wax free polish if one must be used.
For removal of lime scale deposits use a suitable proprietary cleaner
Do not scrub or scour
Do not use abrasive cleaning
agents
Please DO NOT...
Should you require any replacement components for this product please contact Roper Rhodes using the contact details below.
Removing the Drawer
To remove the drawer, please follow the instructions below:
6
Remove the plastic covers completely
from both sides of the drawer.
5
Fully extend the
drawer.
While supporting
both the front and
back of the drawer,
pull the drawer
forwards with a
short sharp pull until
it is fully removed
from the runners.
Fitting the Basin
Once the basin has been plumbed in, finish by securing to the washstand using a silicone sealant (not supplied).
When re-fixing the drawer back to the runners, ensure that they click
into position on both sides and the back of the runner is flush with the
back of the drawer on both sides (see Fig.9).
5
Removing the Fascia
If it is faulty or damaged, the fascia can be removed and replaced. To remove the fascia please follow the instructions below:
7
Pull the fascia away from the body of the drawer.
To return the fascia, locate the bottom fixings into the sides of the
drawer and re-fix the plastic covers.

Other Roper Rhodes Indoor Furnishing manuals

Roper Rhodes US70AL User manual

Roper Rhodes

Roper Rhodes US70AL User manual

Roper Rhodes FR60RW Instruction sheet

Roper Rhodes

Roper Rhodes FR60RW Instruction sheet

Roper Rhodes SYC050 User manual

Roper Rhodes

Roper Rhodes SYC050 User manual

Roper Rhodes EMINENCE EM70RAL User manual

Roper Rhodes

Roper Rhodes EMINENCE EM70RAL User manual

Roper Rhodes Hampton HAM400FC User manual

Roper Rhodes

Roper Rhodes Hampton HAM400FC User manual

Roper Rhodes Cypher 600 Unit FM Parts list manual

Roper Rhodes

Roper Rhodes Cypher 600 Unit FM Parts list manual

Roper Rhodes SYSTEM Series User manual

Roper Rhodes

Roper Rhodes SYSTEM Series User manual

Roper Rhodes FO70AL Parts list manual

Roper Rhodes

Roper Rhodes FO70AL Parts list manual

Roper Rhodes ENVY 700 User manual

Roper Rhodes

Roper Rhodes ENVY 700 User manual

Roper Rhodes Hyper MLE370 User manual

Roper Rhodes

Roper Rhodes Hyper MLE370 User manual

Roper Rhodes ASCENSION FEVER AS251 Parts list manual

Roper Rhodes

Roper Rhodes ASCENSION FEVER AS251 Parts list manual

Roper Rhodes HAMPTON User manual

Roper Rhodes

Roper Rhodes HAMPTON User manual

Roper Rhodes PLATEAU AS515ALIL User manual

Roper Rhodes

Roper Rhodes PLATEAU AS515ALIL User manual

Roper Rhodes MLE420 Parts list manual

Roper Rhodes

Roper Rhodes MLE420 Parts list manual

Popular Indoor Furnishing manuals by other brands

Next MALVERN DOVE GREY Assembly instructions

Next

Next MALVERN DOVE GREY Assembly instructions

Itatiaia IP2-120 Assembly instructions

Itatiaia

Itatiaia IP2-120 Assembly instructions

Courtyard Creations KTS712G Assembly instructions

Courtyard Creations

Courtyard Creations KTS712G Assembly instructions

Safavieh Furniture Maris FOX4261 manual

Safavieh Furniture

Safavieh Furniture Maris FOX4261 manual

Impact Furniture S182-SFW1D/12/4 Assembly instructions

Impact Furniture

Impact Furniture S182-SFW1D/12/4 Assembly instructions

BDI CLOUD 9 1186 instruction manual

BDI

BDI CLOUD 9 1186 instruction manual

DURAVIT XSquare XS 7016 Mounting instructions

DURAVIT

DURAVIT XSquare XS 7016 Mounting instructions

Flash Furniture DC-HY3400L-WH-GG Assembly instructions

Flash Furniture

Flash Furniture DC-HY3400L-WH-GG Assembly instructions

YOTRIO RIDGECREST Assembly instructions

YOTRIO

YOTRIO RIDGECREST Assembly instructions

4D Concepts Boltzero Entry Hall Bench 159313 manual

4D Concepts

4D Concepts Boltzero Entry Hall Bench 159313 manual

Vela Tango Mounting instructions

Vela

Vela Tango Mounting instructions

Sauder 412913 Instruction booklet

Sauder

Sauder 412913 Instruction booklet

atmosphera Ewan 140255 instruction sheet

atmosphera

atmosphera Ewan 140255 instruction sheet

John Lewis COLOSSEUM Assembly

John Lewis

John Lewis COLOSSEUM Assembly

Sauder Edge Water Series Assembly instructions

Sauder

Sauder Edge Water Series Assembly instructions

Birlea SANTOS 4.0' BED PINE Assembly instruction

Birlea

Birlea SANTOS 4.0' BED PINE Assembly instruction

Core Products DK209 manual

Core Products

Core Products DK209 manual

MARCKERIC CRIS 11604 Assembly instructions

MARCKERIC

MARCKERIC CRIS 11604 Assembly instructions

manuals.online logo
manuals.online logoBrands
  • About & Mission
  • Contact us
  • Privacy Policy
  • Terms and Conditions

Copyright 2025 Manuals.Online. All Rights Reserved.