manuals.online logo
Brands
  1. Home
  2. •
  3. Brands
  4. •
  5. Roper Rhodes
  6. •
  7. Indoor Furnishing
  8. •
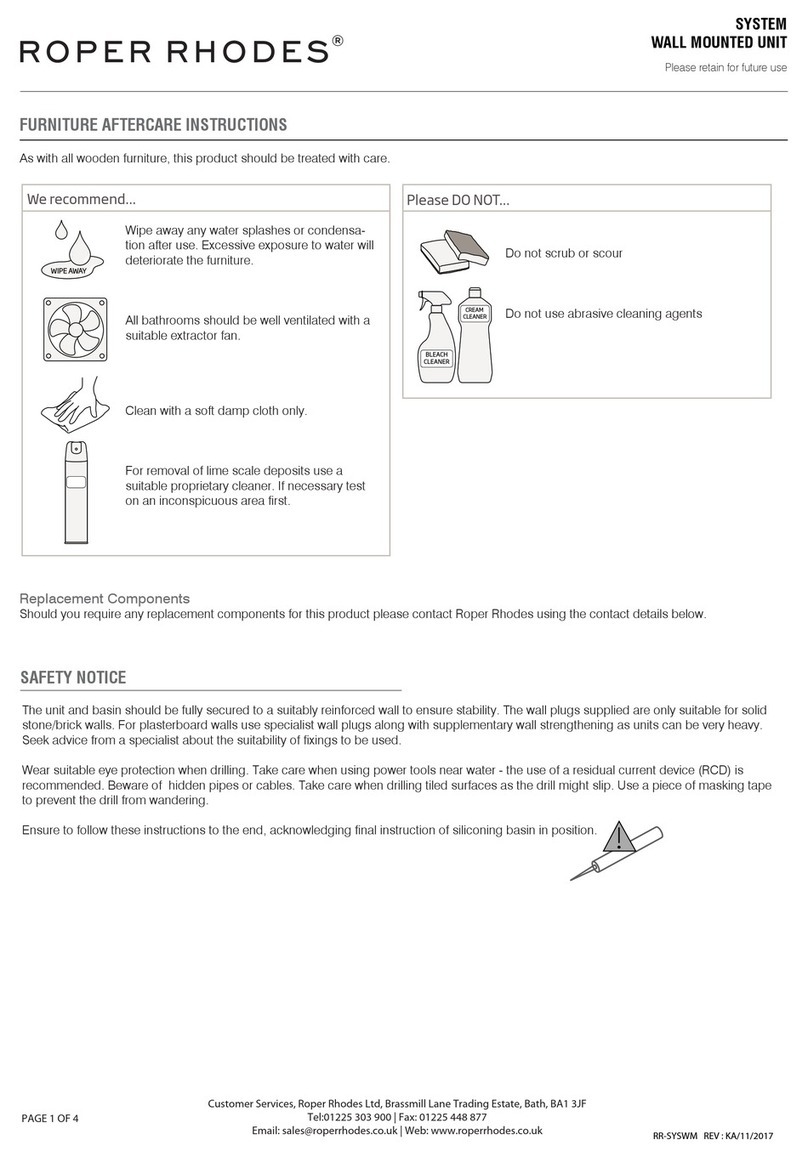
  9. Roper Rhodes FO70AL Parts list manual

Roper Rhodes FO70AL Parts list manual

COVER
BACK PAGE
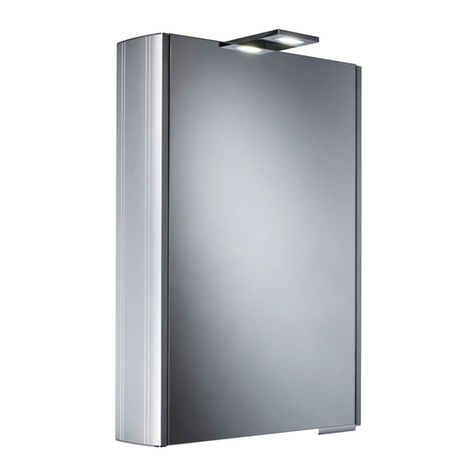
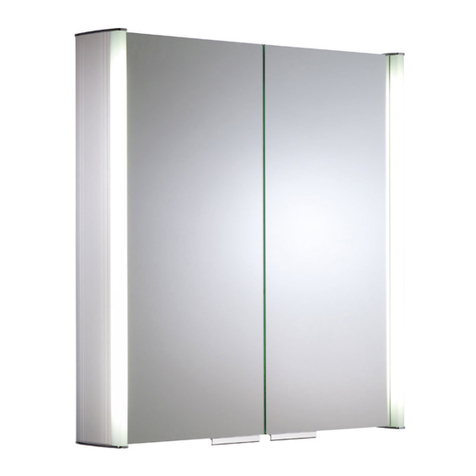
Forte
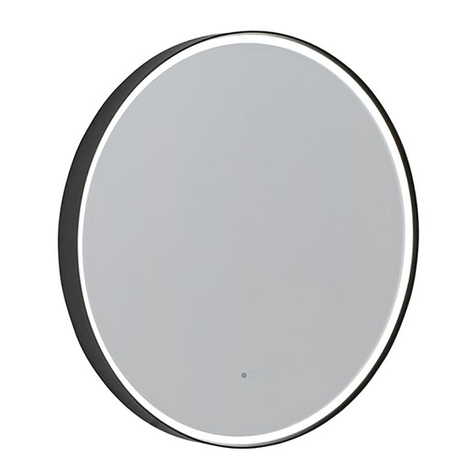
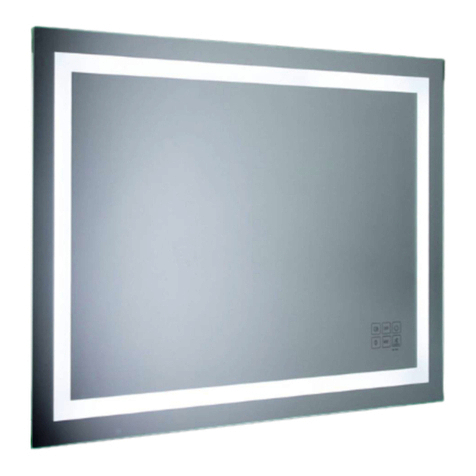
Illuminated Mirror with Bluetooth®Wireless Technology
Installation & Aftercare Instructions
Retain for future reference AO.11.18.V1
© Roper Rhodes Ltd. 2019
Roper Rhodes, Brassmill Lane Trading Estate, Bath, BA1 3JF
TEL: 01225 303 900 | [email protected]
www.roperrhodes.co.uk
Product code: FO80ALProduct code: FO70AL
PAGE 2 PAGE 7
Page 2 Page 7
Care for your product
• It is recommended that the mirror is cleaned with a soft, dry, non abrasive cloth
when turned off.
• It is recommended that the frame is cleaned with a soft, damp, non abrasive cloth
when turned off.
• Never use cleaning agents or abrasive materials on any type of surface finish.
• Do not allow moisture to come into contact with the electrical components.
Replacement parts
We carry extensive stocks of replacement parts and are normally able to dispatch
spares within 24 hours of your request. Attention is drawn to the policy of replacing
any damaged part with a spare part where possible. Complete exchanges will only
be made if damage is extensive.
To obtain a replacement if faulty or broken contact customer services (see details
on the last page) quoting product code.
Troubleshooting & Aftercare service
We hope you now have all the information you need to get started, but if you’re
having troubles with anything, please feel free to contact us at:
[email protected]
Roper Rhodes Ltd reserves the right to amend the specification of its products at
any time if an opportunity to improve the product occurs. All dimensions are
approximate and are quoted within reasonable tolerences.
For more product information visit our website www.roperrhodes.co.uk where you
can watch product videos and view more detailed information on Roper Rhodes
cabinets and mirrors as well as the rest of our bathroom product range.
COMPLIANCE
This product complies with all relevant Bristish and European safety standards.
Electrical Safety Instructions
(Applicable to UK Installations only)
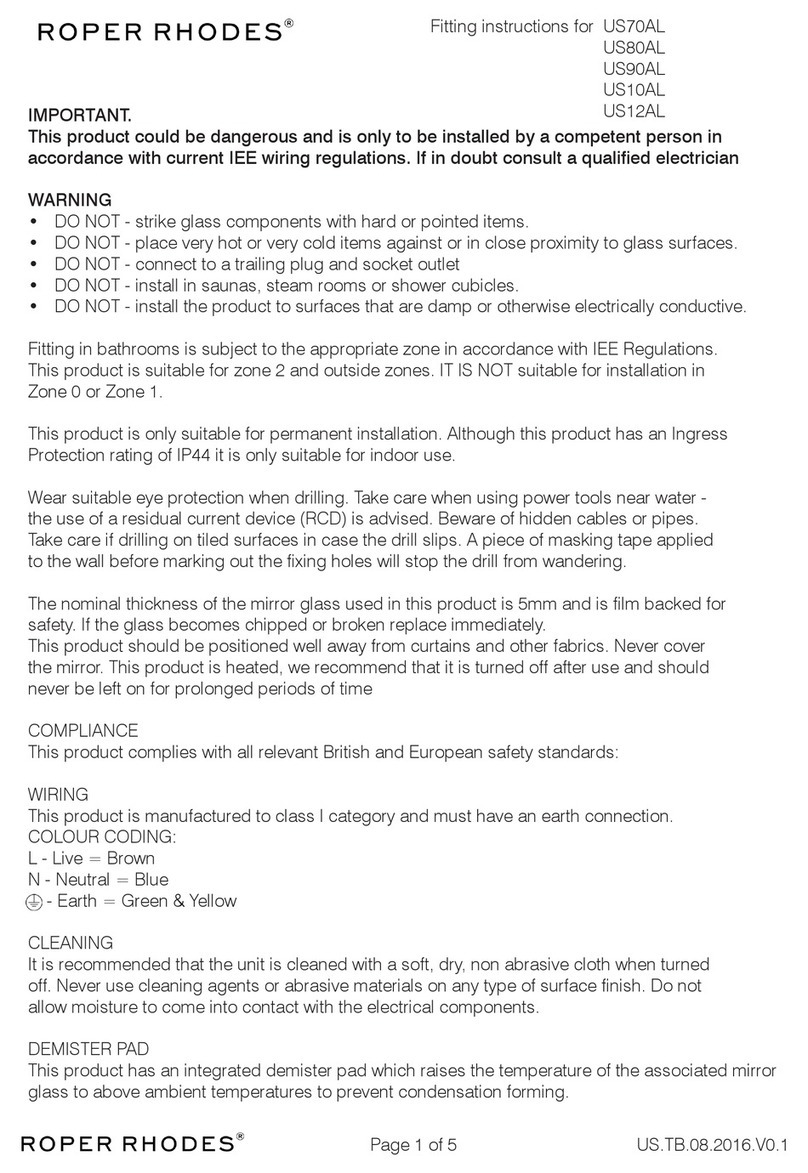
All fittings must be fitted by a competent person, in accordance with current IEE wiring
regulations. If in doubt consult a qualified electrician.
IMPORTANT
Always switch off the electrical supply at the mains during installation and
maintenance. It is recommended that the fuse is withdrawn or the circuit breaker is
switched off for the necessary circuit before installation commences.
Wear suitable eye protection when drilling. Take care when using power tools near
water - the use of a residual current device (RCD) is advised. Beware of hidden cables
or pipes. Take care if drilling on tiled surfaces in case the drill slips. A piece of masking
tape applied to the wall before marking out the fixing holes will stop the drill from
wandering.
DO NOT strike glass components with hard or pointed items. DO NOT place very hot
or very cold items against or in close proximity to glass surfaces unless an adequately
thick insulation material is used to prevent such items coming in contact with the
glass.
The nominal thickness of the mirror glass used in this product is 5mm and is film
backed for safety. If the glass becomes chipped or broken replace immediately. For
replacement glass and other components contact customer services at the address
below.
This product should be positioned well away from curtains and other fabrics. Never
cover the mirror. This product is heated, we recommend that it is turned off after use
and should never be left on for prolonged periods of time
This product should only to be installed by a competent person.
Aftercare service
Installation Care & Safety
PAGE 3PAGE 6
Page 6 Page 3
22
2
OUTSIDE
ZONES
2
ZONE
1
0.75m
2.25m
3.0m
0.6m
0.6m
0.75m
IEE Bathroom Zones Diagram
Distances from a bath tub or shower tray
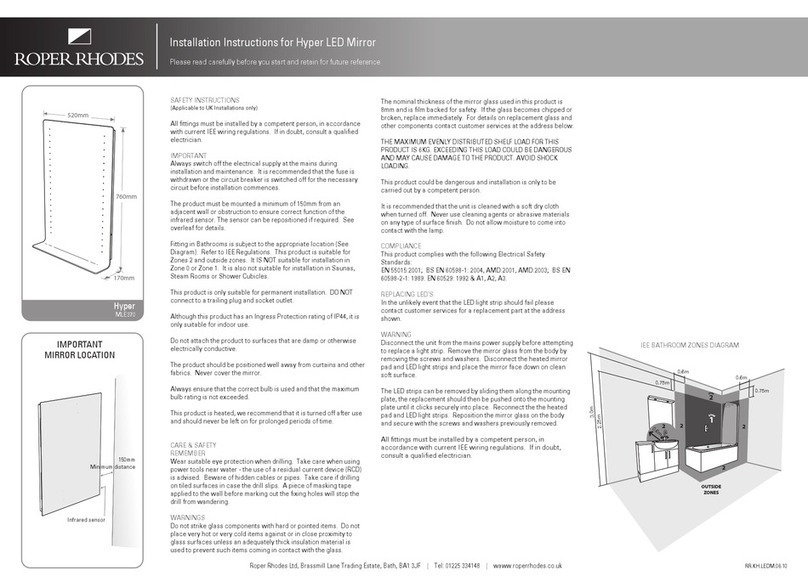
Fitting in Bathrooms is subject to the appropriate zone in accordance with IEE
Regulations. This product is suitable for outside zones. It IS NOT suitable for
installation in Zone 0 and Zone 1. It is also not suitable for installation in saunas,
steam rooms or shower cubicles. This product is only suitable for permanent
installation. DO NOT connect to a trailing plug and socket outlet. This product is
only suitable for indoor use. Do not attach the product to surfaces that are damp or
otherwise electrically conductive.
Wiring
This product is manufactured to class I category and must have an earth
connection.
Bathroom Zones
OPERATING INSTRUCTIONS
Bluetooth®
Pairing to your device
1. Press button (2), The Bluetooth indicator (3) will flash quickly and be
accompanied with a beep to indicate that pairing mode has been turned on.
2. Turn your iOS, Android, or Windows device’s Bluetooth ON and search for new
devices
3. Select Bluetooth Mirror. If asked for a passcode, entre “0000” or “1234”, and the
device will pair
4. Once connected the Bluetooth indicator (3) will slowly flash and beep twice.
Note: The paired device will be saved on the product and the pairing process will only
need to be re-initiated if the pairing is forgotten on your device or has been repaired to
a new device.
Repairing to your device
1. Turn Bluetooth connectivity off on any previously paired devices
2. Follow the “Pairing to your device” above
Playing music on your speaker
When connected via Bluetooth, play music on your device and the sound will play
through the speaker.
Notes:
• Some devices may require you to select the audio output.
• The music can be play/paused by short pressing button (2).
•To manually turn off the Bluetooth, press and hold button for 3 seconds. A long
beep will confirm that bluetooth has been turned off.
1. Light ON / OFF
2. Bluetooth ON / OFF PLAY/PAUSE
3. Bluetooth Indicator
Strip wires to a suitable
length. DO NOT connect
to a plug & socket outlet.
THIS PRODUCT IS MANUFACTURED TO CLASS I
CATEGORY AND MUST HAVE AN EARTH CONNECTION.
! IF IN DOUBT CONSULT YOUR ELECTRICIAN !
COLOUR CODING:
L - Live = Brown
N - Neutral = Blue
- Earth = Green & Yellow
PAGE 4 PAGE 5
Page 4 Page 5
Installation Procedure
The wall surface must be of suitable strength and construction.
1) Determine if the mirror is to be fitted portrait or landscape
2)
Measure the distance (X and Y) between the wall fixing pins on the back of the
mirror.
3)
Mark out the wall mounting plates on the wall using a pencil to the desired height
ensuring they are spaced at distance (X or Y).
Drill the marked out positions and fit the wall plugs accordingly. Secure the wall
mounting plates in position with the screws provided.
NOTE: The wall plugs supplied are only suitable for solid stone / brick walls. For
plasterboard walls use specialist wall plugs.
4) The next step is to make the electrical connection from the mirror to the mains
supply. Use the connection wire found at the rear of the mirror to make the necessary
connections in accordance with the current IEE regulations. A second person will need
to hold the mirror in place whilst electrical connections are made.
5)
The mirror should slide onto the wall mounting brackets and secure into place.
4
3
Mains Supply
Distance X
Installation Procedure & Operating instructions
LED lights
The Forte mirror comes with LED lighting, which is controlled via a touch sensor
(1) located on the front face of the product.
• The demister pad will be on when the LED lights are on.
• Bluetooth®will be on regardless if the lights are on/off.
Turn Mirror ON/OFF
To turn the product on/off,
short press the power button
(1).
Measure
Distance X
Back View Measure
Distance Y
2

This manual suits for next models

1

Other Roper Rhodes Indoor Furnishing manuals

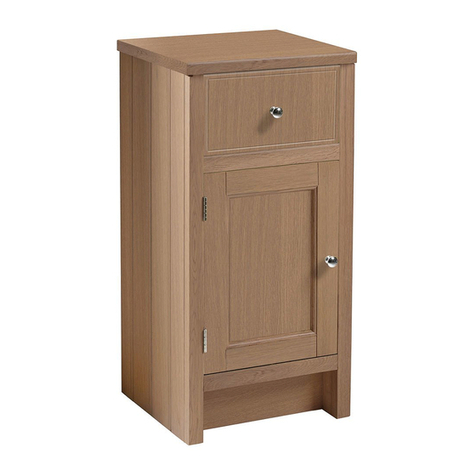
Roper Rhodes Cypher 600 Unit FM Parts list manual

Roper Rhodes

Roper Rhodes Cypher 600 Unit FM Parts list manual

Roper Rhodes EMINENCE EM70RAL User manual

Roper Rhodes

Roper Rhodes EMINENCE EM70RAL User manual

Roper Rhodes SYSTEM Series User manual

Roper Rhodes

Roper Rhodes SYSTEM Series User manual

Roper Rhodes Hampton HAM400FC User manual

Roper Rhodes

Roper Rhodes Hampton HAM400FC User manual

Roper Rhodes US70AL User manual

Roper Rhodes

Roper Rhodes US70AL User manual

Roper Rhodes Hyper MLE370 User manual

Roper Rhodes

Roper Rhodes Hyper MLE370 User manual

Roper Rhodes Diverge Floor Mounted Unit User manual

Roper Rhodes

Roper Rhodes Diverge Floor Mounted Unit User manual

Roper Rhodes ASCENSION FEVER AS251 Parts list manual

Roper Rhodes

Roper Rhodes ASCENSION FEVER AS251 Parts list manual

Roper Rhodes HAMPTON User manual

Roper Rhodes

Roper Rhodes HAMPTON User manual

Roper Rhodes FR60RW Instruction sheet

Roper Rhodes

Roper Rhodes FR60RW Instruction sheet

Roper Rhodes ENVY 700 User manual

Roper Rhodes

Roper Rhodes ENVY 700 User manual

Roper Rhodes MLE420 Parts list manual

Roper Rhodes

Roper Rhodes MLE420 Parts list manual

Roper Rhodes SYC050 User manual

Roper Rhodes

Roper Rhodes SYC050 User manual

Roper Rhodes PLATEAU AS515ALIL User manual

Roper Rhodes

Roper Rhodes PLATEAU AS515ALIL User manual

Popular Indoor Furnishing manuals by other brands

Be!Board B1204 Mounting Information

Be!Board

Be!Board B1204 Mounting Information

Furniture of America Therese CM-BK628 Assembly instructions

Furniture of America

Furniture of America Therese CM-BK628 Assembly instructions

Direct Supply Maxwell Thomas Colonnade owner's manual

Direct Supply

Direct Supply Maxwell Thomas Colonnade owner's manual

comfortel Twilight Footrest 10286 owner's manual

comfortel

comfortel Twilight Footrest 10286 owner's manual

SEI MS967200TX Assembly instructions

SEI

SEI MS967200TX Assembly instructions

Crate&Barrel Odin Assembly manual

Crate&Barrel

Crate&Barrel Odin Assembly manual

Blanco ESSENCE 157-101 Specification sheet

Blanco

Blanco ESSENCE 157-101 Specification sheet

LC MANGO 08P2 installation instructions

LC

LC MANGO 08P2 installation instructions

Next MURPHY 104343 Assembly instructions

Next

Next MURPHY 104343 Assembly instructions

Furniture of America CM-BR6463 Assembly instructions

Furniture of America

Furniture of America CM-BR6463 Assembly instructions

Flash Furniture YK-1079-NAVY-K-GG Assembly instructions

Flash Furniture

Flash Furniture YK-1079-NAVY-K-GG Assembly instructions

Rauch M2609 Assembly instructions

Rauch

Rauch M2609 Assembly instructions

VECELO KHD-YT-F08 installation manual

VECELO

VECELO KHD-YT-F08 installation manual

BluDot SHALE Series Assembly notes

BluDot

BluDot SHALE Series Assembly notes

Alice's Home IDA ICCSOFA Assembly instructions

Alice's Home

Alice's Home IDA ICCSOFA Assembly instructions

WIEMANN Lissabon manual

WIEMANN

WIEMANN Lissabon manual

E-Blue Gaming T574 user guide

E-Blue Gaming

E-Blue Gaming T574 user guide

Victor DC550 Assembly instructions

Victor

Victor DC550 Assembly instructions

manuals.online logo
manuals.online logoBrands
  • About & Mission
  • Contact us
  • Privacy Policy
  • Terms and Conditions

Copyright 2025 Manuals.Online. All Rights Reserved.