Rossmax AC1000 User manual

www.rossmax.com
Instruction Manual
EN
Model:
AC1000 f

2
Table of Contents:
Introduction .................................................................................... 2
Cautionary Notes ............................................................................. 3
Notes on Safety ................................................................................ 4
Name/Function of Each Part ............................................................. 6
Monitor Installation - Trolley (Optional) ............................................. 7
Real Fuzzy Measuring Technology .................................................... 8
Preliminary Remarks ......................................................................... 8
Display Explanations ......................................................................... 9
How to Use the POWER Source ...................................................... 10
Applying the Cuff .......................................................................... 14
Measurement Procedures ............................................................... 17
Setting Deation Rate..................................................................... 18
Recalling Values from Memory ....................................................... 19
Clearing Values from Memory ........................................................ 19
How to clean the unit after use ...................................................... 19
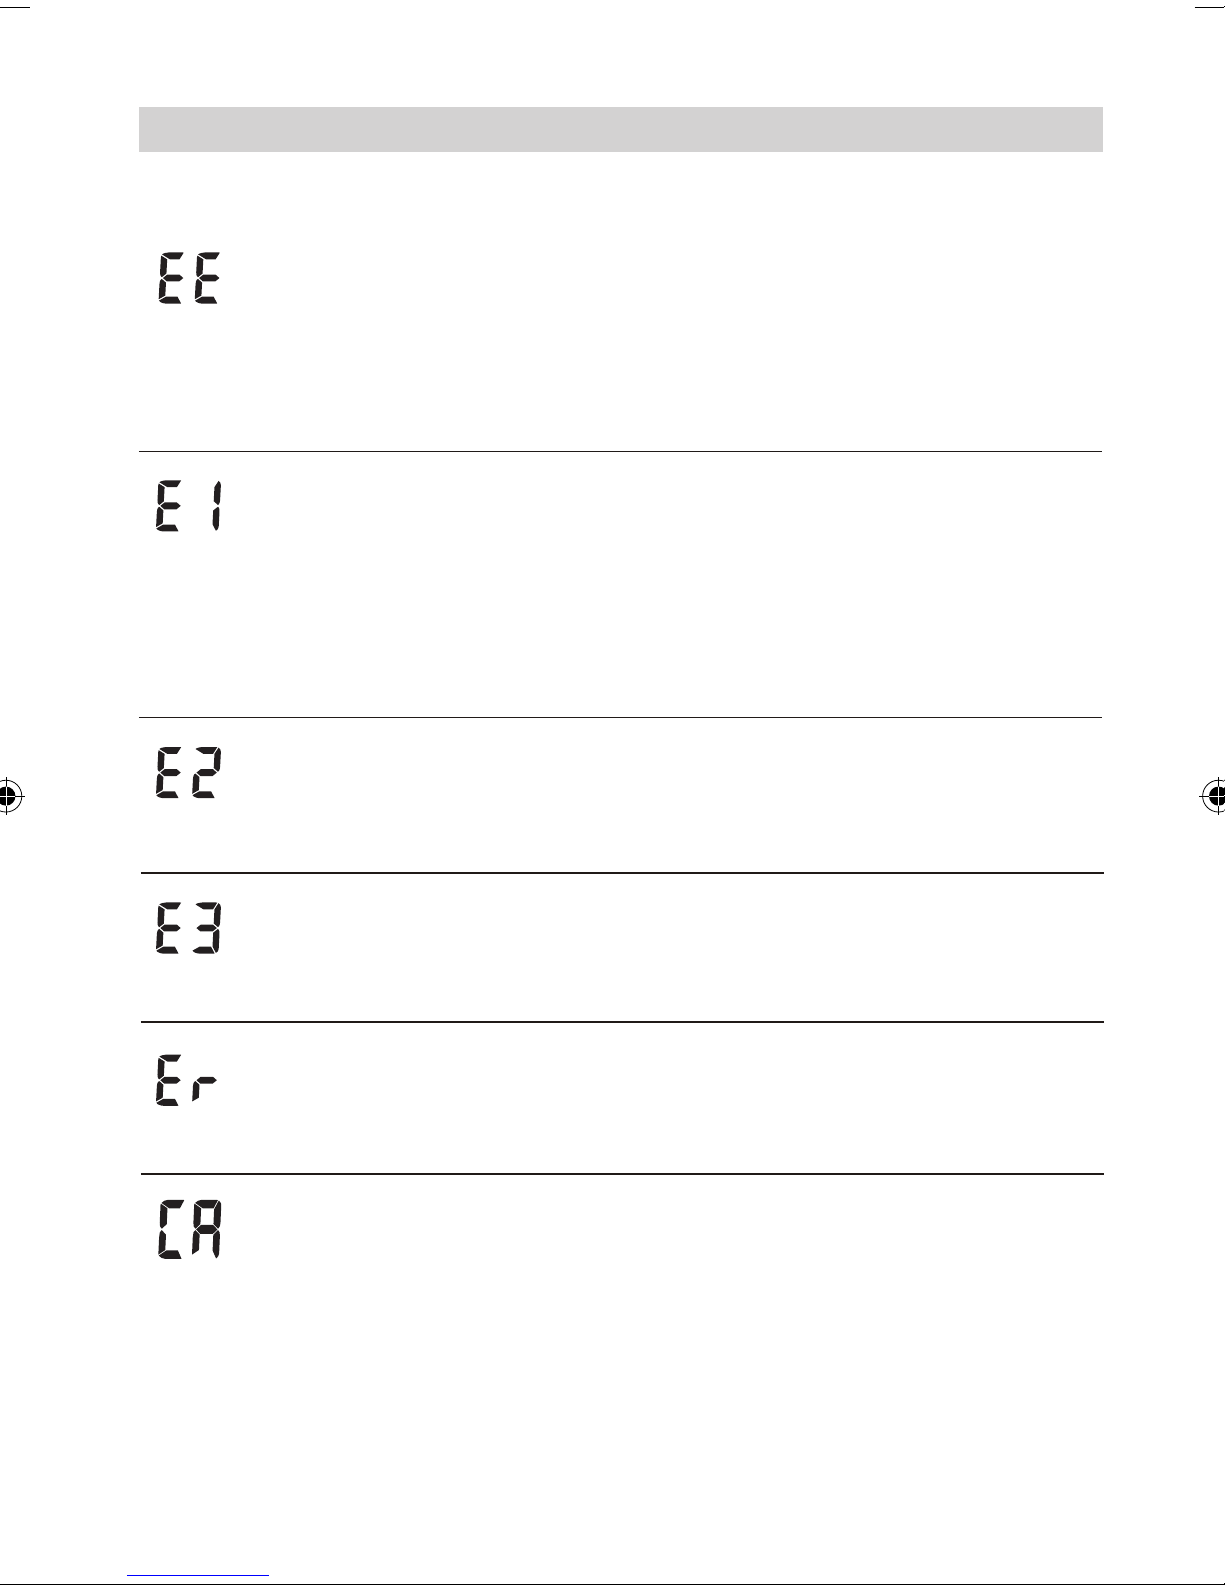
Troubleshooting ............................................................................. 20
Specications ................................................................................. 21
EMC guidance and manufacturer’s declaration................................ 22
Introduction
Blood pressure measurements determined with AC1000f are equivalent
to those obtained by a trained observer using cuff/stethoscope auscul-
tation method, within the limits prescribed by the American National
Standard, Electronic or Automated Sphygmomanometers. This unit is to
be used by adult consumers in physicians’ ofces, hospitals, clinics and
other medical facilities. Do not use this device on infants or neonates.
AC1000f is protected against manufacturing defects by an established
International Warranty Program. For warranty information, you can con-
tact the manufacturer, Rossmax International Ltd.
Attention: Consult the accompanying documents. Please read this
manual carefully before use. For specic information on
your own blood pressure, contact your physician. Please be
sure to keep this manual.

3
Cautionary Notes
1. The unit contains high-precision assemblies. Therefore, avoid ex-
treme temperatures, humidity, and direct sunlight. Avoid dropping or
strongly shocking the main unit, and protect it from dust.
2. Leaky batteries can damage the unit. Remove the batteries when the
unit is not used for a long time.
3. The unit should not be operated by children so to avoid hazardous
situations.
4. If the unit is stored near freezing, allow it to acclimate at room tem-
perature before use.
5. This unit is not eld serviceable. You should not use any tool to open
the device nor should you attempt to adjust anything inside the de-
vice. If you have any problems, please contact the store or the doc-
tor from whom you purchased this unit or please contact Rossmax
International Ltd.
6. As a common issue for all blood pressure monitors using the oscillo-
metric measurement function, the device may have difculty in deter-
mining the proper blood pressure for users diagnosed with common
arrhythmia (atrial or ventricular premature beats or atrial brillation),
diabetes, poor circulation of blood, kidney problems, or for users suf-
fered from stroke, or for unconscious users.
7. To stop operation at any time, press the START/STOP and ON/OFF key,
and the air in the cuff will be rapidly exhausted.
8. Once the ination reaches 300 mmHg, the unit will start deating
rapidly for safety reasons.
9. Electromagnetic interference: The device contains sensitive electronic
components. Avoid strong electrical or electromagnetic elds in the
direct vicinity of the device (e.g. mobile telephones, microwave ov-
ens). These may lead to temporary impairment of measurement ac-
curacy.
10. Dispose of device, batteries, components and accessories according
to local regulations.
11. This monitor may not meet its performance specication if stored or
used outside temperature and humidity ranges specied in Speci-
cations.

4
Notes on Safety
Warning:
• Self diagnosis of measured results or treatment is dangerous.
Please follow the instruction of the doctor or healthcare pro-
vider.
• If cuff ination does not stop, remove the cuff or pull out the air
tube from the main unit.
• If battery uid gets into your eye or comes in contact with skin,
wash the effected area with water repeatedly. Immediately con-
sult a doctor for treatment.
• Do not wrap the cuff over an arm to which intravenous injection
or transfusion is being conducted, or when otherwise contrain-
dicated.
• Do not connect the air tube or the cuff to other equipment
which is connected to an intra corporeal organ. Air embolisms
may result.
• Do not use this unit in the presence of ammable gas or anes-
thetics or in a high pressure oxygen room or oxygen tent.
• Do not use the battery pack for devices other than for this unit.
• Do not disassemble the battery.
• Do not touch the AC adaptor with wet hands.
• Do not use any cuff other than the models exclusive for this unit.
• Do not use this unit on infants.
• Do not use this unit on patients using a pump oxygenator.
• Do not use an AC adaptor or battery pack no specied for this
unit.
• Do not use a cellular pone near this unit.
• Do not use this unit in a vehicle.
• Do not install the parts and/or instruments not specied for this
unit.
• Do not use a broken power cord or AC adaptor.
• Do not install or store this unit where it may come in contact
with water or liquid medication.
• This is a Class II device with double insulation.

5
General advice:
• Do not place or put anything on this unit.
• Do not drop this unit.
• Turn off power to the unit and unplug the AC adaptor from the
electric outlet before moving the unit.
• Read the instruction manual of the other devices to be used at
the same time with this unit, to understand and be aware of the
interaction between the devices.
• When using the unit:
- Do not inate the cuff without being wrapped over the arm.
- Do not use a damaged cuff.
- Be sure that patients do not touch the buttons of this unit.
• After using the unit:
- Do not disinfect this unit by autoclave or gas sterilization (EtO,
glutaraldehyde, or high concentration ozone).
• Do not install or store this unit in the following places.
- Under the direct sunlight.
- Dusty or salty environment.
- Places having slope or where combustible gas may be gener-
ated.
- Under high temperature and high humidity.

6
Name/Function of Each Part
Arm Cuff
Auto/Manual
Switching Key
Deation Rate
setting key
LCD Display
ON/OFF key
START/
STOP key
Charging
LED
Memory/
Marker key
Air Tube and
Connector
Battery Cover
(Located on
back of unit)
Battery Pack:
4.8V, 1700mAh
NIMH Battery
Data Link Socket Protection Jelly
AC Adaptor
Jack

7
Monitor Installation - Trolley (Optional)
Placing Protection Jelly
onto the Monitor
Installing Monitor
on the Trolley

8
Real Fuzzy Measuring Technology
This unit uses the oscillometric method to detect your blood pressure.
Before the cuff starts inating, the device will establish a baseline cuff
pressure equivalent to the air pressure. This unit will determine the ap-
propriate ination level based on pressure oscillations, followed by cuff
deation.
During the deation, the device will detect the amplitude and slope
of the pressure oscillations and thereby determine for you the systolic
blood pressure, diastolic blood pressure, and pulse.
Preliminary Remarks
This Blood Pressure Monitor complies with the European regulations
and bears the CE mark "CE 0120". The quality of the device has been
veried and conforms to the provisions of the EC council directive
93/42/EEC (Medical Device Directive), Annex I essential requirements
and applied harmonized standards.
EN 1060-1: 1995/A2: 2009 Non-invasive sphygmomanometers - Part
1 - General requirements
EN 1060-3: 1997/A2: 2009 Non-invasive sphygmomanometers - Part 3
- Supplementary requirements for electro-mechanical blood pressure
measuring systems
EN 1060-4: 2004 Non-invasive sphygmomanometers - Part 4: Test Pro-
cedures to determine the overall system accuracy of automated non-
invasive sphygmomanometers.
This blood pressure monitor was designed for long service time. To
ensure continued accuracy, it's recommended that all digital blood pres-
sure monitors require re-calibration. The monitor does not require re-
calibration for 2 years, at which time your monitor displays
. The unit should also be re-calibrated if the monitor
sustains damage due to blunt force (such as dropping) or
exposure to uids and / or extreme hot or cold tempera-
ture / humidity changes. When appears, simply return
to your nearest dealer for re-calibration service.

9
Display Explanations
Display:
Memory Mark
Battery Mark
AC Power Mark
Auto Mode
Manual Mode
Set-Deation
Mark
Systolic Pressure
Diastolic Pressure
Pulse Rate
Deation Rate

10
Measurement Error: Make sure the L-plug is securely con-
nected to the air socket and measure again. Wrap the cuff cor-
rectly and keep arm steady during measurement. If the error
keeps occurring, return the device to your local distributor or
service center.
Air Circuit Abnormality: Make sure the L-Plug is securely
connected to the air socket on the side of the unit and measure
again. Another possible cause can be due to the short circuit of
the microphone embedded in the cuff. If the errors still occur,
return the device to your local distributor or service center for
help.
Pressure Exceeding 300 mmHg: Switch the unit off and
measure again. If the error keeps occurring, return the device
to your local distributor or service center.
Data Error: Remove the batteries, wait for 60 seconds, and
reload. If the error keeps occurring, return the device to your
local distributor or service center.
Exceeding Measurement Range: Measure again. If the error
keeps occurring, return the device to your local distributor or
service center.
Calibration Indicator: Appears when the monitor requires re-
calibration.
Icons:
Display Explanations

11
How to Use the POWER Source
How to Use the AC Adaptor
1.Connect the AC adaptor with the AC adaptor jack in the back of the
unit.
2.Plug the AC adaptor into the socket. Please use the compatible AC
adaptors. (AC adaptors with required voltage and current indicated
near the AC adaptor jack.)
AC Adaptor
(Ø3.8 / Ø1.35)
• When using the battery pack and connect the AC adaptor, the unit
also functions as the charger.
Note: The AC adaptor can use with unit individually. (without battery
pack).
Adaptor Information
MODEL: HK-X111-A075
HK-X211-A075
Input: 100-240V~50/60Hz 0.8A
Output: 7.5V 1.5A
Brand: ROSSMAX
Manufacurer: HON-KWANG

12
Installation and Replacement of Battery Pack
Warning:
• If the uid in the battery gets into your eye, wash the eye with
sufcient water without rubbing the eye, then immediately
consult the doctor for treatment. There is danger in losing your
eyesight.
• Do not use the exclusive battery pack other than for this unit.
• Do not throw the battery pack into re, or heat, or disassemble
it. It may cause heat, ignition, short-circuit, or rupture.
Caution:
• Do not short-circuit the polarities of the optional battery pack
with a metal object such as wire.
• If the uid in the battery is stained on your skin or clothes, im-
mediately wash off the uid with water. Your may suffer injury,
or the battery may leak, heat, ignite re, or explode.
Warning:
• Do not use this unit in places where inammable gas, such as
highly inammable anesthetic, may be generated or in a high
pressure oxygen room or an oxygen tent. It may cause ignition
and explosion.
• Do not touch the AC adaptor with wet hands. You may suffer
electric shock.
Caution:
• Be sure to use the AC adaptor appropriate for your country. It
may cause re or you may suffer electric shock.
• Do not install or store this unit where it may be sprayed with
water or medication. You may suffer electric shock.
General advice:
• Read the instruction manual of the other advices to be used at
the same time with this unit to understand and be aware of the
interaction between the devices.

13
1. Remove the screw on the battery cover (Located on back of unit) of
this unit.
2. Installation: Connect the battery pack to the connector in the bat-
tery cover to install it.
Replacement: Disconnect the battery pack from the connector and
replace with a new one.
3. Install the battery cover and fasten it with screws. At this time, be
careful not to pinch the lead wire.
4. Connect the main unit and the AC adaptor, then charge the battery
pack. The battery pack is not charged when you purchase the moni-
tor. When you use the battery pack for the rst time, charge it for
more than twelve hours before use.

14
Full battery Low battery
Battery life:
• You can use the unit for approximately six hundred measurements
with one charge.
• Approximate life of battery pack is two years. However the battery
pack life from each charging may be shortened depending on the
state of using.
Charging time:
• After connecting the AC adaptor, the battery pack will start charging
automatically.
• While the battery is being charged, the and battery marks turn
on and LED shows orange light.
• While the charging is completed, LED shows green light.
Battery low:
• If a mark is displayed, the battery is low (blood pressure cannot
be measured). Please charge the battery.
Automatic Power Off:
• If you use the unit with the battery pack only, the unit will turn off
automatically in approximately ve minutes even if you forget to turn
off the power.
• While the AC adaptor is connected, the Auto Power Off function does
not work.

15
2. Connect the air tube securely.
• Connect the air tube to the main unit by securing the air plug to the
base of the air connector.
• Securely connect the air tube and the cuff set by rotating Luer con-
nector.
Applying the Cuff
1. Select cuff according to arm size:
Rossmax
Cuff size
Arm
circumference
L size 34~46 cm
(13.4”~18.1”)
M size 24~36 cm
(9.4”~14.2”)
S size 16~26 cm
(6.3”~10.2”)

16
3. Place the cuff over the bare up-
per arm, wrap it with the tube
pointing your palm, and the artery
mark over your main artery.
4. The edge of the cuff should be
at approximately 1.5 to 2.5 cm
above the inner side of the elbow
joint. If the index line falls within
the range of the arm circumfer-
ence indicator, the cuff circum-
ference is suitable, otherwise you
may need a cuff with a different
circumference.
5. Center the tube over the middle
of the arm. Press the hook and
loop material together securely.
Allow room for 2 ngers to t
between the cuff and your arm.
Position the artery mark (Ø) over
the main artery (on the inside of
your arm).
Note: Locate the main artery by
pressing with 2 ngers approxi-
mately 2 cm above the bend of
your elbow on the inside of your
left arm. Identify where the pulse
can be felt the strongest. This is
your main artery.
6. Lay your arm on a table (palm up-
ward) so the cuff is at the same
height as your heart. Make sure
the tube is not kinked.
Main Artery
Center tube over
middle of arm
Main Artery
INDEX must
be in OK
range

17
7. This cuff is suitable for your use if the arrow falls within the solid
color line. If the arrow falls outside the solid color line, you will
need a cuff with other circumferences. Contact your local dealer for
additional size cuffs. Using the correct cuff size is important for an
accurate reading.
Manual Mode
(with Stethoscope)
Auto Mode
(without Stethoscope)
Index Line
Artery Mark
Arm Circumference Indicator

18
Measurement Procedures
Here are a few helpful tips to help you obtain more accurate readings:
• Blood pressure changes with every heartbeat and is in constant uc-
tuation throughout the day.
• Blood pressure recording can be affected by the position of the user,
his or her physiological condition and other factors. For greatest
accuracy, wait one hour after exercising, bathing, eating, drinking
beverages with alcohol or caffeine, or smoking to measure blood
pressure.
• Before measurement, it’s suggested that you sit quietly for at least
5 minutes as measurement taken during a relaxed state will have
greater accuracy. You should not be physically tired or exhausted
while taking a measurement.
• Do not take measurements if you are under stress or tension.
• During measurement, do not talk or move your arm or hand muscles.
• Take your blood pressure at normal body temperature. If you are
feeling cold or hot, wait a while before taking a measurement.
• If the monitor is stored at very low temperature (near freezing), have
it placed at a warm location for at least one hour before using it.
• Wait 5 minutes before taking the next measurement.
1. Press the ON/OFF key. All digits will light up, checking the display
functions. The checking procedure will be completed in 2 seconds.
2. After all symbols appear, the display will show a blinking “0”. The
monitor is ready to measure.
3. Auto Mode
• In Auto mode, mark appears on the display.
• Press the START key, the monitor will automatically inate the cuff
slowly to start measurement.
• When the measurement is completed, the cuff will exhaust the
pressure inside. Systolic pressure, diastolic pressure and pulse will
be shown simultaneously on the LCD screen. The measurement is
then automatically stored into memory zone.

19
This monitor will re-inate automatically to approximately 220
mmHg if the system detects that your body needs more pressure to
measure your blood pressure.
4. Manual Mode
• Switching Auto mode to Manual mode by pressing the key
on the back of the unit.
• The default deation rate is 2.5 mmHg/sec.
• Press the START key, the monitor will automatically inate the cuff
slowly to start measurement.
• While the unit starts deating, press the Marker key to record the
onset of Korotkoff sound as the systolic pressure, and press the
Marker key again to record the disappearance of the Korotkoff
sound as diastolic pressure.
• When the measurement is completed, the cuff will exhaust the
pressure inside. Systolic pressure and diastolic pressure will be
showed simultaneously on the LCD screen.
Note: 1. This monitor automatically switches off approximately 5 min-
utes after last key operation.
2. To interrupt the measurement, simply press the START/STOP
and ON/OFF key; the cuff will deate immediately.
3. During the measurement, do not talk or move your arm or
hand muscles.
Setting Deflation Rate
In the Manual mode, selecting the deflation rate of 2.5 mmHg/sec,
4.5 mmHg/sec, 6.5 mmHg/sec by pressing the key on the back
of the unit.

20
Recalling Values from Memory
1. Press the Memory key to view the last previously stored measure-
ment. Every measurement comes with a assigned memory sequence
number.
2. The memory bank can store up to 7 readings under Auto mode. The
number of readings exceeds 7, the oldest data will be replaced with
the new record.
Clearing Values from Memory
Under Auto mode, press and hold the Memory key for approximately
5 seconds, then the data can be erased automatically.
How to clean the unit after use
Caution:
• When cleaning this unit, please unplug the AC adaptor from
the electric outlet. You may suffer electric shock.
• After cleaning this unit, dry it well, then plug the AC adaptor
in the electric outlet. You may suffer electric shock.
General advice:
• Do not clean this unit with gasoline, paint thinner, or high
concentration alcohol.
• Do not disinfect this unit by autoclave or gas sterilization (EOG,
formaldehyde, or high concentration ozone.)
1. Wipe the blood pressure monitor with a soft cloth squeezed well
after moistened with water, diluted disinfectant alcohol, or diluted
detergent.
2. Then wipe the monitor with a soft dry cloth.
Other manuals for AC1000
3
Table of contents
Other Rossmax Blood Pressure Monitor manuals

Rossmax
Rossmax AK150 f User manual

Rossmax
Rossmax AD761f User manual

Rossmax
Rossmax X5 User manual

Rossmax
Rossmax X9 User manual

Rossmax
Rossmax S 150 User manual

Rossmax
Rossmax X3 User manual

Rossmax
Rossmax MS60 User manual

Rossmax
Rossmax AD761 User manual

Rossmax
Rossmax Z5 User manual

Rossmax
Rossmax AC1000 User manual

Rossmax
Rossmax AC1000f User manual

Rossmax
Rossmax AC1000 User manual

Rossmax
Rossmax S 150 User manual

Rossmax
Rossmax AU941f User manual

Rossmax
Rossmax MANDAUS II User manual

Rossmax
Rossmax AC701k User manual

Rossmax
Rossmax AX356f User manual

Rossmax
Rossmax MS 400i User manual

Rossmax
Rossmax AK150 f User manual

Rossmax
Rossmax MR 800 User manual