Ruizu X21 User manual

1
User 's manual
Thank you for purchasing RUIZU mp3 play X21 music player,
please read the manual book carefully before using the device,
Specification are subject to change without prior notice.If you have any
question please contact with our after sale service.

2
For safe use
Warning: Fail to follow these safety instructions any result in injury.
Don’t drop or hit the unit violently,otherwise it will case serious
damage or will not work properly.
Don’t open or disassemble the unit,the parts inside need no
maintenance.
Don’t use the unit in an environment with humid and high
temperature.
Don’t put this product into water or any liquid
Don’t expose this product to strong sunlight or put it into trash bin.
Don’t put this product in fire, or the battery will explode and be on
fire.
Charging for the Music player
Use an adapter for charging
If you use and adapter to charge the player, please use and adapter with
its maximum output is 5V,1A. It will need about 1hours for full charge.
Charge by computer
Plug one end of the micro USB cable into the USB port of a computer,
the other end to the port on your device, While it is fully charged,
disconnect the cable from your device by pulling it straight outward.
Charge and discharge it every 2 months if you do not use it for a long
time.

3
Product Presentation
1.Power On/Off 2. Micro SD card slot
3.Back button 4. Volume +
5.Volume - 6. Play/Pause/Enter
7.Previous/Rewind/Scroll up 8.Next/Fast forward/Scroll down
9. USB Port 10. Earphone jack

4
Data transfer
You can transfer music from your computer to the player using the
drag-and-drop method or using music management software such as
Windows Media player.you can simply plug it into your computer and copy
over media files as if it were a hard drive.
Note: The player built-in without memory, so before you want to copy music to
the player,please make sure the Micro SD card is inserted.
Power On/Off
1. Power on: Hold the power button to turn on the music player
2. Power off: When the player on power on status, hold the power button to
turn off the music player
3. When the player on the power on status, click the power button to shut
down the screen, click the power button again to see the date and time display
on the screen, click the power button again to go to the main menu interface.
Charge the Player
1. By connecting to a computer with the included USB cable.The USB cable
can both be used for data transfer and charging the player
2. By connecting to a charger (Not included the package )
Please note:The specification of the charger must meet the following
requirements or any accident or failure happened will be regarded as
man-made damage.
Input: AC 110-240V 50/60Hz Max: 100mA
Output: DC 5.0-5.5V 500mA-800mA

5
Main Interface
On the main interface press and it will bring you to each function on
the device one by one including Music,Set,Tools,Folder view, FM
radio,Recordings,Albums,Play set.
While it’s on the main menu interface,after you selected the functions press
button to enter.
Volume Adjustment
When on the main menu interface or music playing interface press “+” / “-” to
increase / decrease the volume.
Fast Rewind / Fast forward
When it is on music playing interface:
- Hold button /for fast backward / fast forward. Click button /
to go to previous / next song.
-Click button to play or pause
Return back
In any interfaces, Click button,to back to the previous menu, keep click
press button it will go back until to the main menu interface.
Music
On the main menu interface click the button /to select the function
one by one, find the function “Music ”and click the button to access to the
function. The related list will show as
“All songs”, “Artists”, “Albums”, “Genres”, “Playlist”, Create Playlist”
click the buttons /to select each option , and click button to
confirm
On the music playing interface hold the button to access to the sub-menu,

6
the related list will show as
“Play mode” choose to “play music from ..”/“Repeat”/ “Shuffle”.
- Play music from .. : choose to play songs from All song/artist/album/genre
- Repeat ,choose to repeat off, repeat 1, repeat all and view playing.
- Shuffle, choose to turn on / off shuffle mode
“Sound settings ”, choose to Equalizer /Volume limit
- Equalizer choose to Rock,Funk,Hip hop,Jazz,Classical,Techno,Custom and
off
-Volume limit choose to set the Volume
“Add to playlist” choose to play list on the go [1],play list on the go [2],play list
on the go [3],
“Remove from Playlist” choose to play list on the go [1],play list on the go
[2],play list on the go [3],
“Delete” choose to delete the music you playing , “YES” to confirm the delete,
“NO” to cancel the delete.
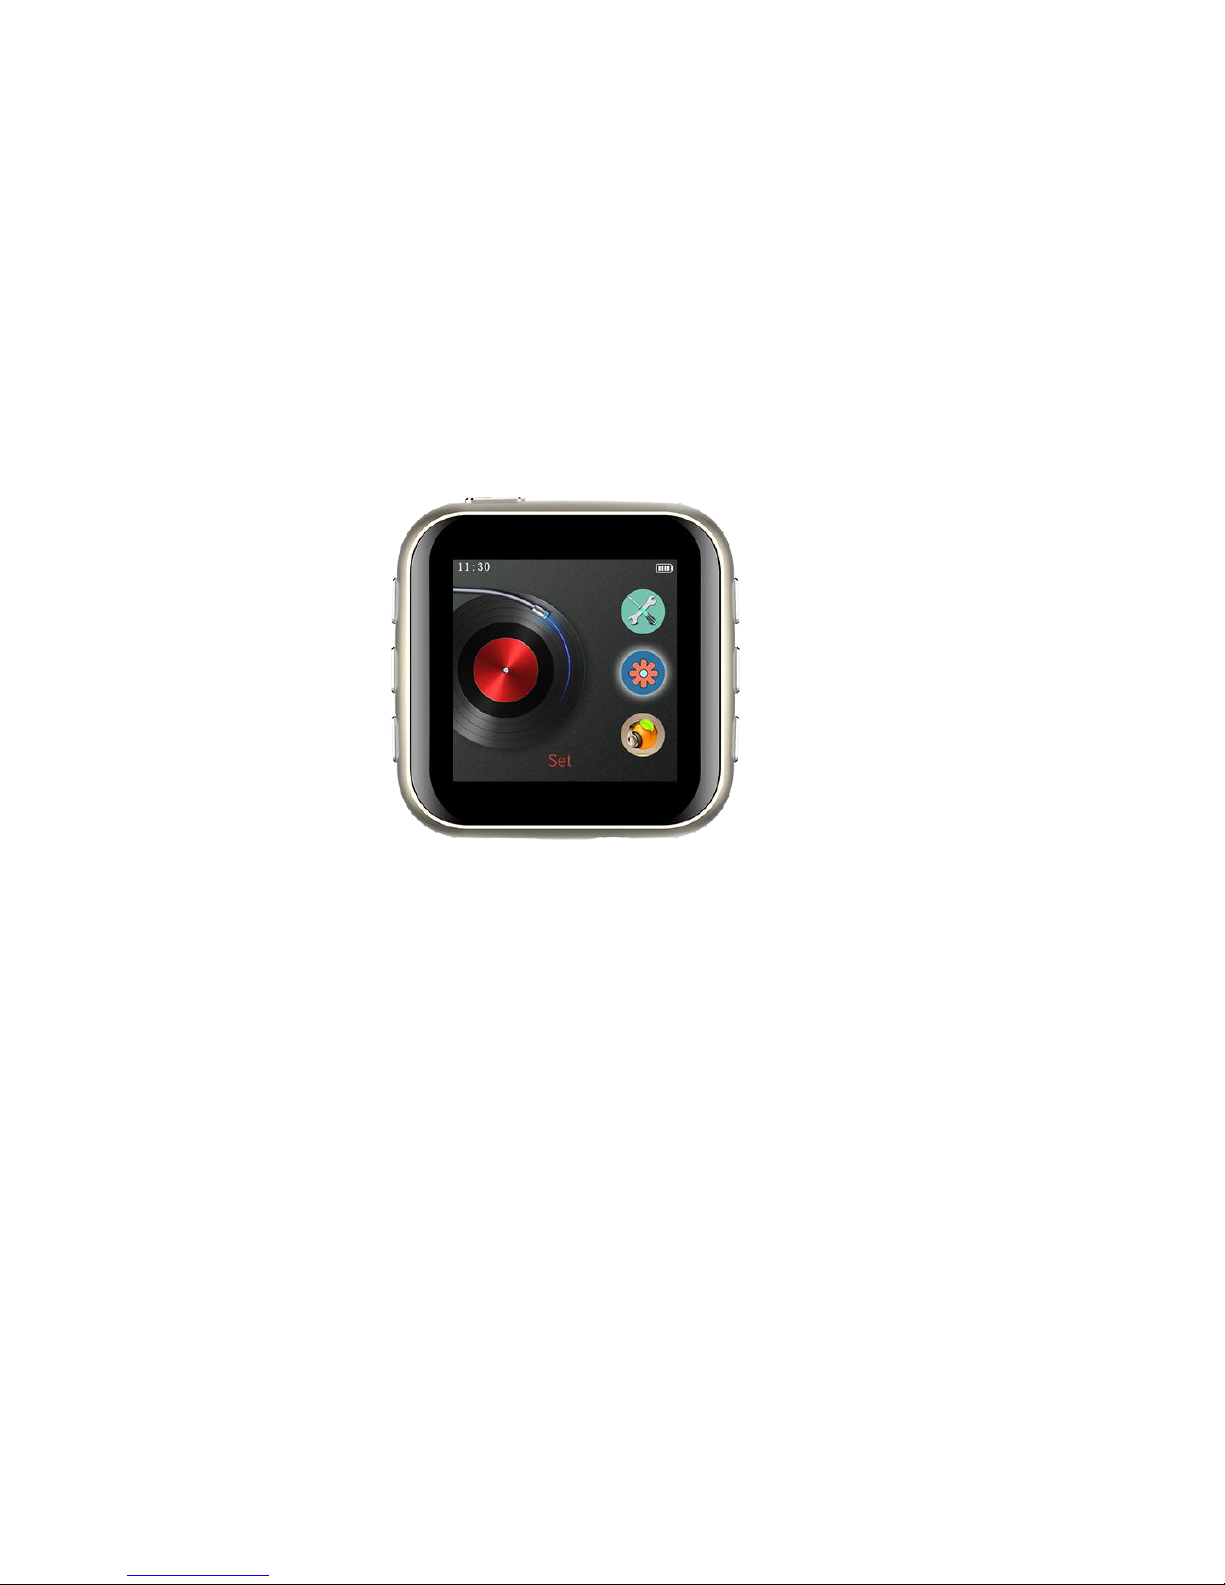
Play set
On the main menu interface find “Play set” click button to access to the its
function, the related list will show as
“Repeat” to repeat off / Repeat 1 / Repeat all
“Shuffle” choose to turn on/off the shuffle function.
Record
Select “Record” on main menu interface, click button to access to its
function, the a related list will show as “Start voice recording”, “Recording
library ”, “Record format”, “Record settings”.
-Select “Start Voice Recording ”and click to start your voice recording.
Click the button and then choose “Yes” to save your recording.
- When on it’s on the voice recording interface, click the button to pause or
start again.
-See your voice recording files in “Recordings library” and click the button
to play the recording file. Click the button / to go to the previous
/next recording.

7
-“Record format”,select a format among MP3 Rec.,WAV Rec.
-“Record settings”select the record bit-rate from 32/64/128/192 Kbps
Radio
Select “Radio”on the main menu, click button to access to its function, A
related list will show including “Presets”, “Manual tune”, “Auto tune”, “Tuner
Region”. Click button ▲/▼to select
•Presets, in the “Preset” you can choose the preset channel, press
access to the channel.
•Manual tune and Auto tune
You can adjust the radio by “Manual tune” or “Auto tune”. on the “Manual tune”
click / to rewind or forward search one by one, and hold button /
to search automatically, Press the button to stop.
Choose “Auto”tune to search and save the radio stations automatically.
•Hold the button Set the FM radio
While on the radio playing screen, press button to go to its sub-menu,
including “Save to preset”, “Clear preset”, “Auto tune”.
•Tuner Region, choose to Common Band / Japan Band / European Band
Folder view
Select “Folder”on the main menu, Click button to access to its function. All
of the files in the player will be listed here. Click▲/▼to select the folders or
the files,after choose the file or the folder click the button to confirm.
Click button to go back to the previous menu.
Please Note:This music player built-in without memory so before you want to
play music make sure the Micro SD card is inserted.

8
Tools
On the main menu interface after selected the function “Tools” click the button
to access to the “Tools” menu.
In the “Tools” menu a related list will show “Calendar”, “Stopwatch”.
Select “Stopwatch” and click the button to enter, click button again to
start the timer,then click again to stop/resume. Press to start a new
one. Click button to go back.
Please note: the maximum Stopwatch list is 4.
Settings
Find the “Settings”function on the main menu interface,click button to
access to its function, On the “Settings” menu interface “Sleep timer”,“Date
and time”, “Display settings” “Language”, “Information”, “Factory settings” ,
will be listed on the menu. Click button / to select the each options
you want, and click button to confirm.
- “Sleep timer” choose “Off” to turn off this function. Choose “set sleep
timer”to set the sleep timer between 1-99(minutes), when it reach to the sleep
time you set, the player will power off automatically.
- “Date and time” Set the date and time according to your need; click
button / to select year/month/day/ hour /minute.click button “+” /
“-” to set the year/month/day/hour/minute. Click button to save your
settings.
- “Display settings” set the “Brightness”/“Backlight timer”
Brightness, to set the screen brightness, by press button “+” / “-” to increase /
decrease the brightness.
Backlight timer set the time at 10(seconds)/20(seconds)/30(seconds)/Always
on.
- “Language” , choose your language from the listing.
- “Information” to see music player information here
- “Factory settings” choose to factory settings.

9
FQA
Restart the player if it crashed or doesn’t work.
1. Can’t turn on the player
Please check if the player run out of the battery, connect the player to a
adapter and try again after charging.
2. Heavy noise when playing music
Please make sure the plug is clean or this may cause noise
Please check if the music file is damaged, try to play other musics to
confirm,Damage files may lead to heavy noise or skipping.
3. Can’t hear any sound from the player
Please check if the volume is set to “0”
Please check if the earphone is in poor contact with the player.
Music player specification
If you have any question when using our music player, please don’t
Dimension
45mm×45mm×14mm (L×W×H)
Screen Size
1.5’’ TFT screen
Weight (device only)
61.5g
Function
Music/Record/FM radio
Body material
Metal case
Built-in memory
No memory built-in
Built-in memory
Support TF card up to 64 GB
Battery Capacity
3.7V/ 300mAh
Audio format
MP3 /WAV/APE/WMA/FLAC DSD256 etc.
Recording format
MP3/WAV
Recording distance
3 meters
Playing time
Music(12hours)
Charging time
1.5~2 hours (5V/500mA)
Suitable age
All age
Table of contents
Other Ruizu MP3 Player manuals